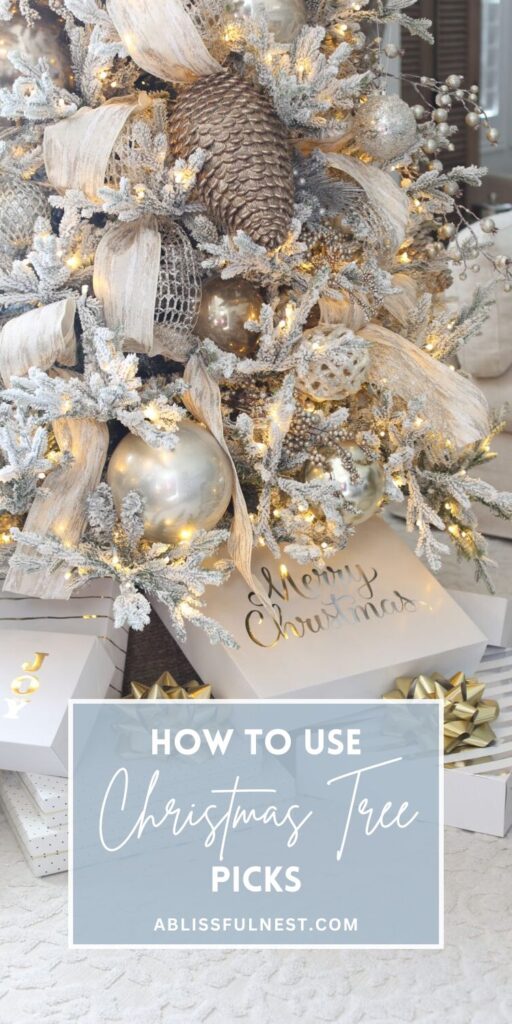
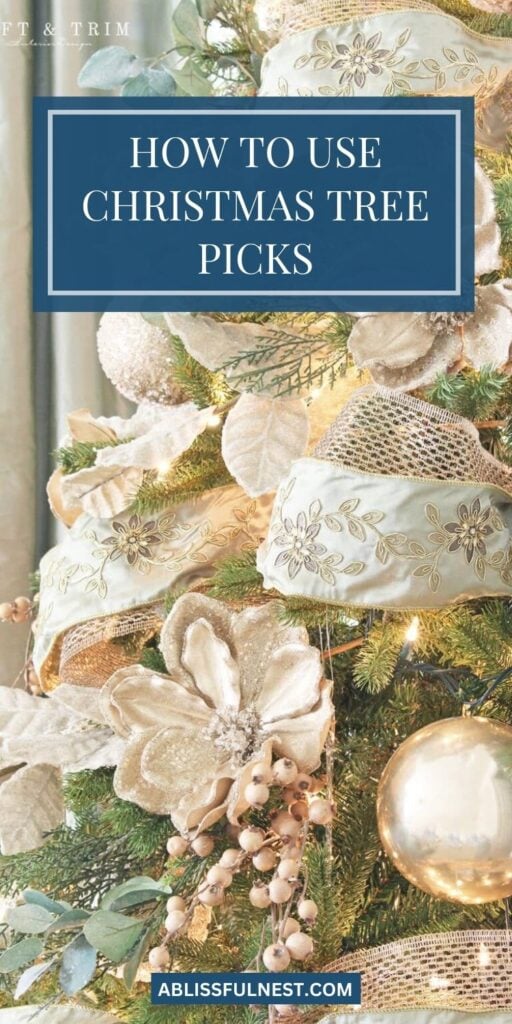


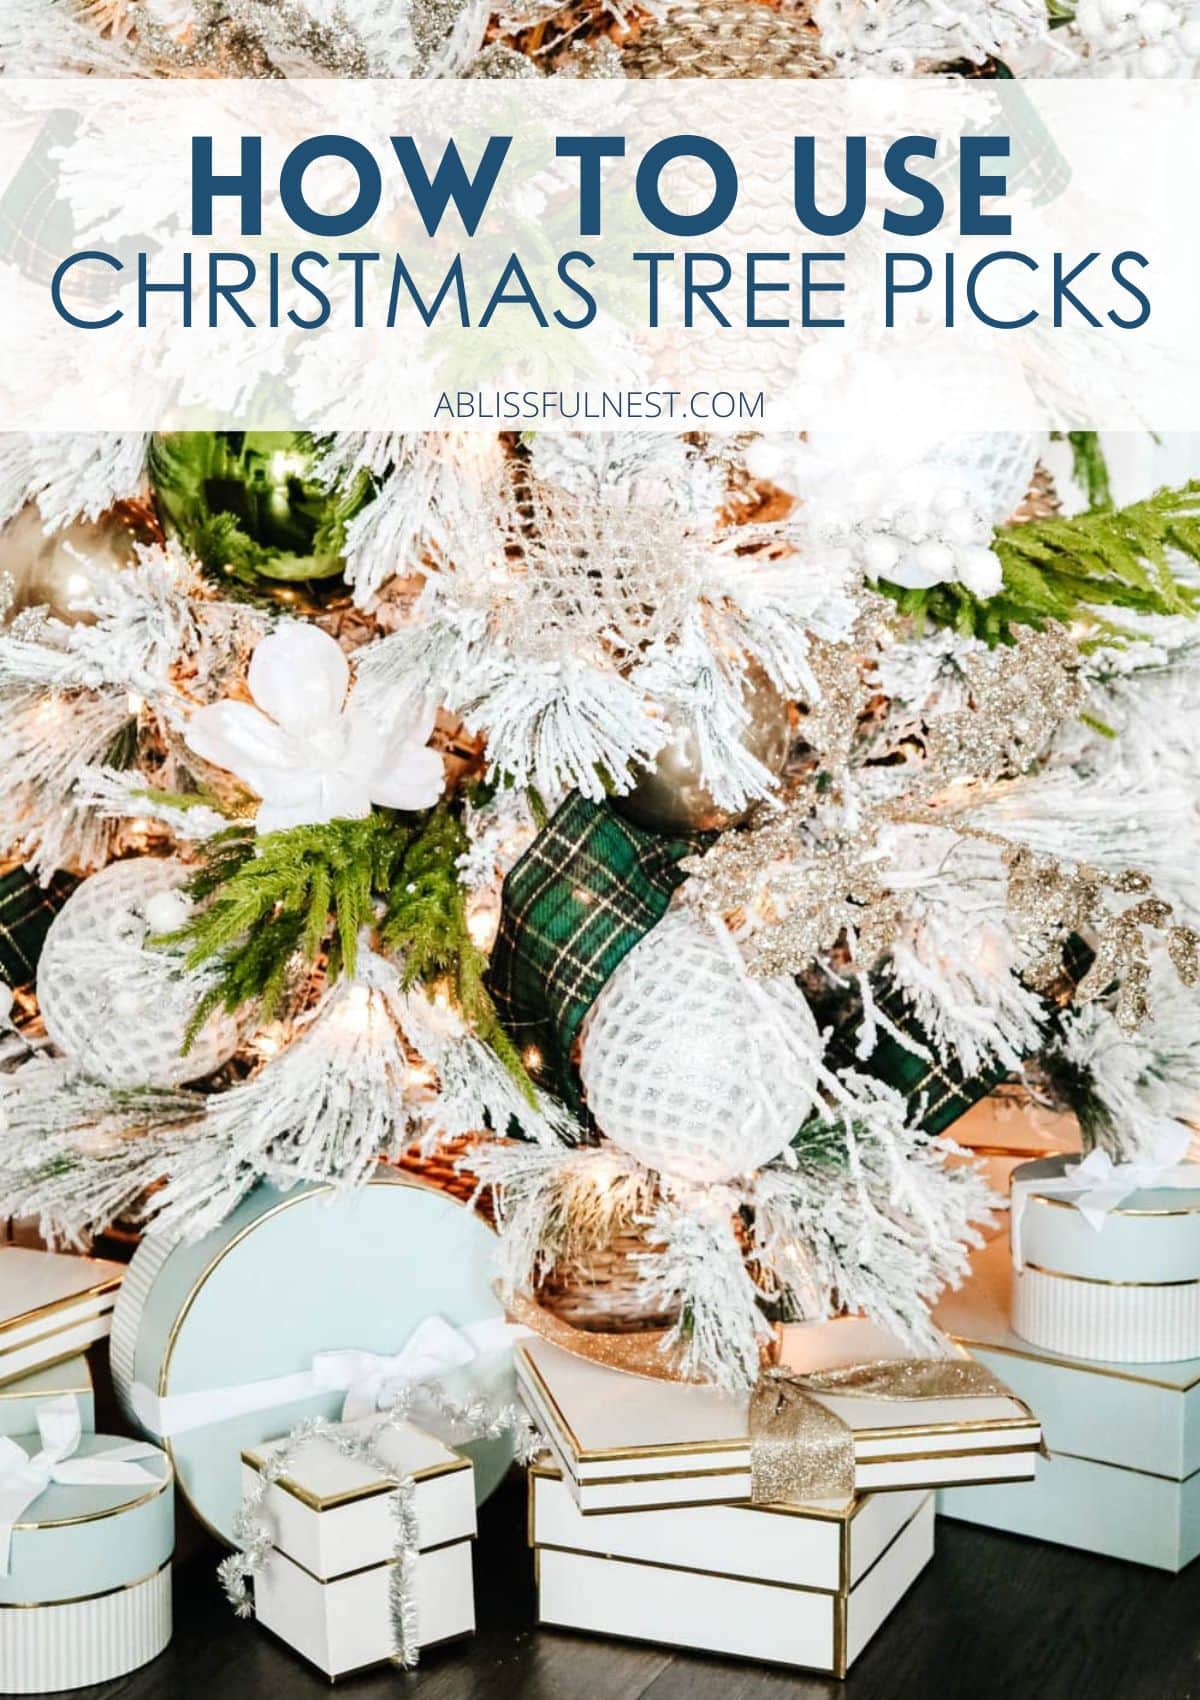
Learning how to use Christmas tree picks can make decorating easier, but without clear direction, it often feels confusing and overwhelming when planning your holiday tree.
Looking at so many Christmas decorating ideas online can be discouraging because some designs require expensive supplies or skills that everyday tree decorators may not have.
It gets frustrating when Christmas tree decorations feel flat or plain, especially when you want an eye-catching tree design with more depth and character.
Some people overfill their tree with ornaments and ribbon, forgetting how tree picks add color and texture without taking up too much space.
Mixing reds and greens with silver and gold can be difficult without guidance, leaving the tree looking mismatched instead of balanced and festive.
Tree decorators often struggle to style tree designs that add height while keeping everything secure, especially near the very top of the tree.
Choosing between different types of picks feels overwhelming when you are not sure which ones blend with your Christmas tree theme or overall decor.
This post may contain affiliate links. As an Amazon Associate and a participant in other affiliate programs, I earn a commission on qualifying purchases at no additional cost to you.
Without proper placement, tree picks may lean or fall, making the tree feel unfinished instead of polished with a strong centerpiece and balanced base.
That’s why I’m excited to share some practical Christmas tree decorating tips to help you place, layer, and blend picks with ornaments and ribbons.
So, let’s get into it and explore all the creative ways you can use Christmas tree picks and transform your tree into a stunning centerpiece this holiday season!
What Are Christmas Tree Picks
If you’re new to Christmas tree picks, I’ve got some easy-to-follow tips and tricks that will help you master them in no time!
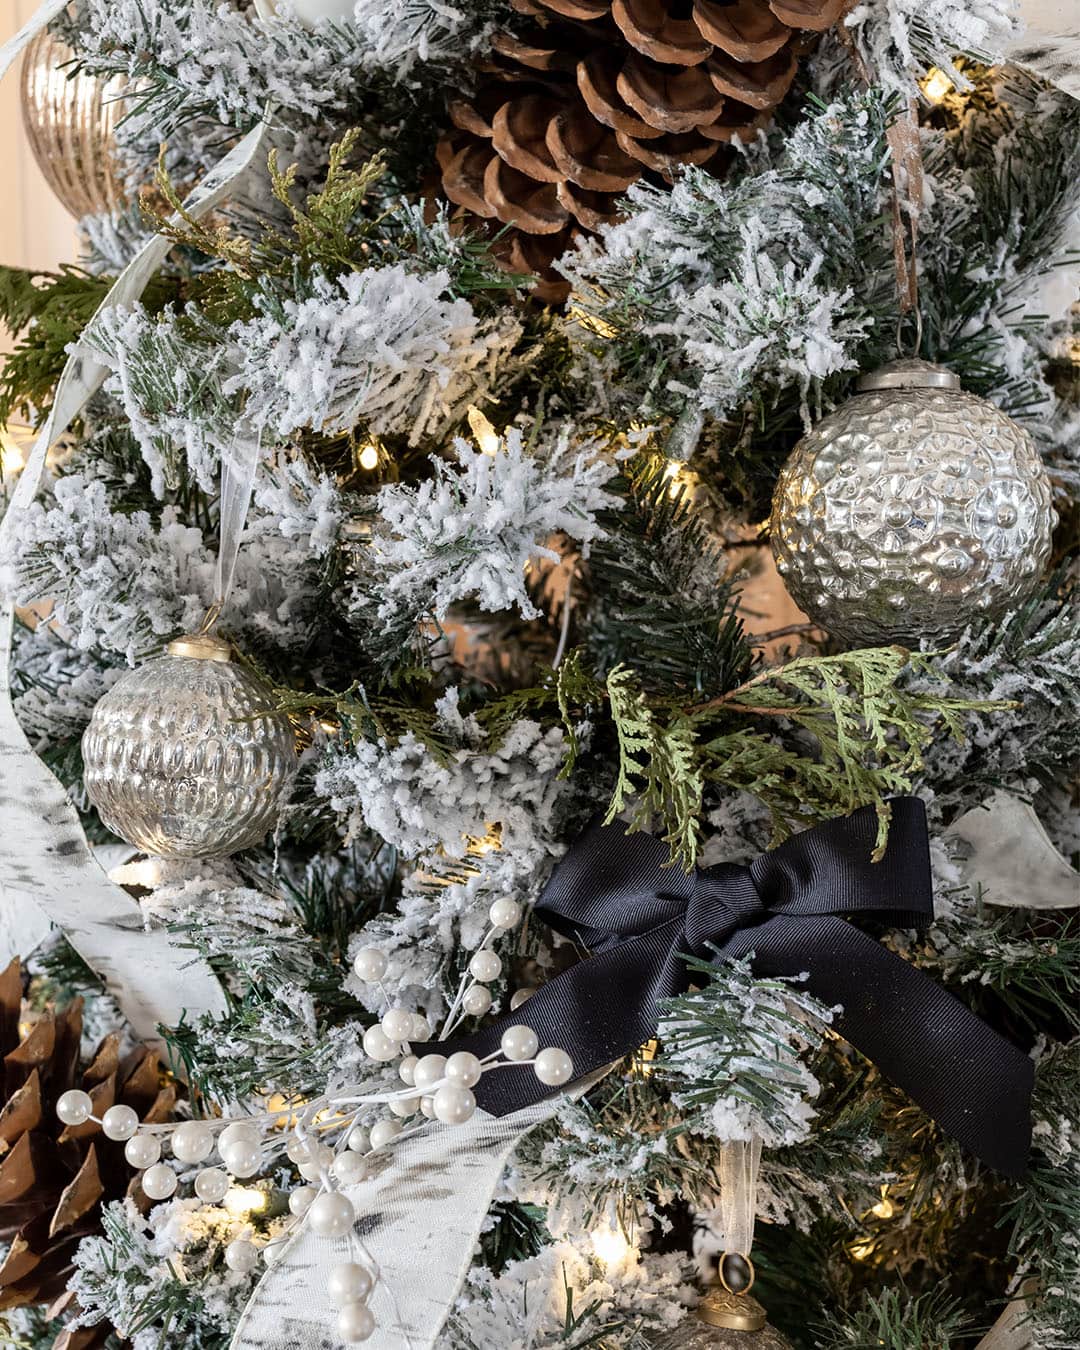
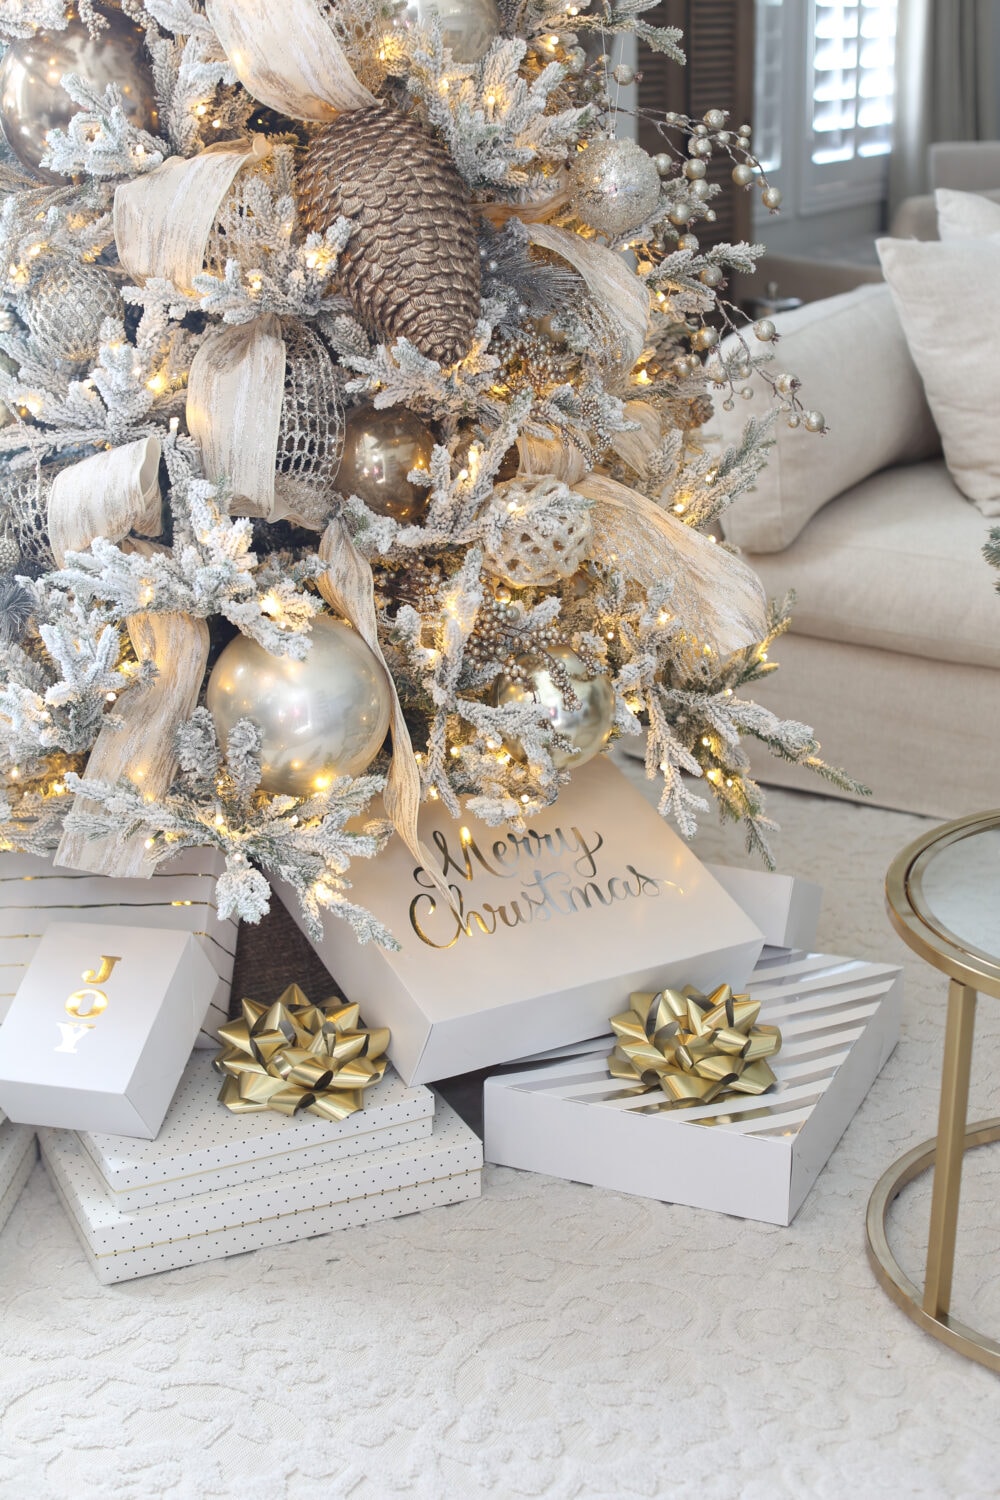
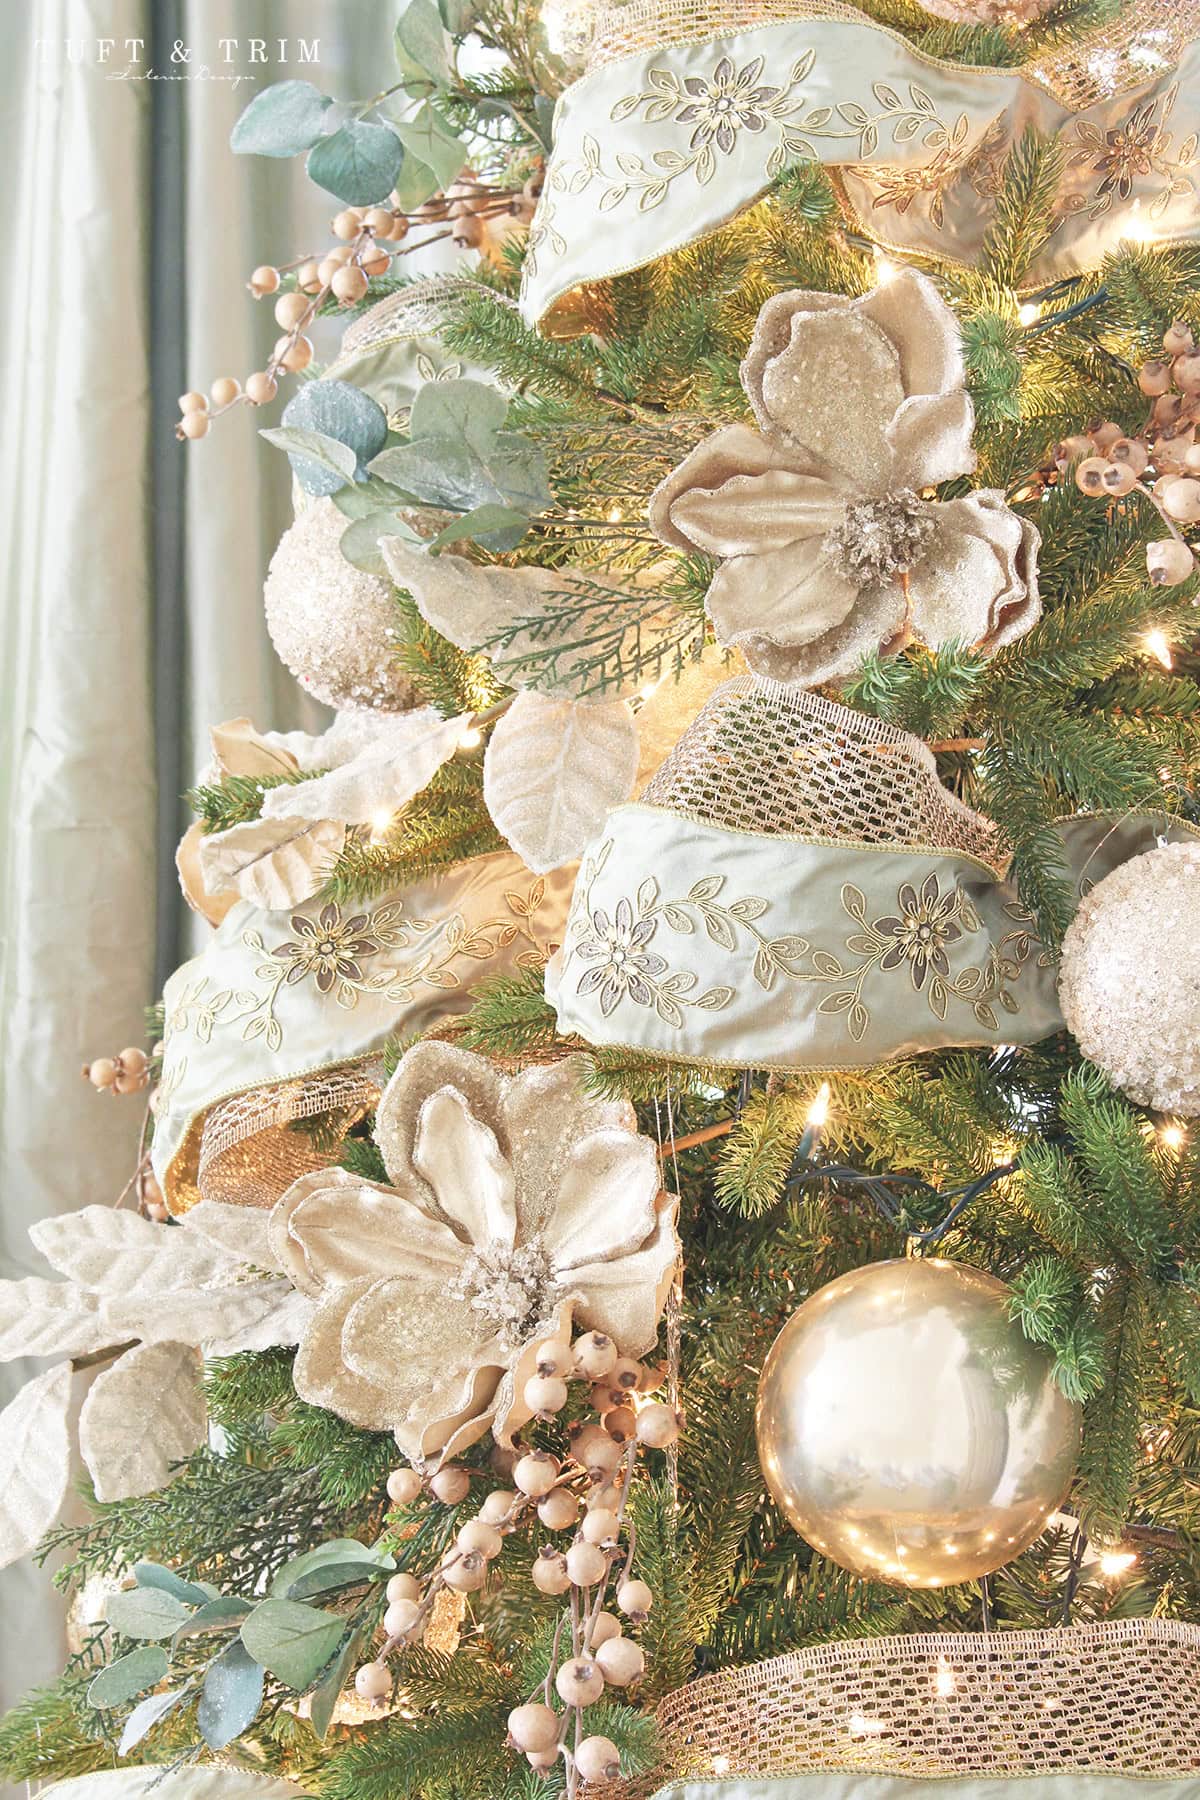
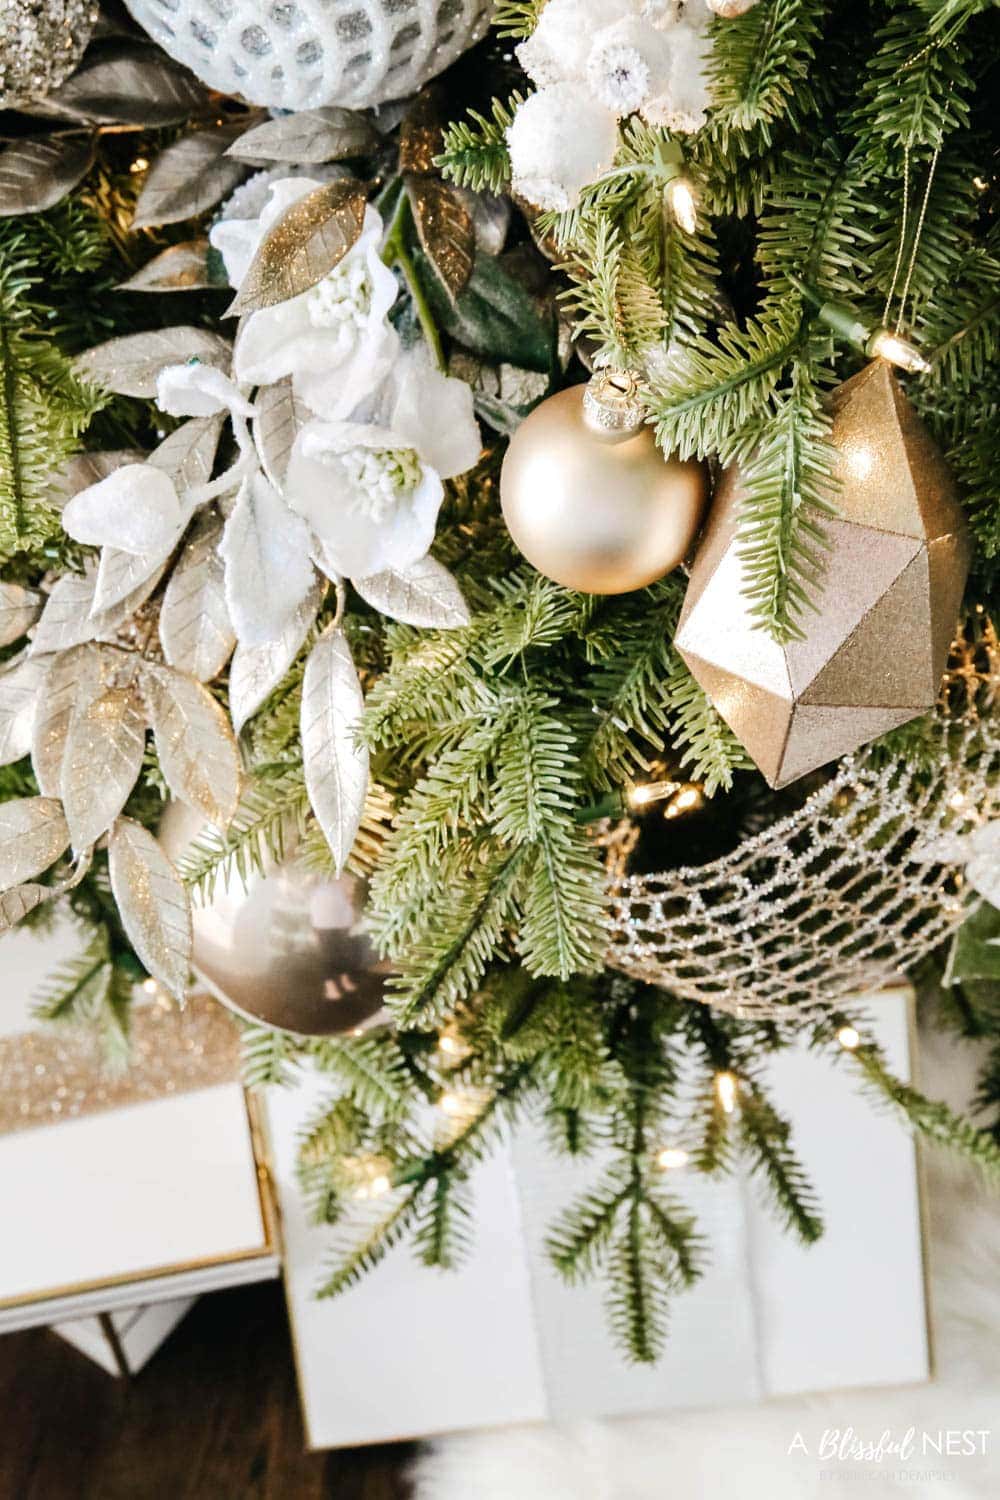
Christmas tree picks are decorative branches or sprays that you insert into the branches of your tree to enhance its fullness and add a burst of visual interest.
They can be anything from simple pine sprays to more detailed designs with berries, glitter, and even faux snow.
What I love most about them is how they instantly fill in any sparse areas of your tree while adding an extra pop of color or texture.
Personally, I find them to be the perfect way to complete a tree that might otherwise feel a little bare or unfinished.
So, if your tree feels too flat, try adding a few picks to give your tree more depth and dimension.
Where To Find The Best Christmas Tree Picks
Shopping for Christmas tree picks can feel overwhelming, but it’s all about knowing the right places to look.
You can find high-quality picks in various places, from local craft stores to online retailers.
Whether you’re looking for affordable Christmas decor or something more luxurious, I’ve rounded up my favorite stores to shop.
Best Christmas Tree Picks To Use
If you’re not sure where to start with Christmas tree picks, I’ve got a few recommendations that have worked great for me.
These picks not only add beautiful detail to your Christmas tree themes but are durable enough to be used year after year.
Tap Photos To Shop
Would you like to save this post?

How Many Picks Do You Need For A Christmas Tree
The number of picks you need depends on your tree’s size and how full you want it to look.
A general rule is to use about one pick per foot of tree height, so if you have a 7-foot tree, aim for around 7-10 picks.
However, if you want a more dramatic, fuller look, you can easily double that number.
For example, I often use up to 20 picks on my 7-foot tree for a lush and layered effect.
Make sure to distribute the picks evenly across the tree to avoid any empty spots or overcrowding.
Start with the larger, eye-catching picks first, then fill in the gaps with smaller ones to add variety and depth.
And remember, it’s always a good idea to step back and assess your work from different angles to ensure everything looks balanced and cohesive!
How To Use Christmas Tree Picks
Using Christmas tree picks is a simple way to add dimension, color, and texture to your tree. Follow these easy steps to create a beautiful, well-balanced tree.
1. Start with a theme
Before you begin, pick a theme for your tree, such as classic red and green, rustic, or glamorous. This will help guide your choice of picks and make your tree look more cohesive. Sticking to a theme ensures your tree has a balanced and put-together look.
2. Insert larger picks first
Start by placing the larger, more eye-catching picks in the lower and middle sections of the tree. This helps create a fuller foundation and fills in the bigger gaps. Using larger picks first sets the tone and gives your tree a solid base to build on.
3. Layer smaller picks
Next, add smaller picks towards the top of the tree and in any empty spaces between branches. This adds detail and variety, making the tree look more complete. The smaller picks will fill in gaps and give your tree a more layered, finished look.
4. Fluff and shape picks
Take time to bend and fluff each pick so it blends naturally with the tree’s branches. Adjusting the picks helps them look less stiff and more like a natural part of the tree. Fluffing the picks makes the tree feel fuller and more polished.
5. Step back and adjust
Regularly step back from the tree to see how it looks from a distance. This gives you a better view of how balanced everything is and allows you to move picks if needed. Adjusting as you go ensures the tree looks well-arranged and evenly decorated.
Frequently Asked Questions
Christmas tree picks are decorative stems with flowers, berries, glitter, or greenery that slide into branches to enhance Christmas tree decorations. They fill gaps, add color and texture, and create an eye-catching design that feels polished without needing extra ornaments or complicated arrangements.
Tree picks extend beyond branches, which adds height and creates depth, making the tree appear larger and fuller without adding bulky decorations. They also provide color and texture variety, giving your tree designs more balance while drawing the eye toward the top of the tree.
Common types of picks include glittered branches, poinsettias, frosted berries, pine sprigs, and metallic accents in silver and gold. Each option works differently depending on your Christmas tree theme, letting you style tree designs with seasonal character and personality.
Choose picks that highlight your chosen color scheme, whether reds and greens for a traditional look or silver and gold for elegance. Balance placement by spreading them evenly throughout branches, ensuring the picks enhance the Christmas decor without overwhelming your tree topper or ornaments.
Start by inserting larger picks deeper into the branches to fill gaps, then use smaller ones closer to the surface for detail. For balance, place a few near the top of the tree to draw attention upward and complete the design with a finished style.
Using picks is such an easy and affordable way to elevate your Christmas tree design ideas, adding fullness and personality with minimal effort.
And I hope you’ve found these tips on how to use Christmas tree picks helpful as you begin decorating for the holidays!
Whether you’re a fan of classic red and green or you like to mix things up with unexpected Christmas tree decorating ideas, there’s a pick out there for every style.
Remember, the key to success is to experiment, have fun, and let your creativity shine.
Decorating for the holidays should never feel like a chore, so embrace the process and enjoy bringing your vision to life!

