Learn how to make this delicious berry Danish braid recipe with step-by-step photos, tips, and tricks to make them a yummy treat you will make over and over.
When berries are in season I like to come up with as many ways to use them in my food recipes. From simple berry salads to yummy berry-filled treats, this is easily one of my favorite recipes.
Danish braids are a super flaky sweet treat that can be served in the morning for breakfast or even as a delicious treat with afternoon coffee.
It is made from a few simple ingredients and is a lot easier to make than you think.
You can make these in less than 30 minutes and would even be a great treat to take to with you for a get together.
This post may contain affiliate links. As an Amazon Associate and a participant in other affiliate programs, I earn a commission on qualifying purchases at no additional cost to you.
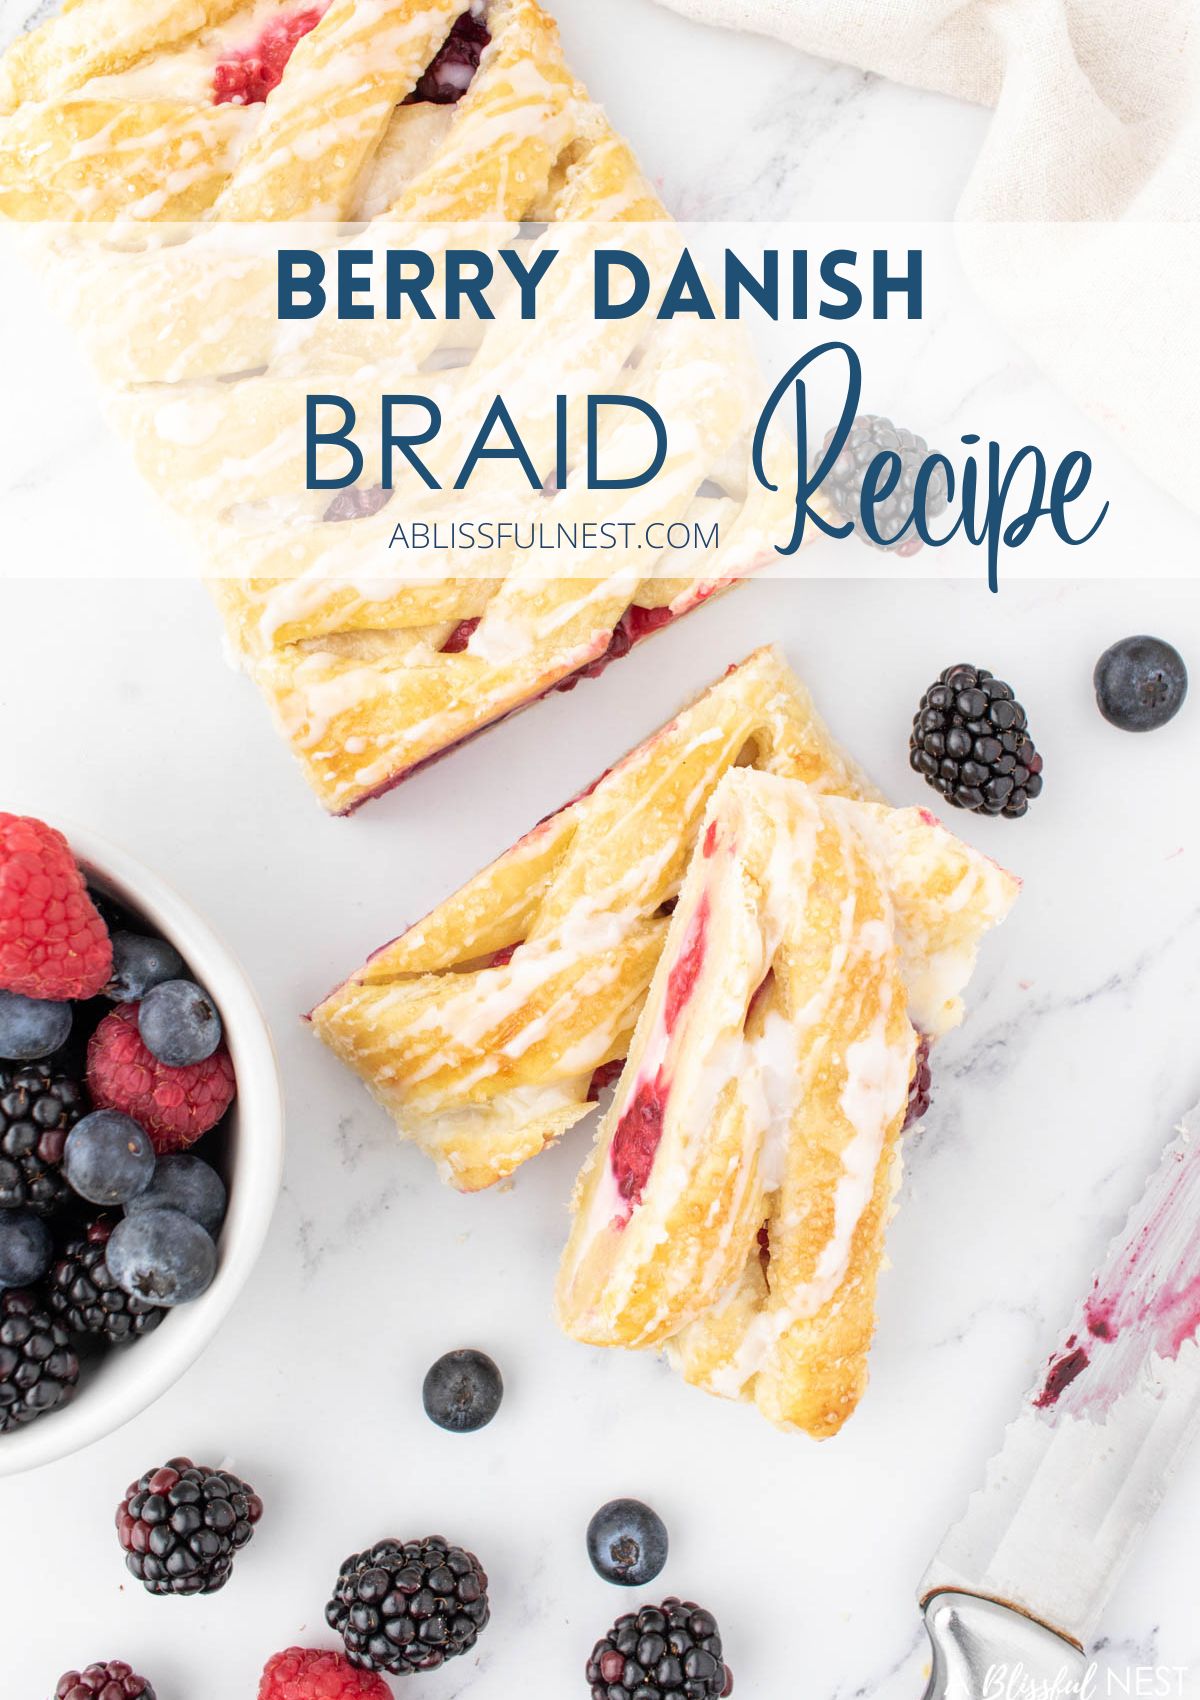
Berries are so easy to back with and make desserts tart, sweet, and gooey.
Typically berries are best in the summer months but not impossible to get year-round which means you can make this Danish braid just about any time.
So grab the ingredients below and dive into this delicious yummy treat!
Why You’ll Love These Berry Danish Braids
- Easy to make!
- Have a sweet and sour taste that is so delicious together.
- The flakey crust is to die for!
- Simple ingredients.
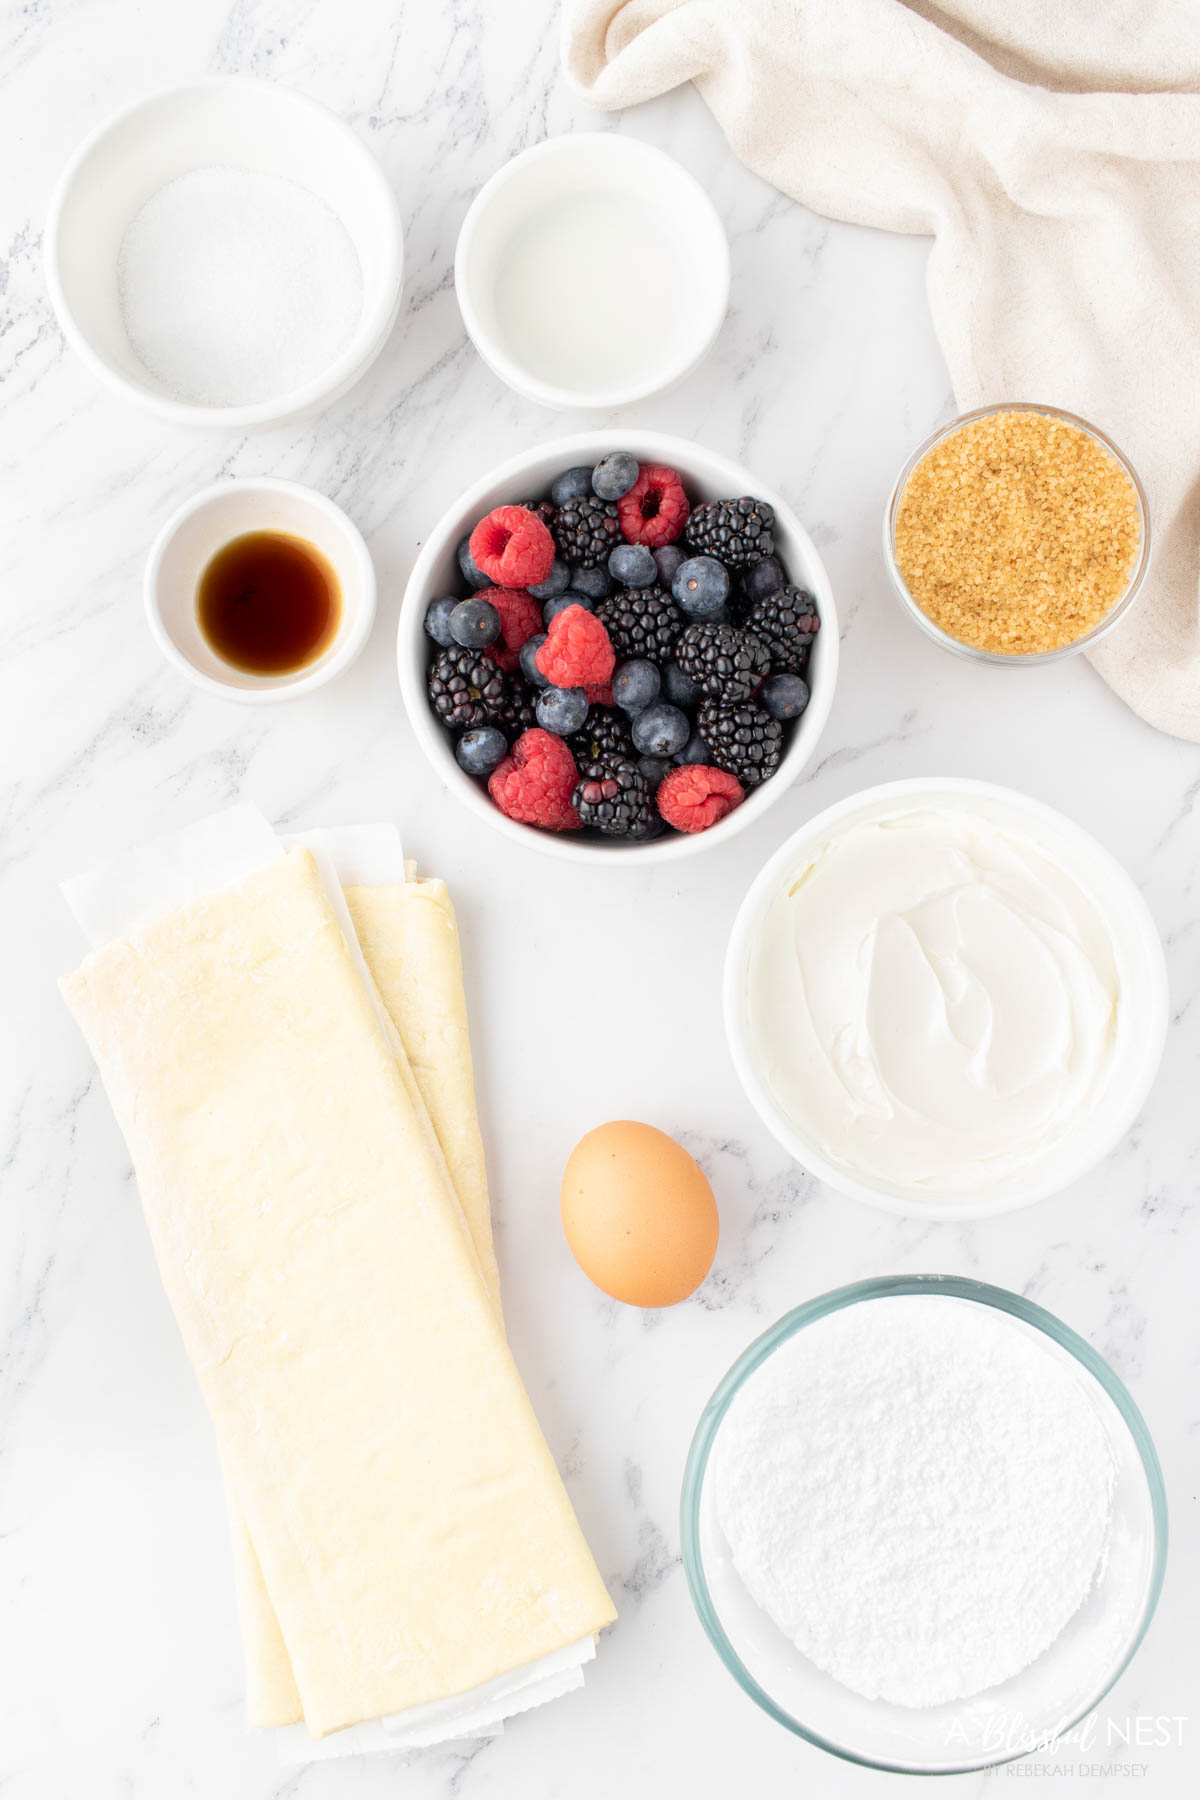
You need to make sure you have the following ingredients for the danishes and for the glaze before you start.
Many of them you may have on hand already but I am also sharing my favorite brands in case you want to know what I use and stock in my pantry.
Ingredients
For The Pastry
- 8 oz cream cheese, room temperature
- 3 tbsp granulated sugar
- 1 tsp vanilla extract
- 2 sheets puff pastry, thawed
- 1 cup berries of choice (blackberries, raspberries, blueberries)
- 1 egg
- Turbinado sugar for topping
For The Glaze
- 1 cup powdered sugar
- 2 tbsp milk
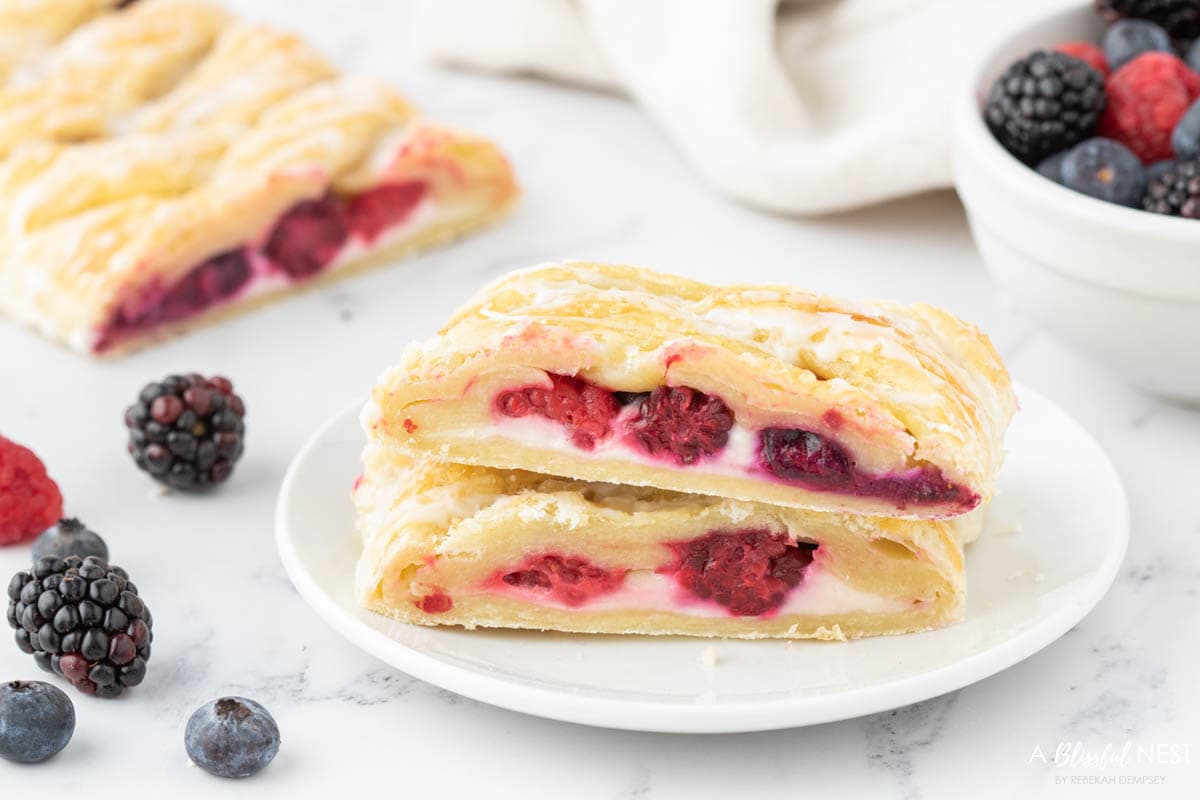
Berry Danish Braid Recipe
For The Pastry
1. Preheat the oven to 400° F.
2. Prepare a baking sheet with parchment paper.
Would you like to save this post?
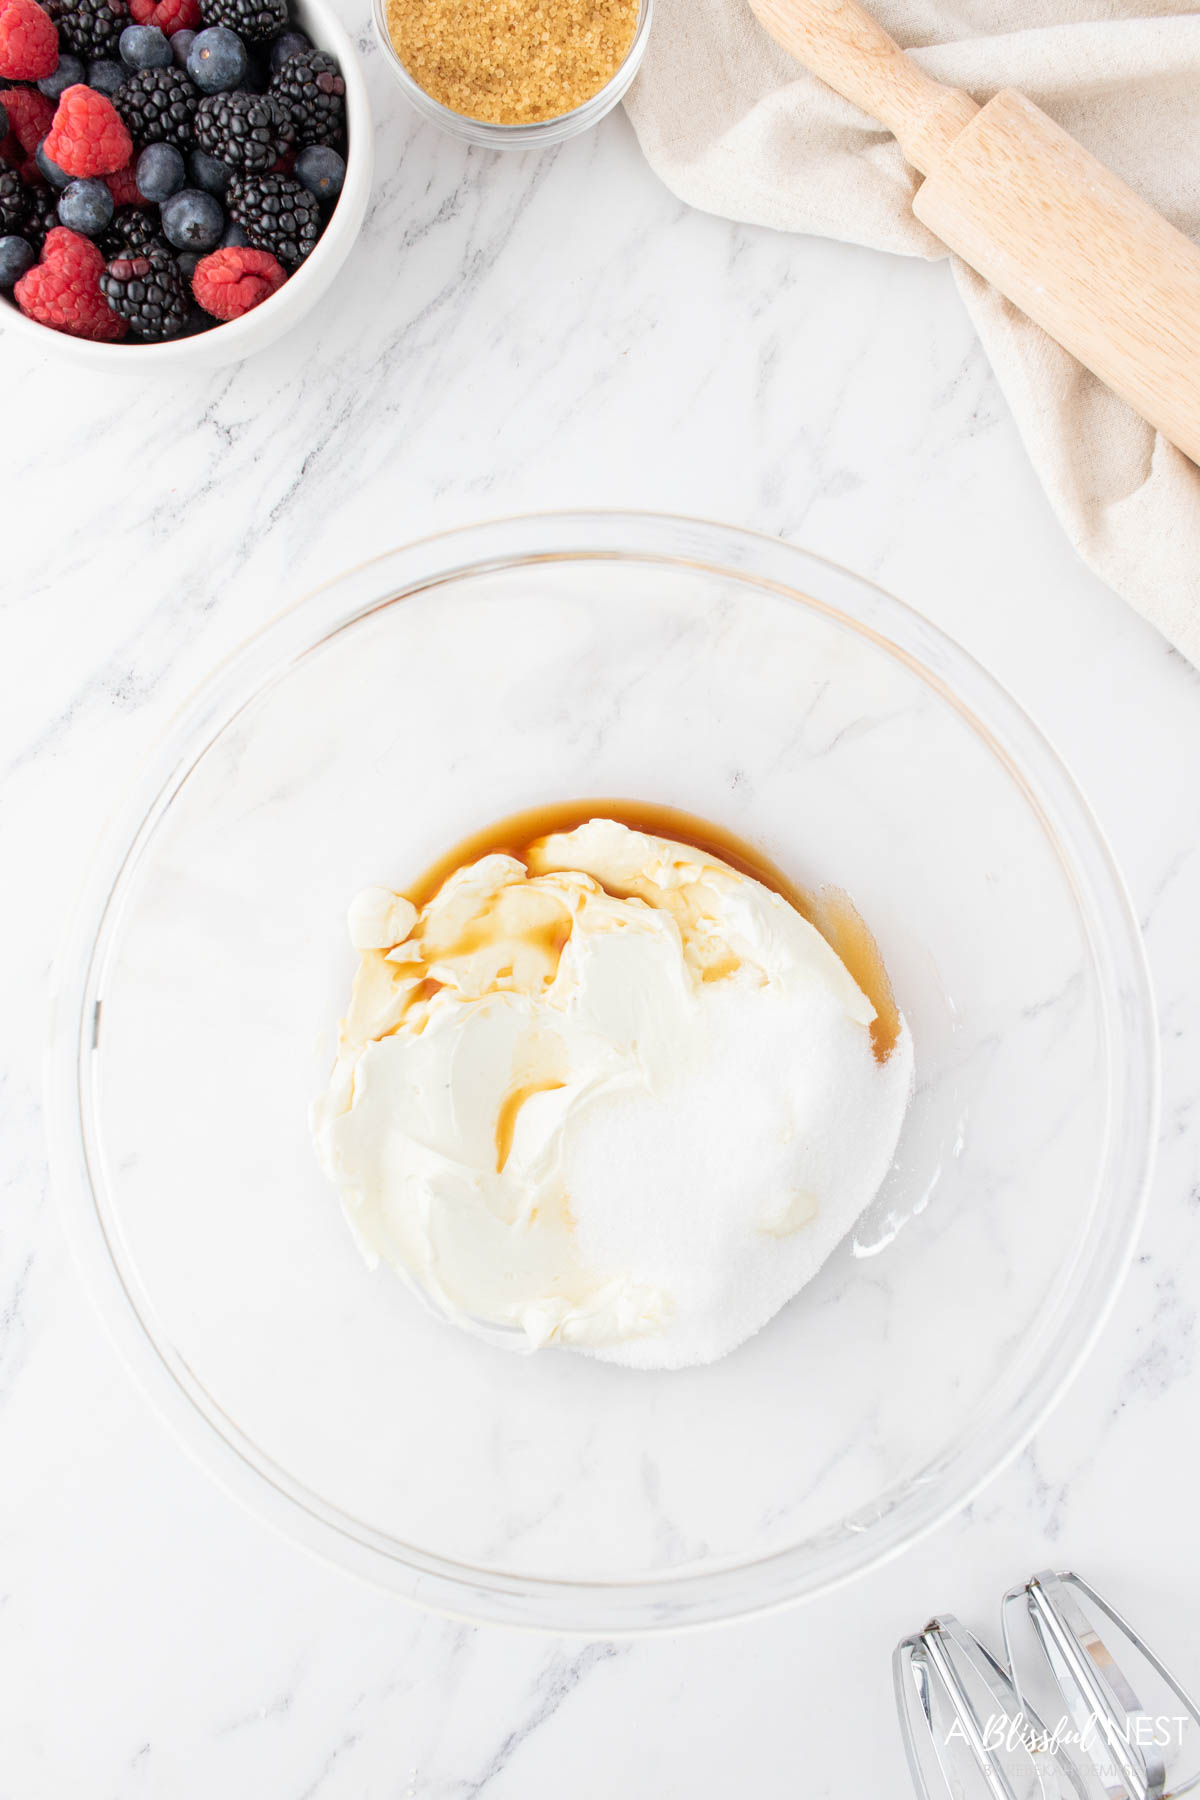
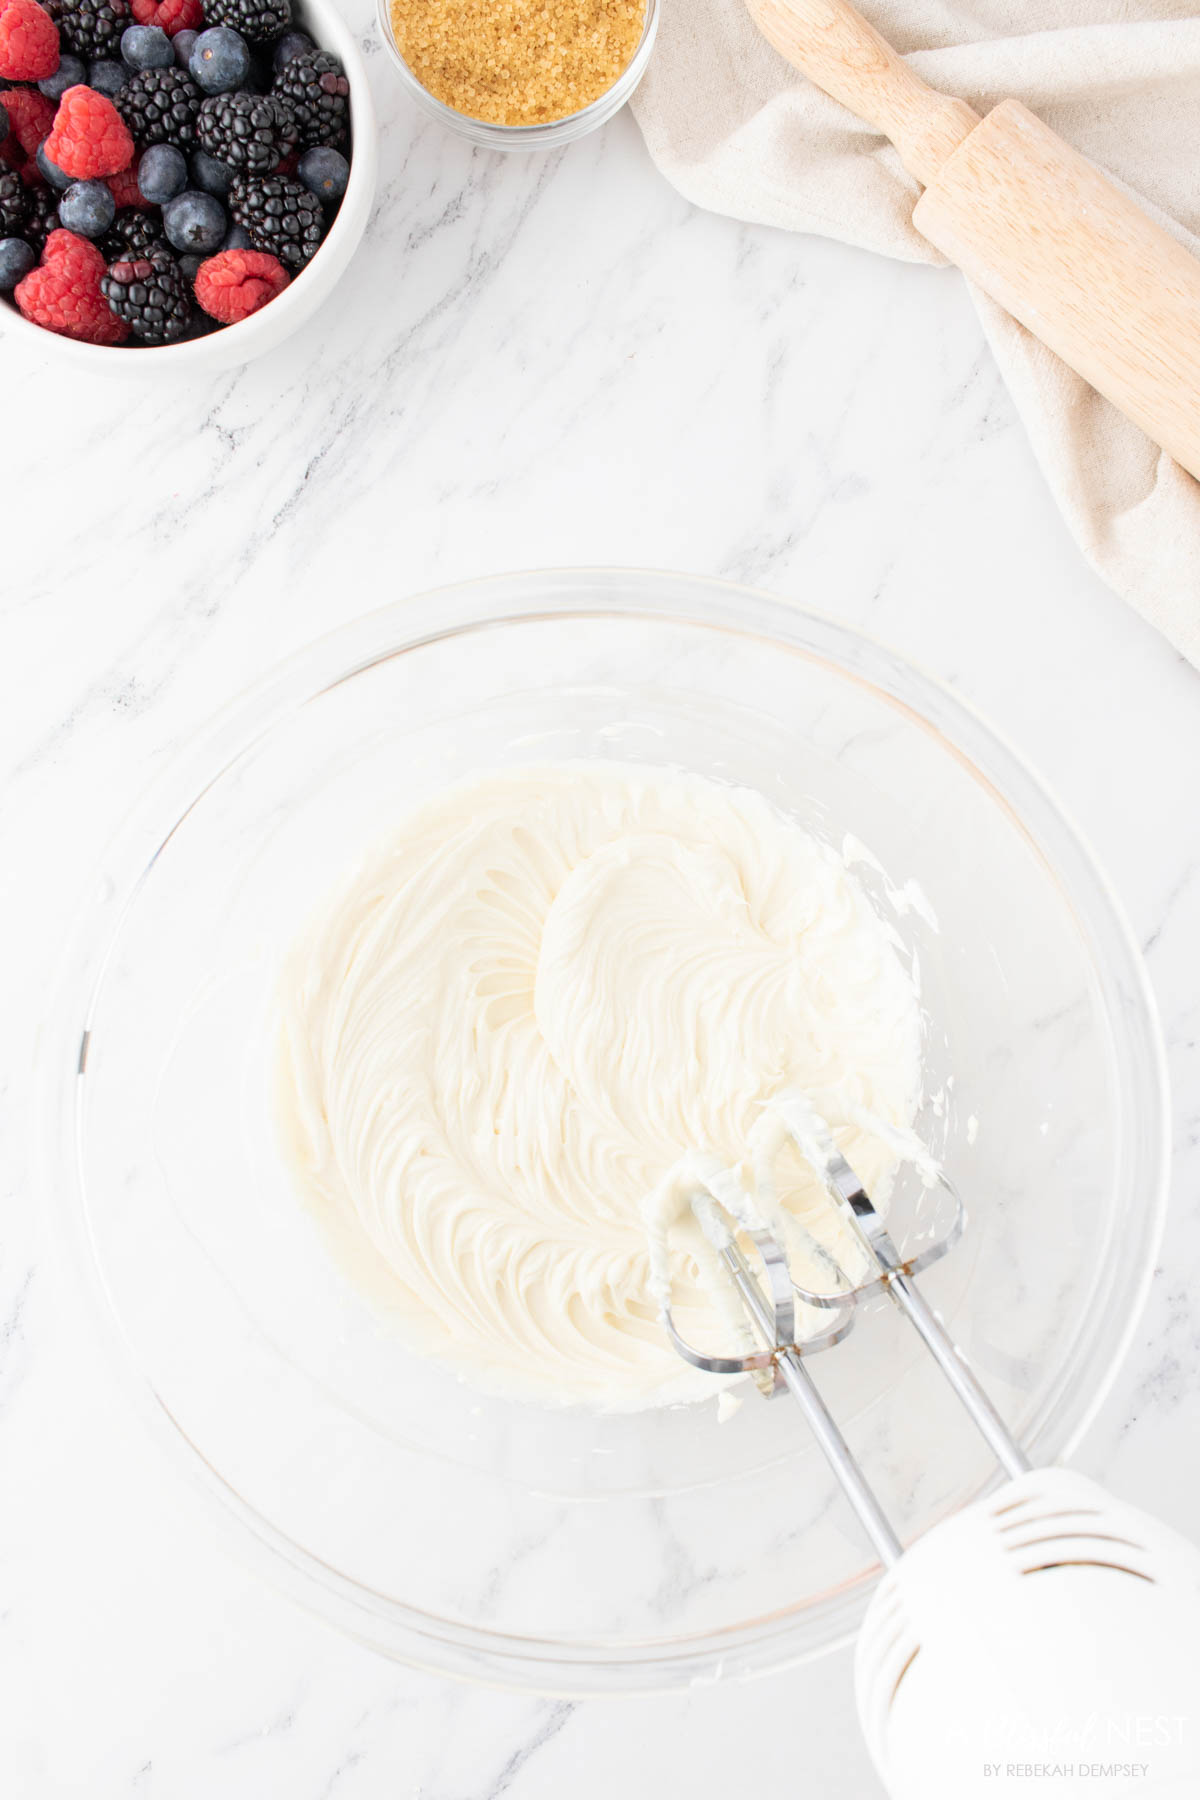
3. In a large mixing bowl with a hand mixer, beat together the cream cheese, sugar, and vanilla extract until smooth. Set aside.
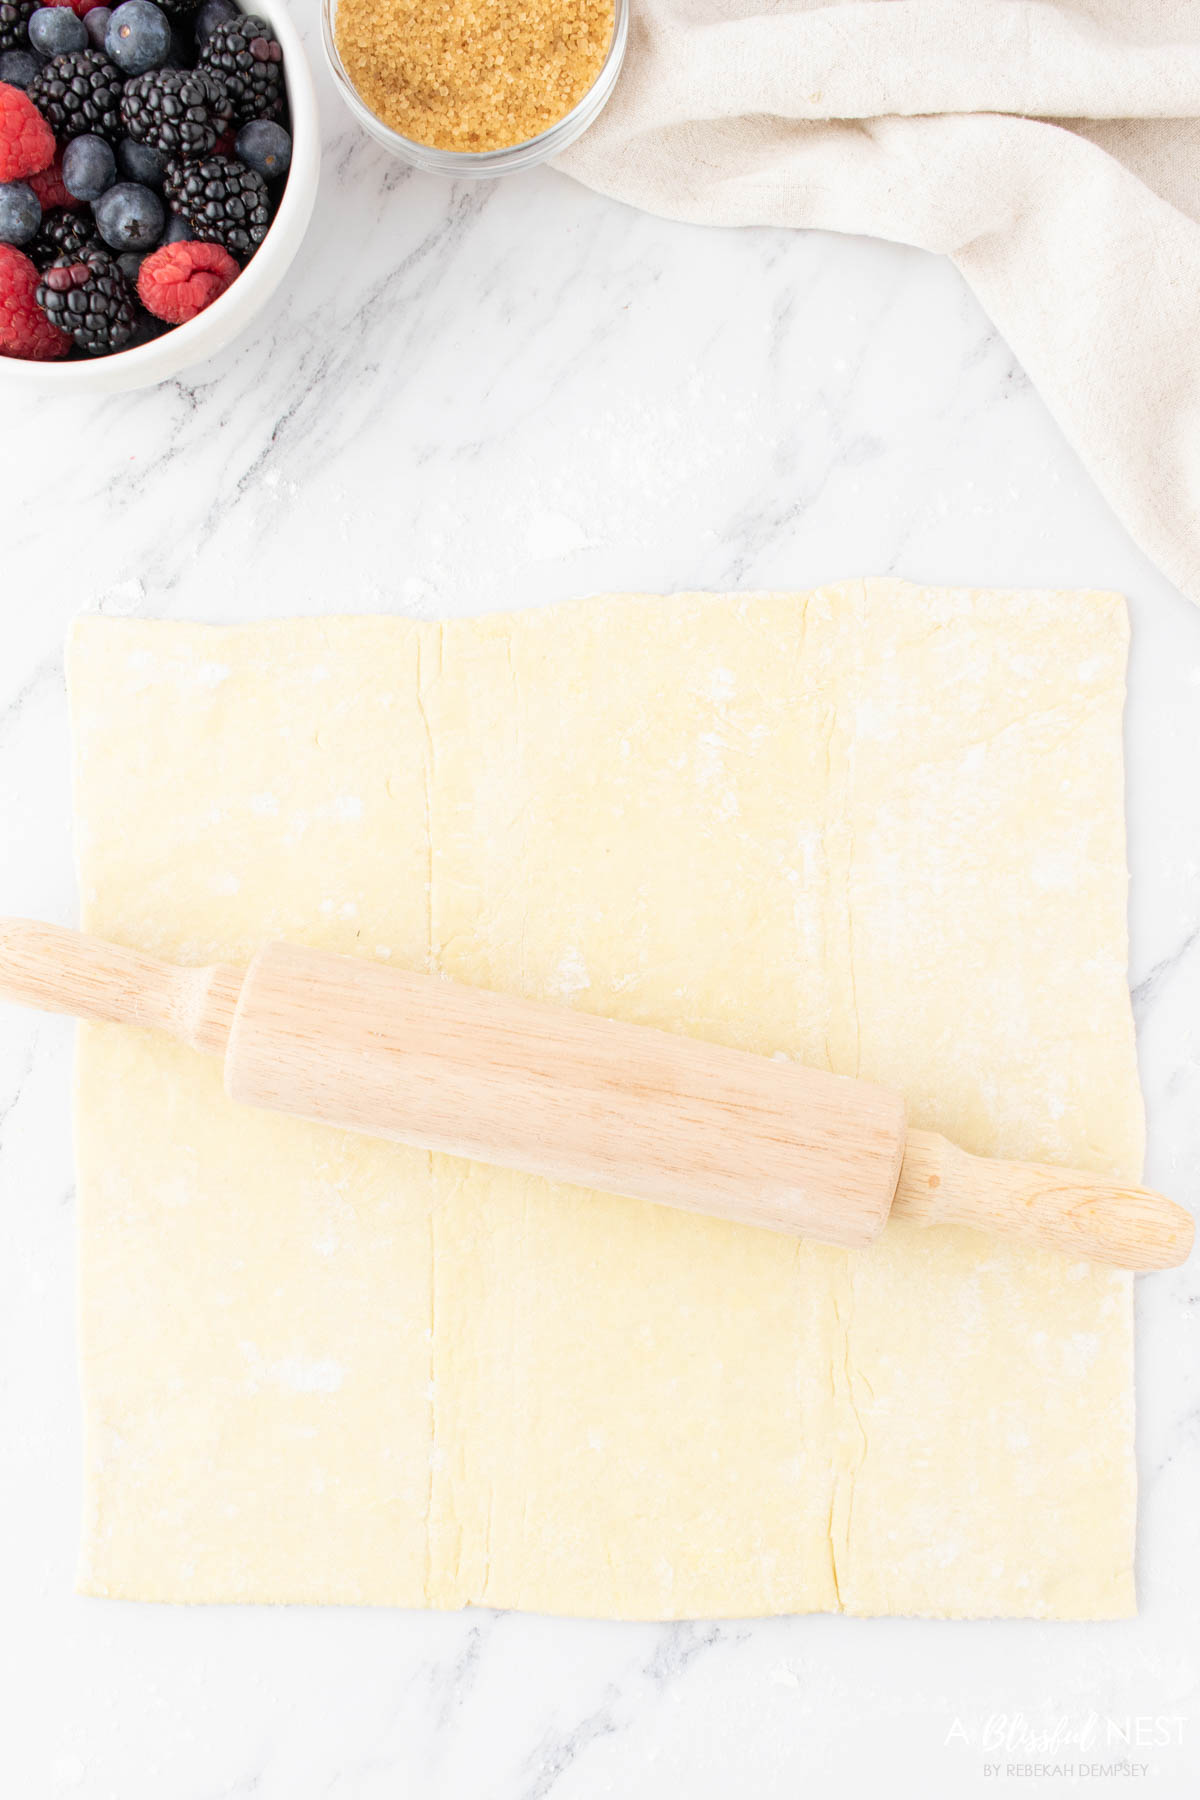
4. Unfold the puff pastry onto a lightly floured surface. Use a rolling pin to smooth out the sheets.
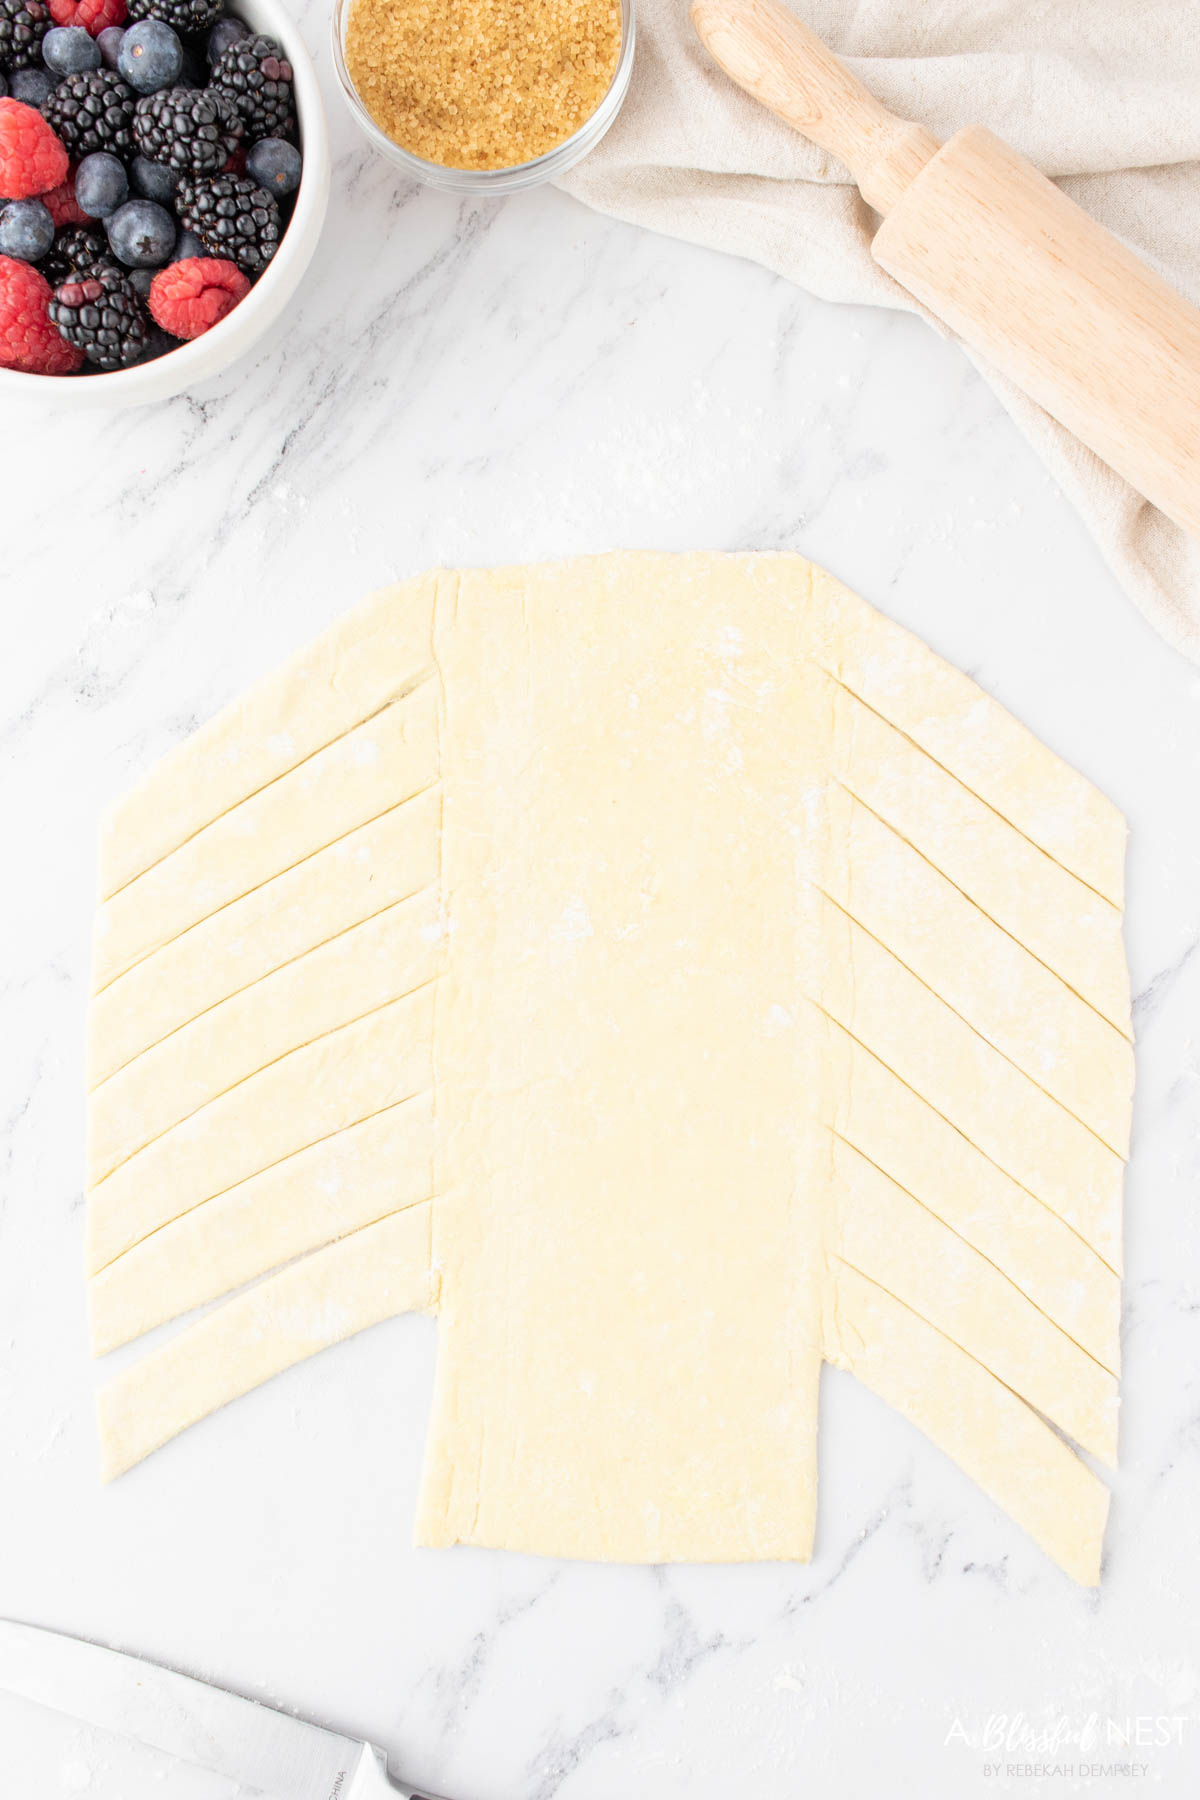
5. Use a knife to cut off the top 2 corners of each sheet. Cut 7-10 (1-inch wide) slanted strips on both sides of each pastry sheet. Cut off the 2 remaining strips at the bottom of each sheet.
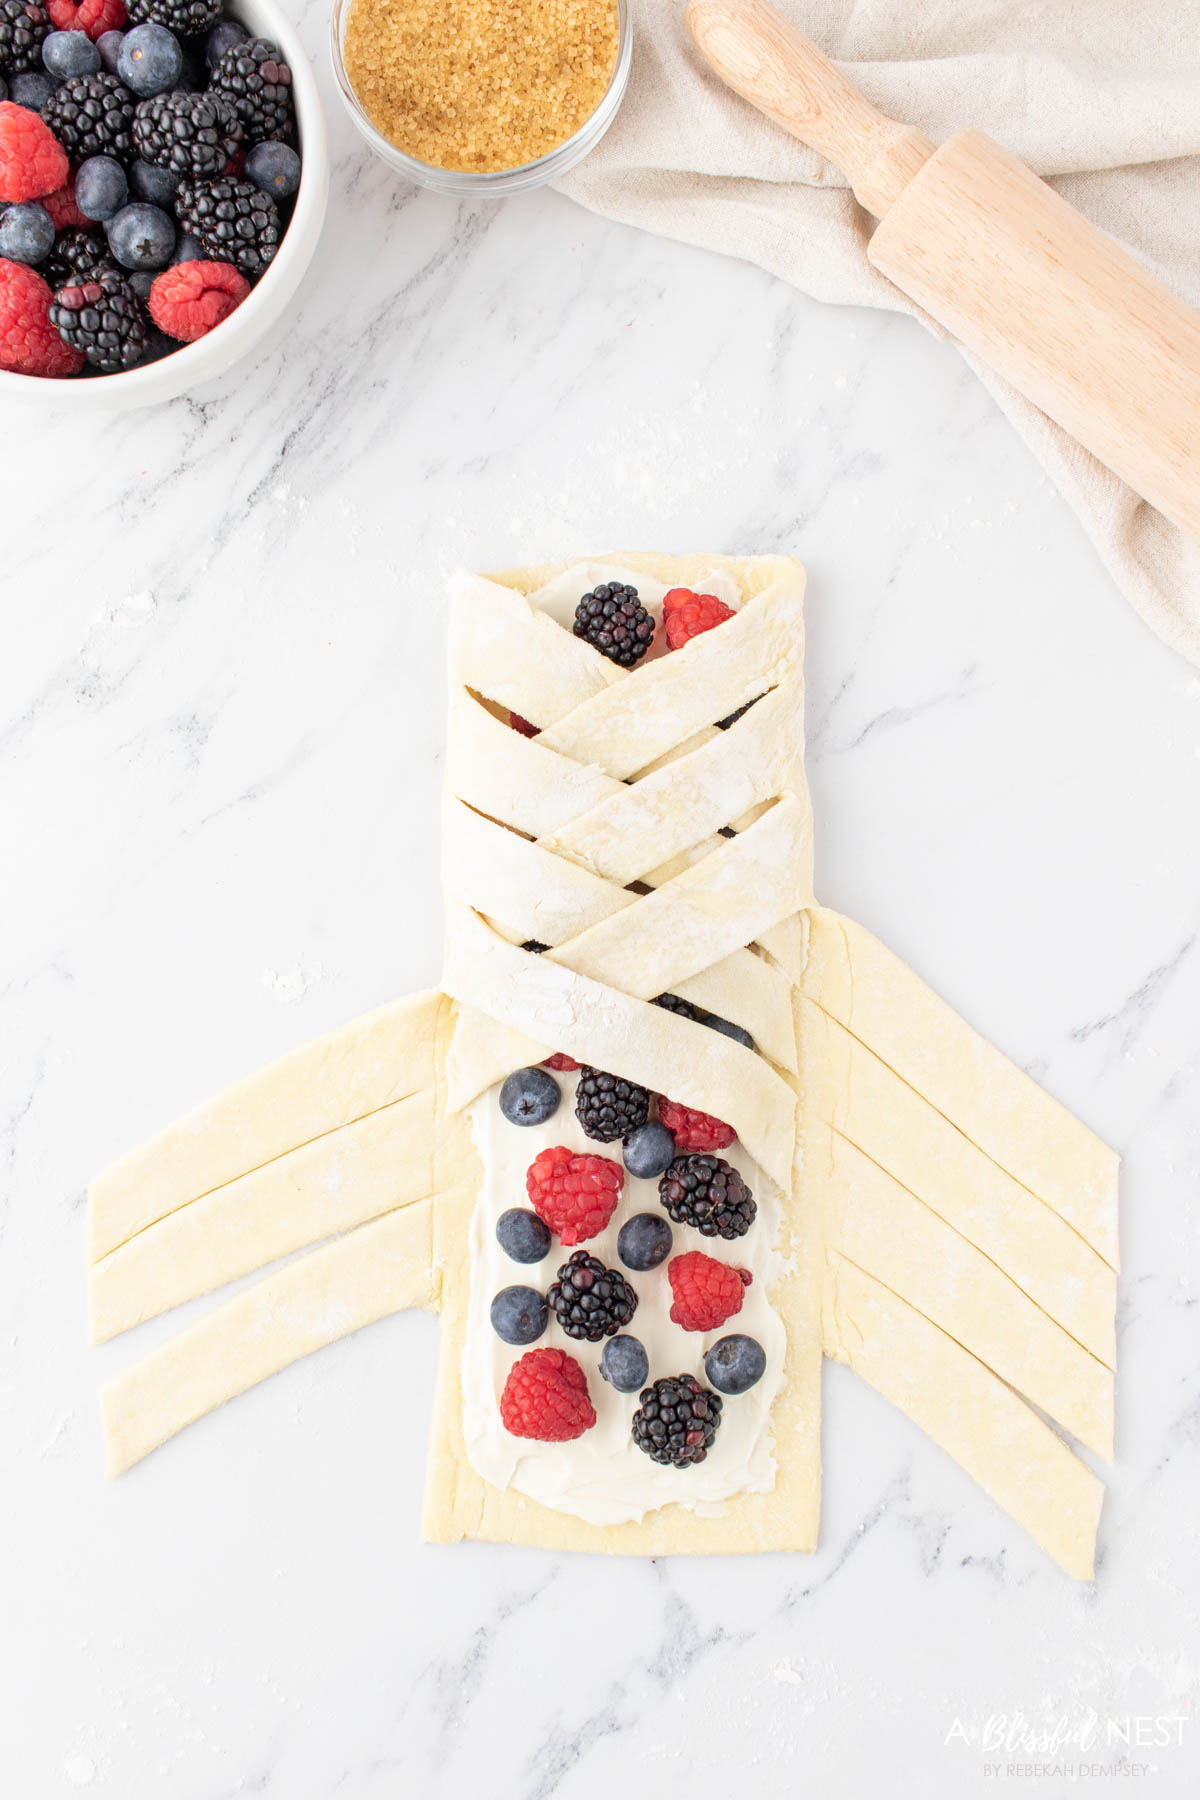
6. Divide the filling and spread it down the center of each pastry. Top with your fresh berries.
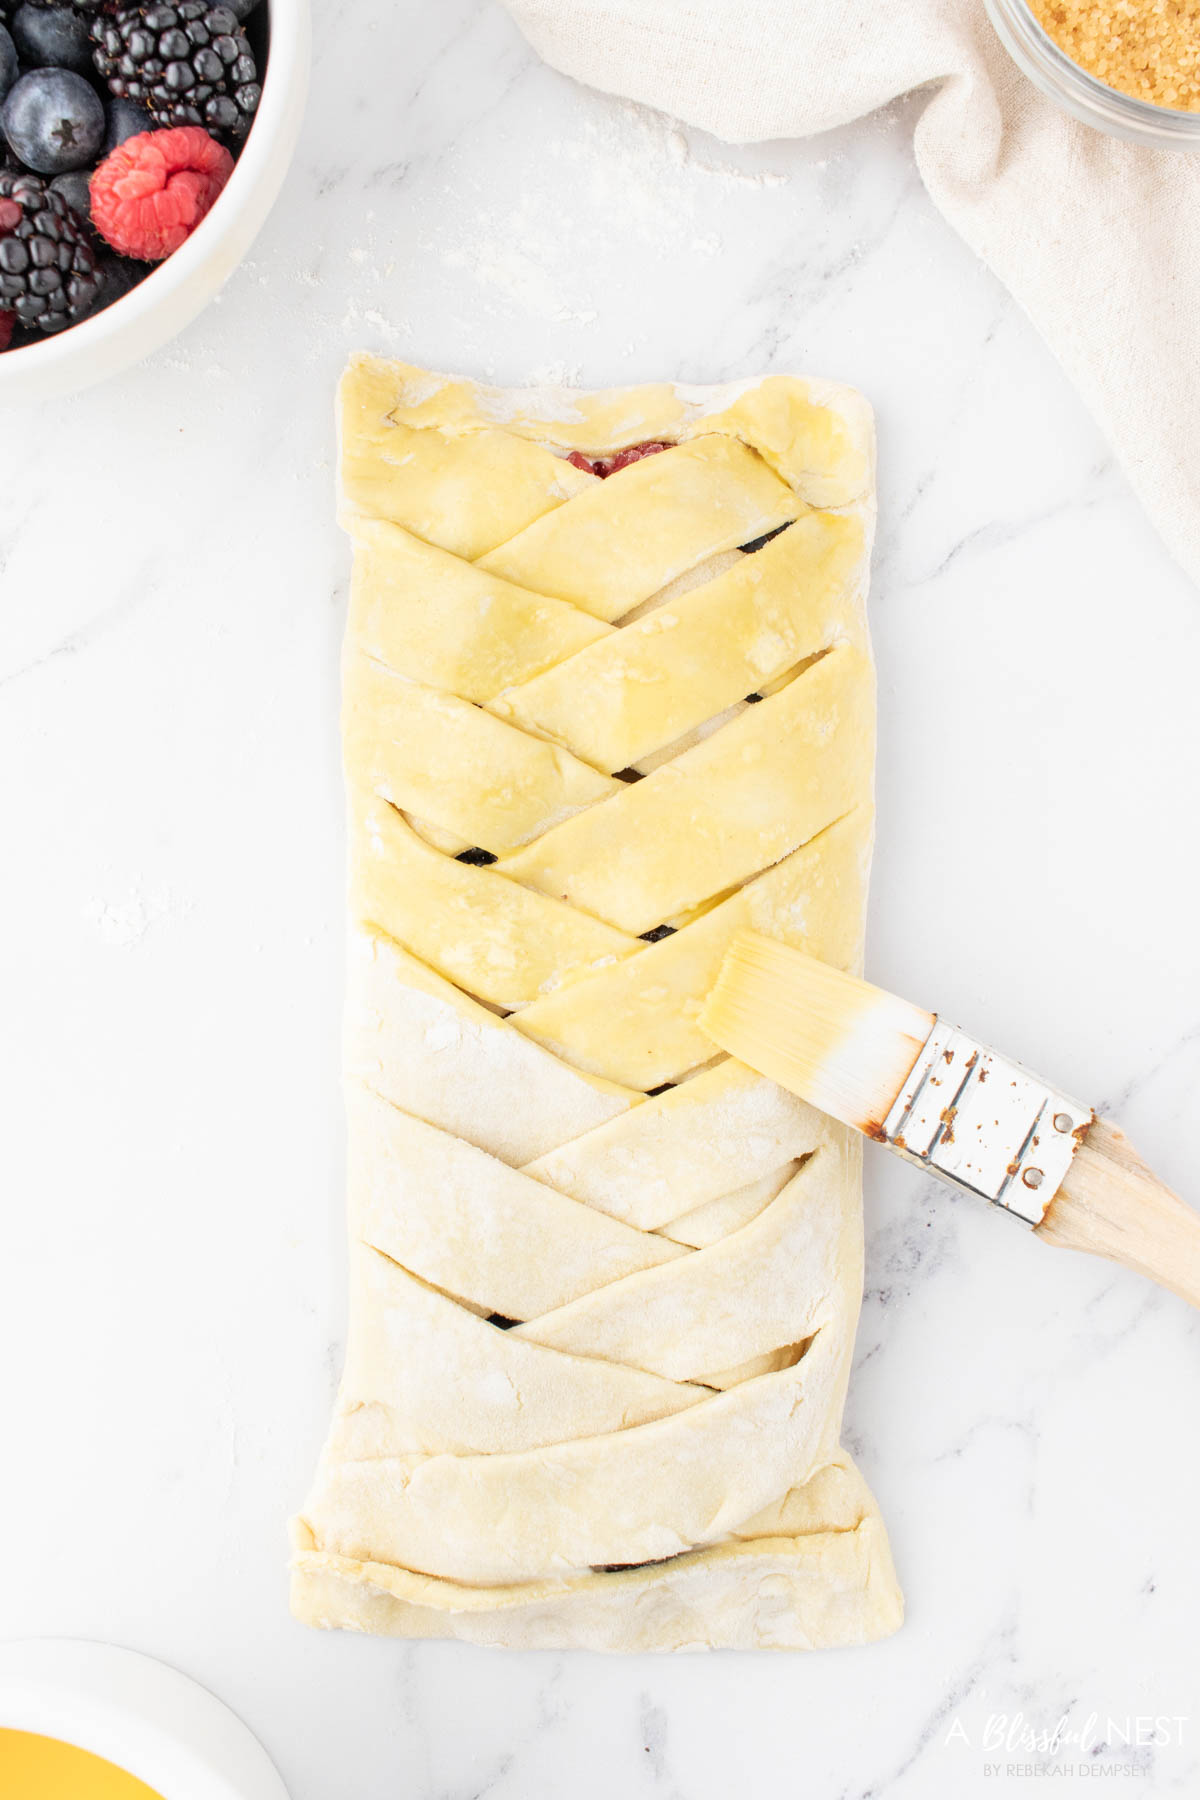
7. Fold the strips over the filling, alternating sides with each strip to create a braid. Fold in the bottom end, and gently press to seal the filling inside.

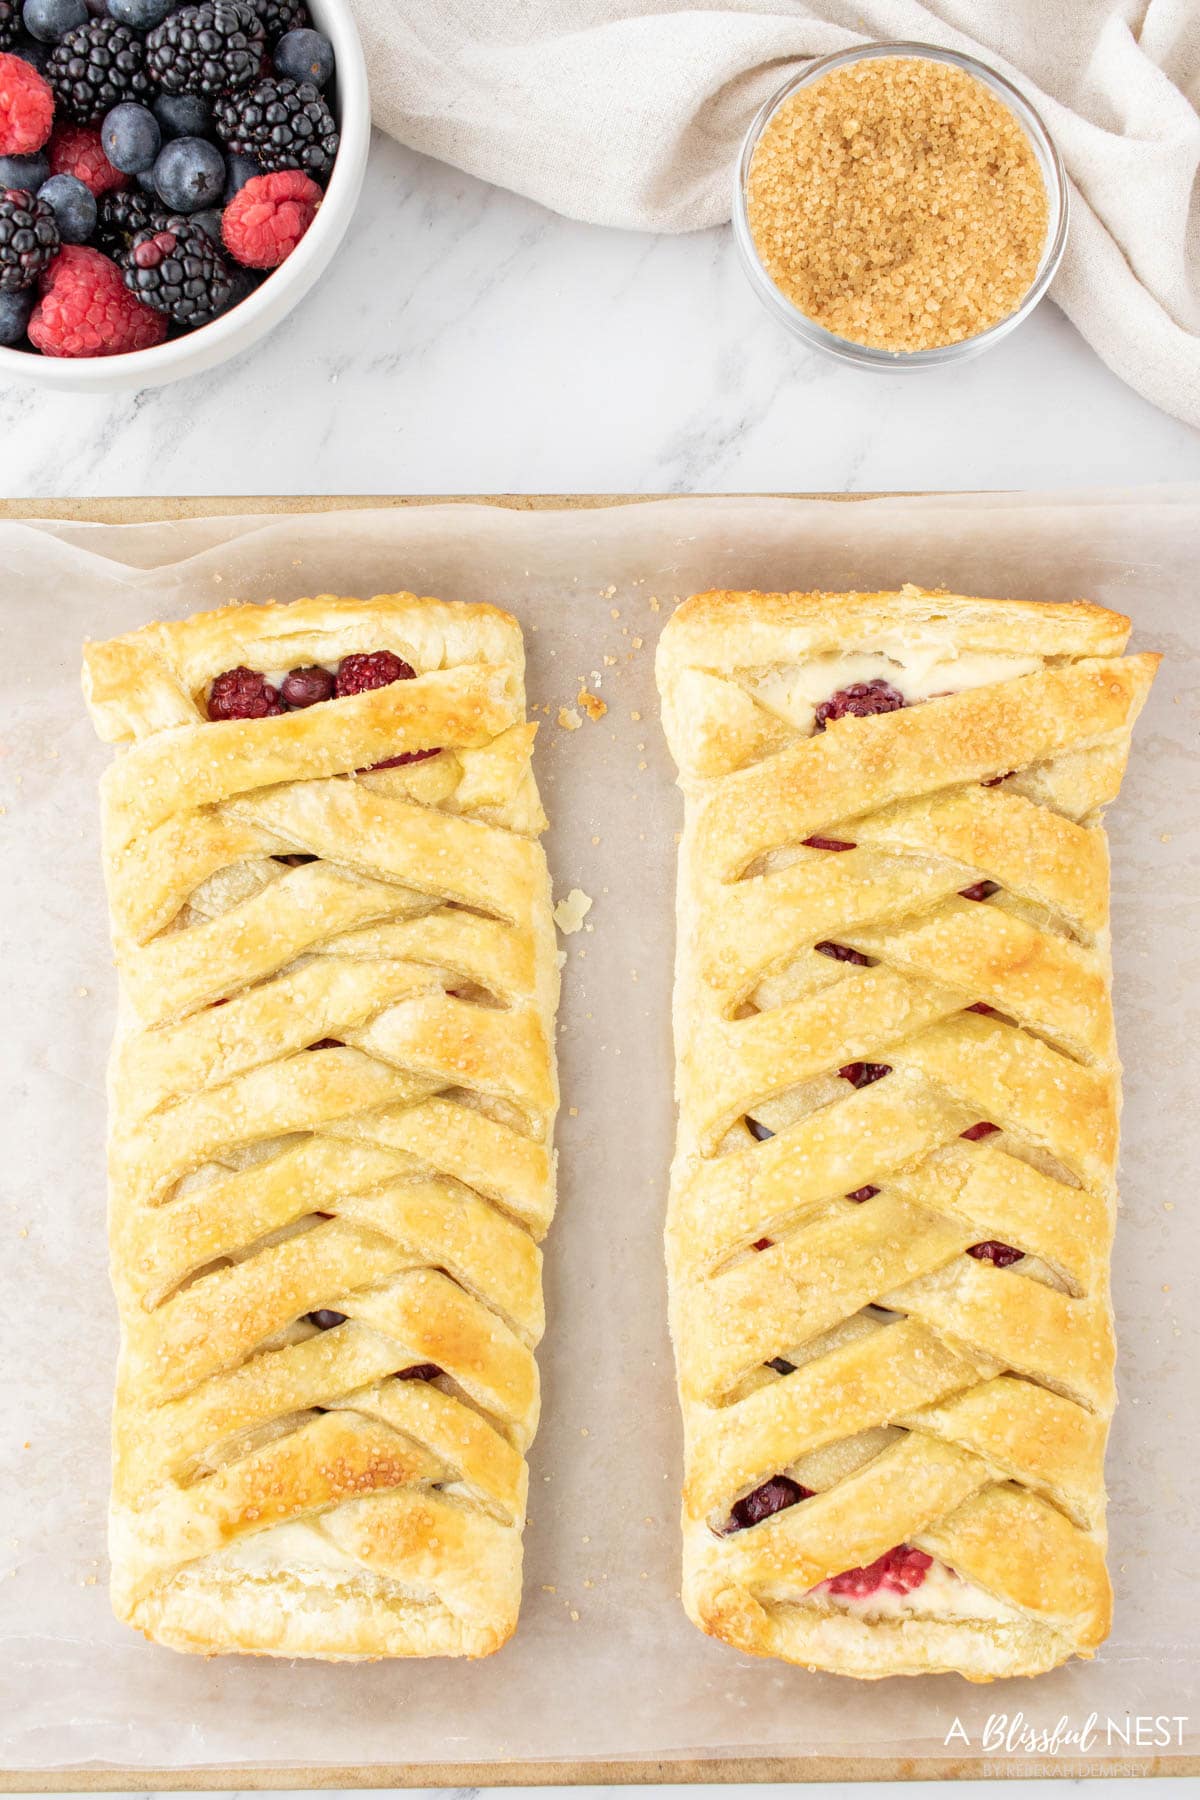
8. Transfer the pastries to a large baking sheet. Brush a beaten egg over each pastry, and sprinkle with turbinado sugar.
9. Bake for 16-20 minutes or until golden. Allow the pastries to cool while making the glaze.
For The Glaze
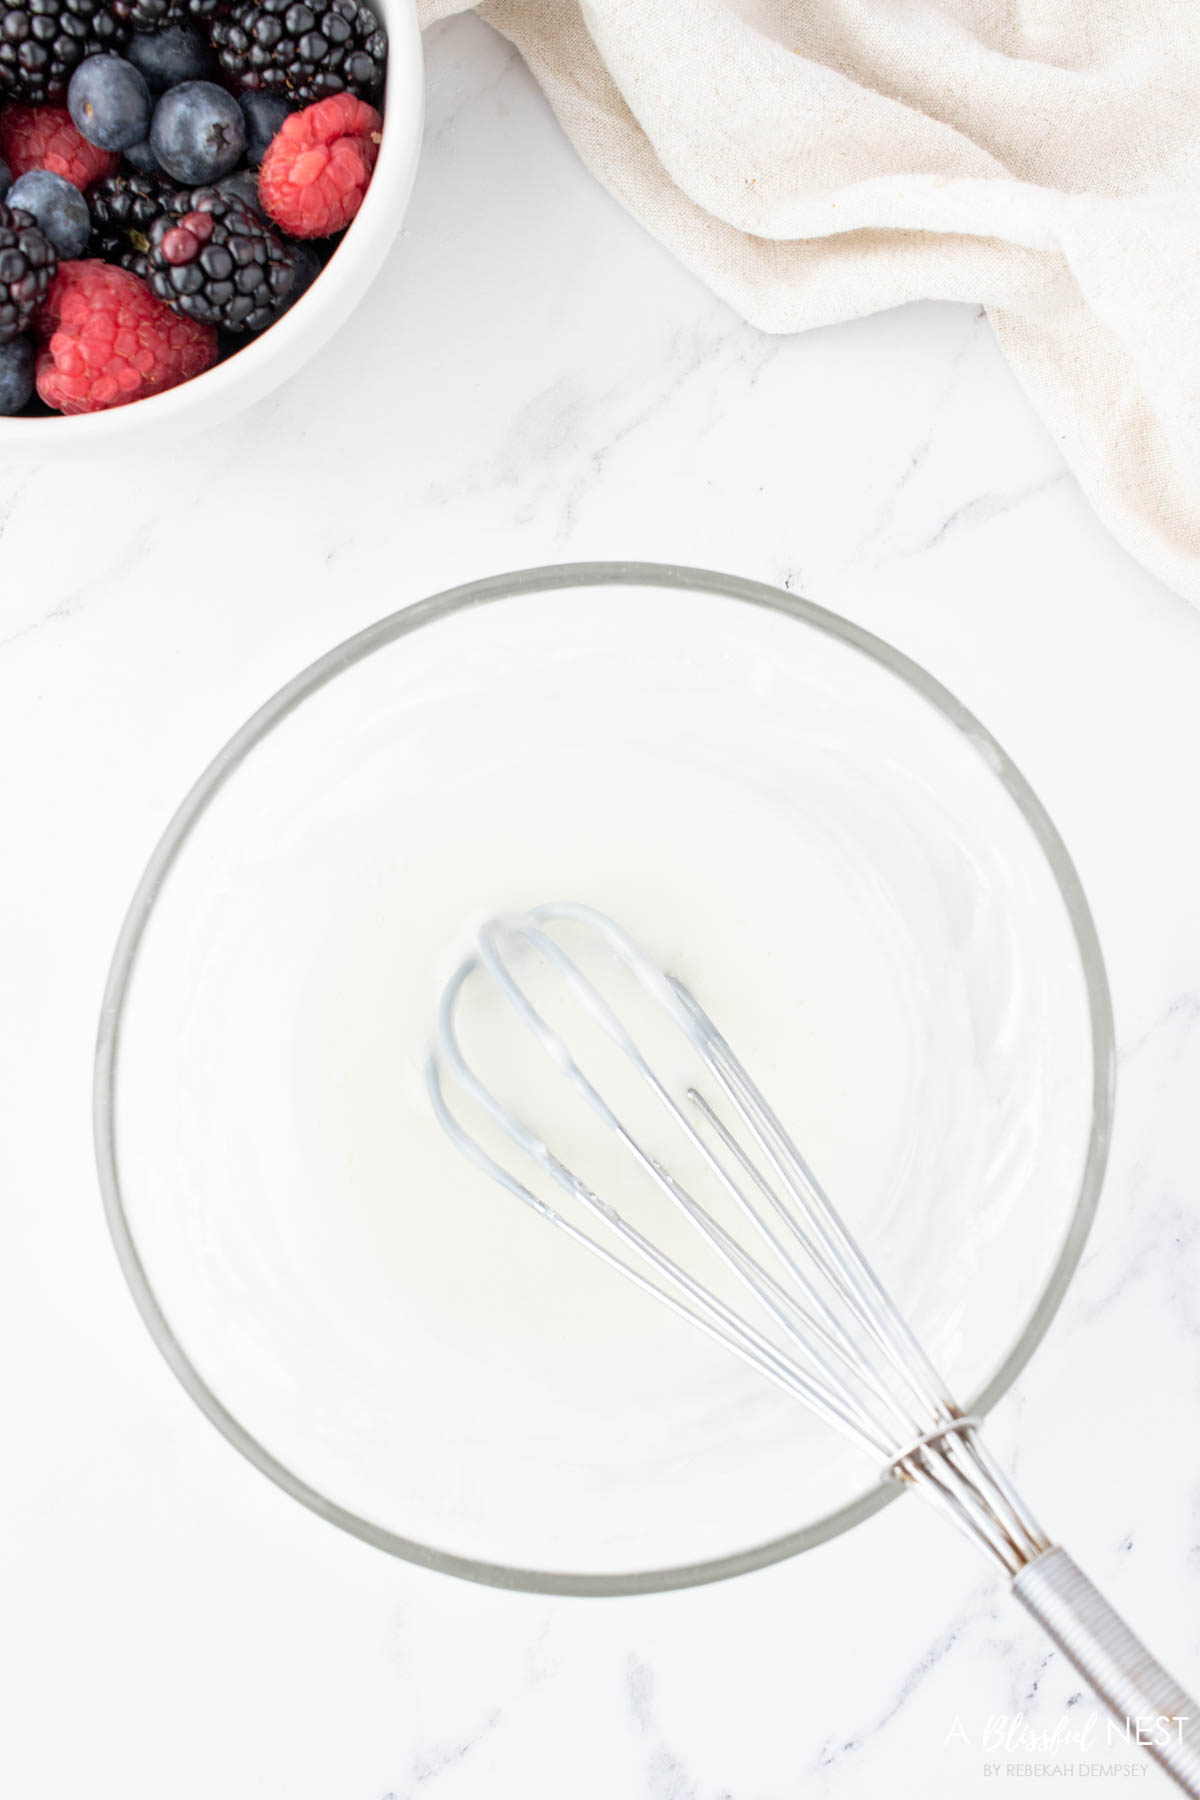
- Put all the glaze ingredients into a bowl and whisk until smooth.
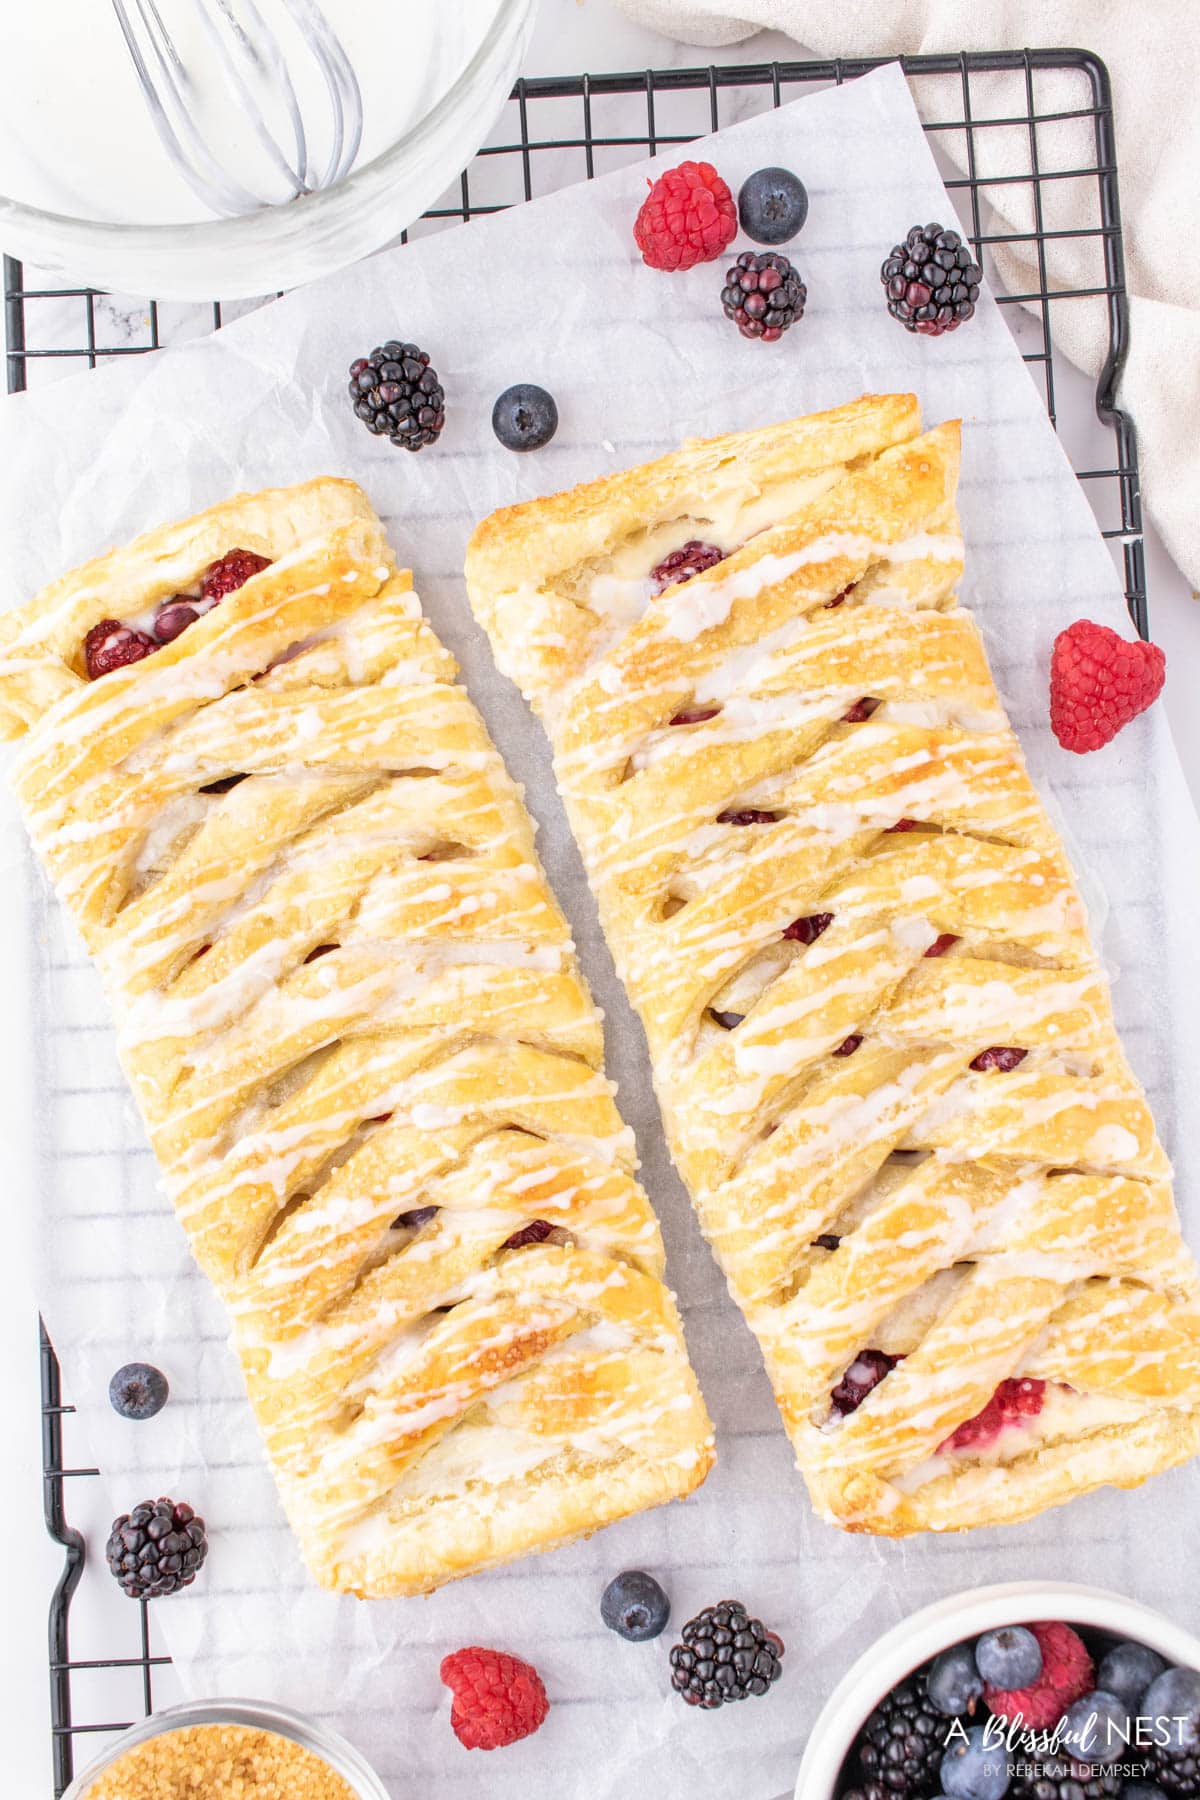
- Drizzle over the pastries before serving.
Frequently Asked Questions
- What makes Danish pastry different? There is a subtle difference between puff pastry and Danish pastry. A Danish is leavened with yeast, as opposed to puff pastry that is raised by steam.
- How can I tell if my Danish is done? When the top is a nice golden brown the pastry is fully baked. You don’t want to overbake it which would cause it to be dried out and brittle.
- Can I freeze baked Danishes? Yes, you can but there will be some textural differences. A dethawed Danish will not be as crisp.
- What temperature is best for cooking Danishes at? Typically danishes are baked between 400-415 degrees but, 400 degrees is the most common.
How to Store
- Room Temperature – Storing Danishes at room temperature is best, especially if you plan to eat your Danish in the next few days! Put them in an air-tight container and let them sit on the counter.
- Refrigerate – Store these berry Danishes for up to a week in an air-tight container.
- Freeze – Freeze in an air-tight container for up to three months. First, it is best to let the Danishes sit out at room temperature for 1 hour before freezing to let them fully cool.
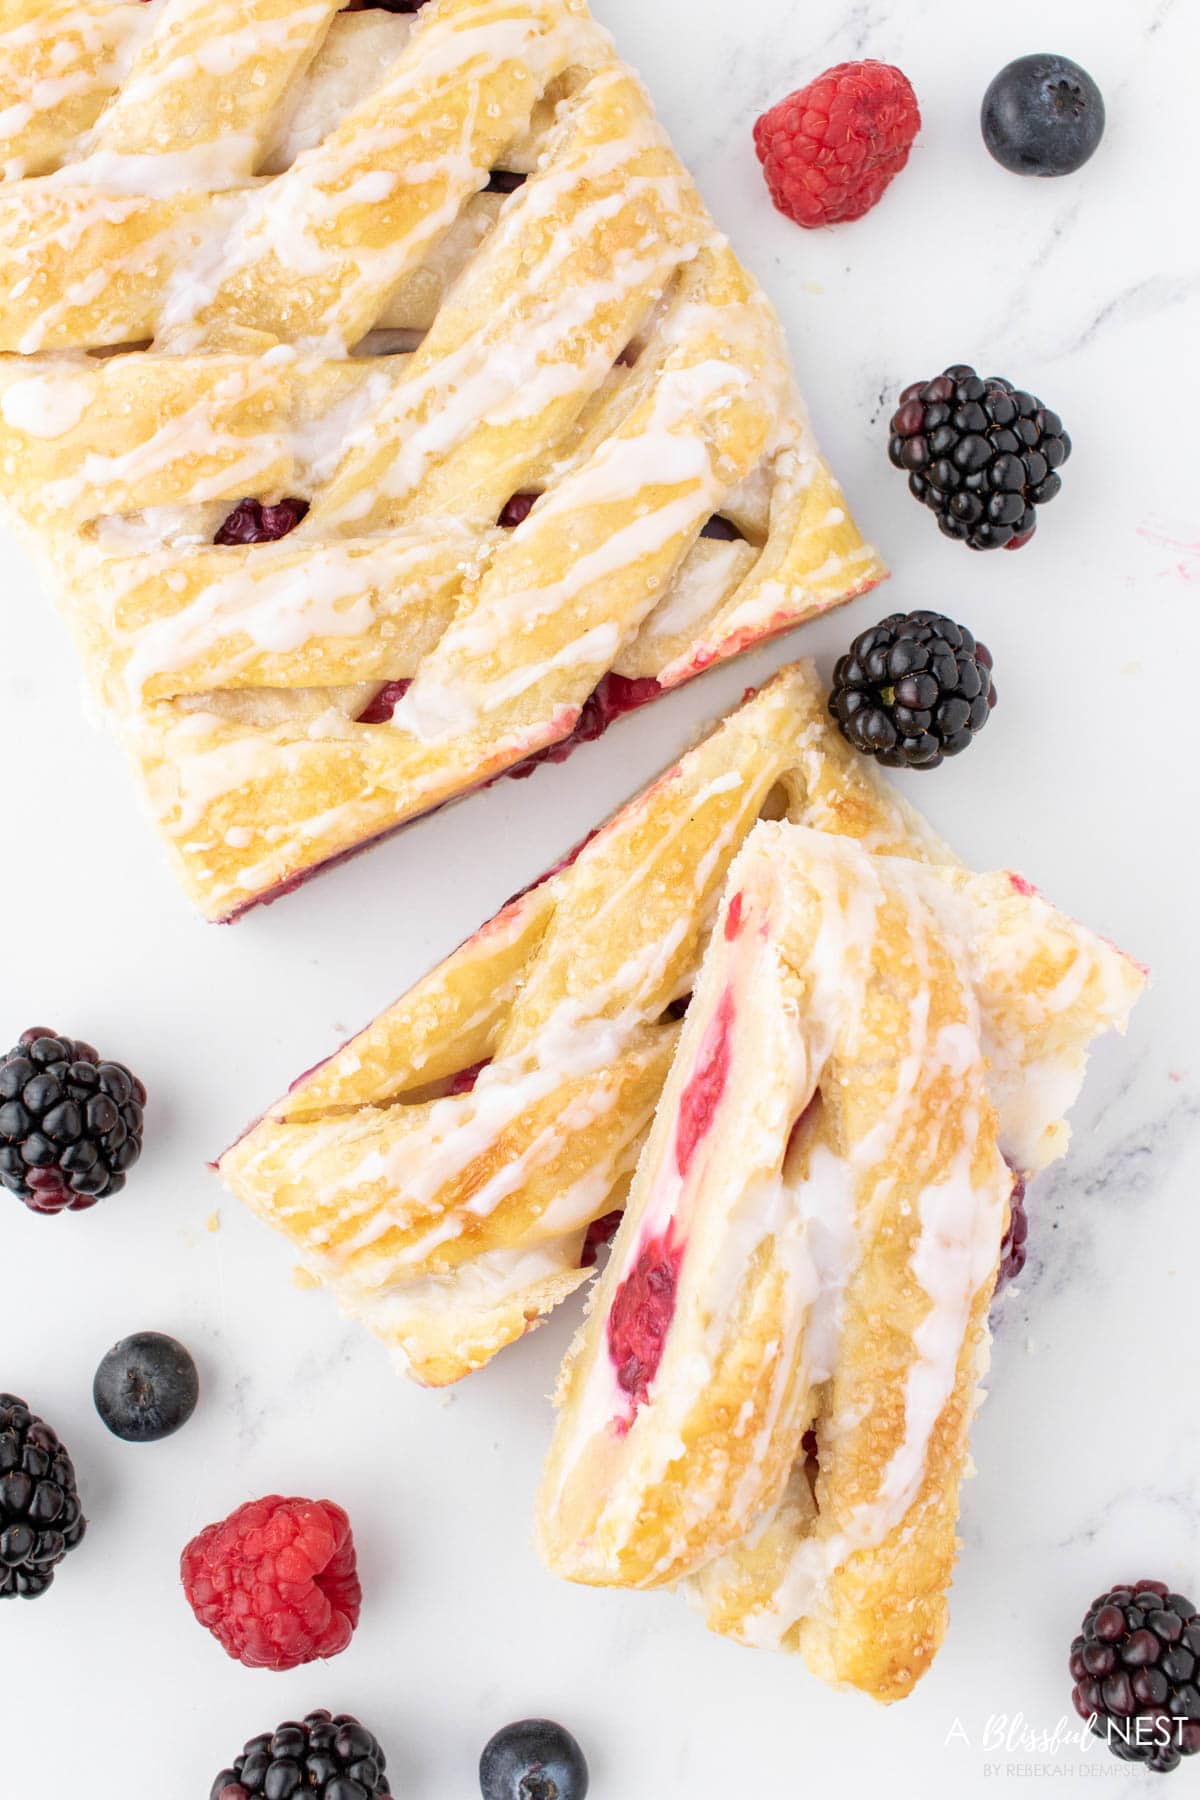
I hope you love these berry Danish braids and you will have to tell me when you make them!

Ingredients
For Pastry
- 8 oz cream cheese room tempertature
- 3 tbsp granulated sugar
- 1 tsp vanilla extract
- 2 sheets puff pasry thawed
- 1 cup berries of choice blackberries, raspberries, blueberries
- 1 egg
- turbinado sugar for topping
For Glaze
- 1 cup powdered sugar
- 2 tbsp milk
Instructions
For Pastry
- Preheat the oven to 400 F. Prepare a baking sheet with parchment paper.
- In a large mixing bowl with a hand mixer, beat together the cream cheese, sugar and vanillaextract until smooth. Set aside.
- Unfold the puff pastry onto a lightly floured surface. Use a rolling pin to smooth out the sheets.
- Use a knife to cut off the top 2 corners of each sheet. Cut 7-10 (1 inch wide) slanted strips on both sides of each pastry sheet. Cut off the 2 remaining strips at the bottom of each sheet.
- Divide the filling and spread it down the center of each pastry. Top with your fresh berries.
- Fold the strips over the filling, alternating sides with each strip to create a braid. Fold in the bottom end, and gently press to seal the filling inside.
- Transfer the Pastries to a large baking sheet.
- Brush a beaten egg over each pastry, and sprinkle with turbinado sugar.
- Bake for 16-20 minutes or until golden. Allow the pastries to cool while making the glaze.
For Glaze
- Put all the glaze ingredients into a bowl and whisk until smooth.
- Drizzle over the pastries before serving.
More Delicious Dessert Ideas
Just in case you want a little more inspiration to bake, here are some yummy and delicious ideas to get you started!
- Lemon Cupcakes With Cream Cheese Frosting
- Chocolate Blackberry Cupcakes
- Strawberry Cupcakes With Strawberry Filling
- Butterscotch Apple Pumpkin Pie Recipe
- S’mores Cupcakes Everyone Will Love
- Almond French Macarons with Hot Cocoa Buttercream Filling
Shop My Amazon Finds
Shop my favorite products, finds for your home, and more only on Amazon.


