This post is sponsored by Stikwood, but all opinions are my own.
The other weekend, we made one of the biggest updates to our new home. As you know when I built this home, I chose to make all the walls and cabinets white. I did this because it gave me a blank slate to think, create and design these spaces from nothing.
But it also has felt a little sterile and cold. I have had a hard time deciding what I was going to do with all these white walls to be honest.
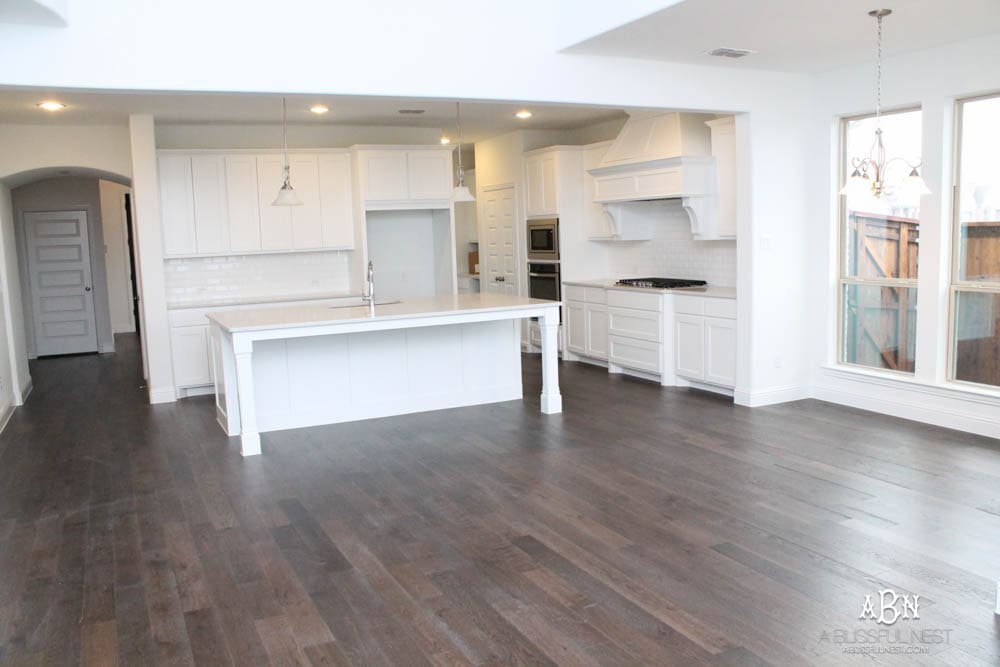
I am lucky that the main living space (kitchen, living room and breakfast room) all open into each other and have lots of windows. So adding in contrast and texture has been top of the mind for me when addressing the walls in this next phase.
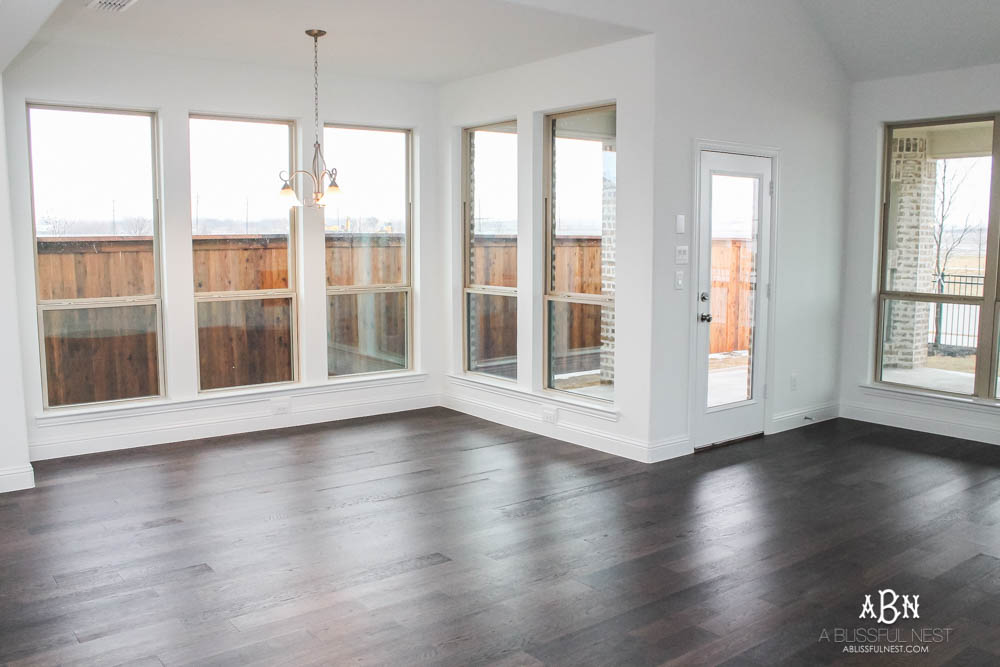
But at then end of the day the breakfast room space is tight and all windows, so adding in that visual pop was proving to be a challenge.
At least until I started looking at what designers call your fifth wall – the ceiling.
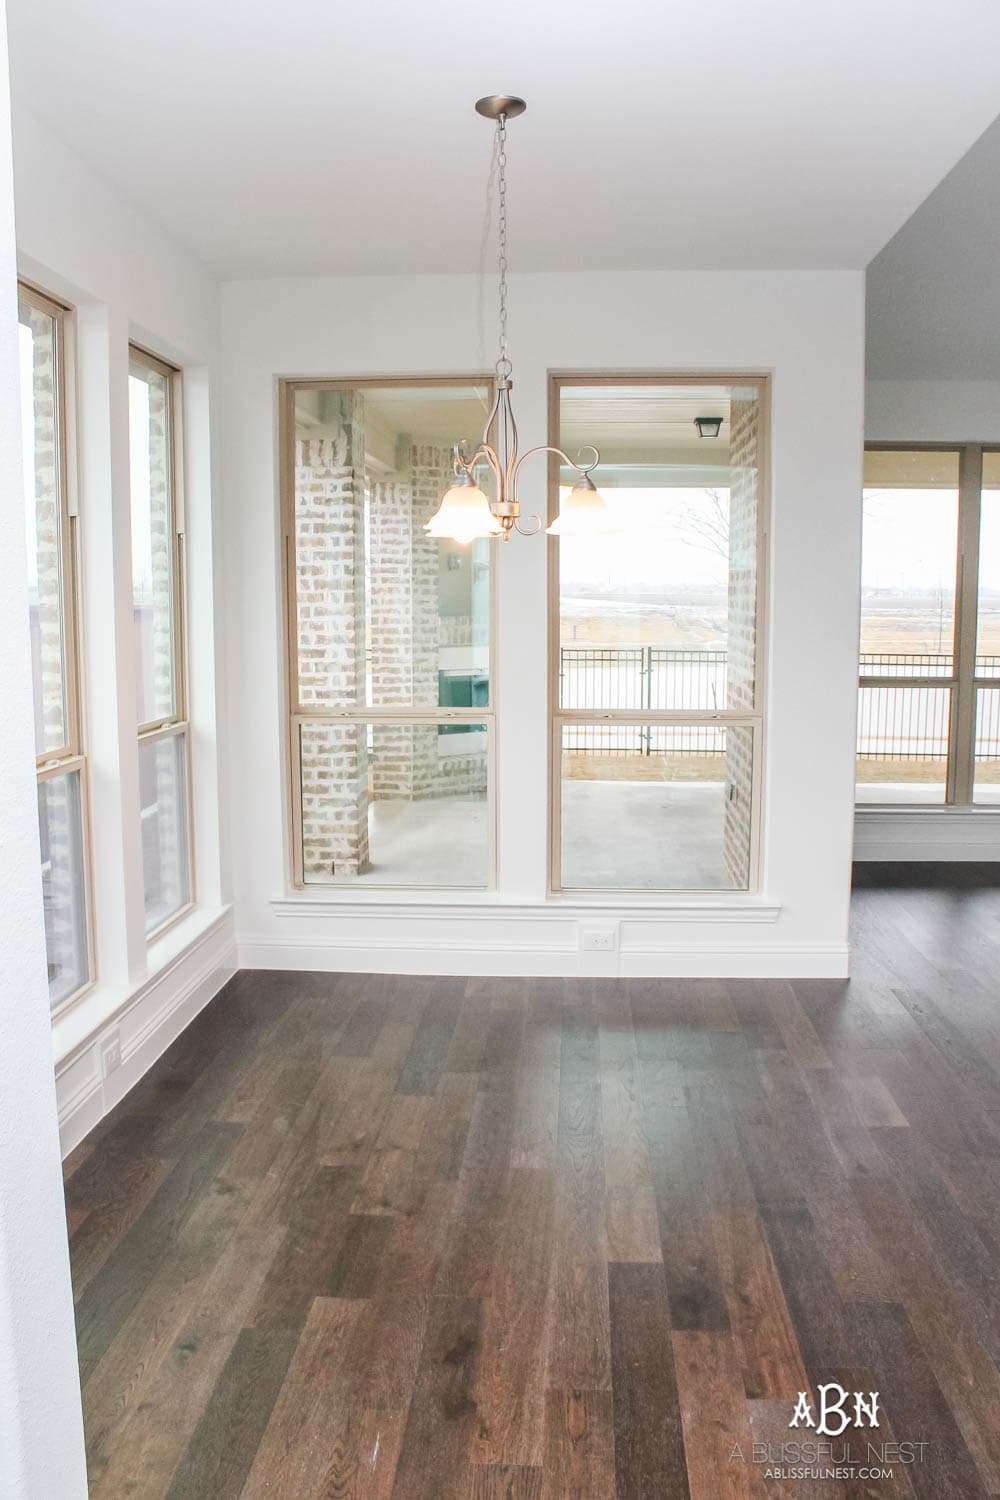
And then I thought what if I added in that coastal farmhouse feel with some reclaimed weathered wood.
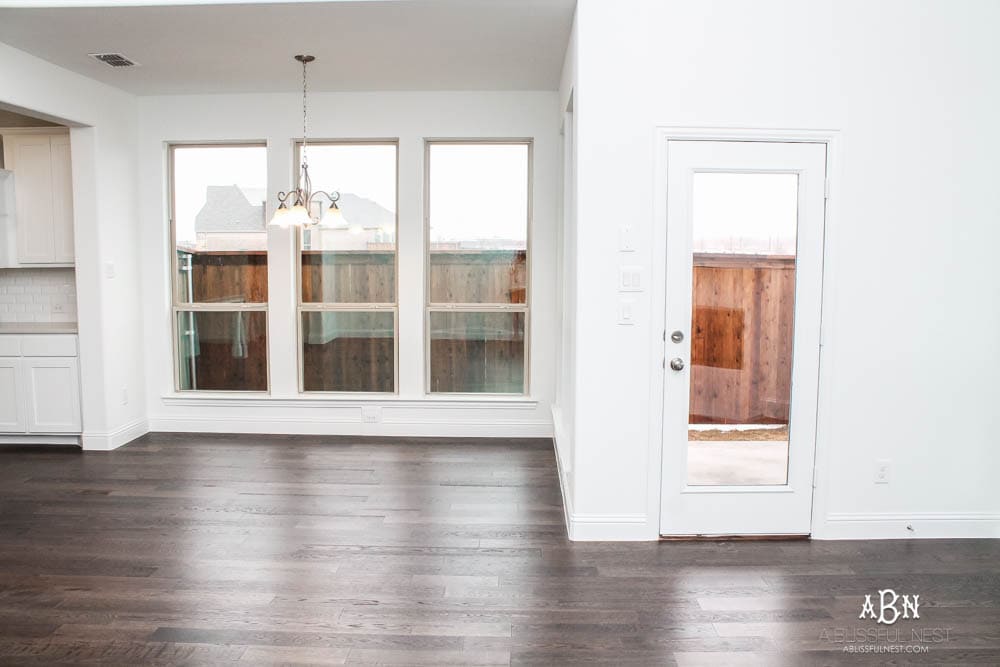
So here is what the space looked like on our move in day.
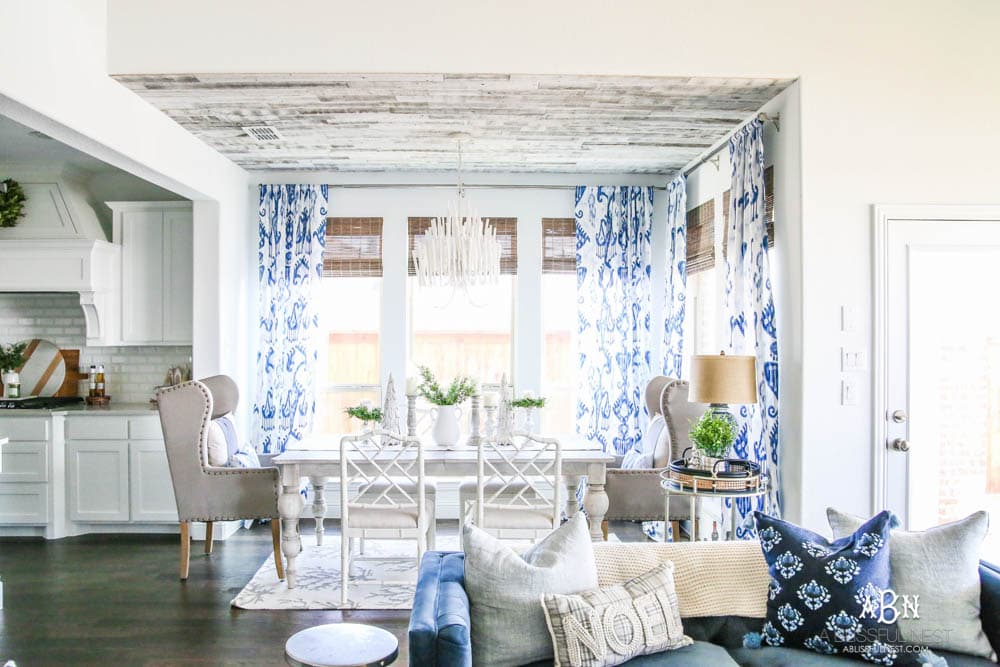
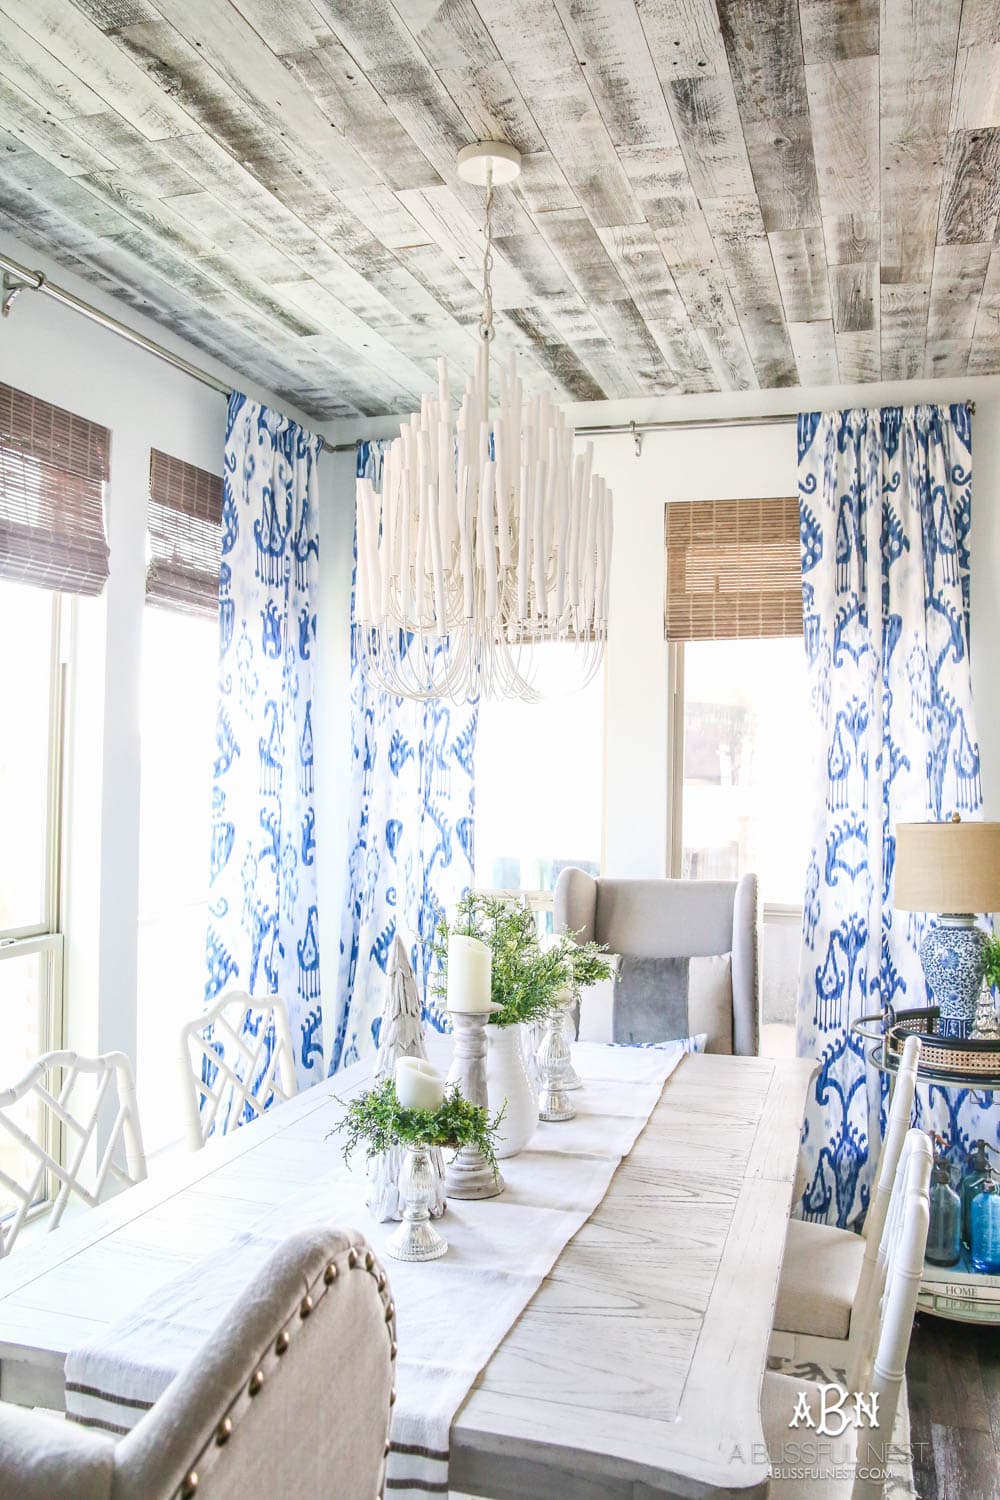
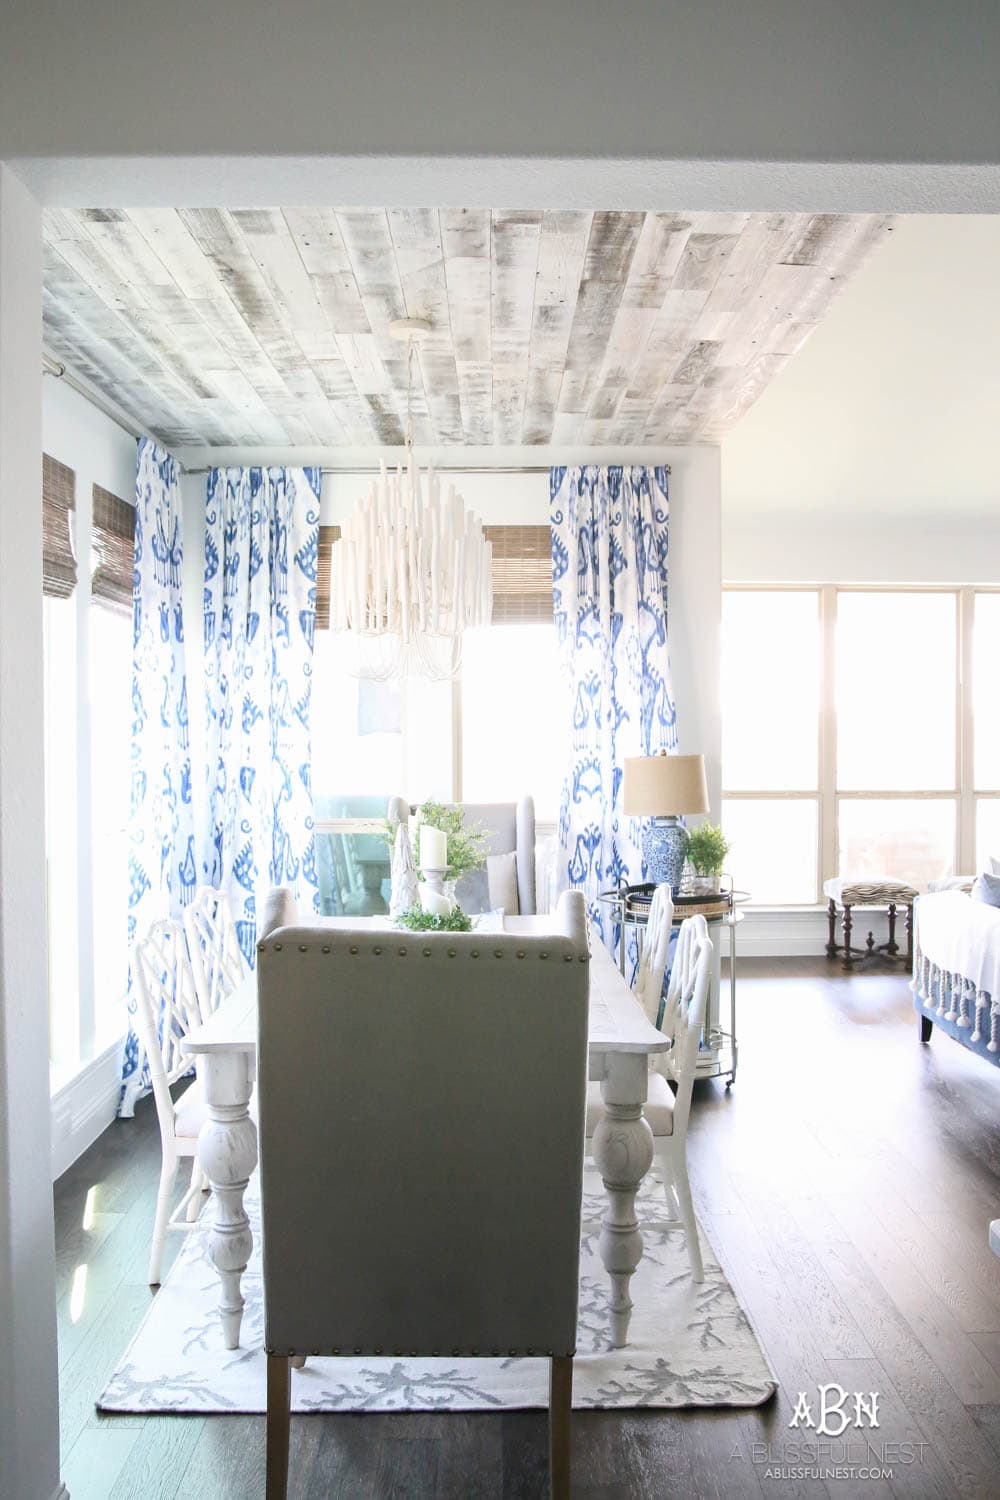
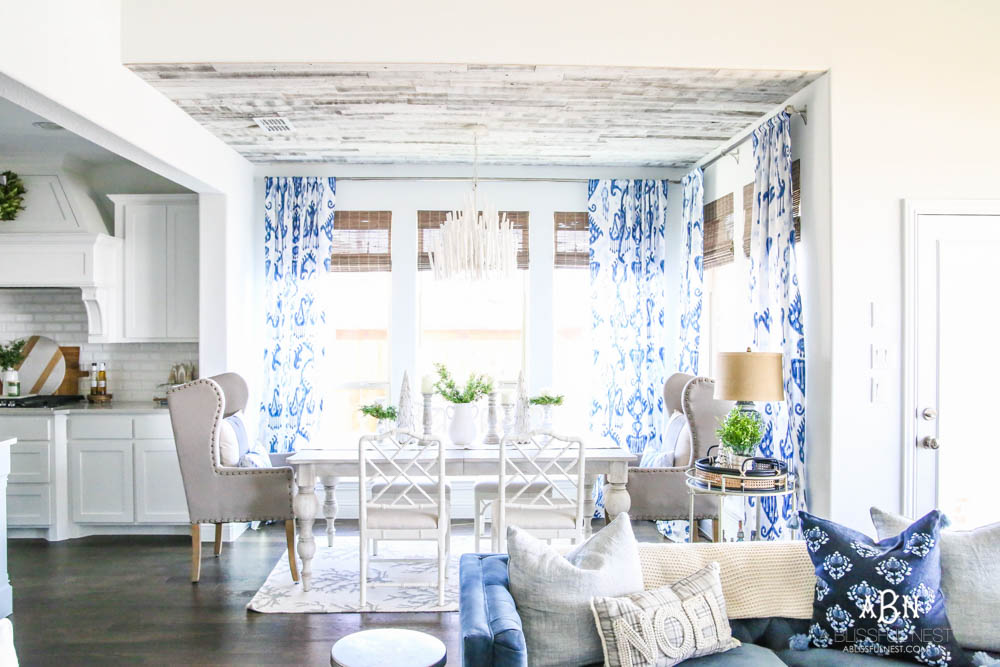
And now here is what we have!
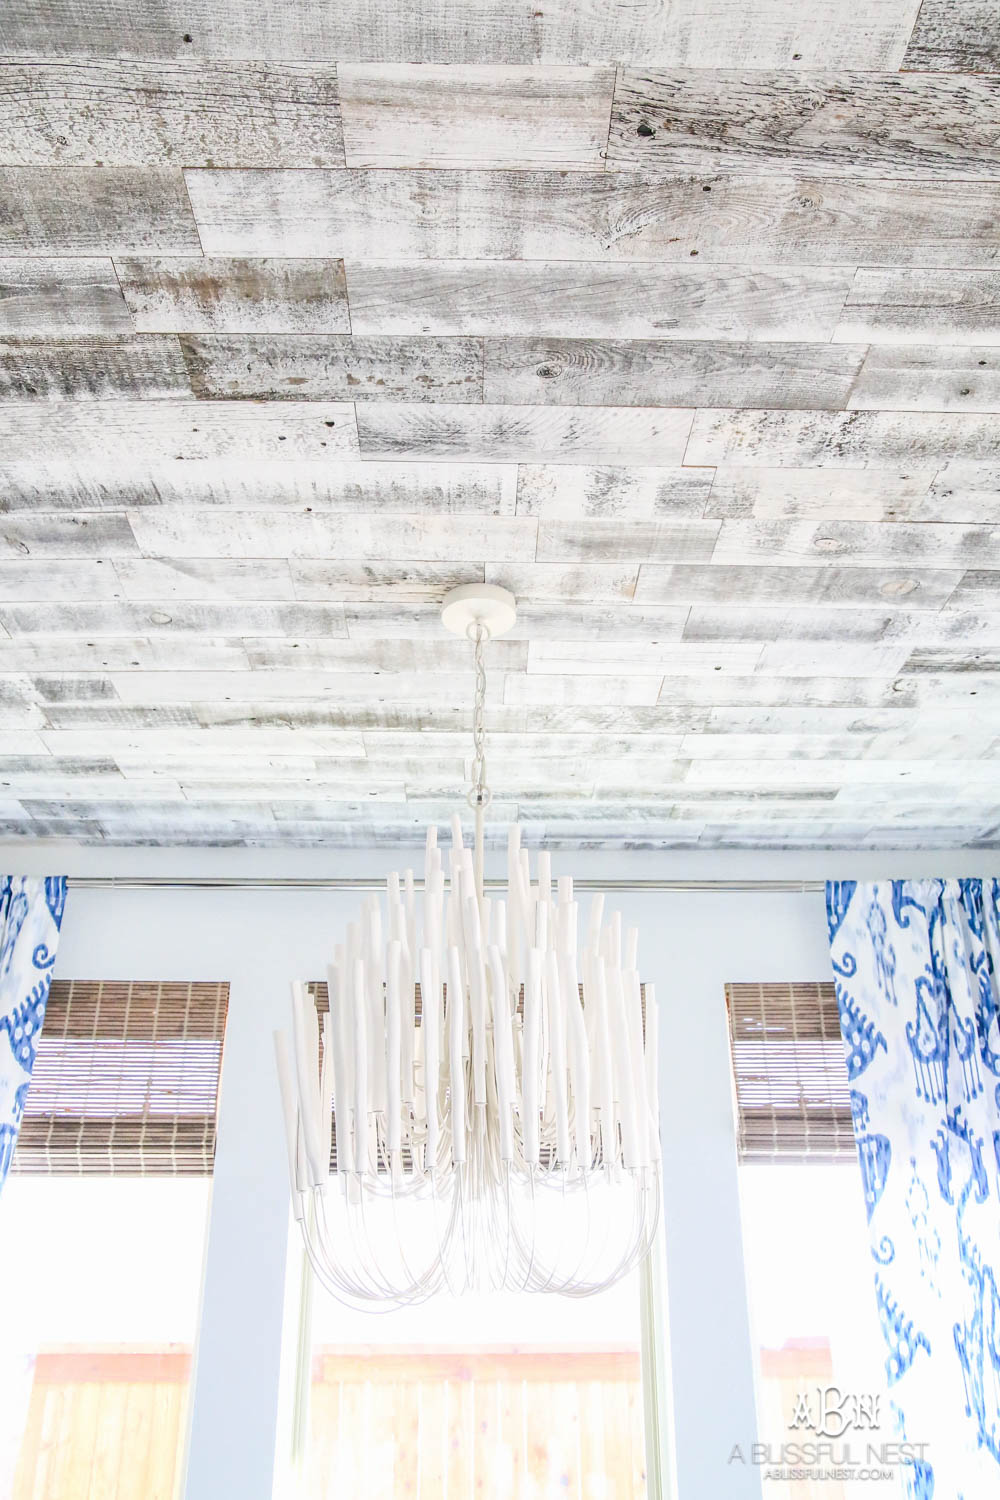
It is still subtle but gives a lot of warmth and texture to the area. I love how it makes our gorgeous light fixture just look like a piece of driftwood art which is what I always wanted.
Now I have to tell you, the thought of finding affordable barnwood pieces to cover this space, made me very nervous. They can be very pricey especially these days with the Fixer Upper craze.
But then I heard about Stikwood and thought I died and went to heaven.
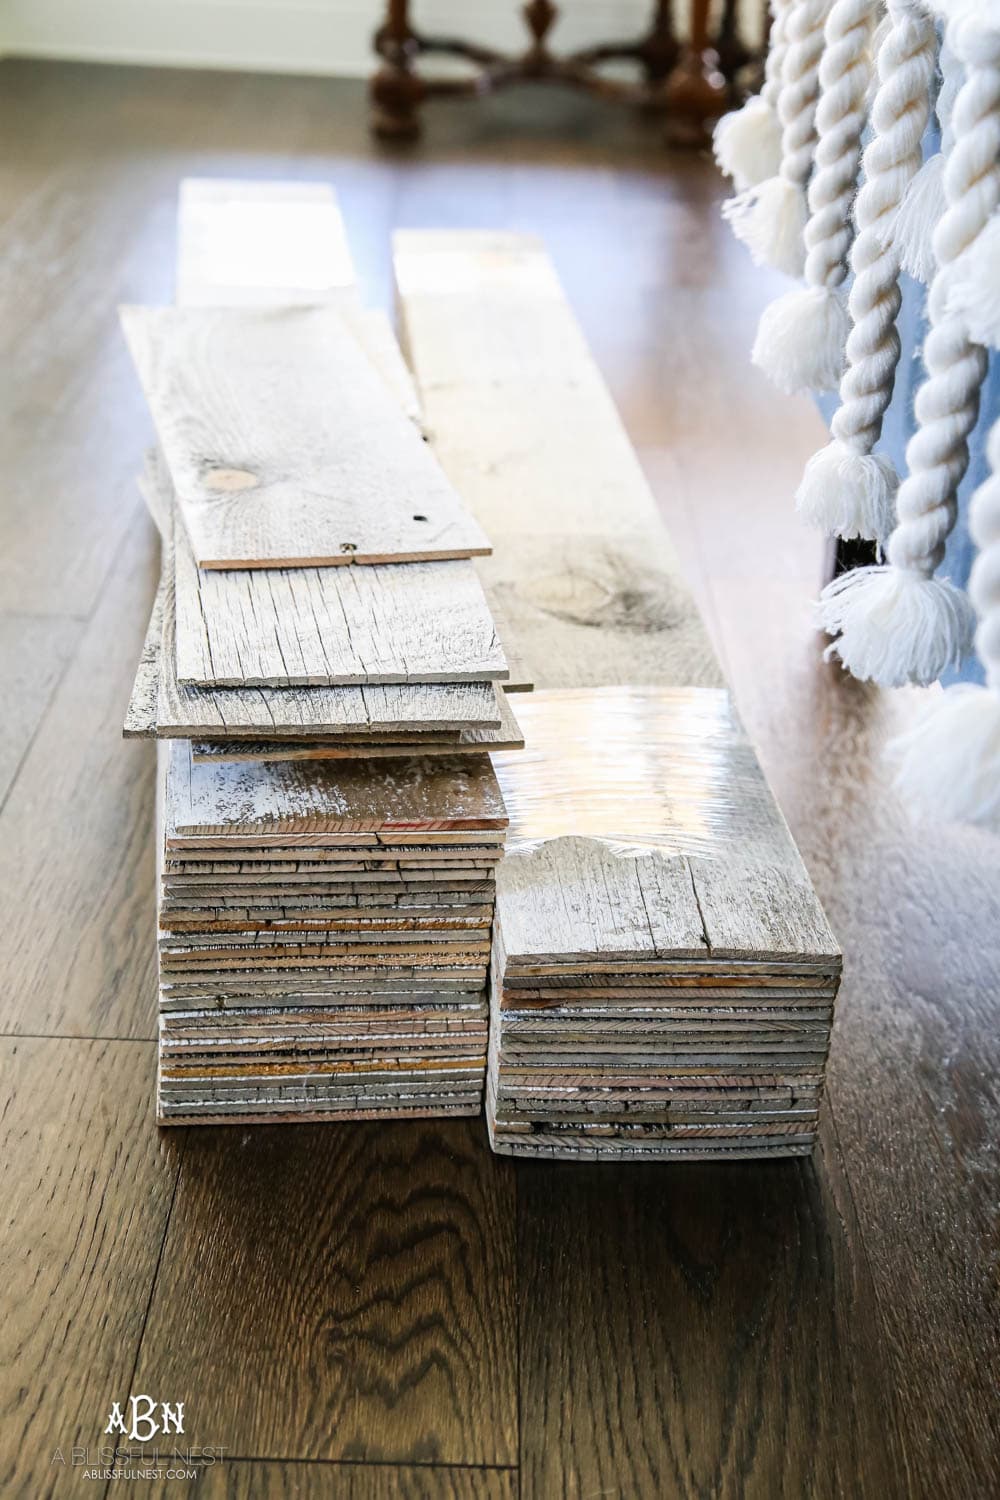
Stikwood is the world’s original peel & stick reclaimed and sustainable wood planking.
Think real reclaimed wood that is super thin that it makes it lightweight to install by sticking it with adhesive to a surface. It seriously is just genius.
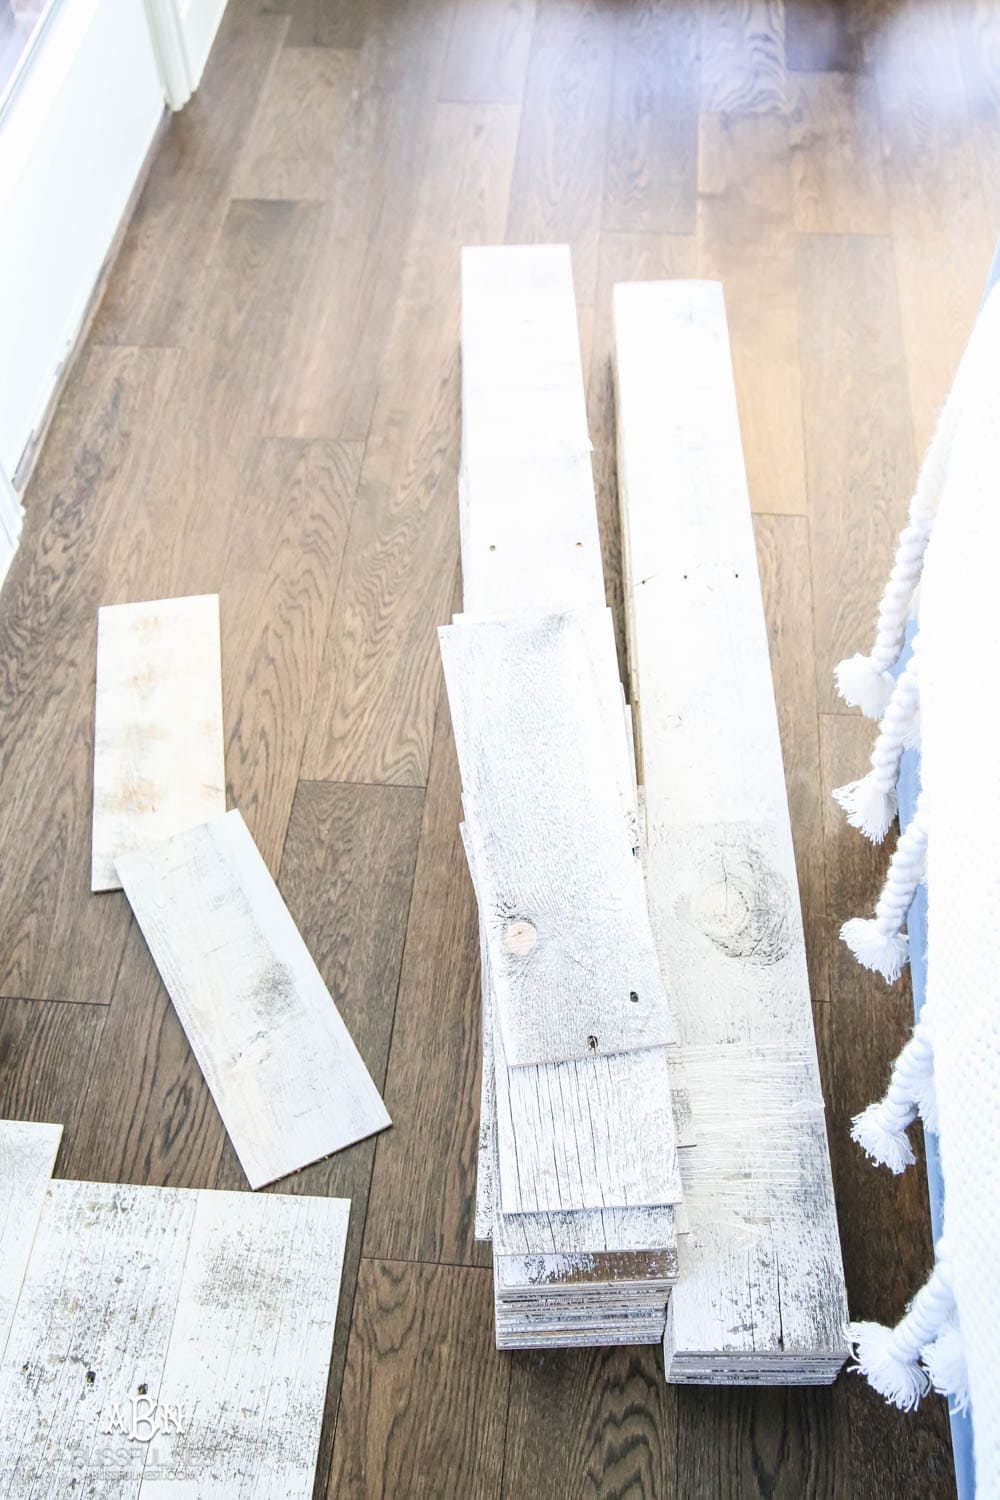
The wood has knotholes, slight splitting, nail holes, some oxidation marks, and deeply weathered grooves.
Stikwood weathered products have been fully weathered by nature. Therefore, the colors will vary from order to order. No two batches of the weathered materials will be exactly the same. Which is why these are so unique and full of rich texture.
I selected the white weathered wood planks from Stikwood so I would get that beachy rustic look.
How to Install a Farmhouse Reclaimed Wood Ceiling:
Step 1: Acclimate the planks.
Once they arrive, you need to do is let the wood acclimate to the room it will be installed in. Take it out of it’s box and let it sit for at least 3 days in the room.
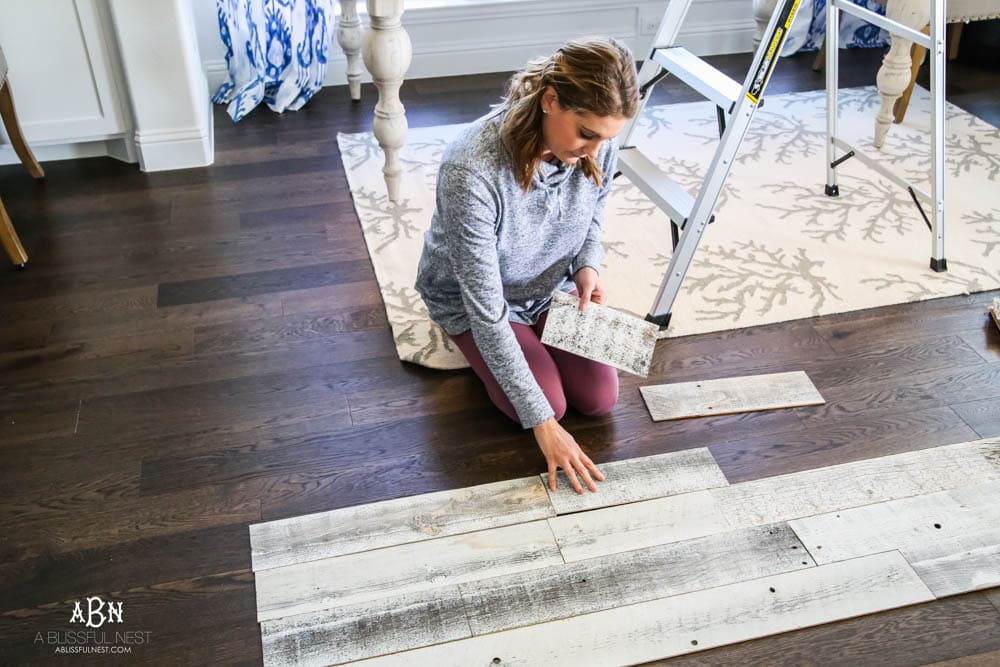
Step 2: Plan your pattern
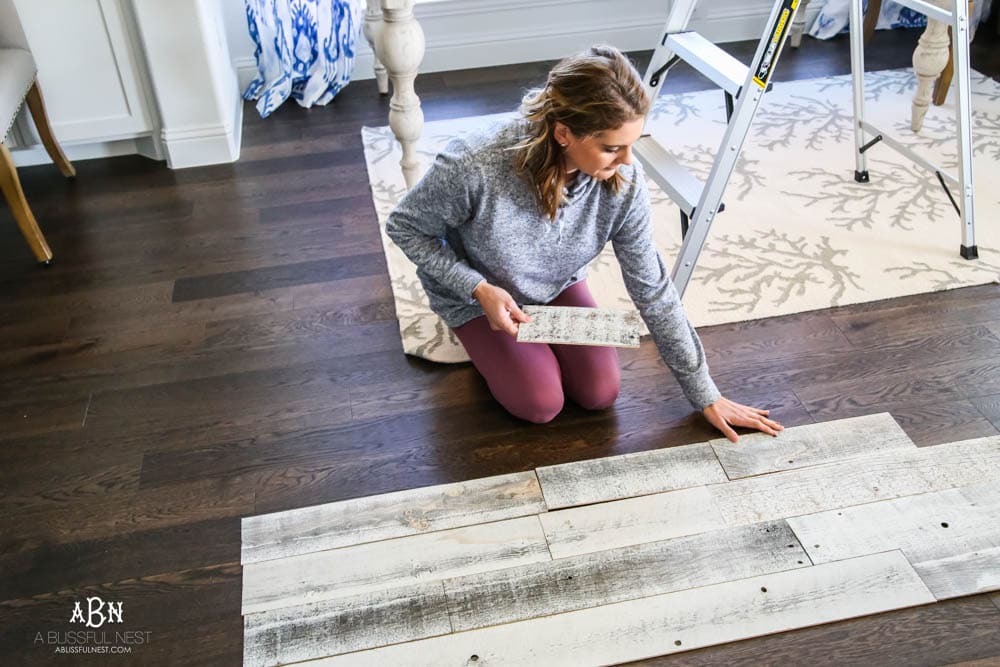
When we were ready to install, I laid out 3-5 rows at a time so I could see what pieces would look best next to each other. This helps to spread out the darker planks so they are not all grouped so close together.
Would you like to save this post?
So here is the space before we started.
Step 3: Plan the direction you will be sticking the boards.
We decided to work from the living room side back to the window wall side and go long ways from the windows on the right to the kitchen on the left.
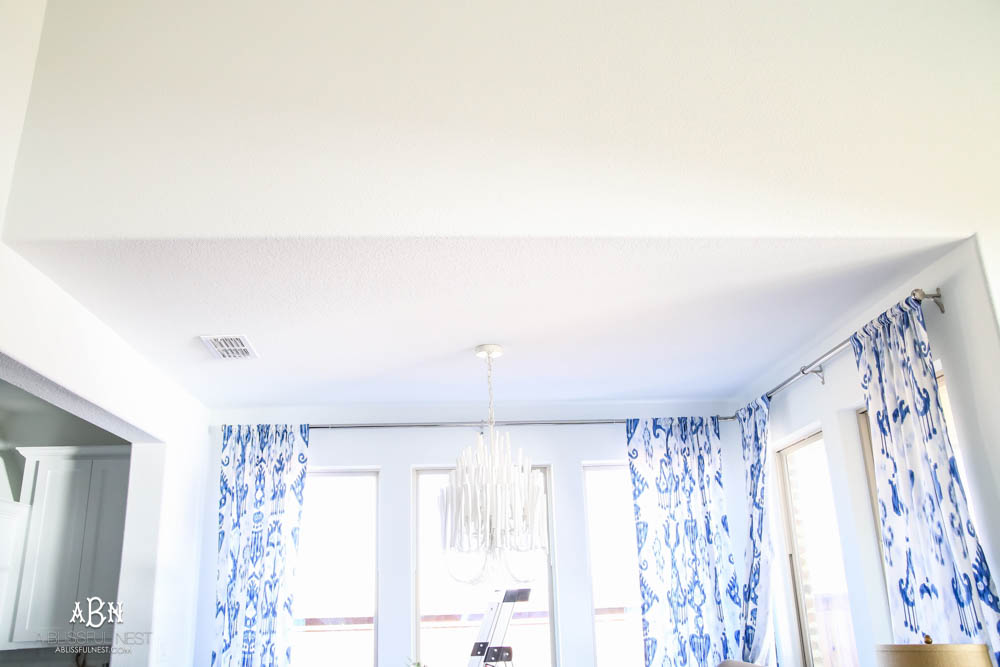
This would make the space feel larger and more of the pattern and texture of the planks would be easier to see once they were installed.
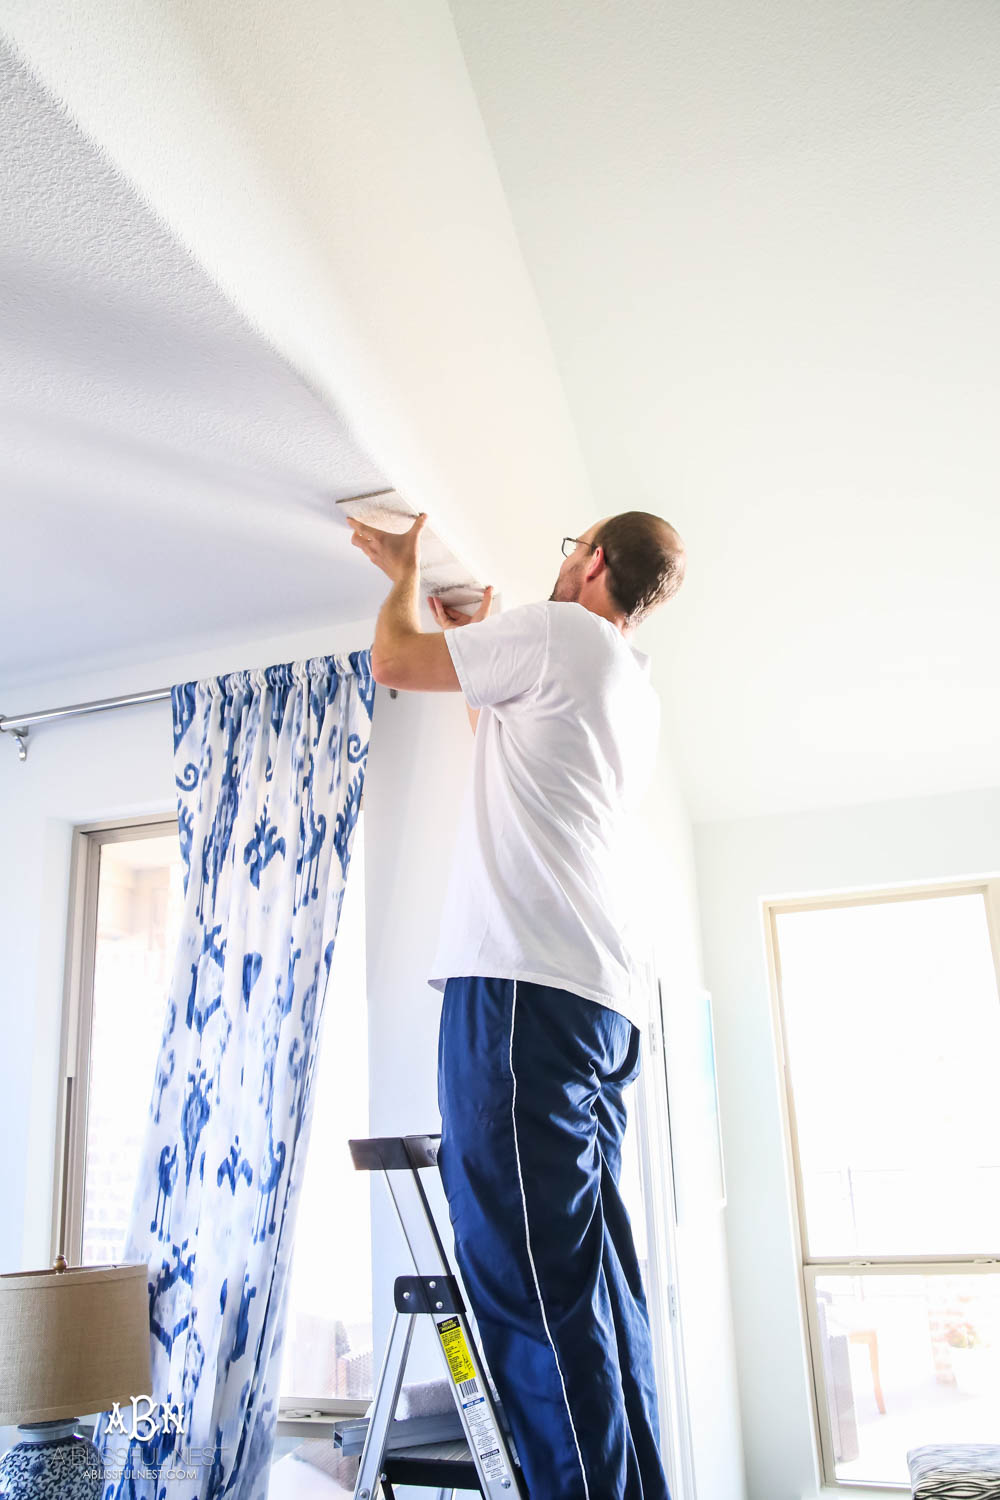
Step 4: Start with the first row of planks and peel the adhesive protecting paper off the back of the plank and stick it in place.
Guys you wont believe how easy this next step is.
Each board has 3 rows of adhesive on the back.
Peel the protective paper on each strip and stick it into place by applying pressure with your hands.
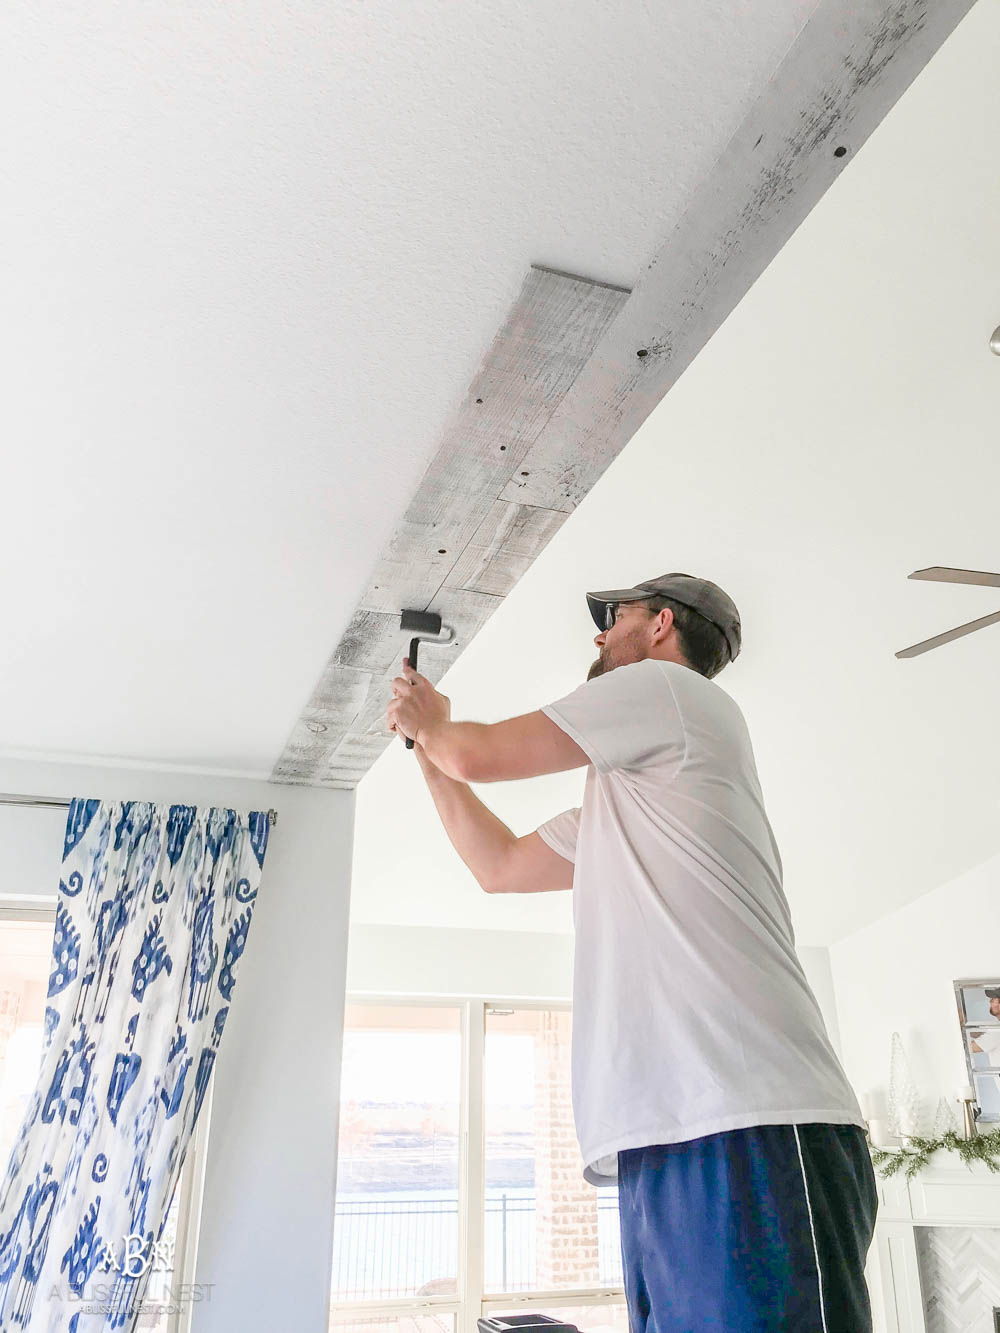
Step 5: Use the round J-roller to apply pressure up and down the plank.
Then use the round j-roller and while applying pressure, roll it back and forth up and down the plank you just stuck on the surface. This will help adhere the plank on more securely.
Step 6: Then start again on your next plank!
Literally that is it. Until you get to pieces you need to cut out for the planks to fit around, like our light fixture and the air vent.
You can use a jigsaw to cut out any odd angles and small pieces that you need to remove before putting up the plank. The biggest lesson for us since we don’t use jigsaws or mitered saws is since these are so then you need to turn the piece upside down. Jigsaws can create a rough edge especially on thin pieces of wood. So we unfortunatly ruined a few pieces along the way.
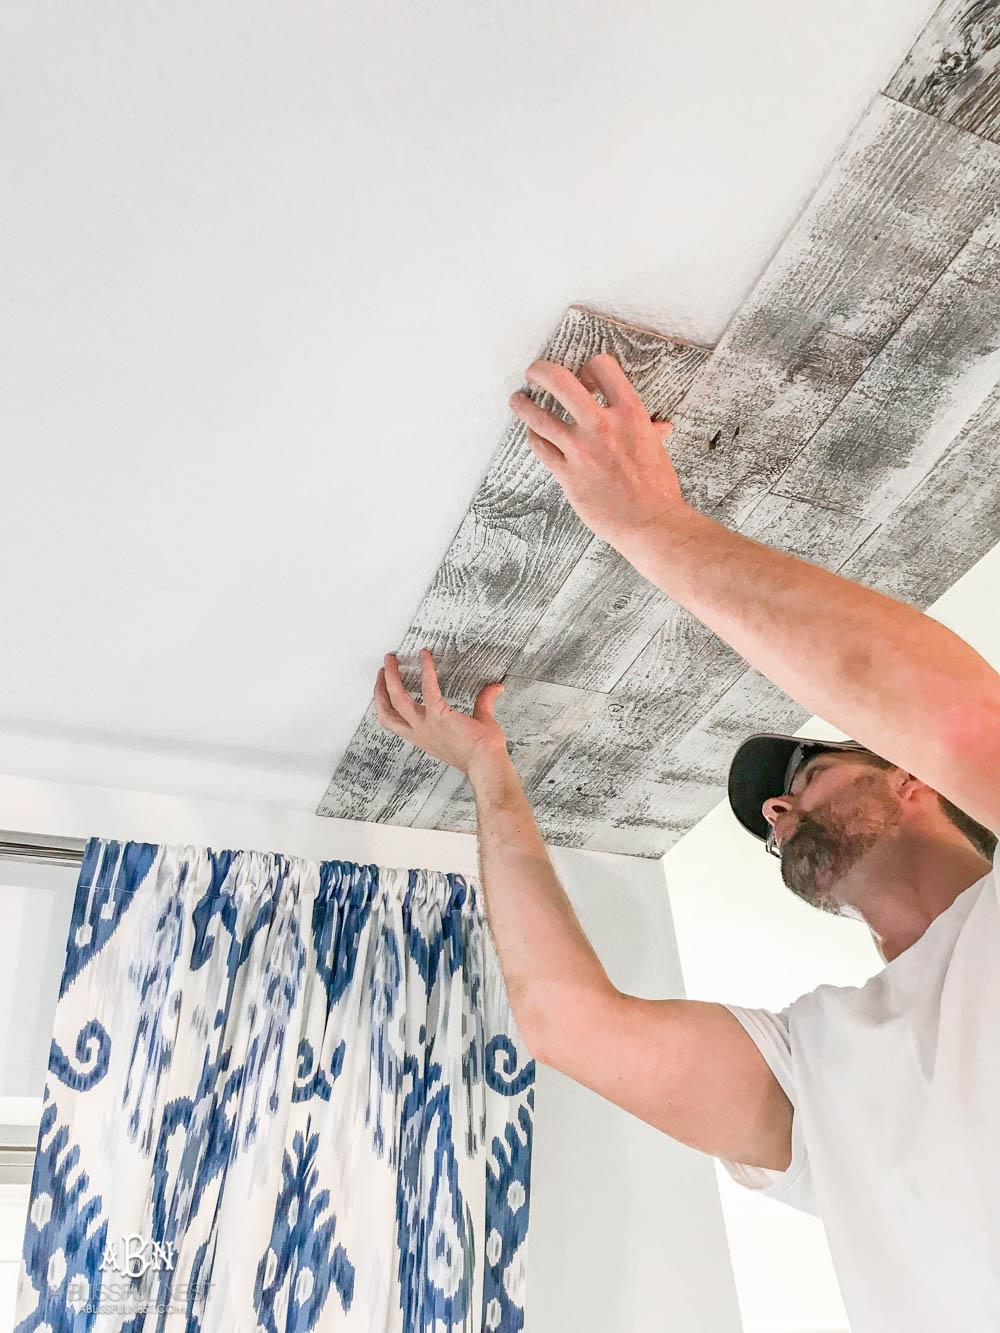
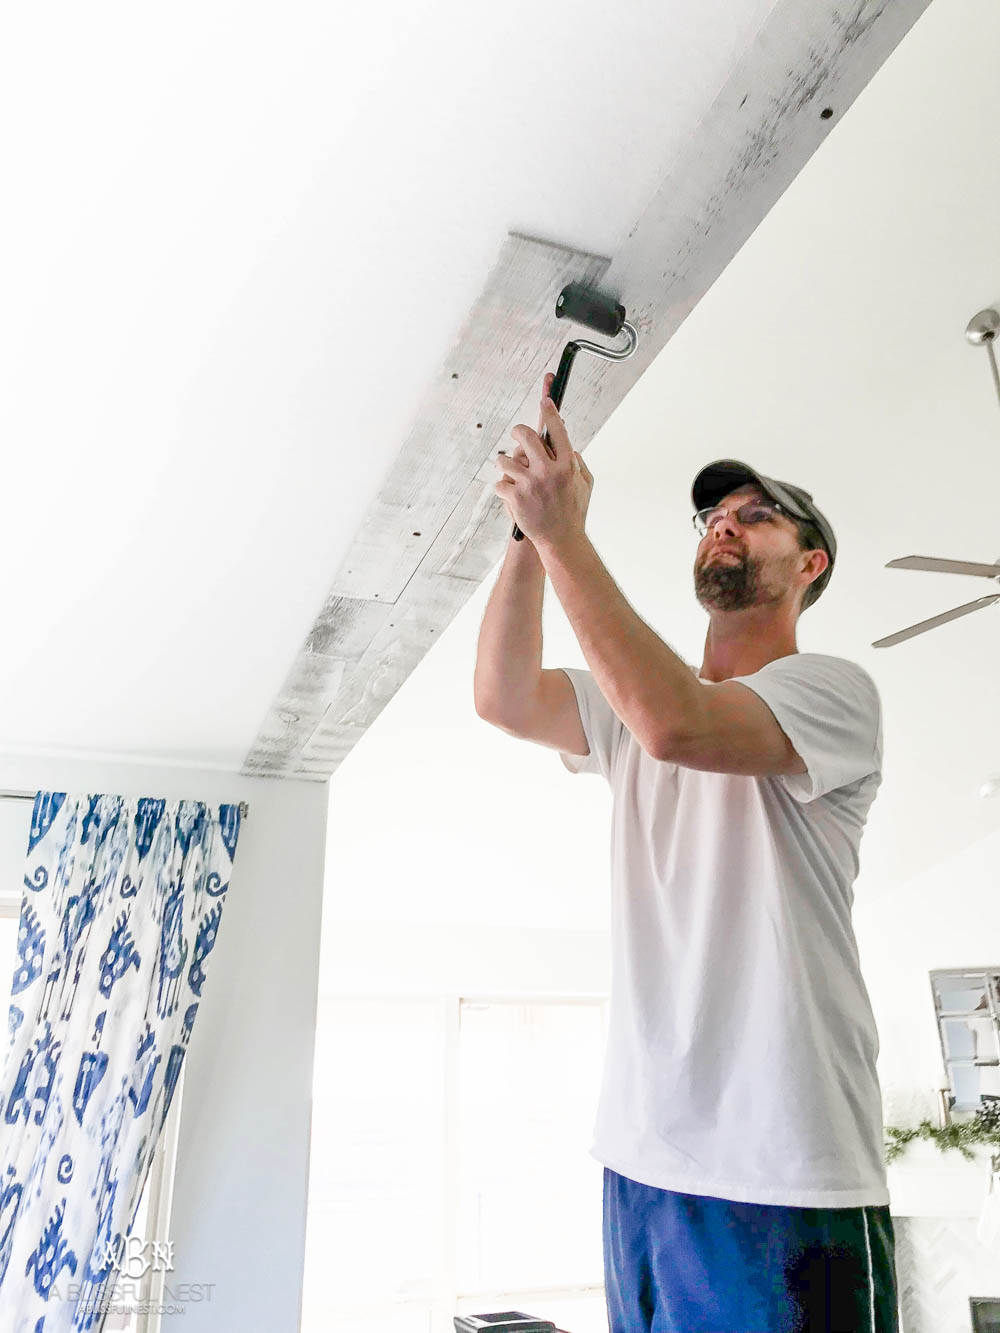
But really this was not a hard project and it made a BIG impact to our home as you can see.
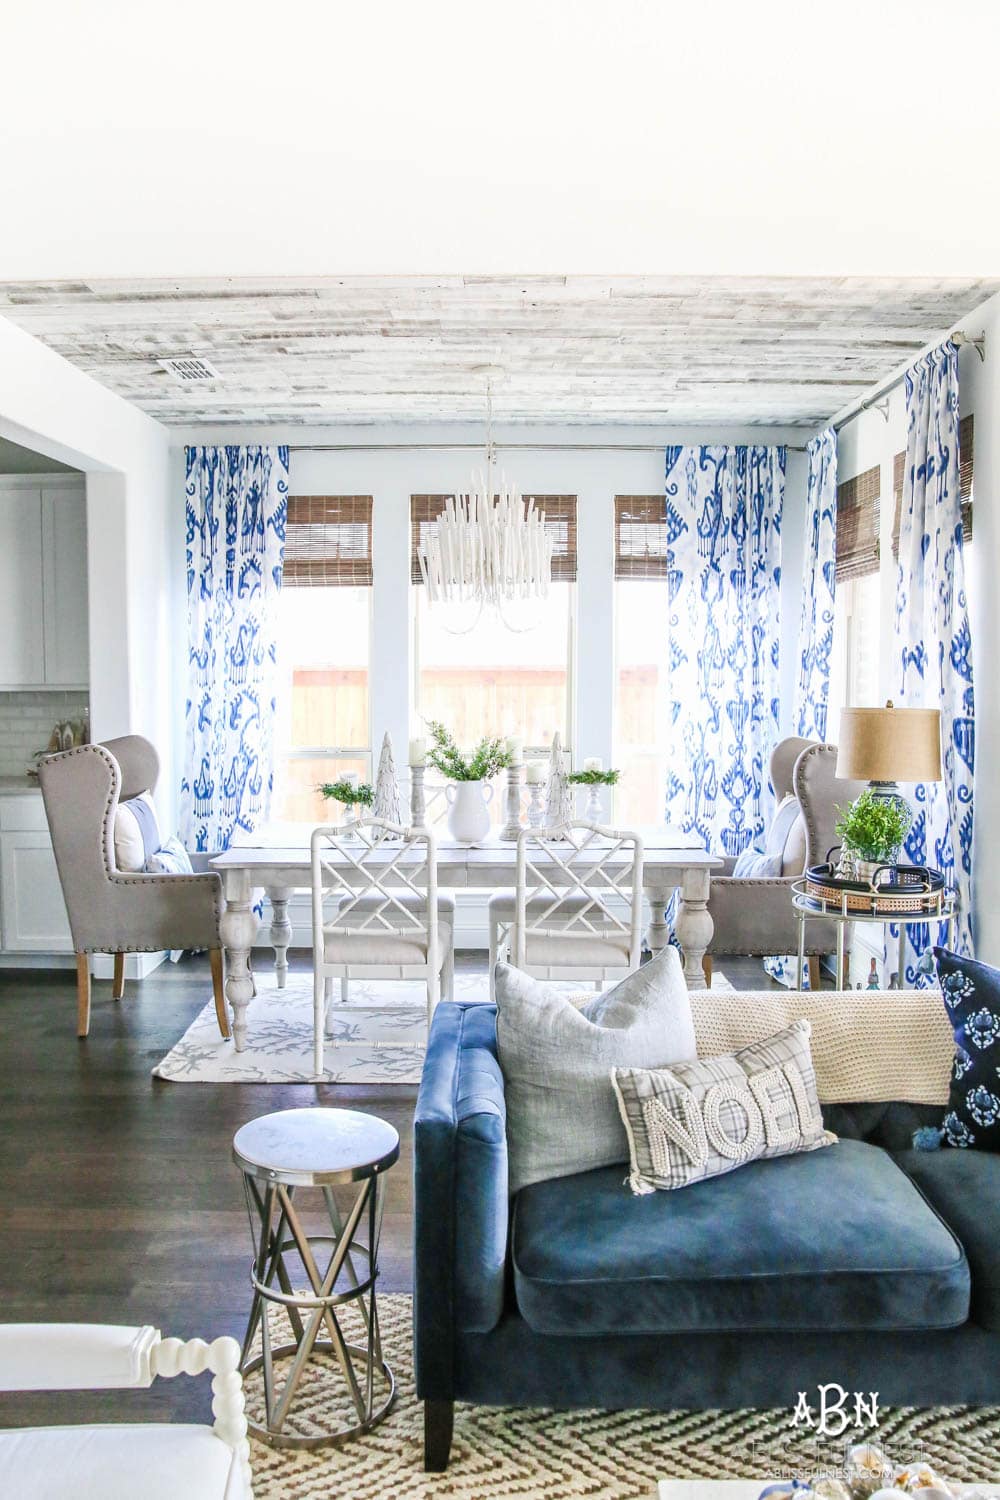
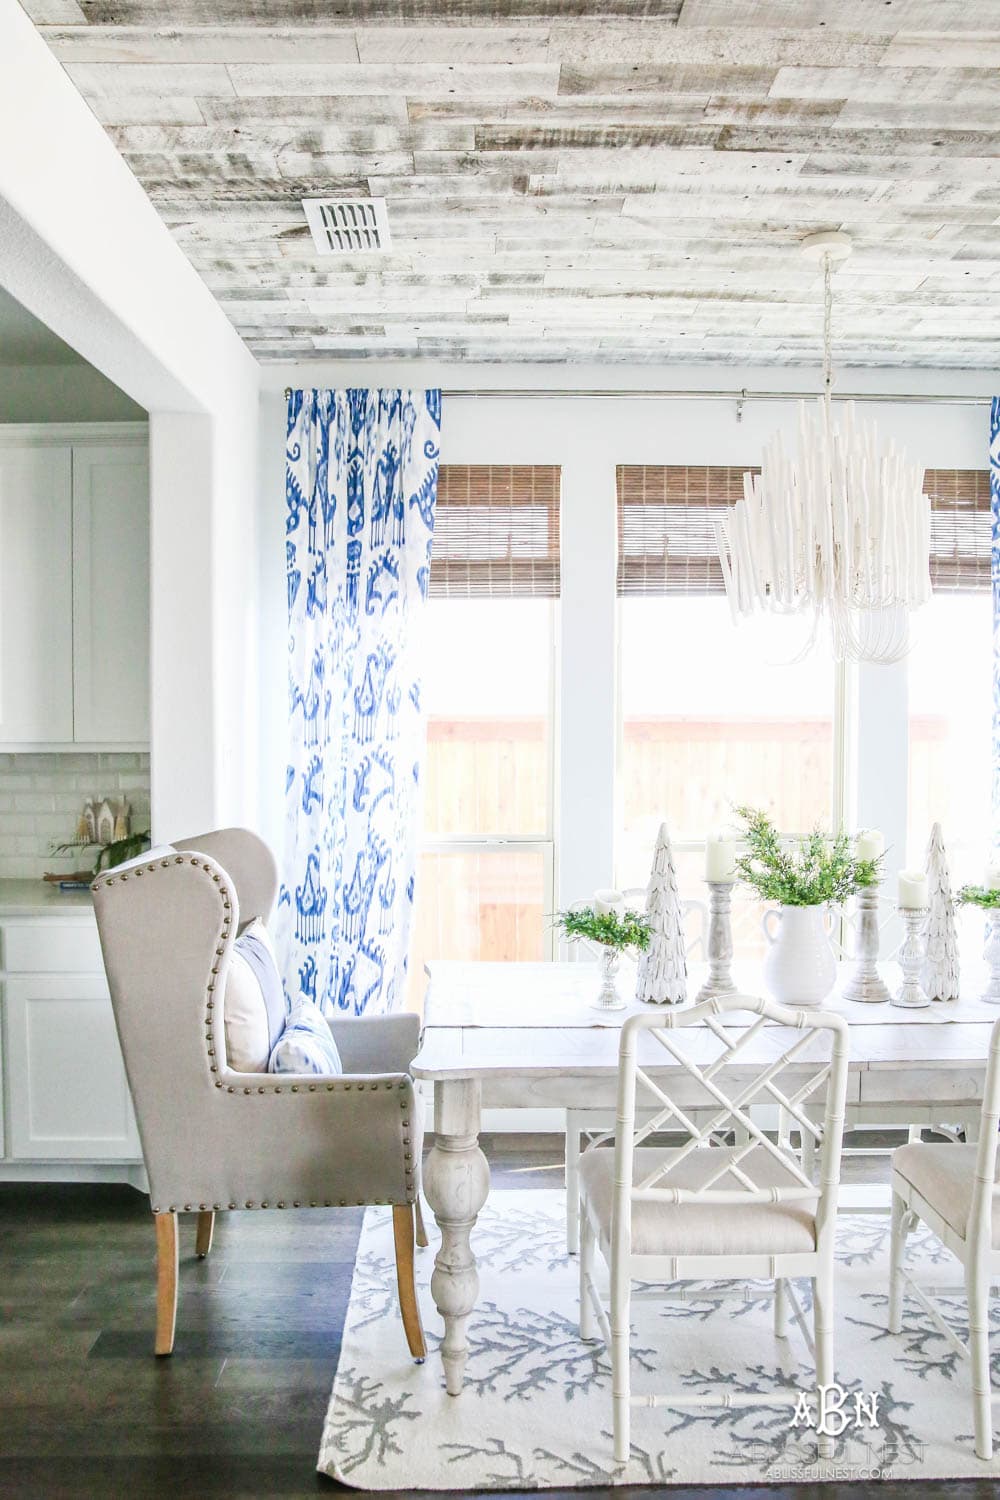
For minimal effort and cost, you can achieve a huge visual impact with Stikwood. I can’t wait to do another room in our home with their products!
You can check them out on their website, Facebook, Instagram, Pinterest and Twitter.
Stay tuned for my full Breakfast Room Sources in tomorrow’s post!
THIS IS A SPONSORED POST. A BLISSFUL NEST HAS RECEIVED PAYMENT, TRADE, AND/OR PRODUCTS FROM STIKWOOD IN EXCHANGE FOR PROMOTING. HOWEVER, ALL OPINIONS STATED ARE OUR OWN.






Went to the website of stickwood and they said to not apply directly to popcorn ceiling (needs a smooth surface). Seems like you were able to use it on popcorn directly without issues?
You need a smooth surface to start and our ceilings are smooth. We do not have popcorn ceiling.
Are you having any problems with the boards falling? And if so how did you solve the issue. I used a different product and had a couple fall off. I tried to place them back into place with liquid nails and after a couple of weeks these fell as well. and now I have liquid nail trails that I will need to scrape and sand off. I have a real mess on my hands!
Oh no! We’ve now had them on the ceiling for a solid year and have had no issues. I had 1 board in the corner not be flush but that was because there was no adhesive there. We just used a small nail and nailed in the corner. We’ve been so happy with this particular product!
We have this kind of project in the past and we also did what you have done n this farmhouse. It was an awesome output but yours was most likely the best.
It turned out gorgeous Rebekah! You must be so happy with it 🙂
Beautiful! Night time photos please!!!!
Yes I will do that soon!