This is a sponsored post written by me on behalf of AirStone. All opinions are 100% mine.
Last week I shared my design plans for our media room and you may or may not have noticed there is a faux stone wall in the plans. I wanted a feature wall in the space to break up all the dark blue and decided the back wall would be the perfect spot. Lucky for me AirStone came to the rescue!
AirStone is a super lightweight material that has the beauty, texture, and durability of real stone. The beauty of the product is the easy installation so you don’t need a professional installer. It is such a versatile product and perfect for a kitchen backsplash, outdoor projects like an outdoor kitchen or deck, bathrooms, entryways and so so much more. The ideas are endless.
AirStone’s pieces have a more natural look and lend towards a more traditional and classic style compared to more dated stone panels.
I have to say this is probably one of the easiest DIY projects I have ever done. I had planned to have my husband do it and I just assist but truly it was so simple and easy, I didn’t need his help until the very end. So ladies, get your putty knife ready and jump on in!
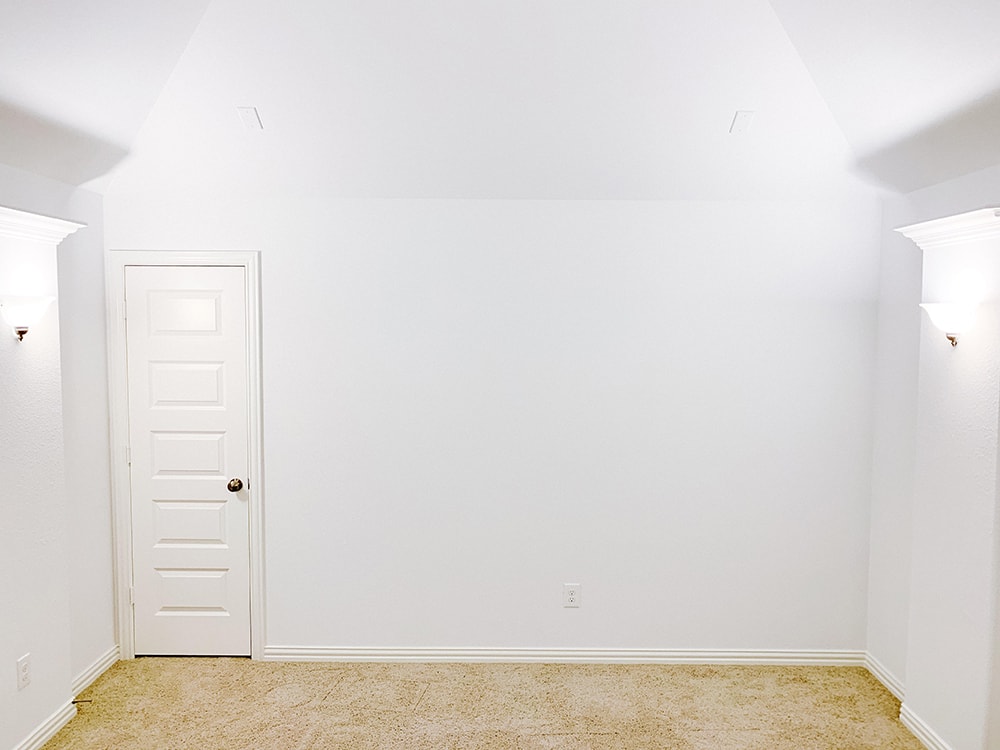
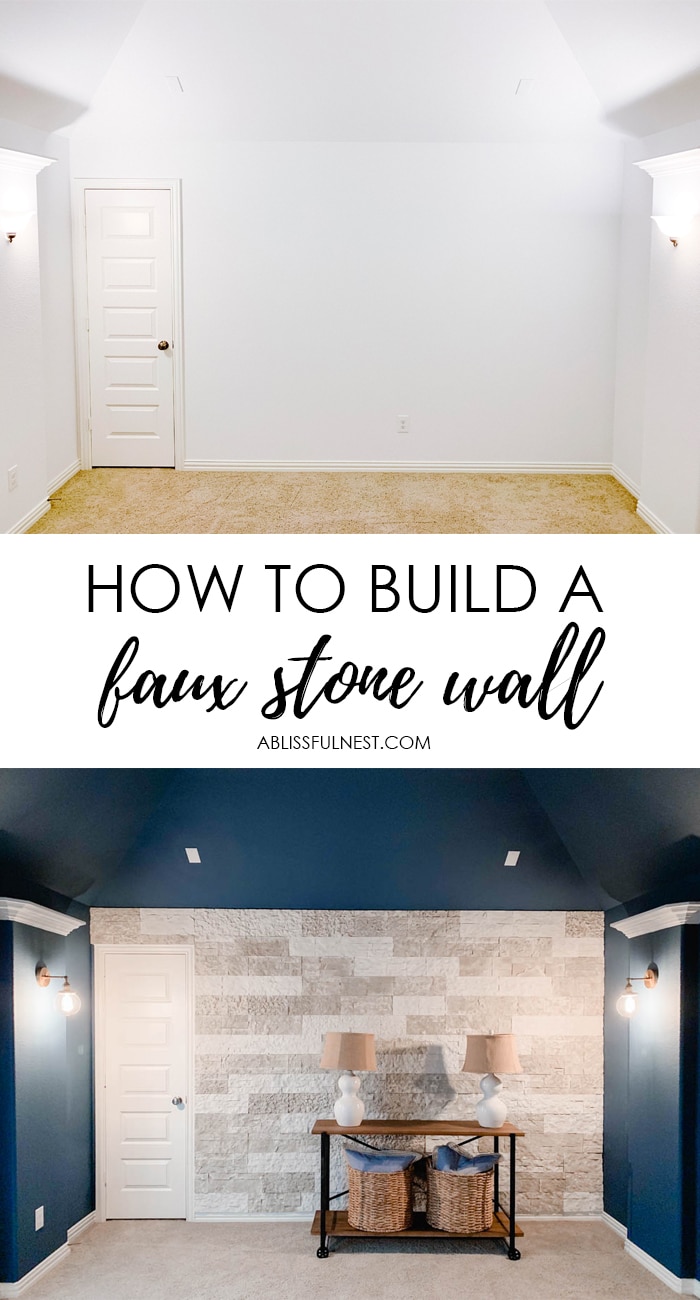
So here is what our media room looked like before we got started. It was a very white blank space with nothing in it.
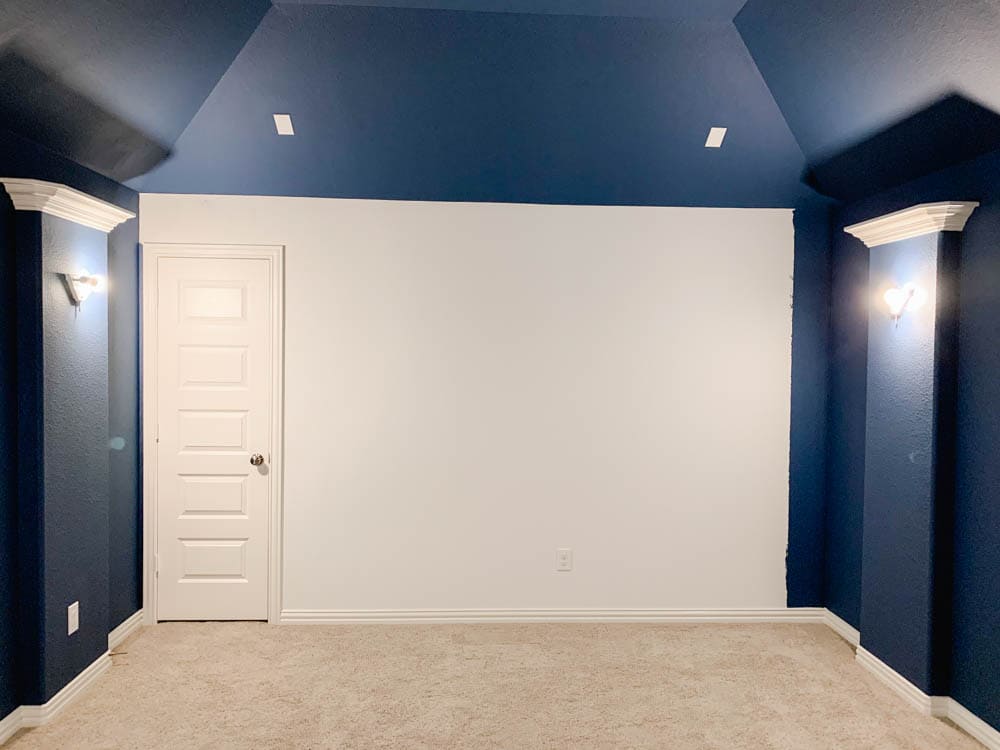
We had the room painted a rich navy color on every wall including the ceiling and left the back wall blank for the feature wall.
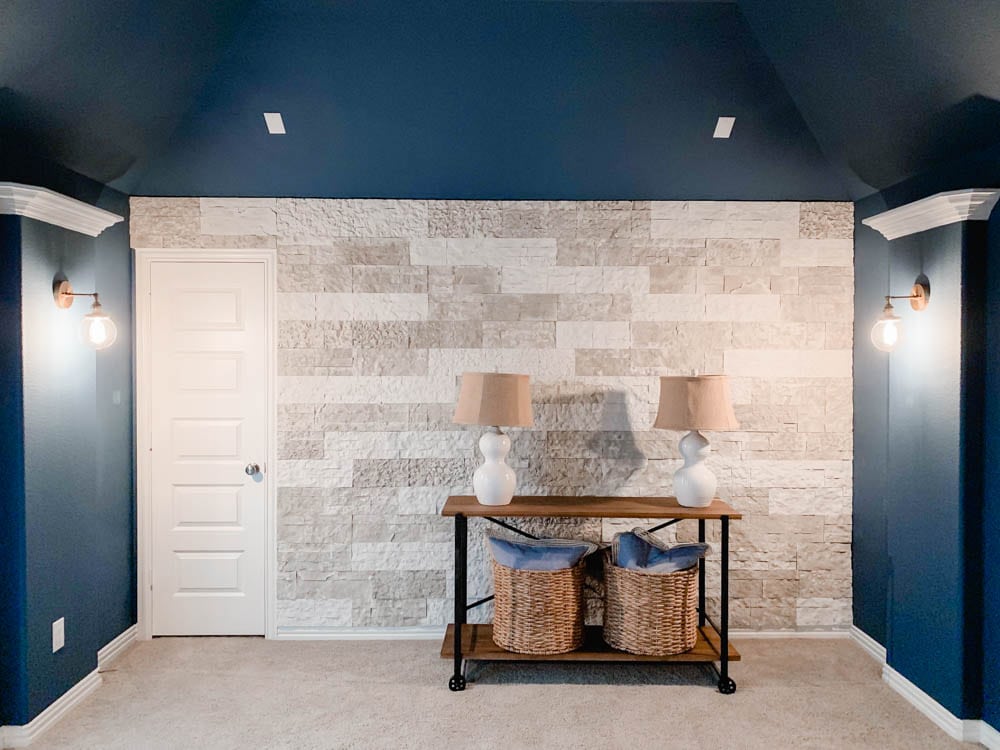
And here it is now! AirStone made such an amazing difference and added in so much dimension to the space. So let me share how easy it was to do and the materials you need to get started.
How to Build A Faux Stone Wall:
Materials:
- AirStone Wall Stones (available at Lowes)
- AirStone Interior Wall Adhesive (available at Lowes)
- Level
- Putty Knife
- Ruler & Pencil
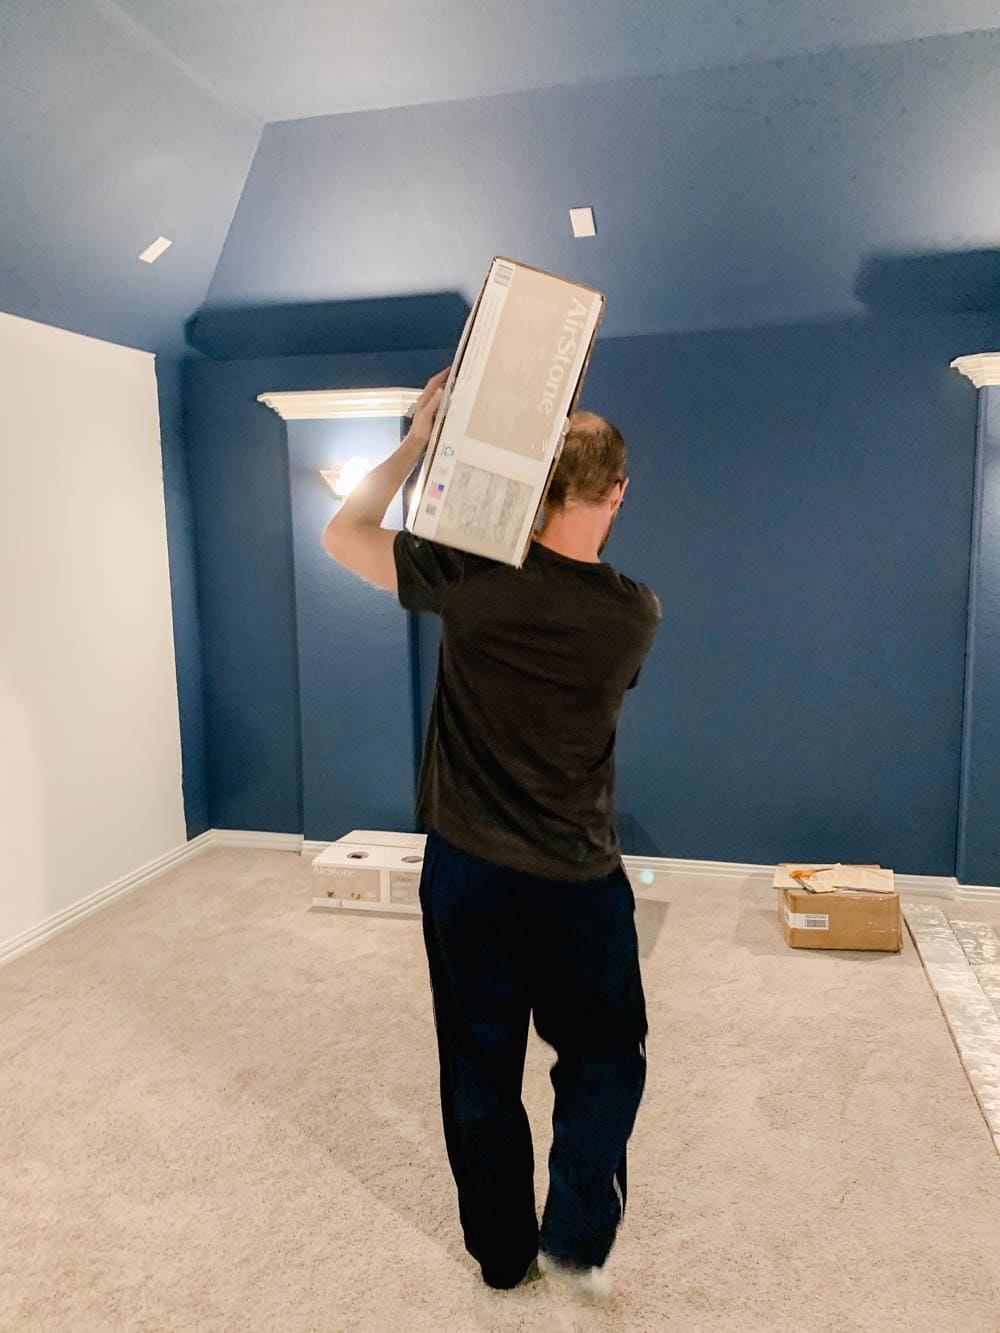
AirStone products are available at your local Lowes in the building materials. Measure the wall you are applying it to to determine the square footage you will need. You can email AirStone and they will help you determine the amount or you can use their guide HERE.
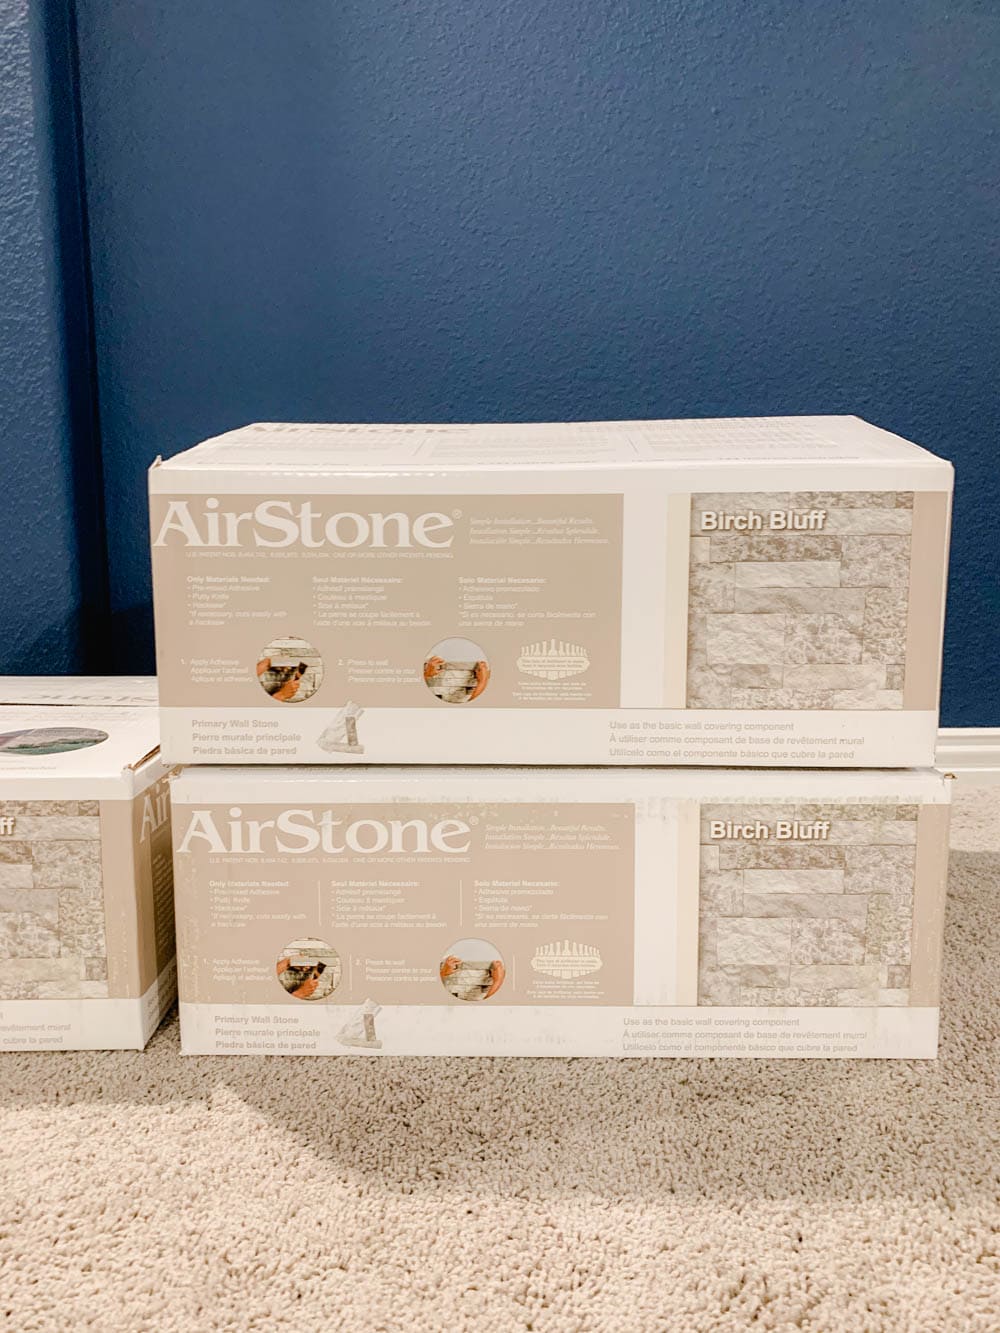
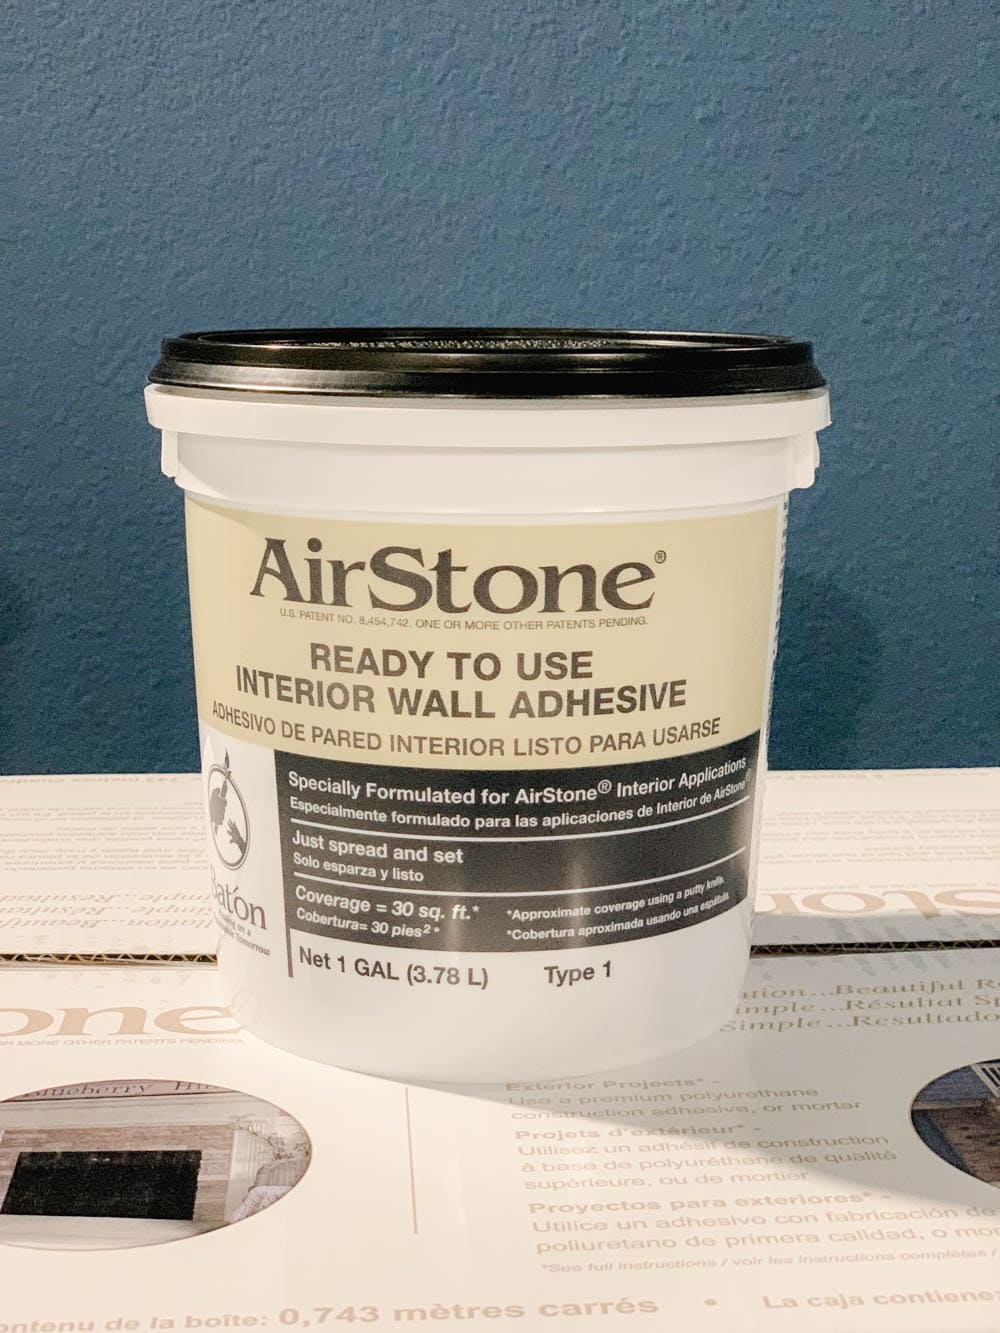
Directions:
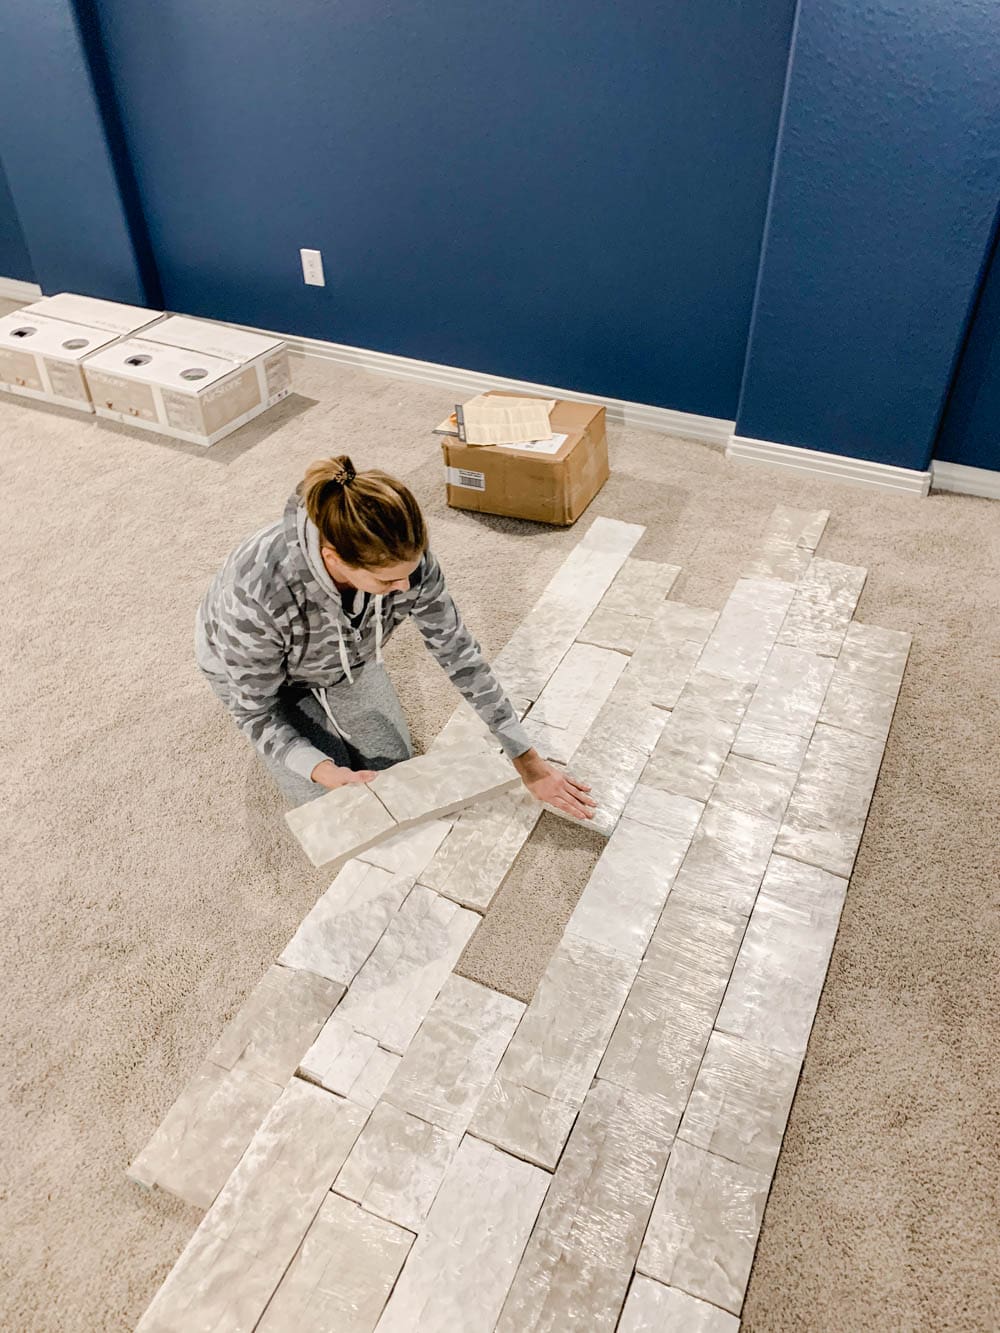
Step 1: Layout your stone in the pattern you would like to put it up on the wall.
AirStone are individual stones, each with a different color tone that, when mixed, creates a natural rock blend. The color I chose was Birch Bluff, which has four different color tones. Typically, the stones of different color tones are individually dispersed throughout the project in a random manner, one tone next to a different tone, etc. However, for this project, I wanted to go for a different look. I really admired the way the stones were laid out in each different “pack” (the tone is shrink-wrapped in plastic packs for packaging, each pack consists of 4-6 pieces, all in the same color tone. I wondered what it would look like to keep the packs together! Then I would end up with larger, 6″x16″ blocks of stone, all in the same color tone.
With this in mind, I laid the packs out on the floor to see what it might look like. I did this in batches since obviously there is not enough space to lay them all out. This gave me a good idea of the overall look I want when putting them up. After standing back and looking at the layout, I decided I really liked it! The pattern to me resembled the large blocks of stone you would see on the side of a castle. . . and yet it somehow gave it a modern, edgy look! After discussing with my husband we decided to go ahead with it. I joked that our project would look like no other AirStone project.
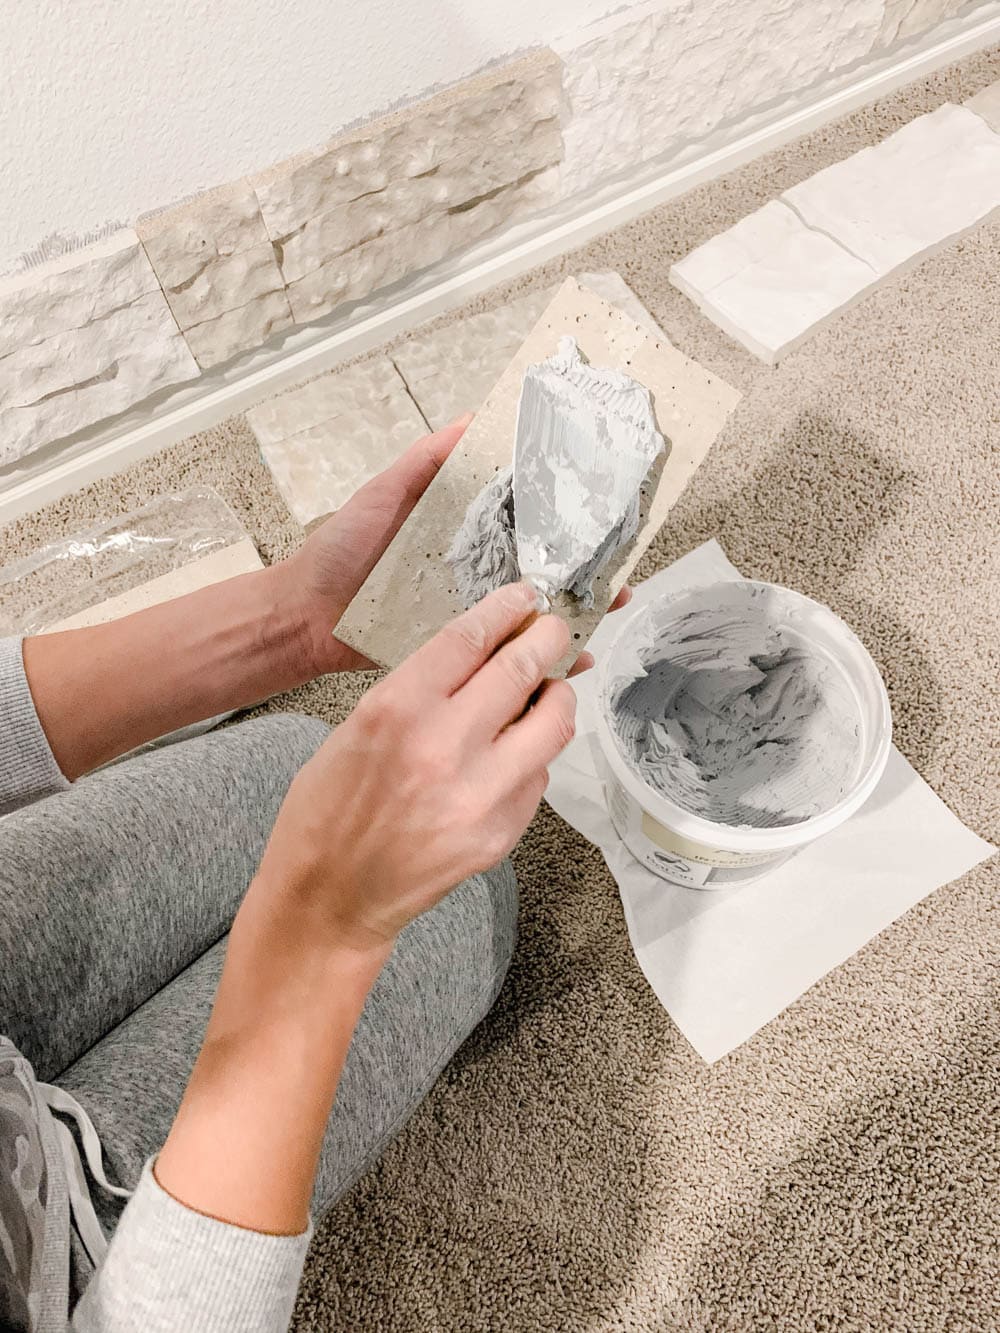
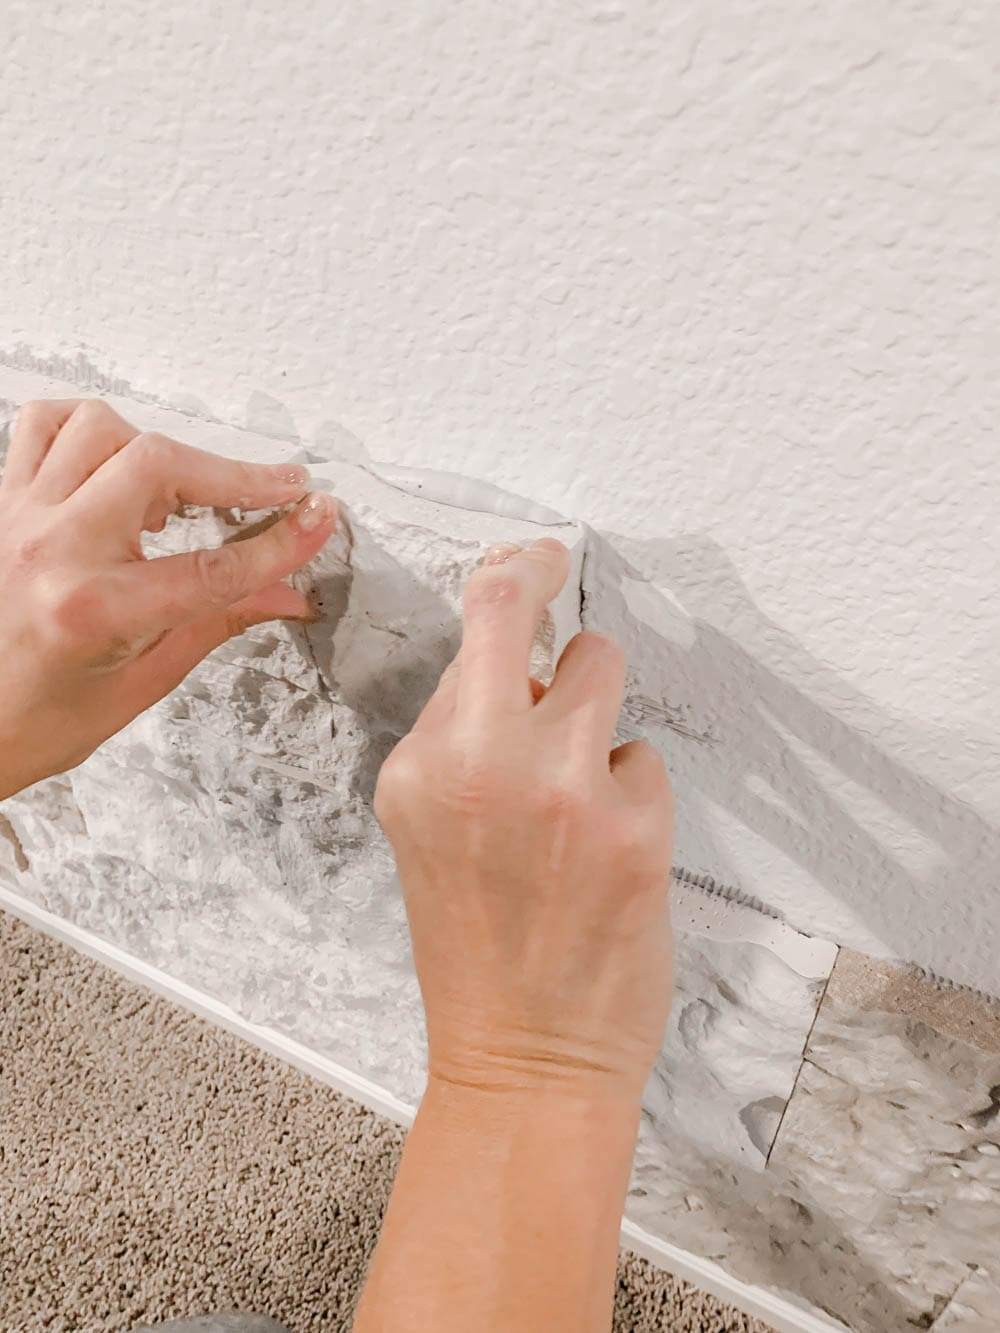
Step 2: Apply adhesive to the back of the stone.
Using a putty knife, apply a layer of adhesive to the back of the stone. Apply it like you are icing a cupcake and don’t make it too thin. Cover the full surface.
The adhesive is not super thin and more creamy so it is really easy to put on and spread out.
Step 3: Place stone onto the wall.
Using pressure, place the stone in place onto the wall. AirStones fit precisely together, so fit them together snuggly, so the seams are minimized.
Hold in place for 10-20 seconds to ensure adhesion. Some of the adhesive may ooze out of the sides and the top which is okay. Just use your putty knife and scrape it off.
Would you like to save this post?
If you need to pull off the stone, you have up to 20-30 minutes to remove it from the wall before it fully adheres. Do this as soon as possible though if you think you’ve made a mistake because the adhesive dries quickly and you don’t want to damage the wall.
Step 4: Cut the stones to fit when needed.
When you get to the end of a row you may need to cut the stones to fit. Using a ruler and pencil mark the stone on the back where it will need to be trimmed. We used an electric hacksaw to then trim the stone. Place it face down before cutting. The stones are pretty easy to cut and do not chip that easily. You can also use a regular hacksaw but the electric one was so easy.
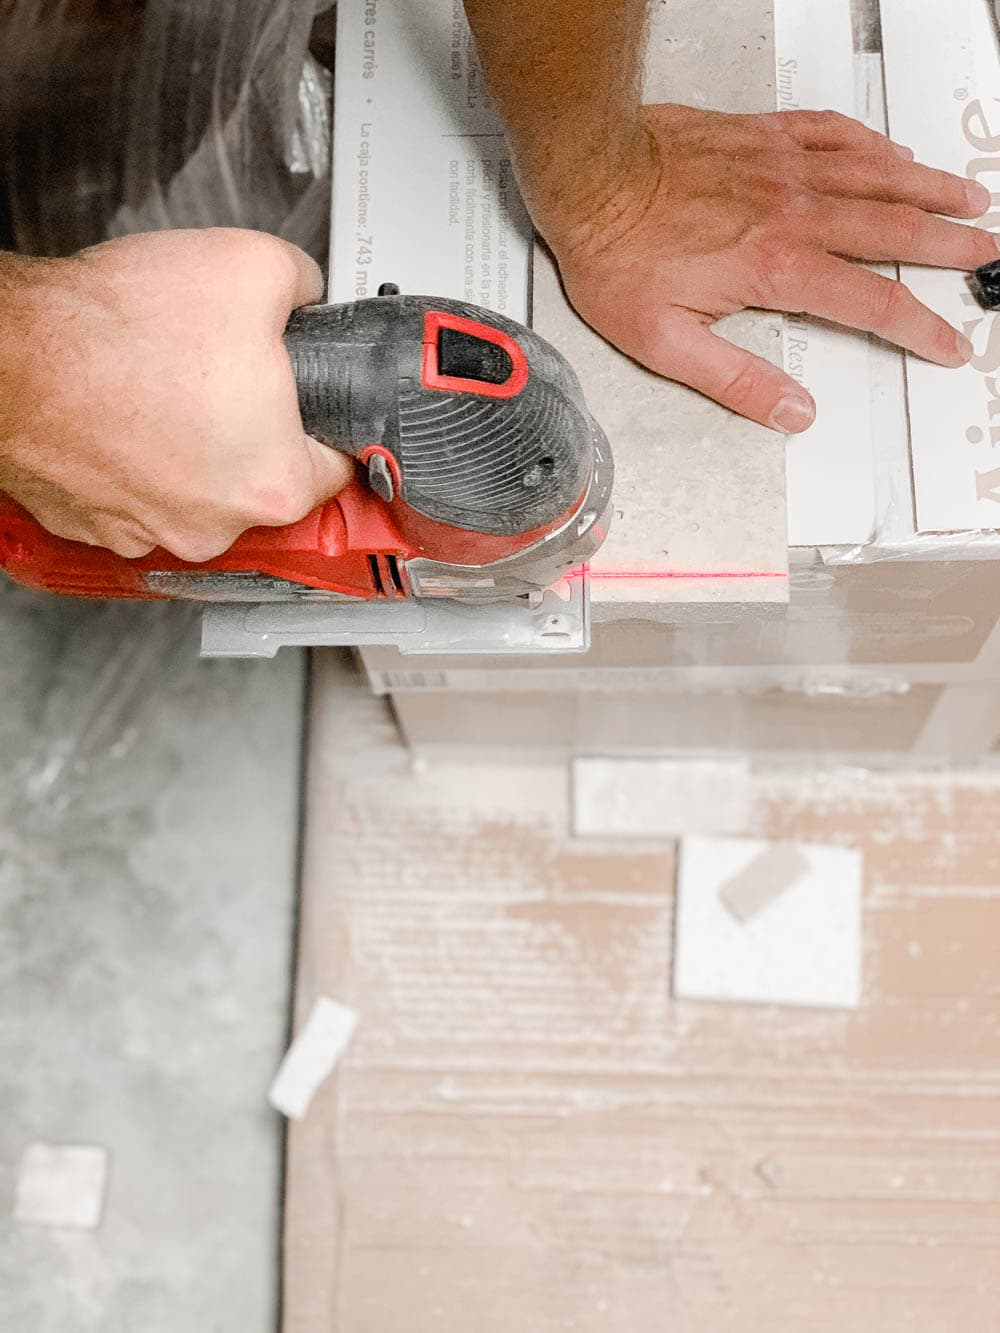
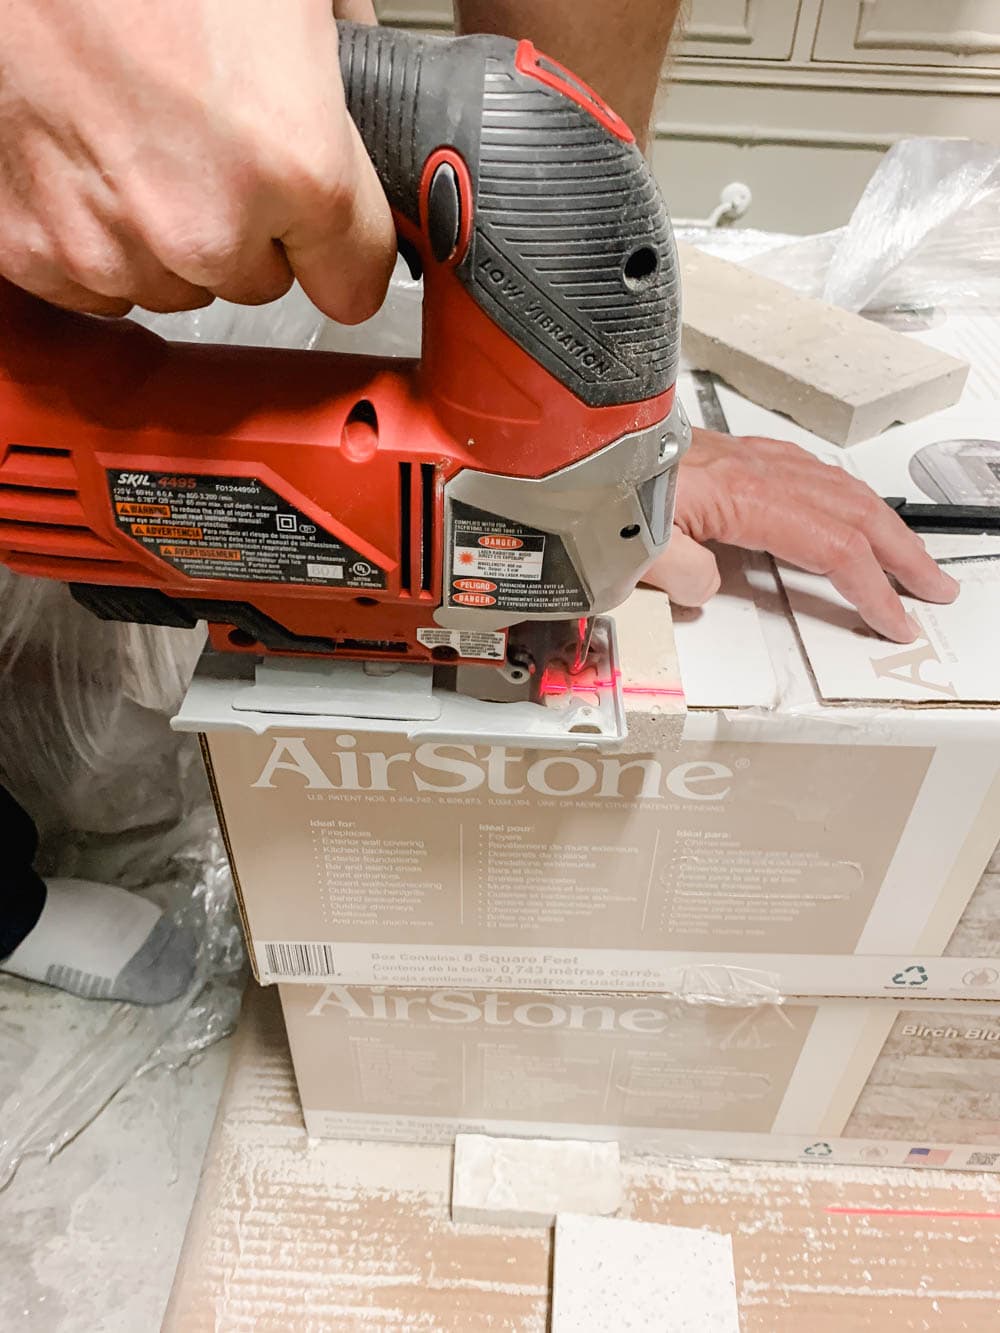
TIP: Use a level as you go to make sure your rows are nice and even. This will help when you get to the top of the wall for the last row to fit securely to the ceiling. It will also help line up the rows on the sides evenly.
You can check out this video for even more installation instructions.
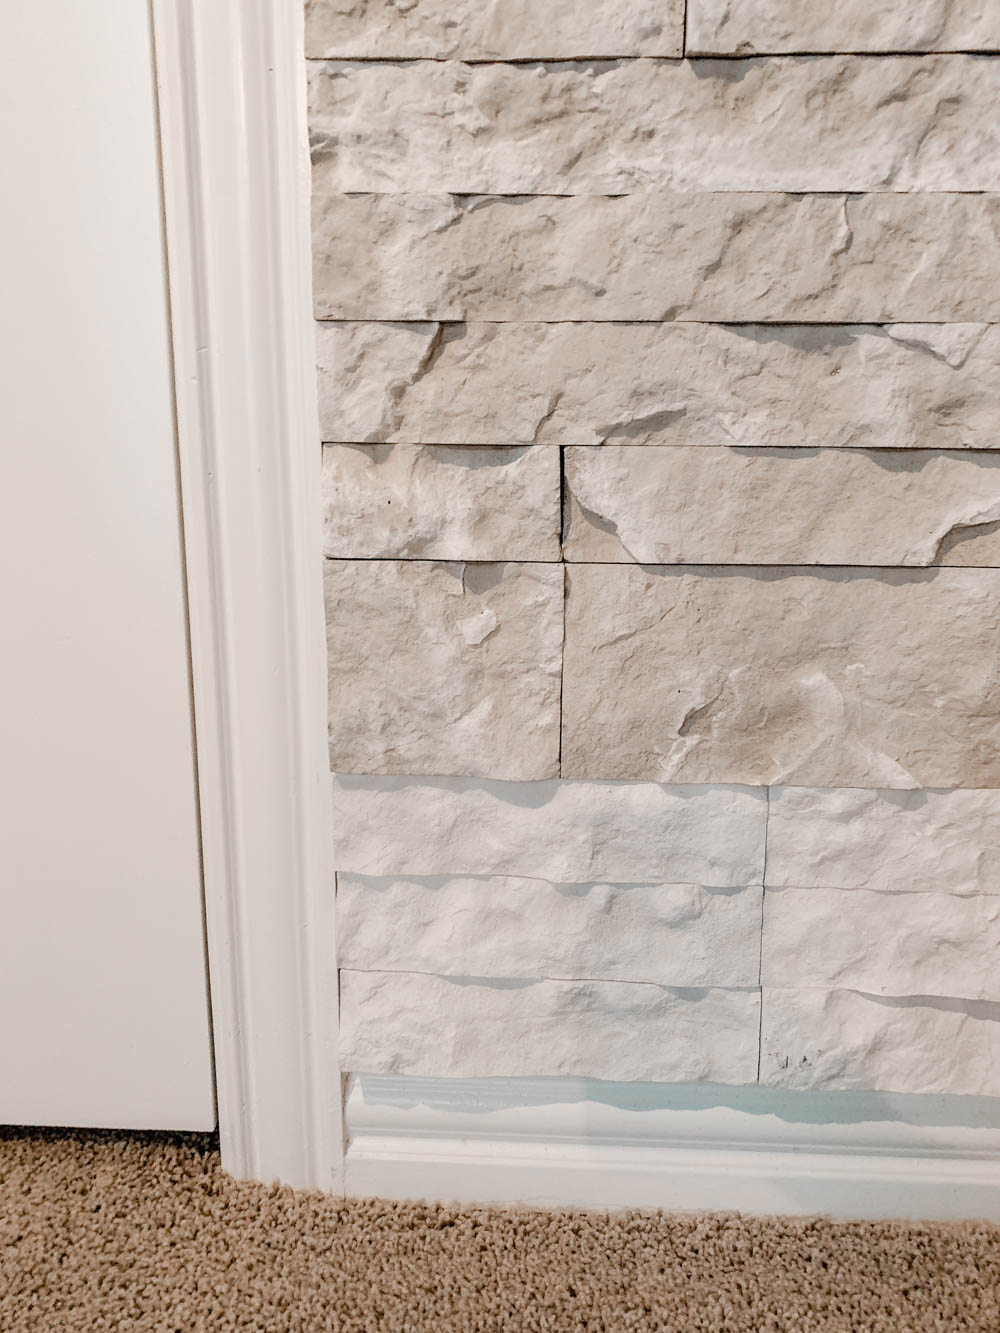
And that’s it my friends! I am in love with the soft texture it adds to the room and rustic look. I wanted a modern feel yet not make this space feel like a cave.
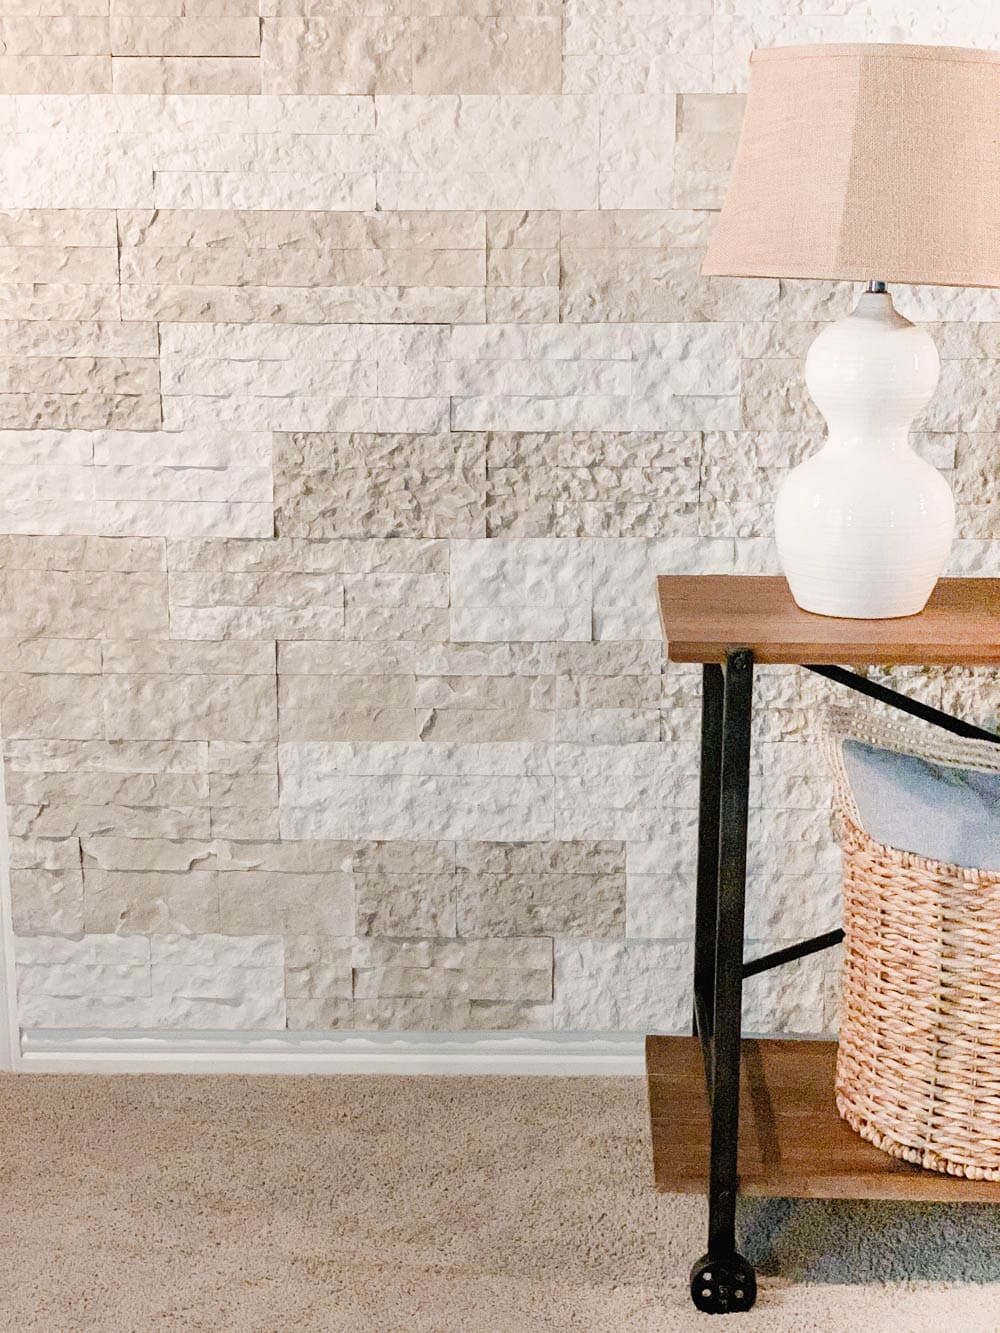
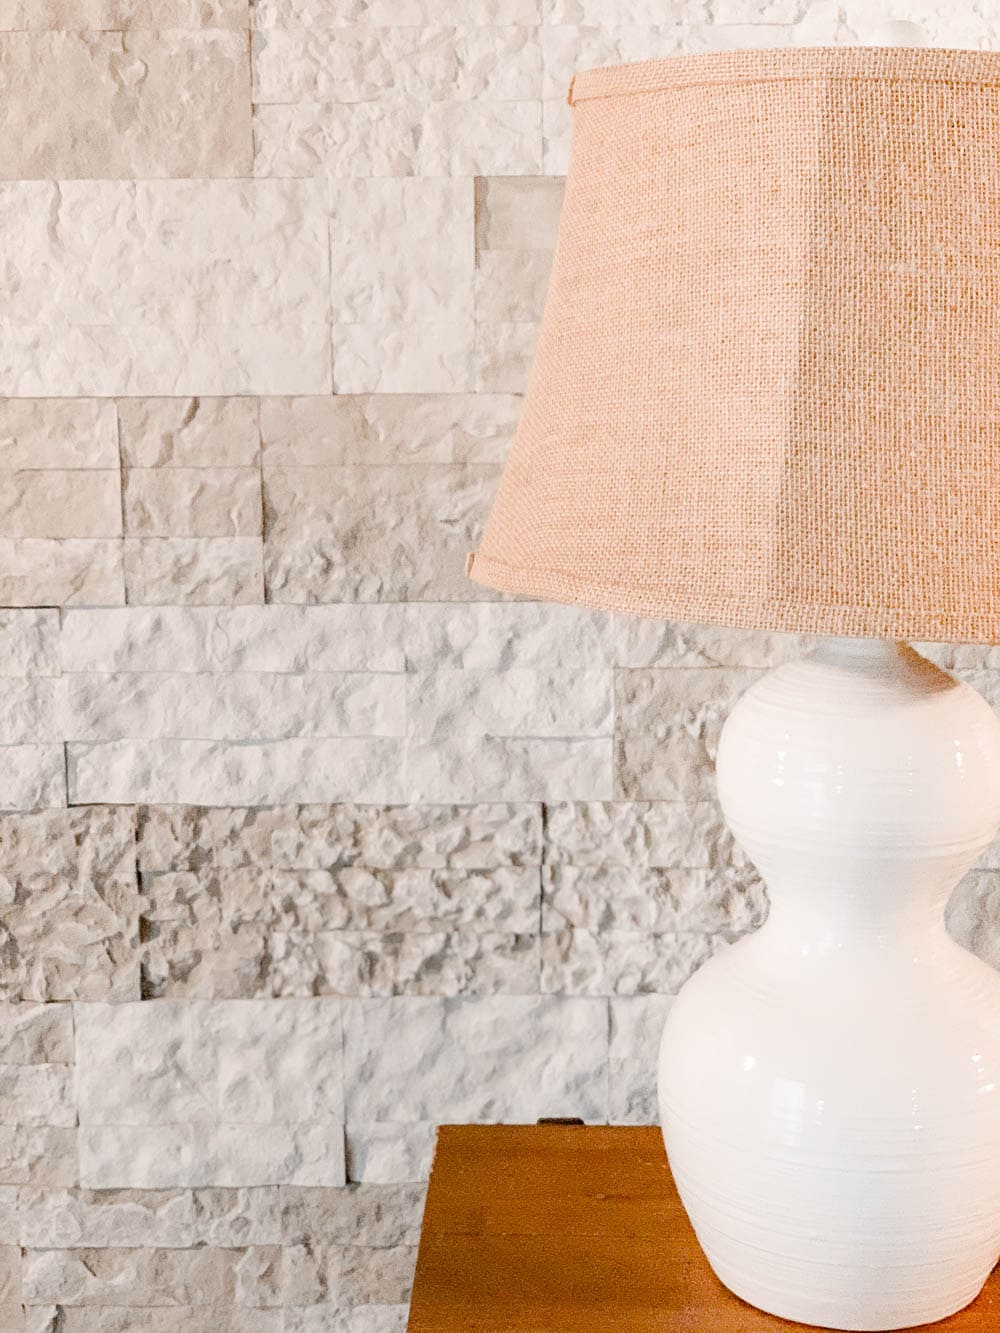
The colors and tones in the stone are so forgiving and easy to create a random pattern with.
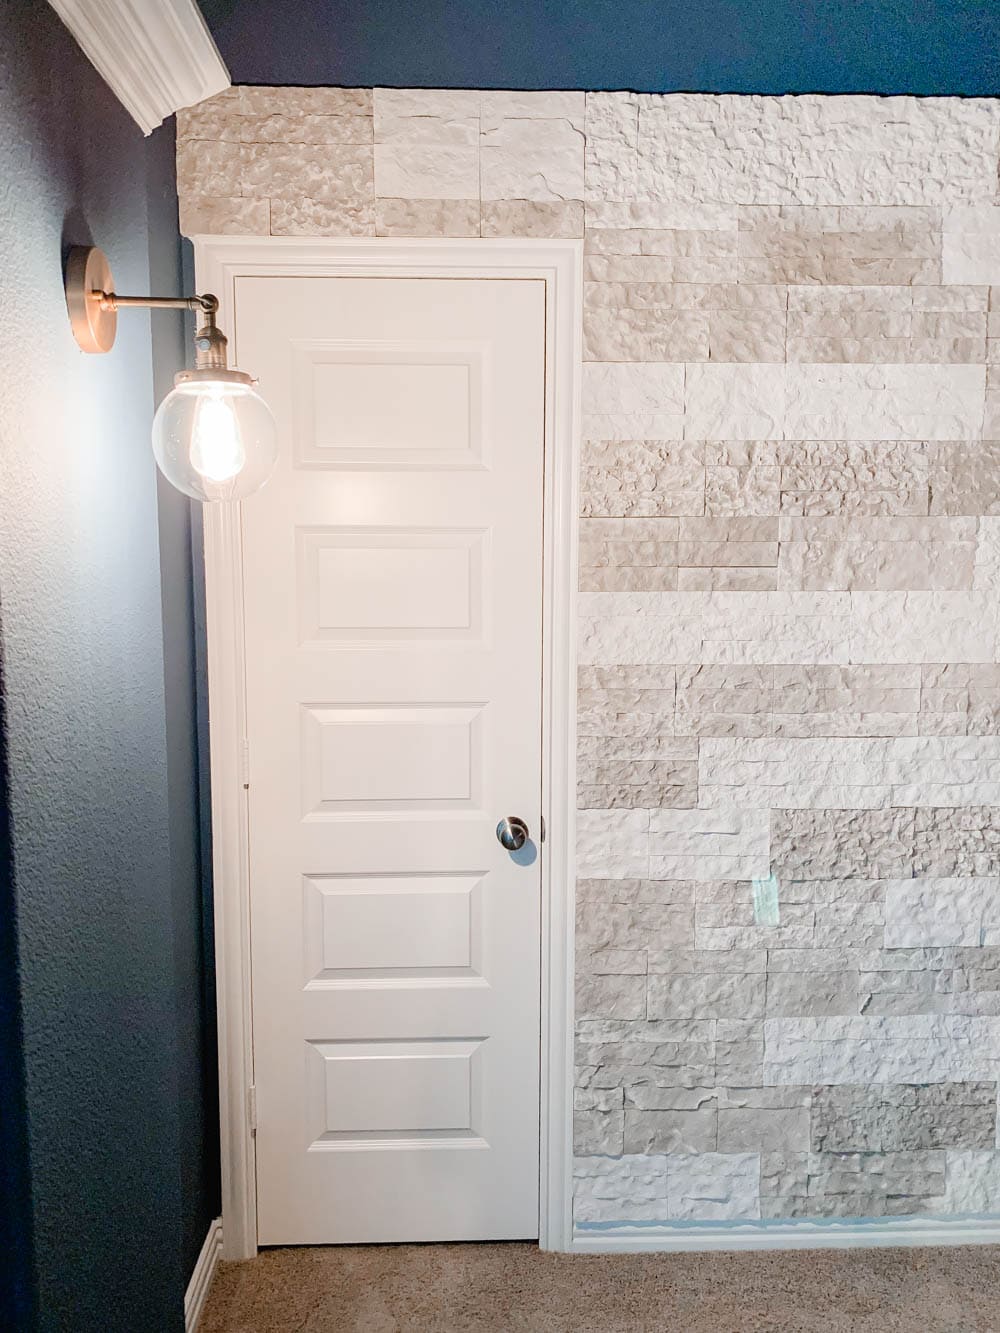
I love how it framed our AV door and carries the pattern through the top header.
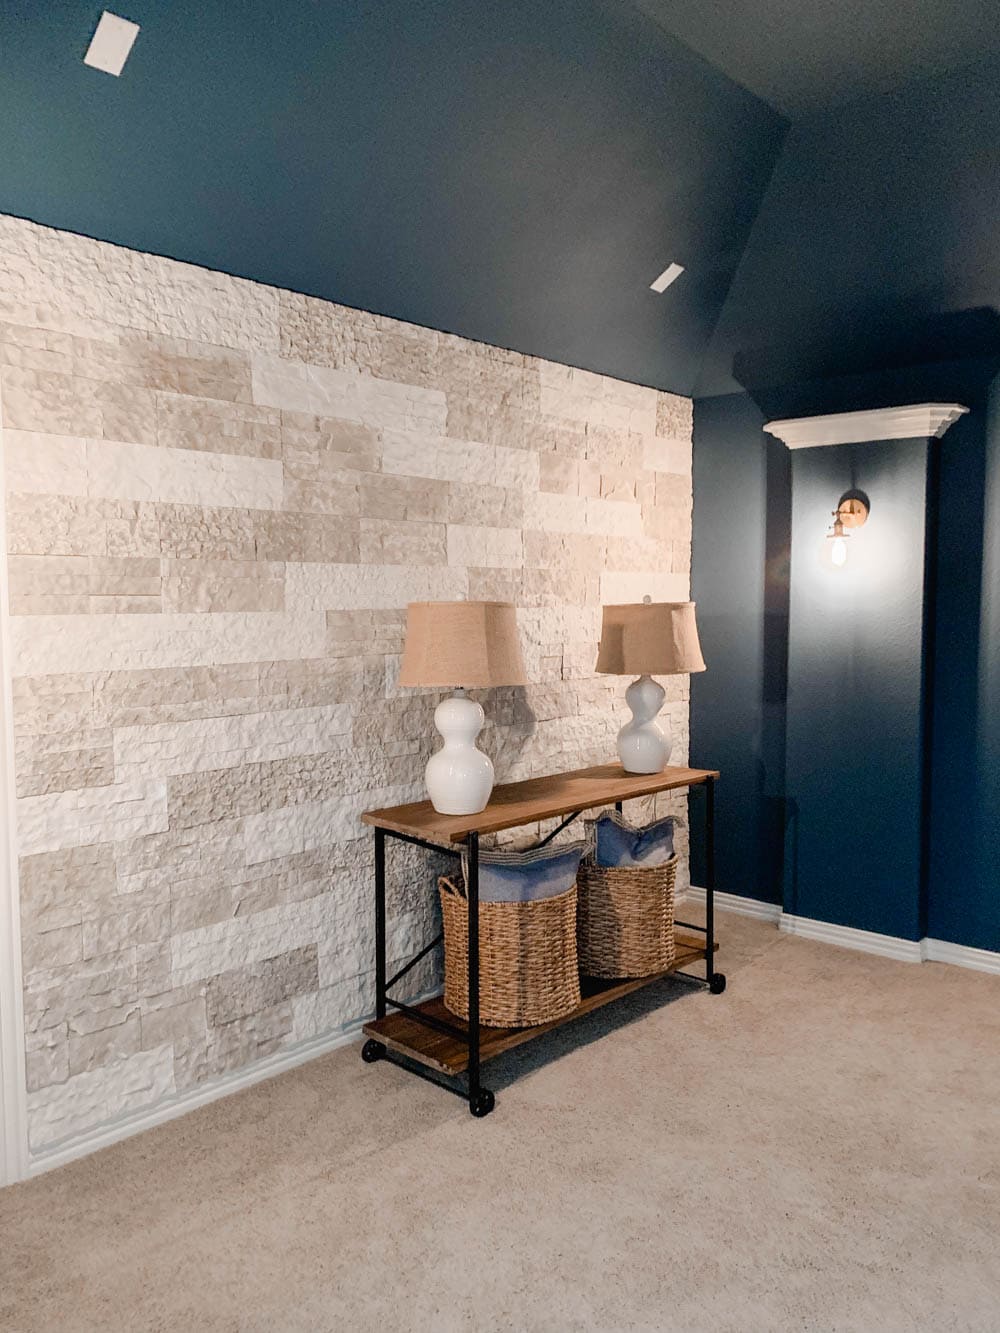
So we can knock off one more thing on our to-do list to completing our media room project. You can see the full plans for the space HERE.

We are so happy with how this project turned out and AirStone could not be more easy to use. I am already dreaming up my next project to use AirStone with!
You can get more information on AirStone on their website and make sure to follow them on Facebook, Instagram and Twitter.
Need to bookmark this post for later?
Pin Our Image:
THIS IS A SPONSORED POST. A BLISSFUL NEST HAS RECEIVED PAYMENT, TRADE, AND/OR PRODUCTS FROM AIRSTONE IN EXCHANGE FOR PROMOTING. HOWEVER, ALL OPINIONS STATED ARE OUR OWN.


Nice! Do you recommend removing baseboard and just have the stone from floor to ceiling or will it leave a weird gap between flooding and wall?
Hi Ty,
I did not for this project but if you do not want an edge sitting above your baseboard then I would.
Beautiful paint color and co wall design.