This post is sponsored by Michaels, but all opinions are my own.
Recently when I was searching for a unique way to incorporate my love for monograms and faux florals, I took myself off to my local Michaels store to grab some inspiration.
I had seen a lot of beautiful monogram letters using florals, but they cost an arm and a leg to buy already made. I love the idea of personalizing a monogram like this but without breaking the bank. That’s when I decided to craft one up myself.
I found so much inspiration in the faux floral section of Michaels, and they are known for having the largest selection and variety to choose from. I love their affordable pricing and that they literally carry every single thing you could imagine you would need for your projects. You know how I love a one-stop-shop!
Besides being one of my favorites to shop with in-store, I am hooked on their same-day delivery service. I can’t tell you how many times I have started a project and then was missing something. Ugh!
You can grab even more inspiration from their new spring home decor guide that just launched. I am so excited to be included in it this year and partnering with them on some amazing projects for spring, like this faux floral monogram letter!
This post may contain affiliate links. As an Amazon Associate and a participant in other affiliate programs, I earn a commission on qualifying purchases at no additional cost to you.
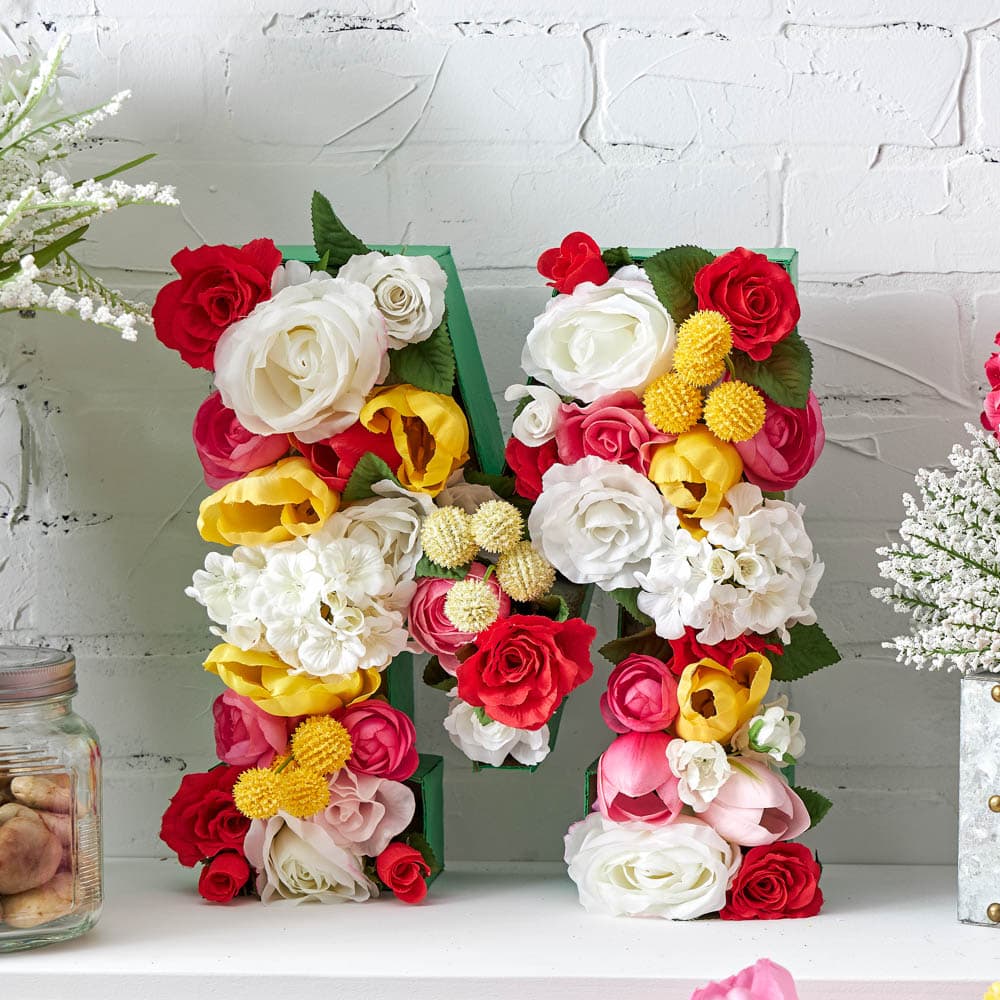
One of my biggest tips for decorating this spring season is to have fun with colors. Embrace the variety of hues and create whimsical pieces for your home to give you that pop of color. You can easily use 1-2 colors of faux florals for this monogram tutorial in different shades for a softer look. That’s what I love about this project is you can really personalize it to match YOUR home decor!
So let’s jump right into the project!
DIY Faux Floral Monogram Letter Tutorial:
Materials Needed:
- Wood letter
- Cardboard
- X-ACTO knife
- Foam blocks
- Glue gun
- Green craft paint
- Paint brush
- Floral stems
Instructions:
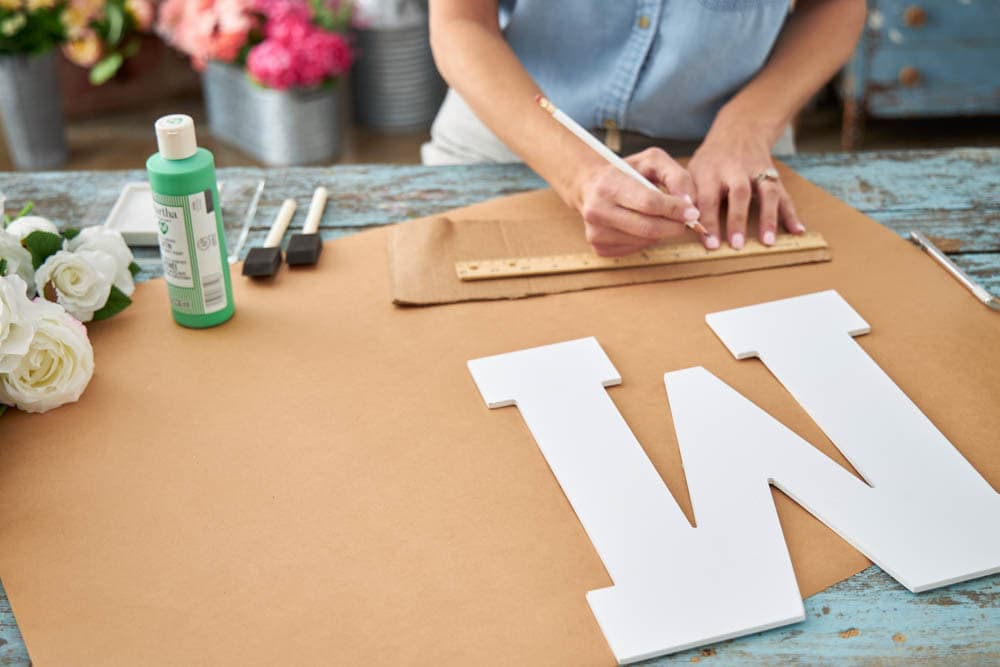
Step 1: Cut cardboard
Measure and cut cardboard strips 3-1/2” high and make the length of each side of your letter using an X-ACTO knife and measuring stick.
The edges do not need to be perfect since they will be covered by the flowers but you want enough height on the sides to cover the Styrofoam inserts.
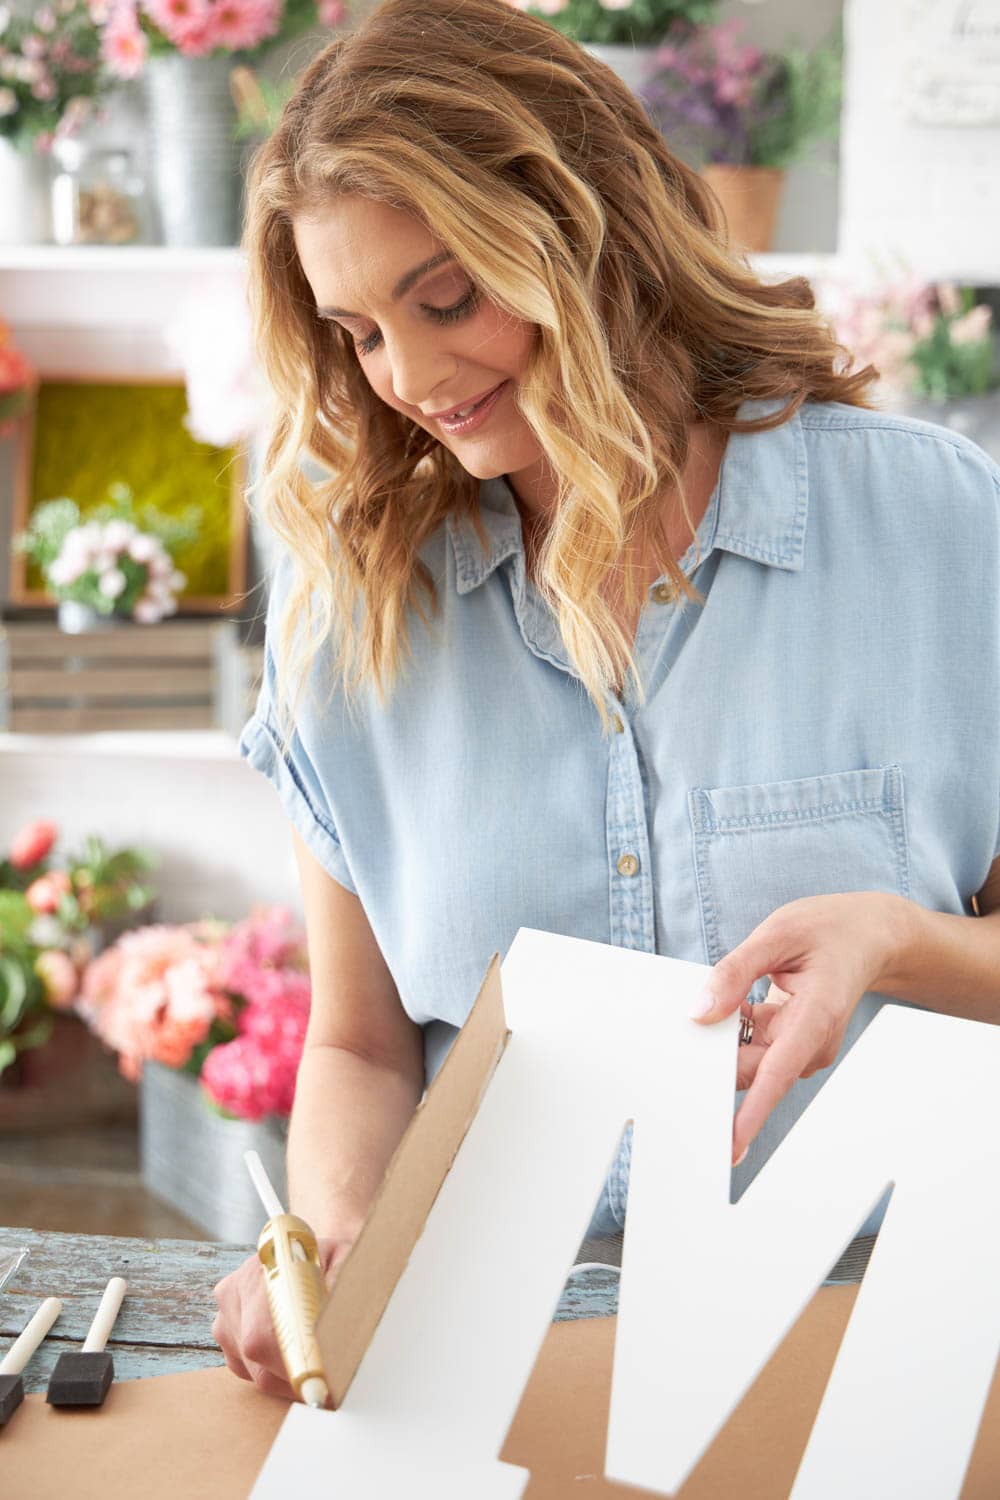
Step 2: Attach cardboard
Attach cardboard walls to your letter using a glue gun. Lay your letter flat. Add glue only to the edge of the cardboard being attached to the letter.
Then place the cardboard wall onto the side of the top of the edge of the letter to create a wall. Hold in place until dry and wipe excess glue off before it dries.
Continue until all edges of the letter are outlined by a wall of cardboard.
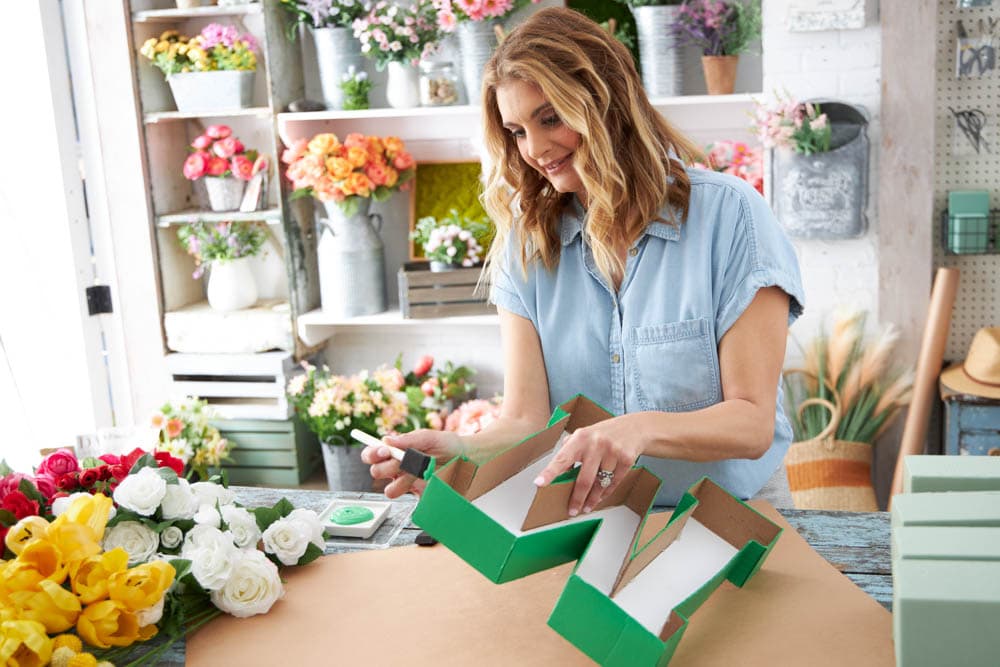
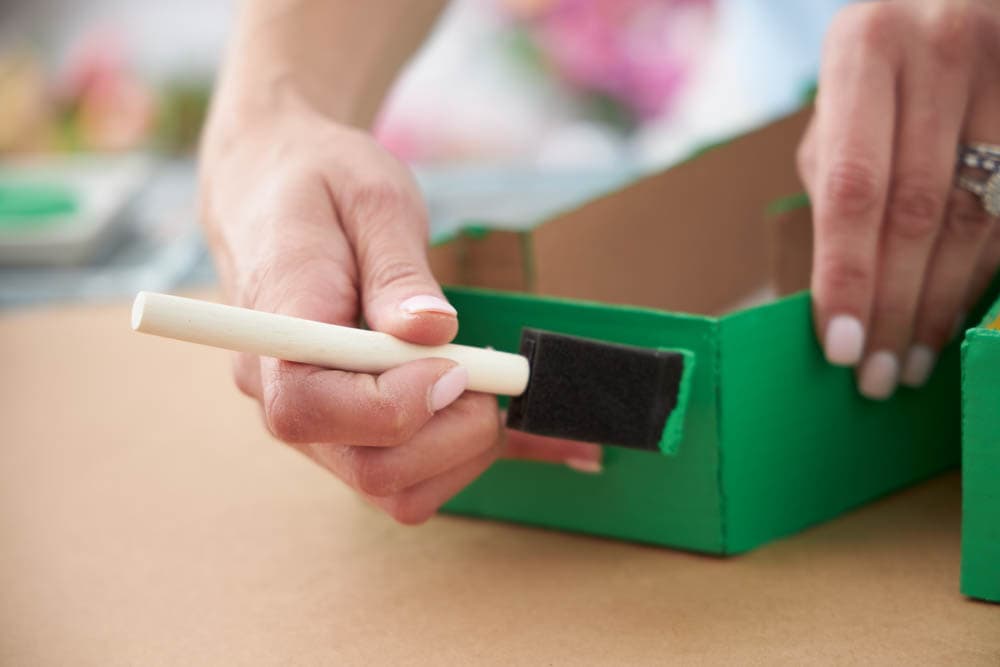
Step 3: Paint cardboard sides
Using a craft acrylic paint and paint brush, paint the exterior sides of the cardboard walls that are now attached to your letter.
Would you like to save this post?
Use a green color to make it blend with the floral foam and stems of the flowers. Let dry according to bottle instructions.
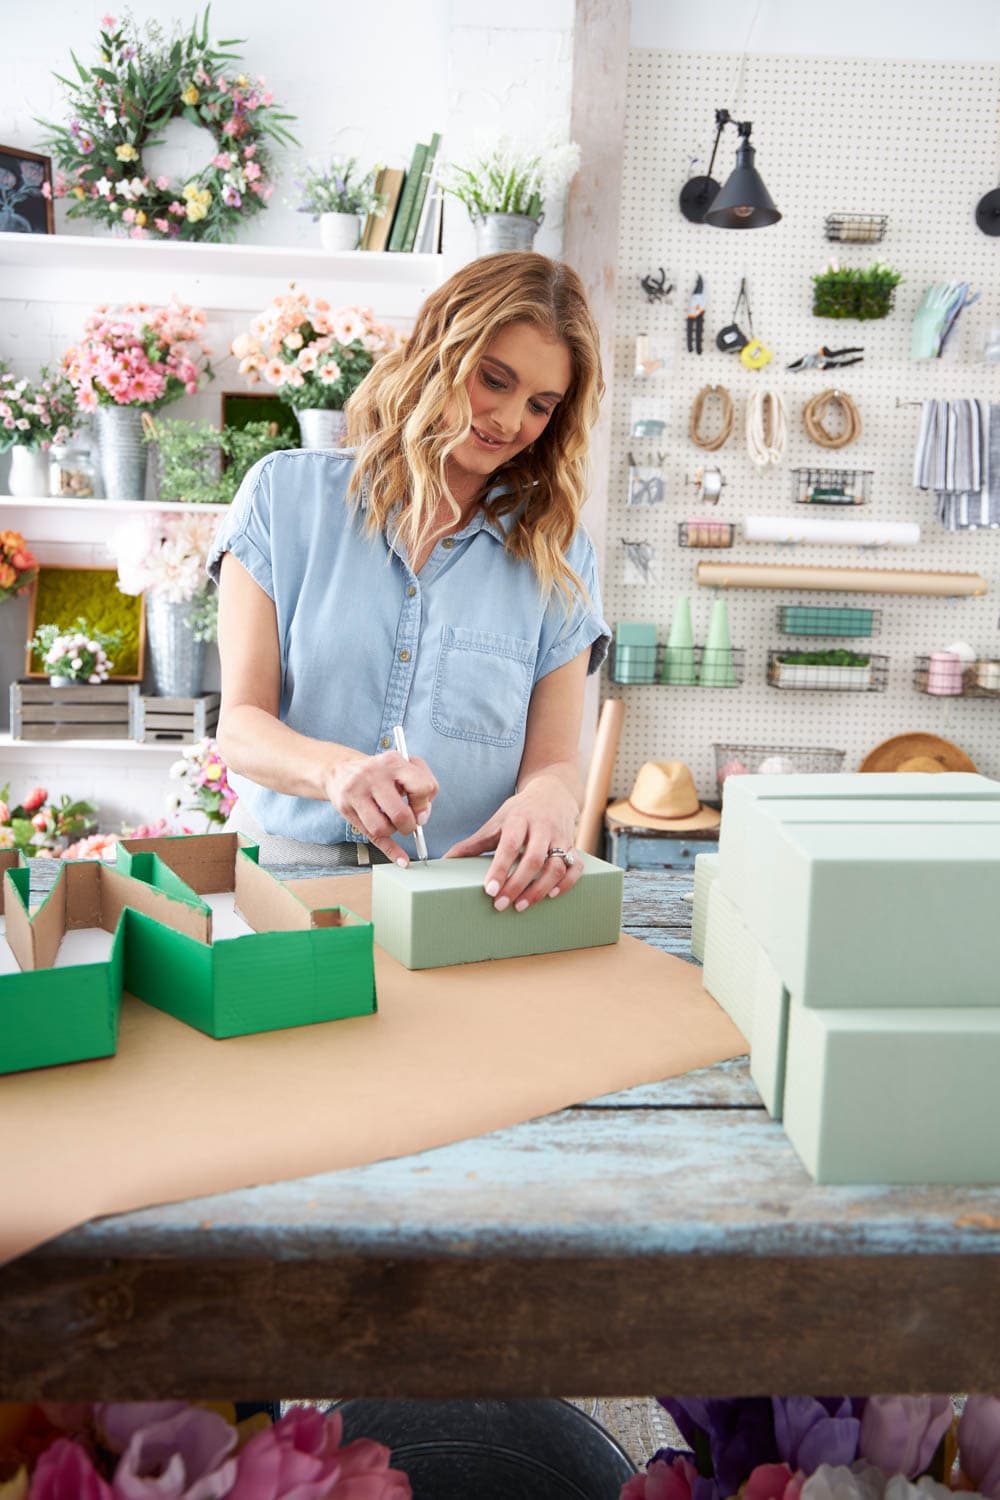
Step 4: Fill with foam
Cut floral foam to fill the inside of the letterbox. This can be messy and not exact. The flowers will cover it later.
Using the glue gun, glue foam to the bottom of the letterbox for extra support of the flowers. They can be heavy once you get them all in there and pull the foam out. This just helps secure them better.
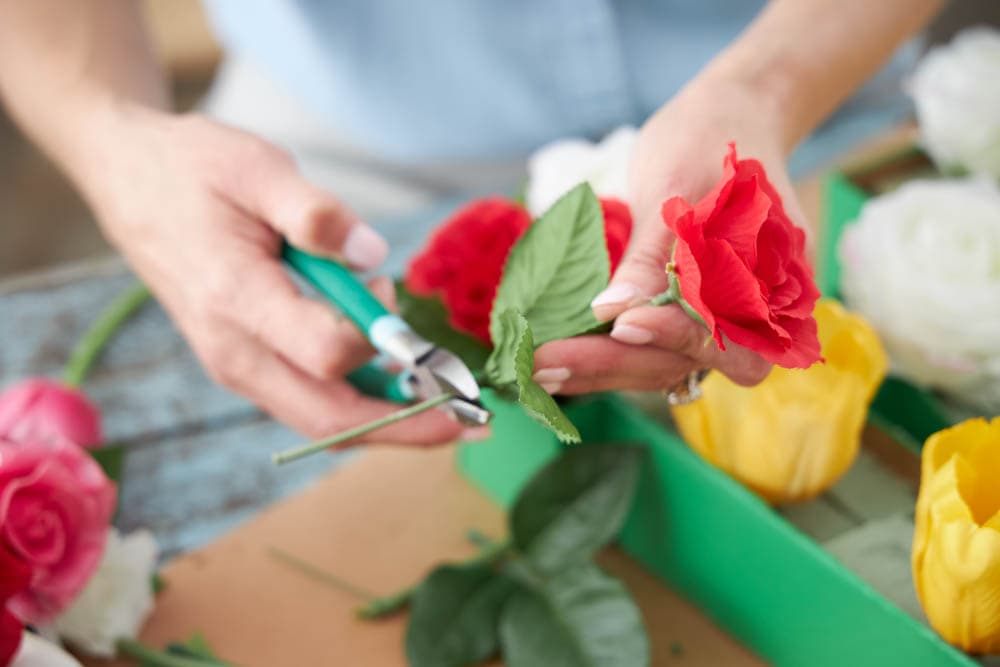
Step 5: Cut flowers
Snip the stems of the floral picks about 1”-2” from the flower. Try to use florals with varying heights and sizes for more contrast.
This is when you can be as creative as you want and have fun with color!
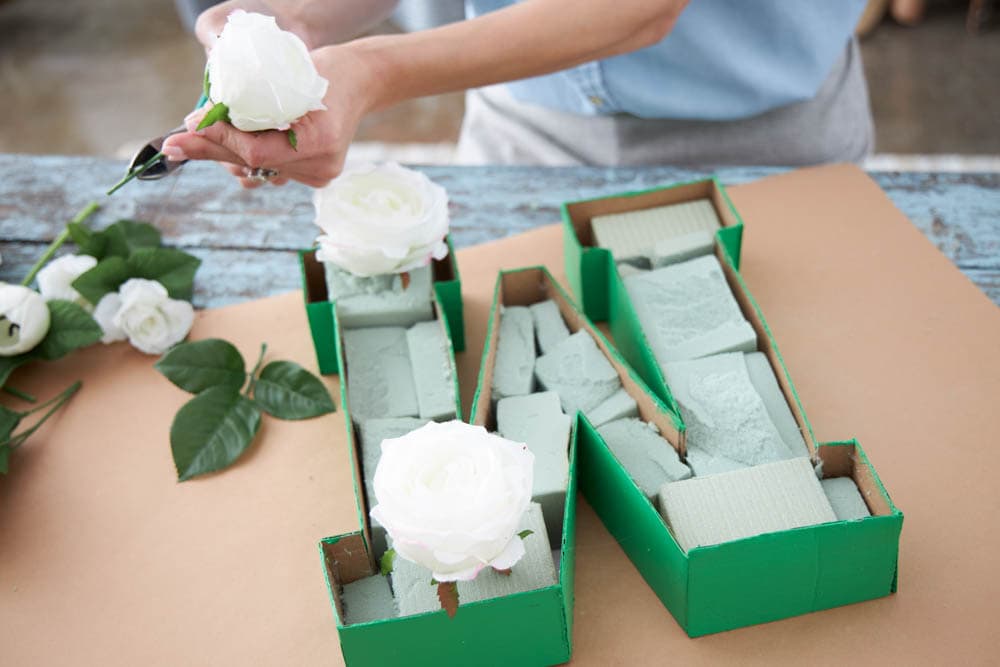
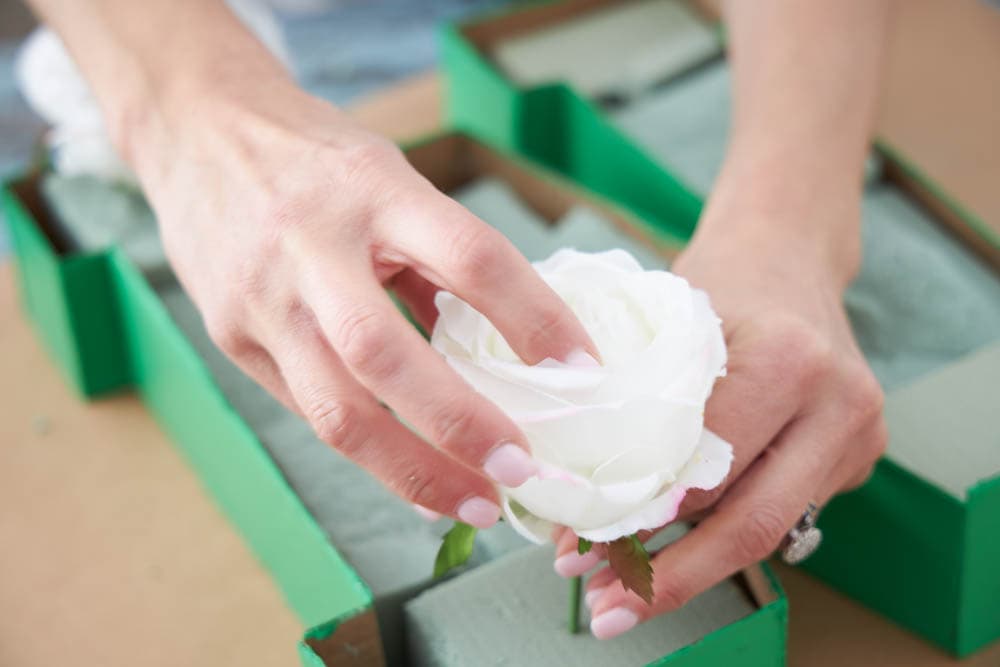
Step 6: Add flowers
Stick flowers into foam and vary placement to create a full and whimsical look.
Start with the largest blooms first and work your way to smaller picks like berries and greenery to fill in any gaps.
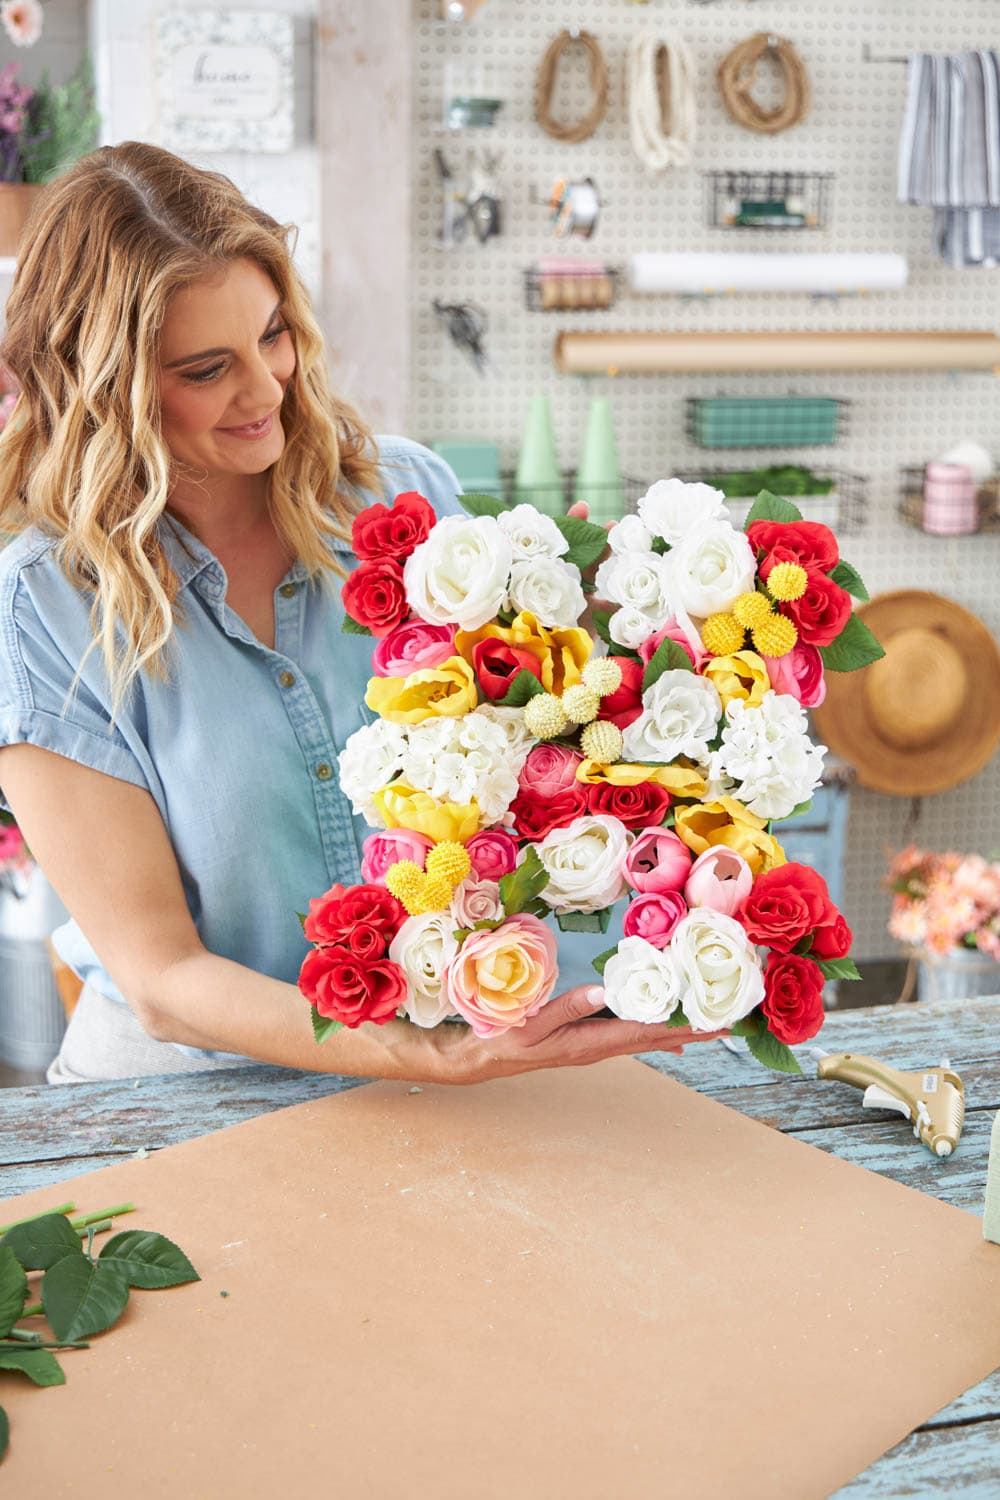
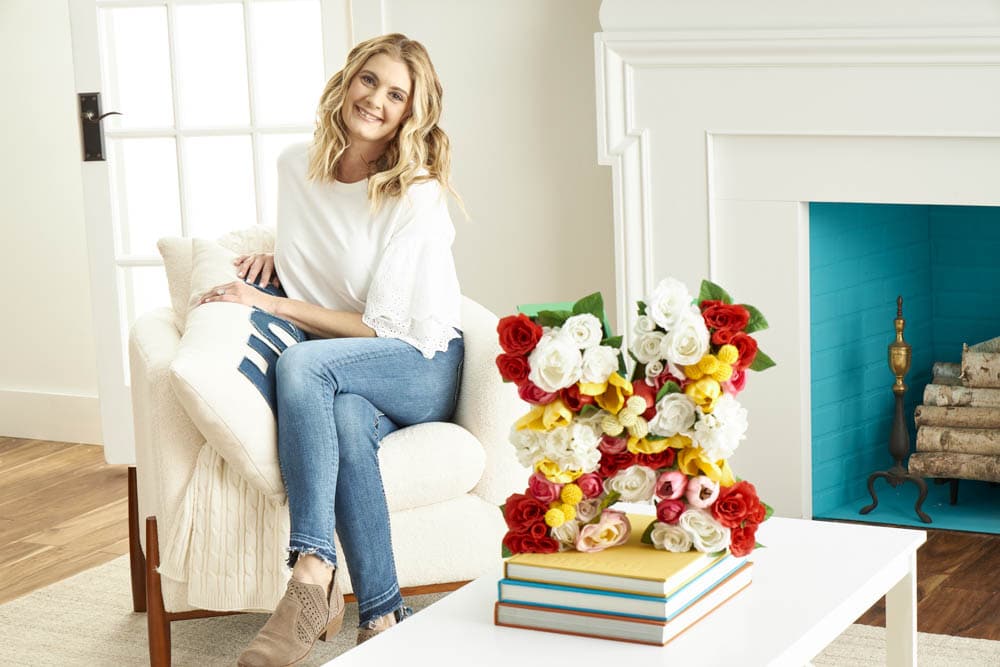
And voila you are done! It really makes such a statement and I love this either for a fireplace mantle or add a ribbon and turn it into a wreath for your front door.
You can even swap out the flowers next season and create a whole new color scheme!
I really cannot wait for you to see all the projects I have come up with for this spring season with Michaels!
I know you will love each and every one of them as much as I do. They are all simple to create but make BIG impact which you know is so important.
Make sure to check out the new Michaels Spring Decor Guide and let me know what you are adding to your home for spring!
THIS IS A SPONSORED POST. A BLISSFUL NEST HAS RECEIVED PAYMENT, TRADE, AND/OR PRODUCTS FROM MICHAELS IN EXCHANGE FOR PROMOTING. HOWEVER, ALL OPINIONS STATED ARE OUR OWN.


