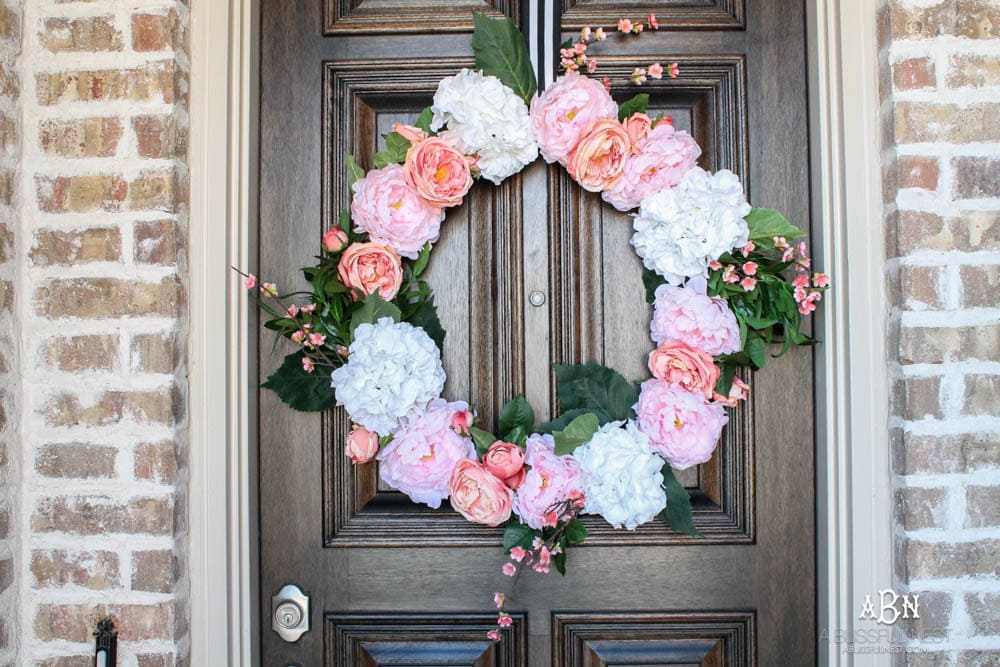
A few weeks back I shared my spring front porch and this gorgeous peony flower wreath I had made. It is really simple and you can custom the colors to match whatever look you are going for. I chose peonies because they are one of my favorite flowers at this time of year and hydrangeas are always a go to flower for me. It’s one of those wreaths too that will go through the summer months and still make your porch fresh and colorful. I typically do not make all my wreaths for each season, but when I have the time it is a fun way to add your personal touch to your front porch.
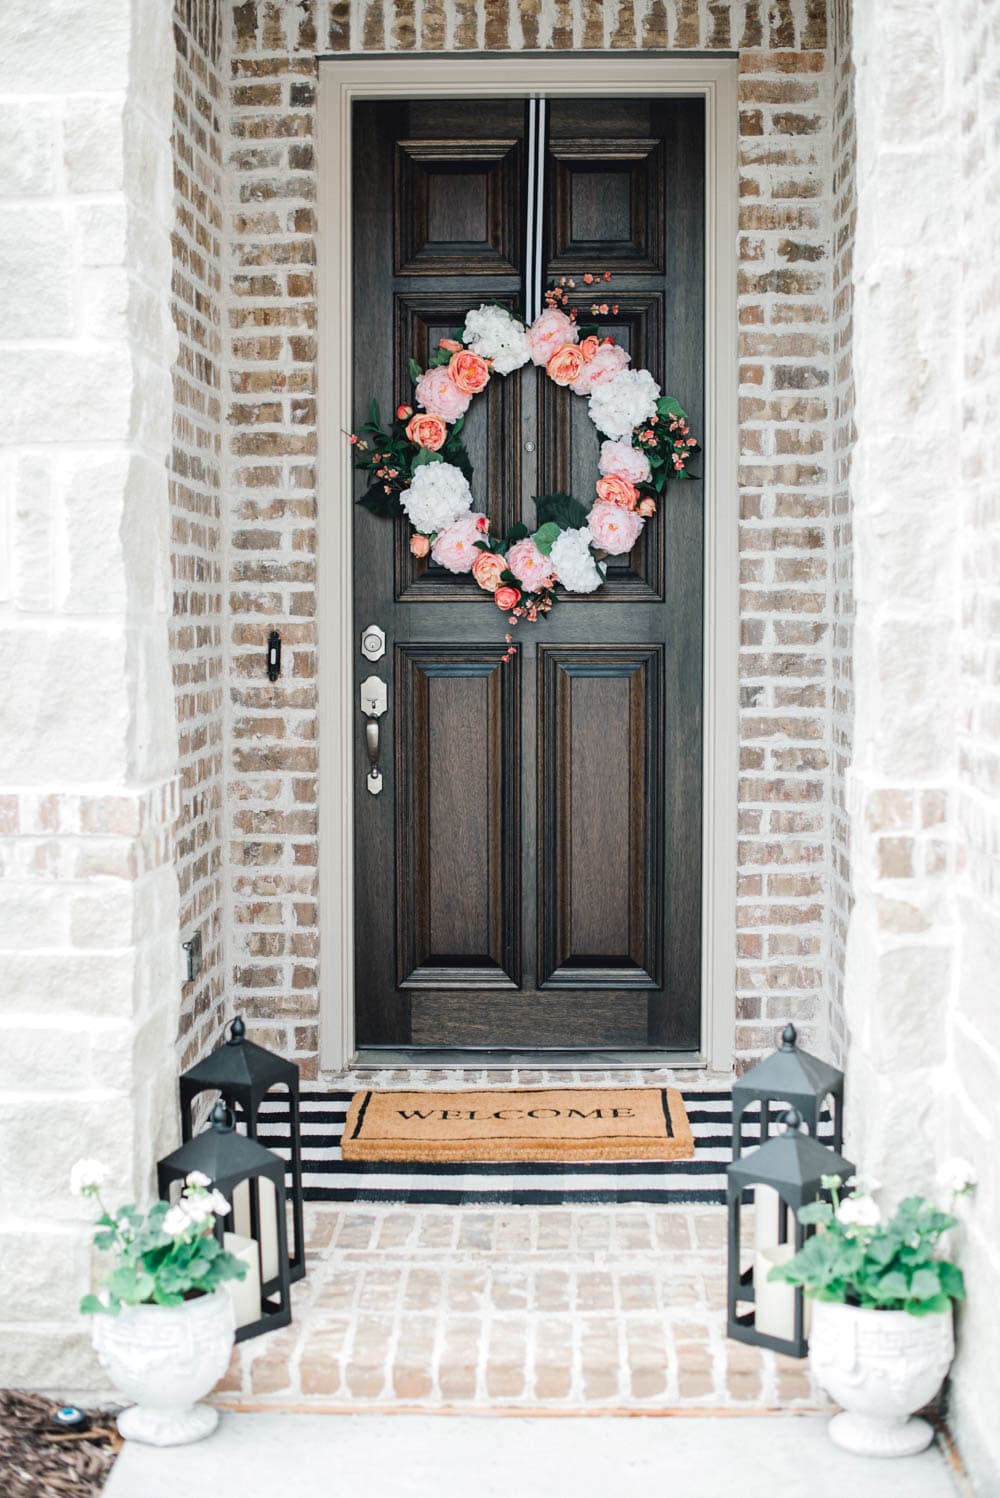
Photo by Sweet Memory Photography
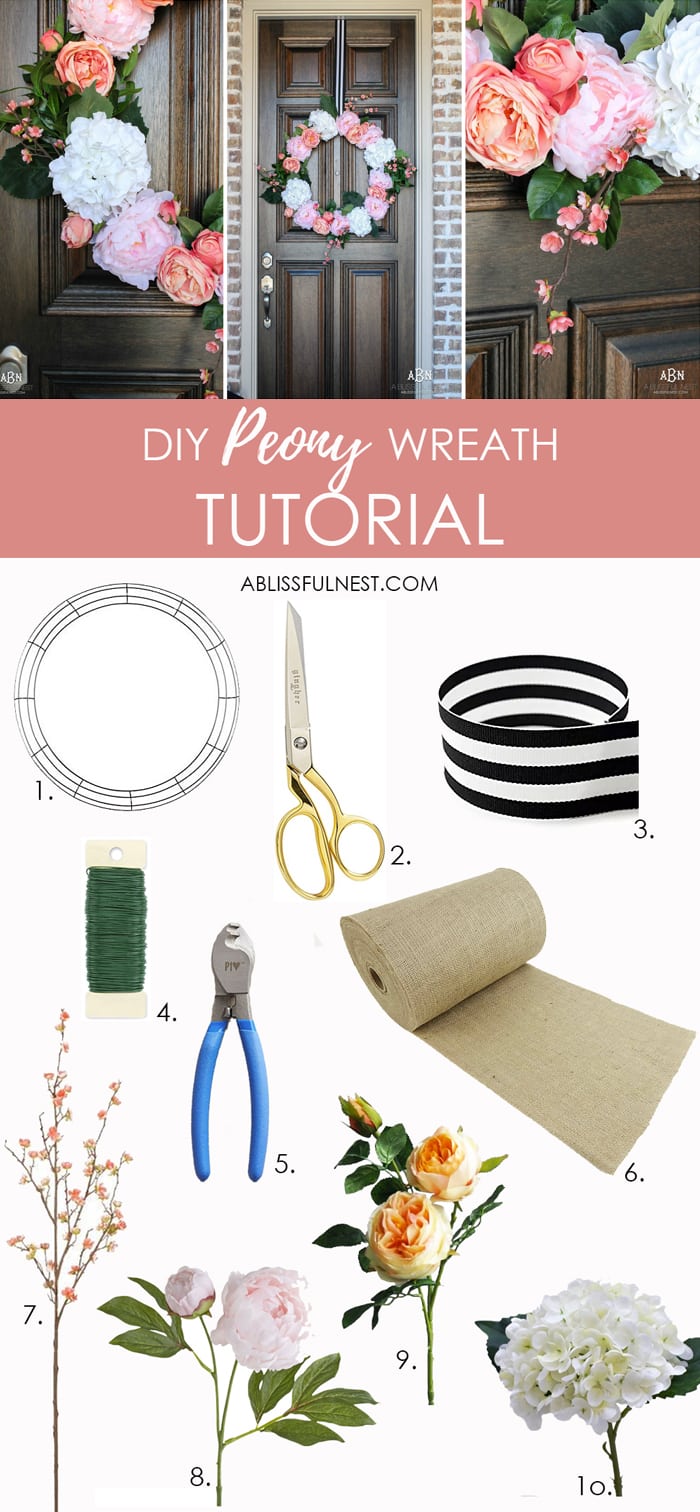
Supplies Needed:
- 24″ wire wreath form
- scissors
- ribbon
- floral wire
- wire cutters
- 12″ burlap
- faux cherry blossoms (I used 1 stem)
- faux peonies (I used 7)
- faux roses (I used 5)
- faux hydrangeas (I used 4)
Peony Flower Wreath Tutorial:
Directions:
Step 1: Weave the burlap ribbon in and out of the wire frame to start the ribbon off. This is just to secure the beginning of your burlap ribbon. You could also hot glue this to the frame to make it more secure. It really isn’t necessary though since you will be layering the ribbon next.
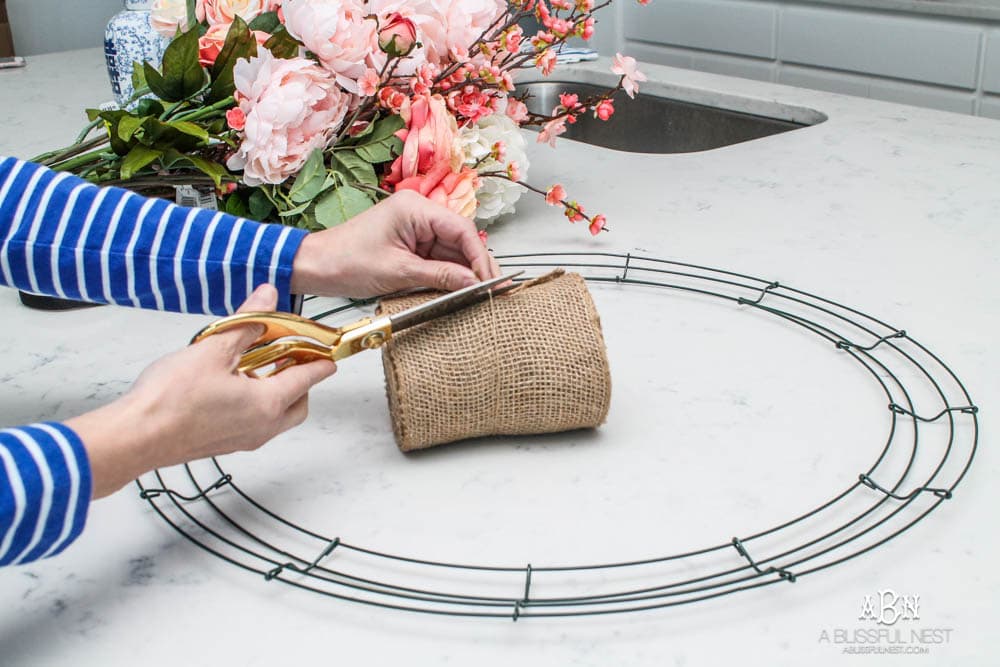
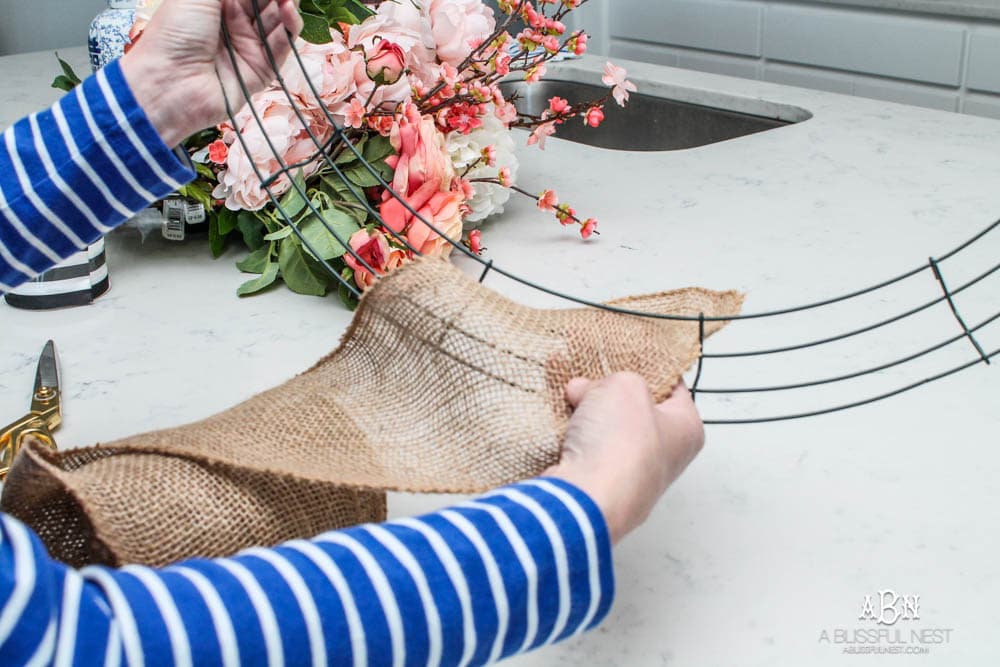
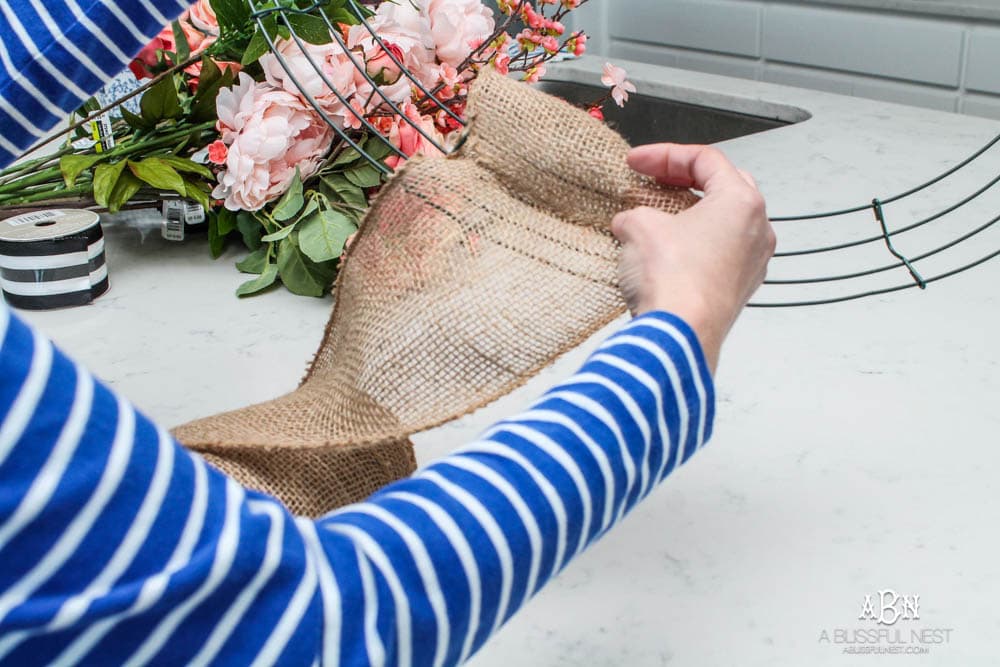
Step 2: Wrap burlap around the wreath frame, overlapping as you go to cover the frame completely. I wrapped mine fairly tightly but still enough that if I needed to get my fingers into each fold, I could.
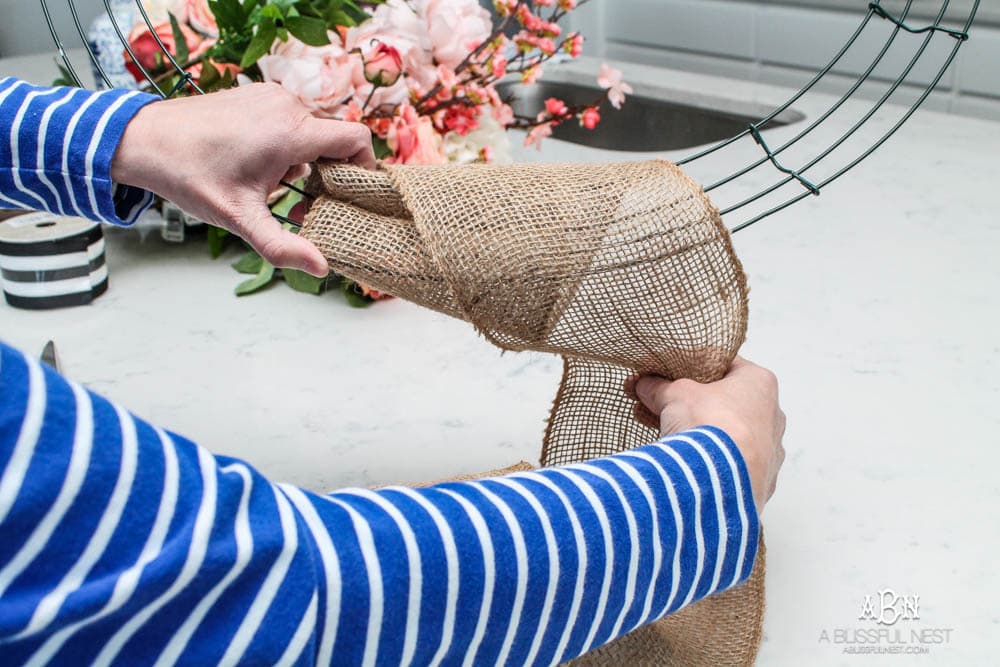
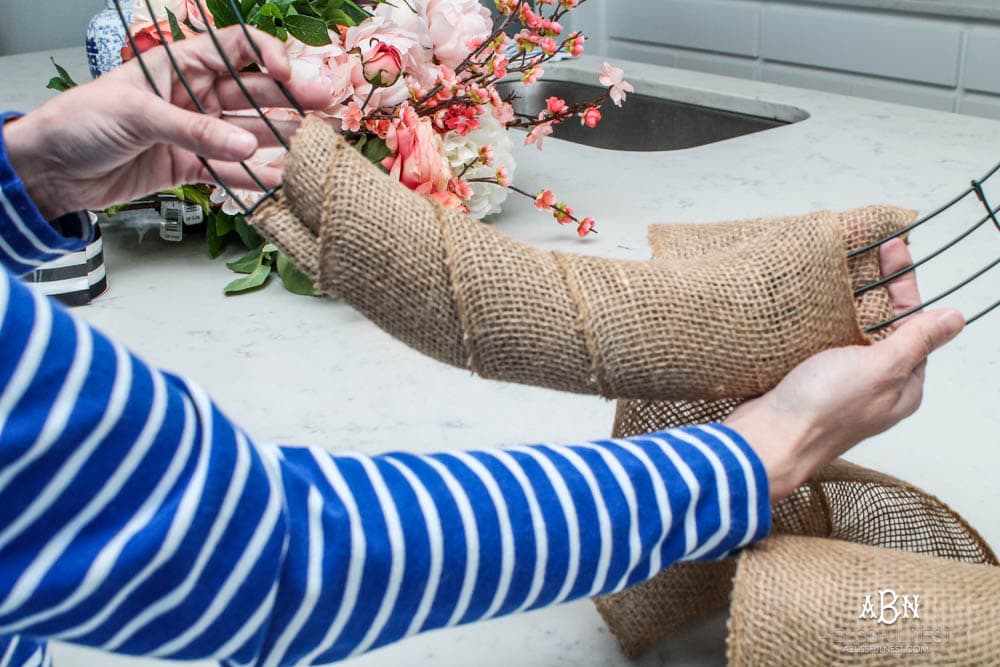
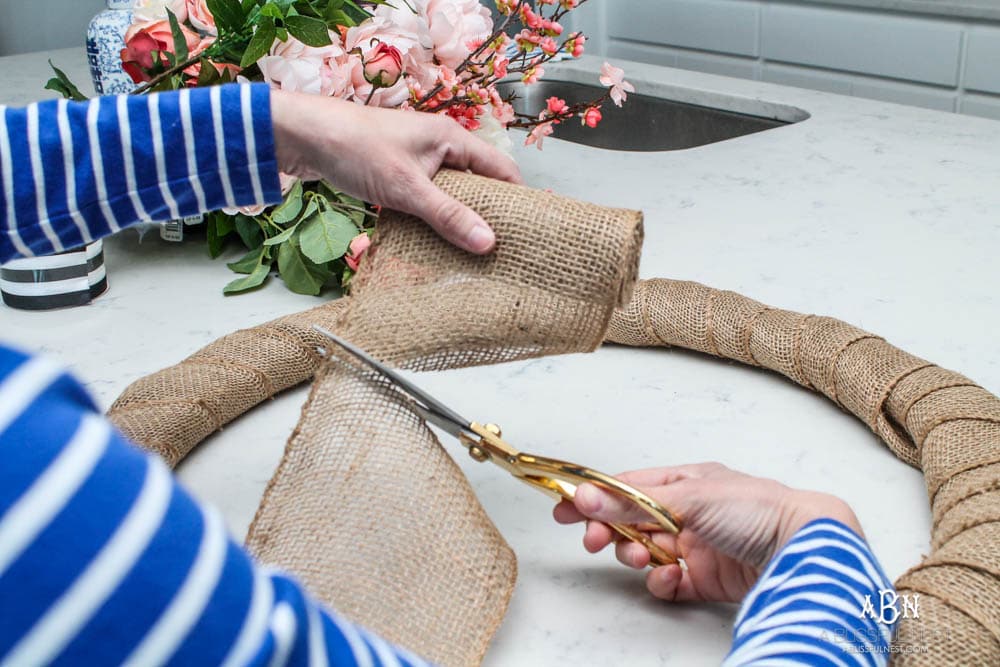
Step 3: Cut the end of the burlap leaving approximately a 1″ tail.
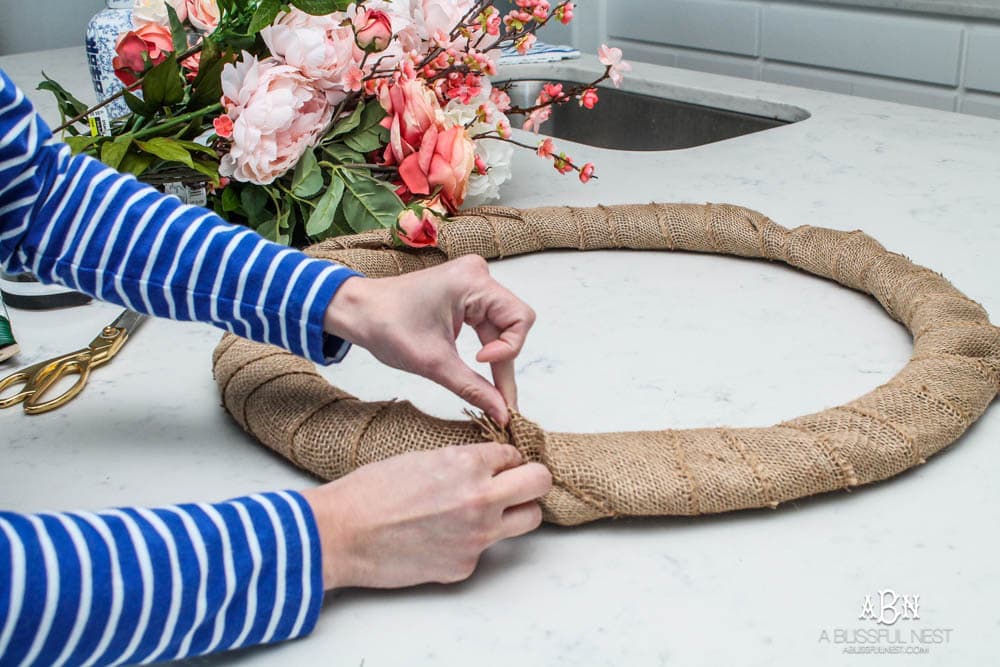
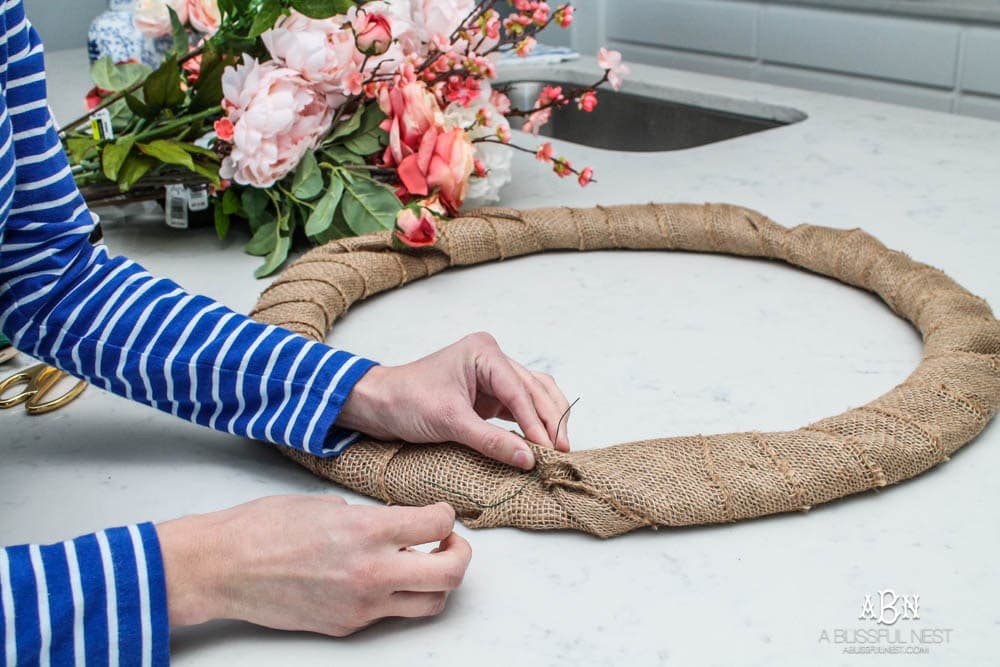
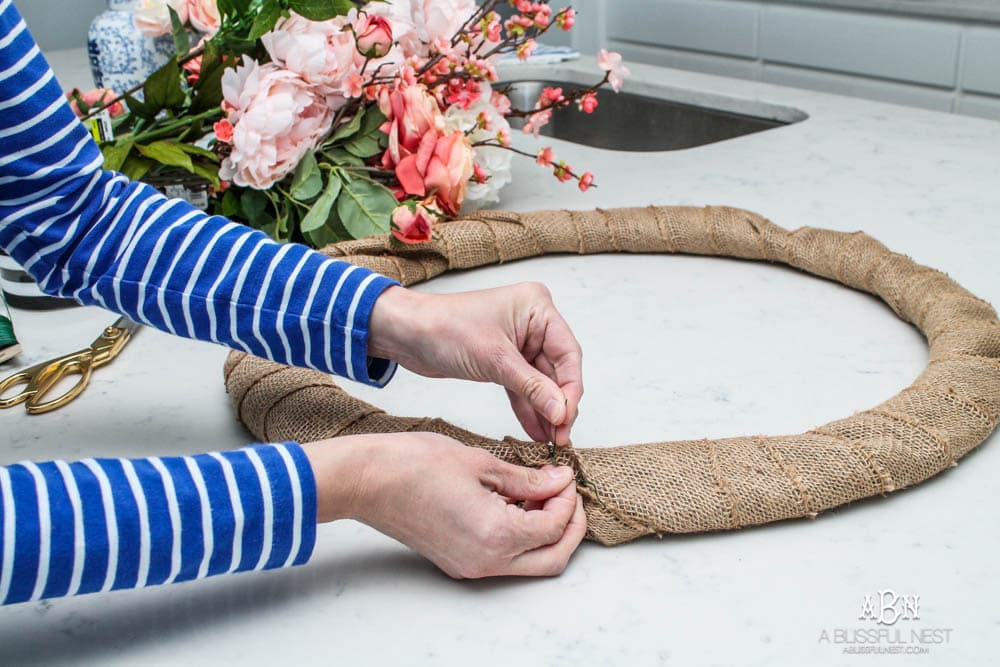
Secure the 1″ piece by tucking it under the first fold and threading floral wire through the layers. Then twist your floral wire ends together and tuck it under the burlap folds.
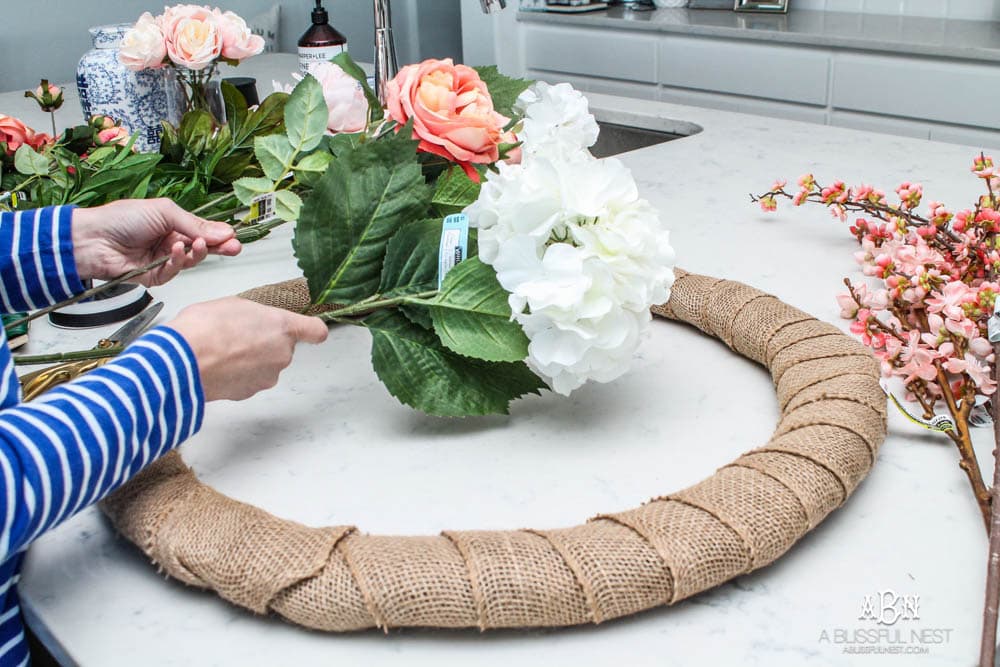
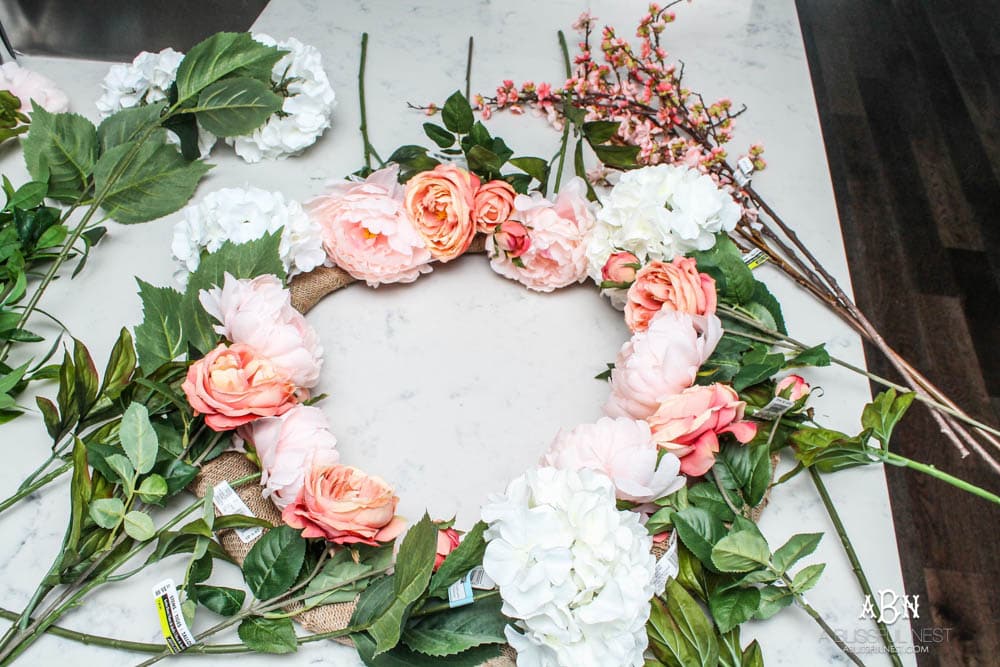
Step 4: Plan out your florals and how you want them to look. This will give you a good idea where you want everything before you start adhering them to the frame.
Would you like to save this post?
I placed my hydrangeas down first since they are the largest flower then laid down my peonies and filled in the rest with my english roses. Leave your cherry blossoms for later to fill in at the end.
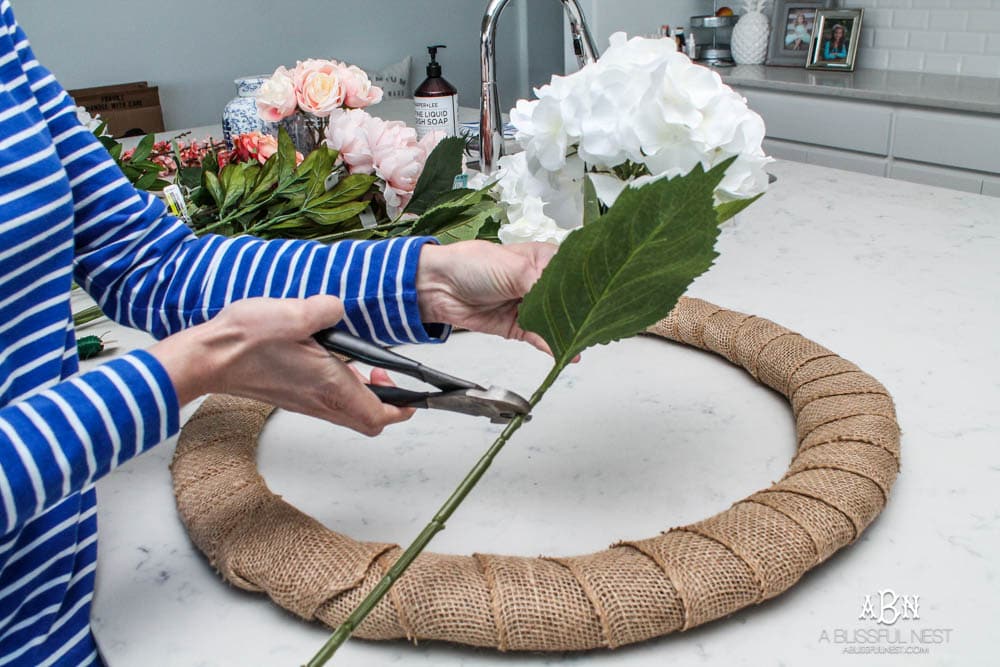
Step 5: Cut your floral stems down and leave about 3-4″ from the top of the stem using your wire cutters. Trim off any excess leaves that you don’t want as well. I actually put these aside just in case at the end I need something to fill in some blank spots. So just keep these on hand until you are done. Sometimes there tends to be little pockets left where there are no flowers and this is a great place to add in the leaves you had taken off and the cherry blossoms.
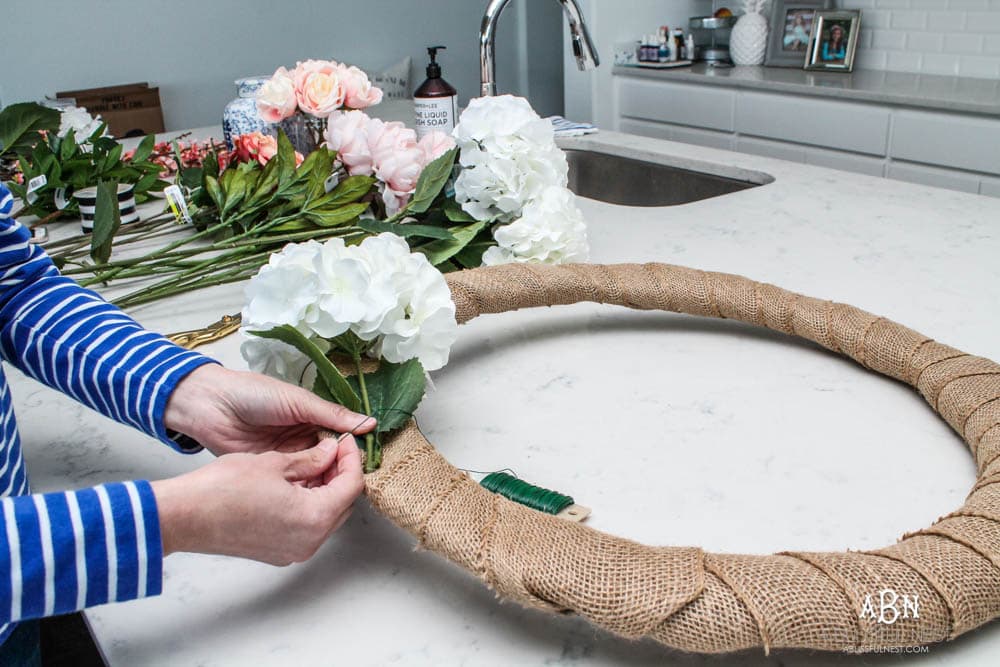
Step 6: Attach your florals using the floral wire. The easiest way is to lay your flower down slightly going up the wreath frame and then wrap the wire around the frame and twist the ends in the back. Then I tuck the twist under the burlap to hide it.
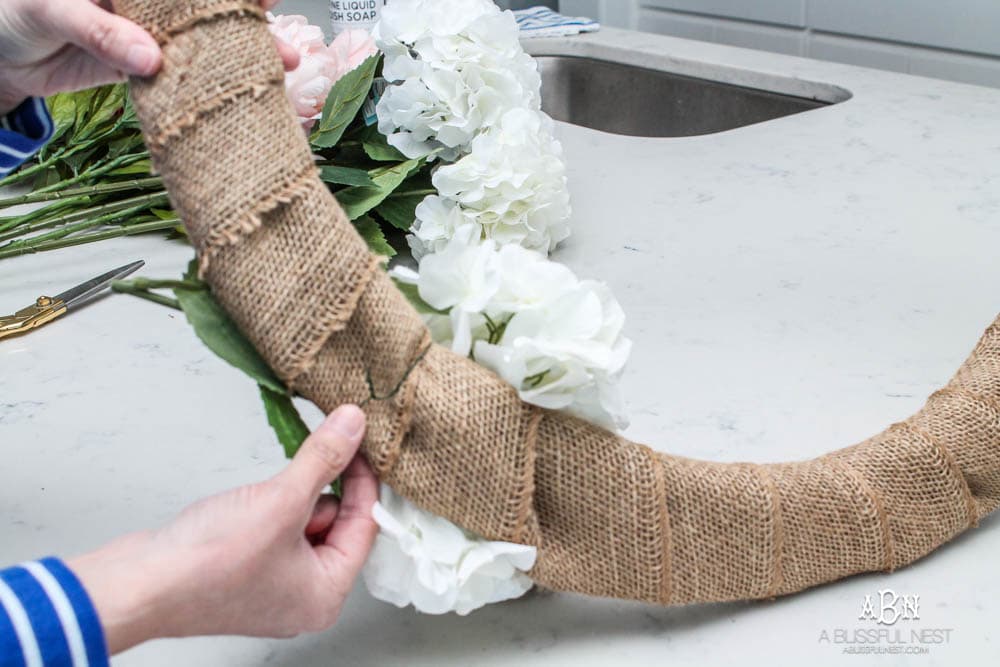
After you have finished with the hydrangeas, then work on the other flowers next adhering them in the same way. Once you are finished tuck in some cherry blossoms for a extra touch of whimsy.
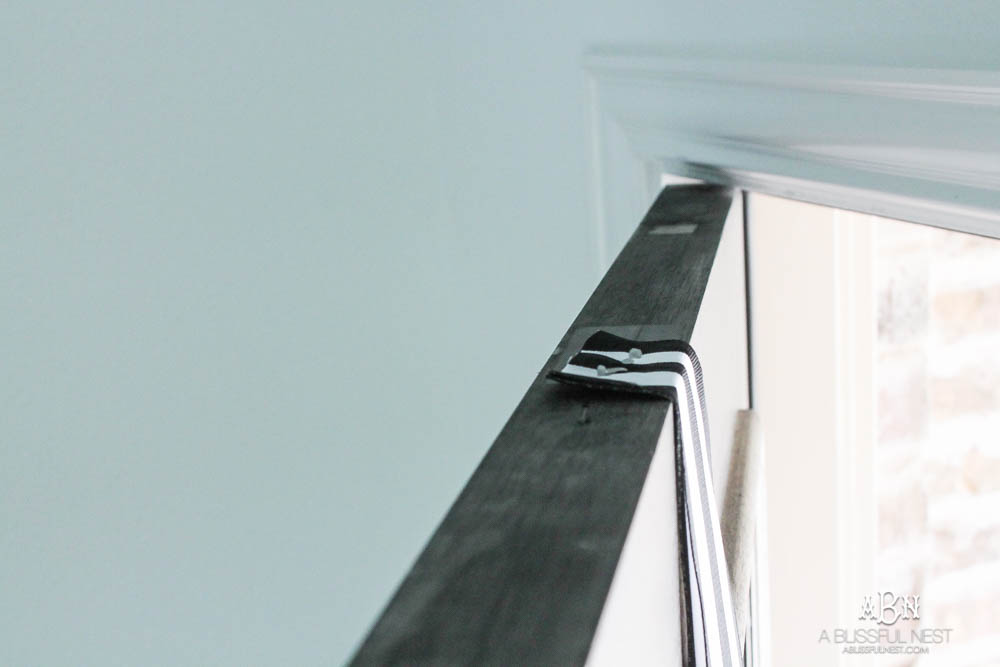
Step 7: Now you are done and ready to hang up your wreath! Measure the length from where you want your wreath to hang the the middle of the top of you door. Then double the length of the ribbon and add 2-3″ for some extra just in case. Wrap the ribbon around the wreath and using the 2 ends of your ribbon, nail them to the top of your door. This is the space that is right under the door frame and no one will ever see it.
It is so pretty hanging up and it is oversized which I love too. Our door is really tall so if you don’t have a tall door then you can go down in size on the wreath frame and on the amount of flowers you need.
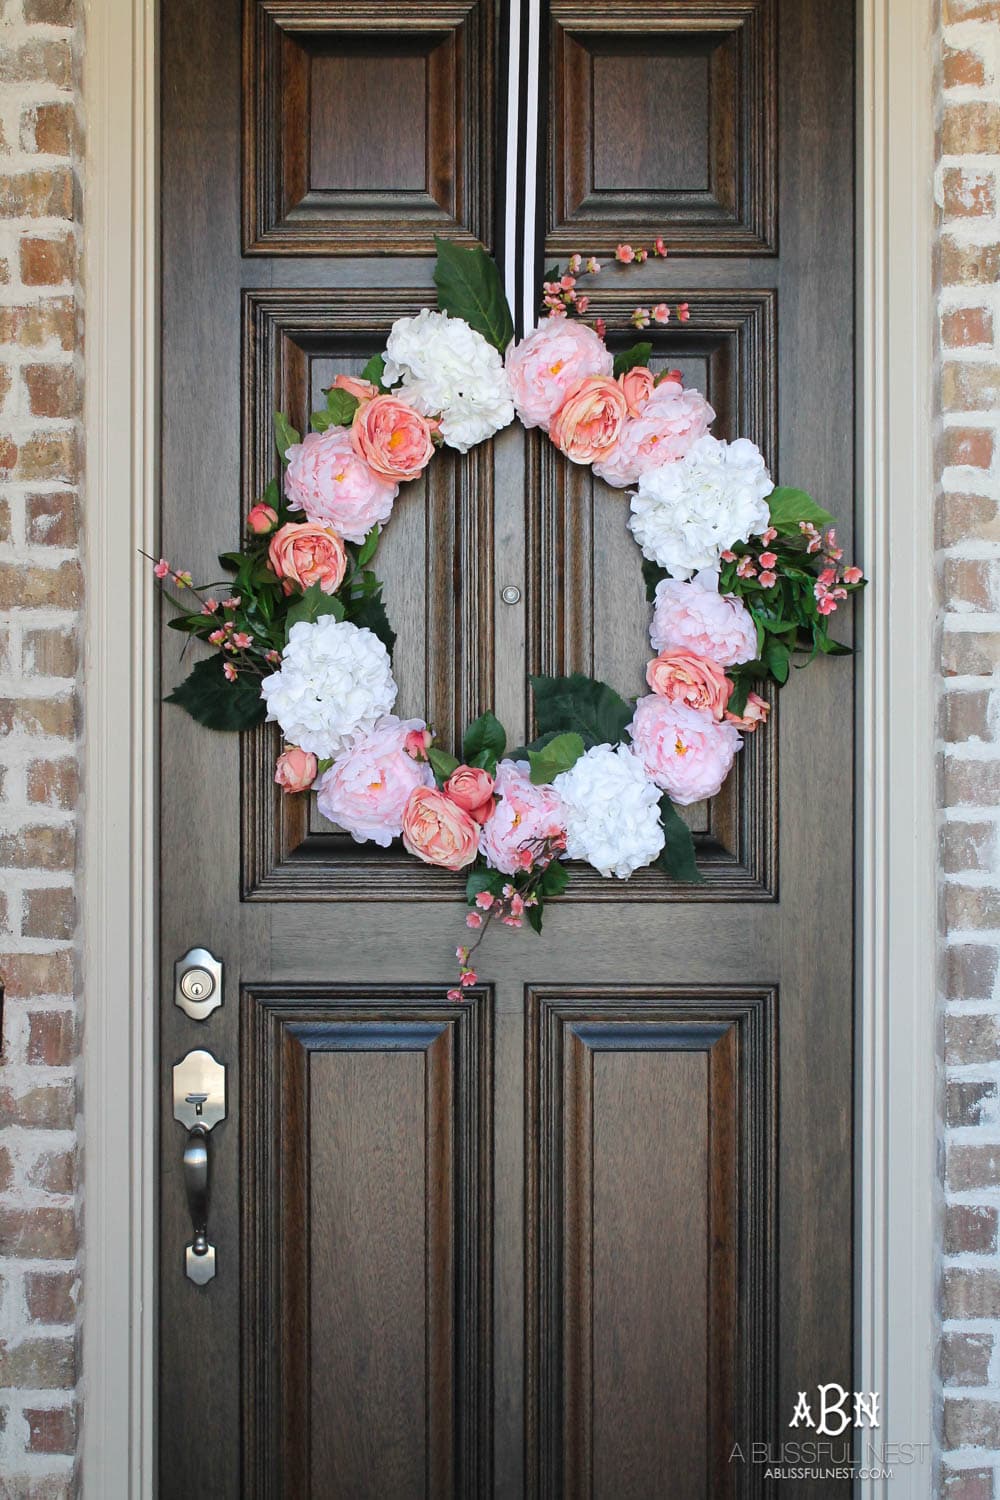
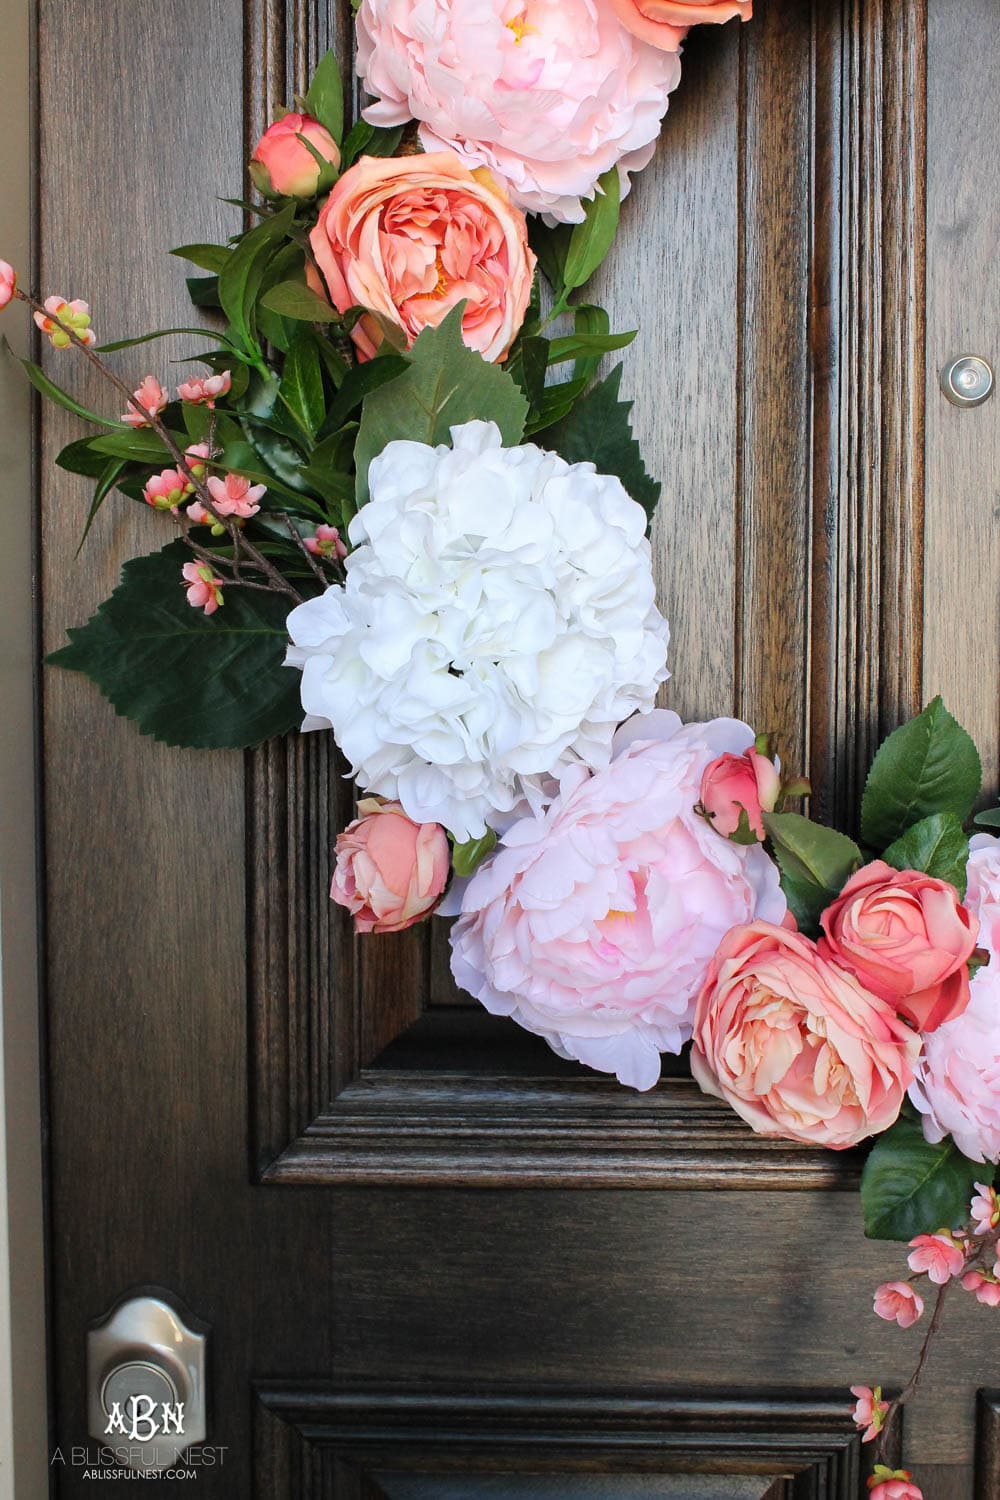
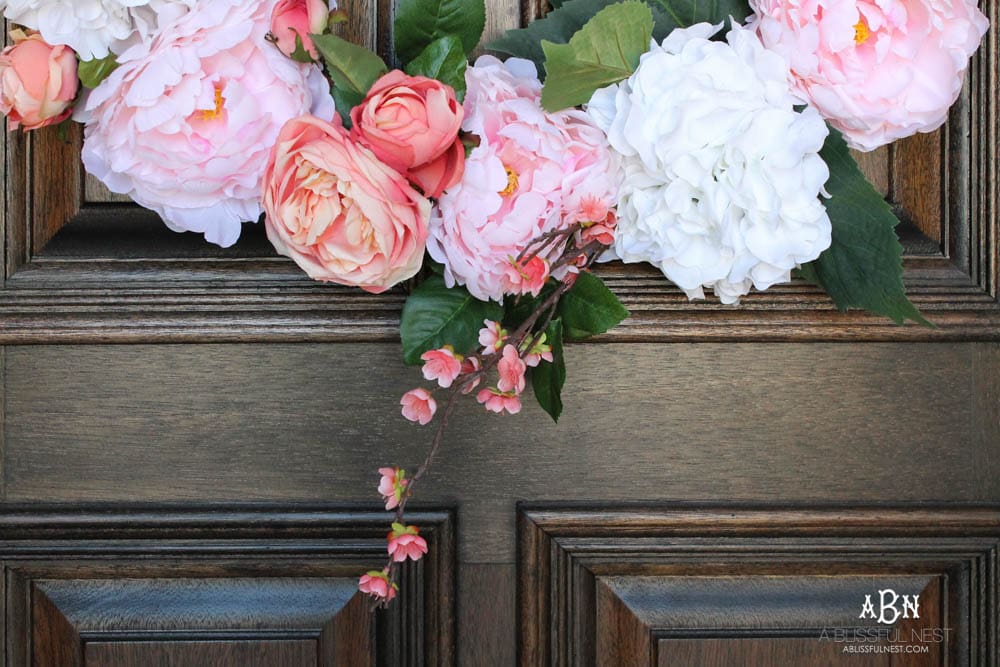
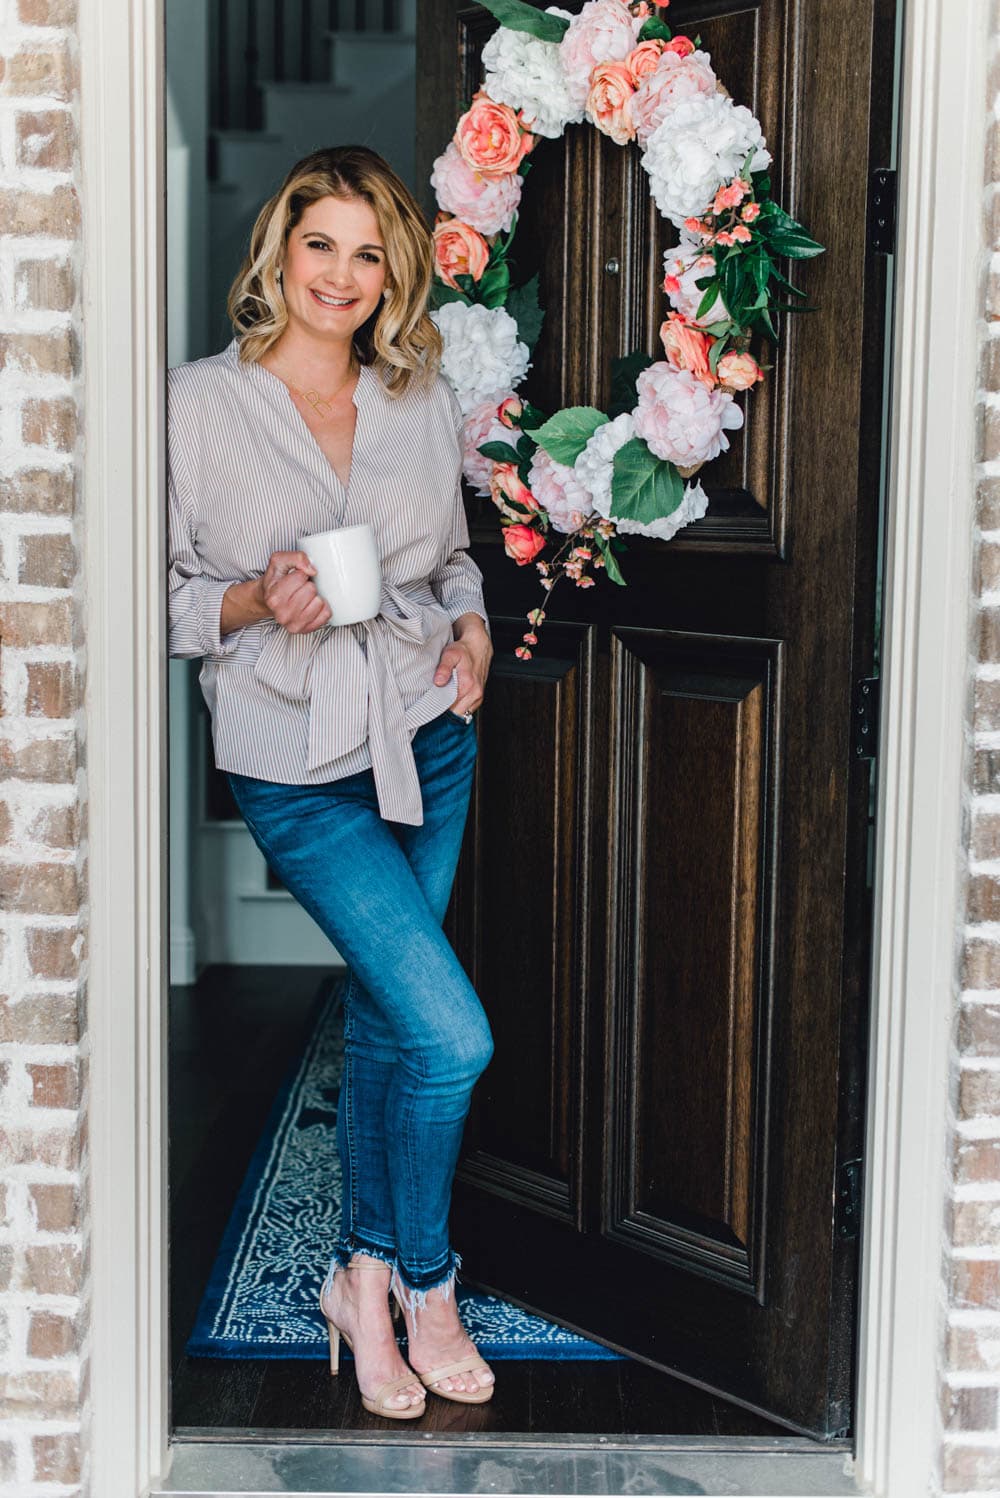
Photo by Sweet Memory Photography
I am even thinking of making one of these with these with winter white flowers for the winter season. They are so easy and it really only took me 30-40 minutes. So tell me do you make any of you wreaths?

- DIY Cotton Wreath Tutorial
- DIY Forage Greens Wreath Tutorial
- DIY Feather Wreath Tutorial
- DIY Tissue Paper Wreath Tutorial
NEED TO BOOKMARK THIS POST FOR LATER?
PIN OUR IMAGE:


Thanks for the tutorial!! Your wreath is very pretty. I like the fact that you didn’t use hot glue. I try to avoid that hot mess as much as possible. ha
I have started making my own wreaths simply because even the ugly, cheap looking wreaths at Walmart cost more than they are worth. Plus I love the personal touch.
I really could not agree more! Plus I try to let me little one help me when I make mine so I don’t like her to use the hot glue. I bet yours are gorgeous!