This is a sponsored post written by me on behalf of Hobby Lobby. All opinions are 100% mine.
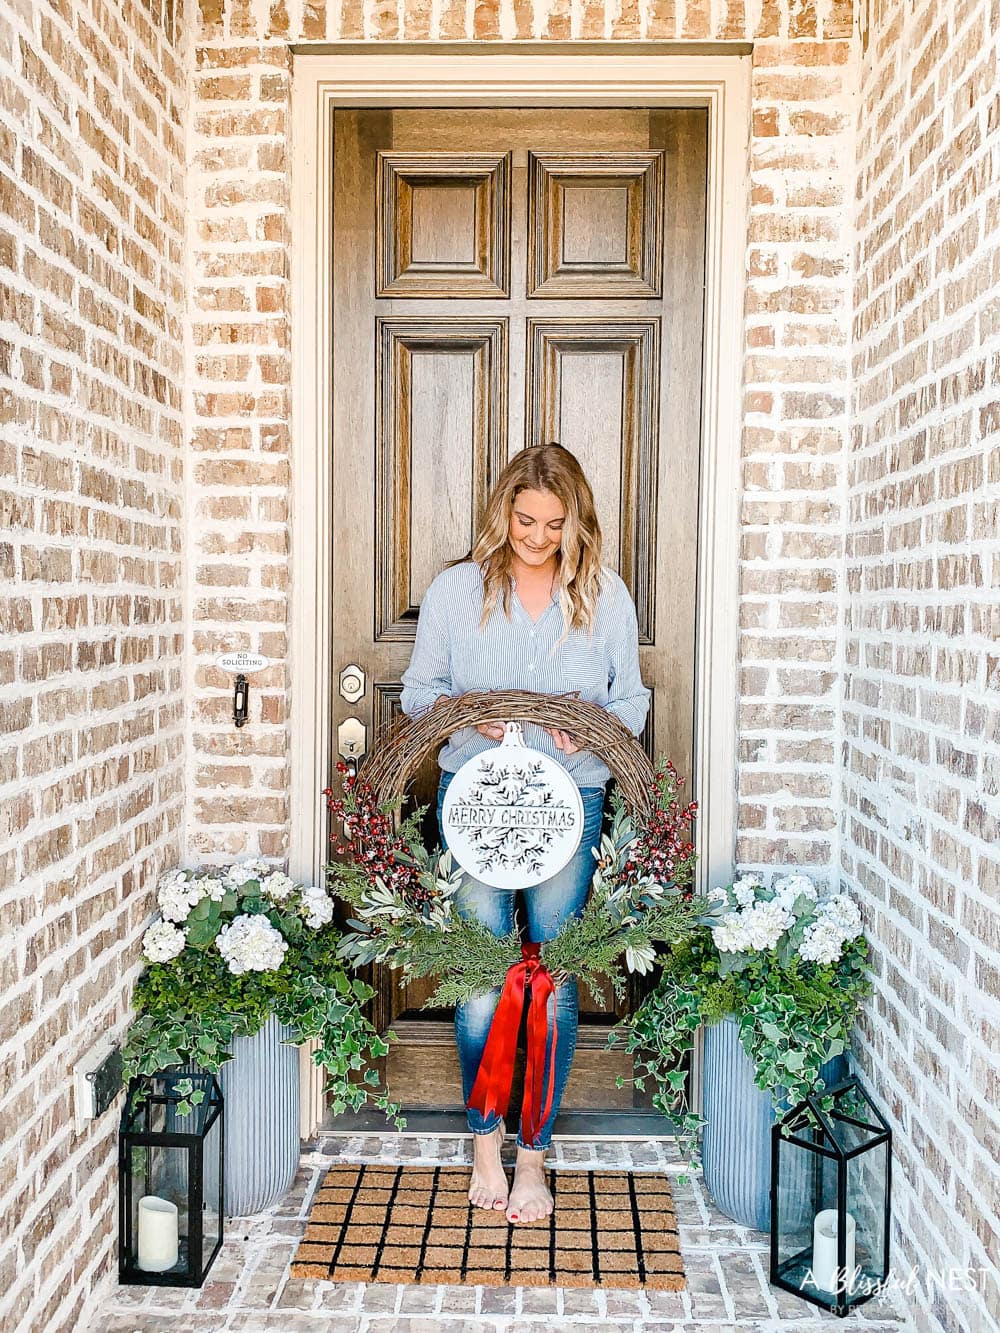
Sharing a beautiful and easy to recreate Christmas grapevine wreath using product from Hobby Lobby. Also sharing how to style this grapevine wreath on your porch for the holiday season.
Can you believe it is time to start thinking about your holiday porch?! I wanted to share this beautiful Christmas grapevine wreath tutorial with you so you could snag everything you need before it’s gone!
I found everything I needed at Hobby Lobby and you know they are one of my favorite craft stores. Truly they are a one-stop-shop and I never seem to not find every piece I need for my projects. What I love most is that I can complete the look I am going for with their beautiful home decor too.
Also, I would like to mention that Hobby Lobby’s Christmas line is 50% off right now making it even more of a reason to get started on your Christmas decorating!
This post may contain affiliate links. As an Amazon Associate and a participant in other affiliate programs, I earn a commission on qualifying purchases at no additional cost to you.

This beautiful oversized Christmas wreath is so easy to make and takes very little materials. I really love making my own wreath because then I can get it to look exactly like what I am envisioning and not sacrifice on size or materials used.
How to Make a Beautiful Christmas Grapevine Wreath:
So here is what you need to get started.
Materials Needed:
- 24″ Grapevine Wreath
- Frosted Berry Picks (I used 2)
- Mini Olive Leaf Bundle (I used 2)
- Green Cedar Spray (I used 4)
- Red Ribbon – 1.5″ and 7/8″
- Floral Wire
- Wire Cutters
- Wood Merry Christmas Ornament
- White Spray Paint
- Scissors

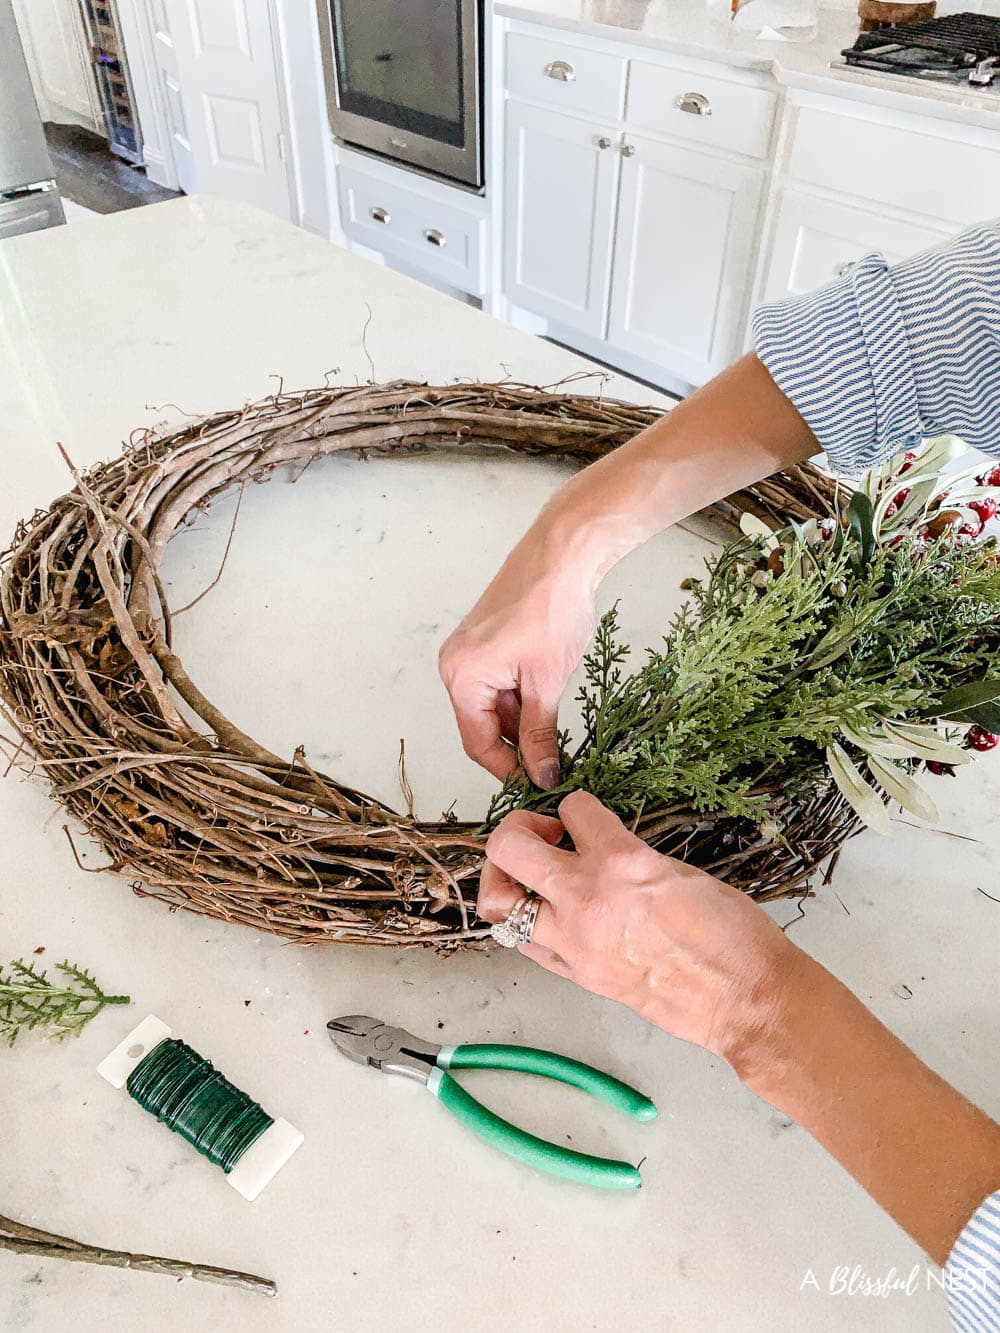
Step 1: Bundle the greenery and attach to wreath
The first thing is to grab one cedar spray, 1 berry pick, and 1 olive leaf bundle. Layer them together and wrap the green wire around the base. Then tuck your bundle into the side of the wreath and secure it with more green wire. I placed mine slightly at an angle so the stems looked like they were coming off the sides for a more full look.
You can add an additional cypress pick to the front of your attached bundle for even more fullness.
Simply cut the stem with the cutters and tuck it into the wreath in front of the attached bundle and secure it with wire or even hot glue.
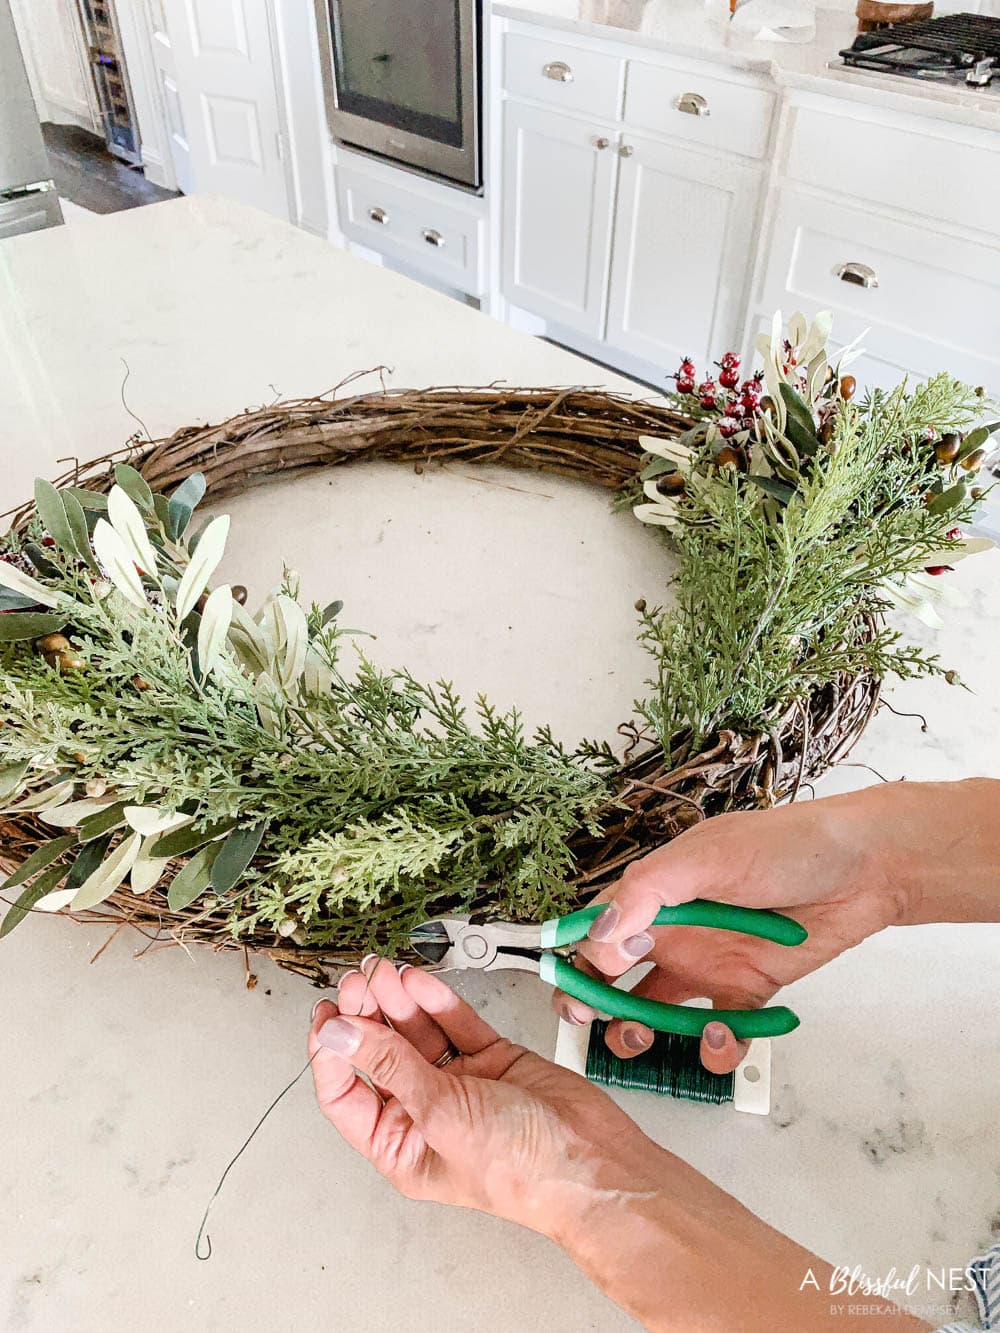
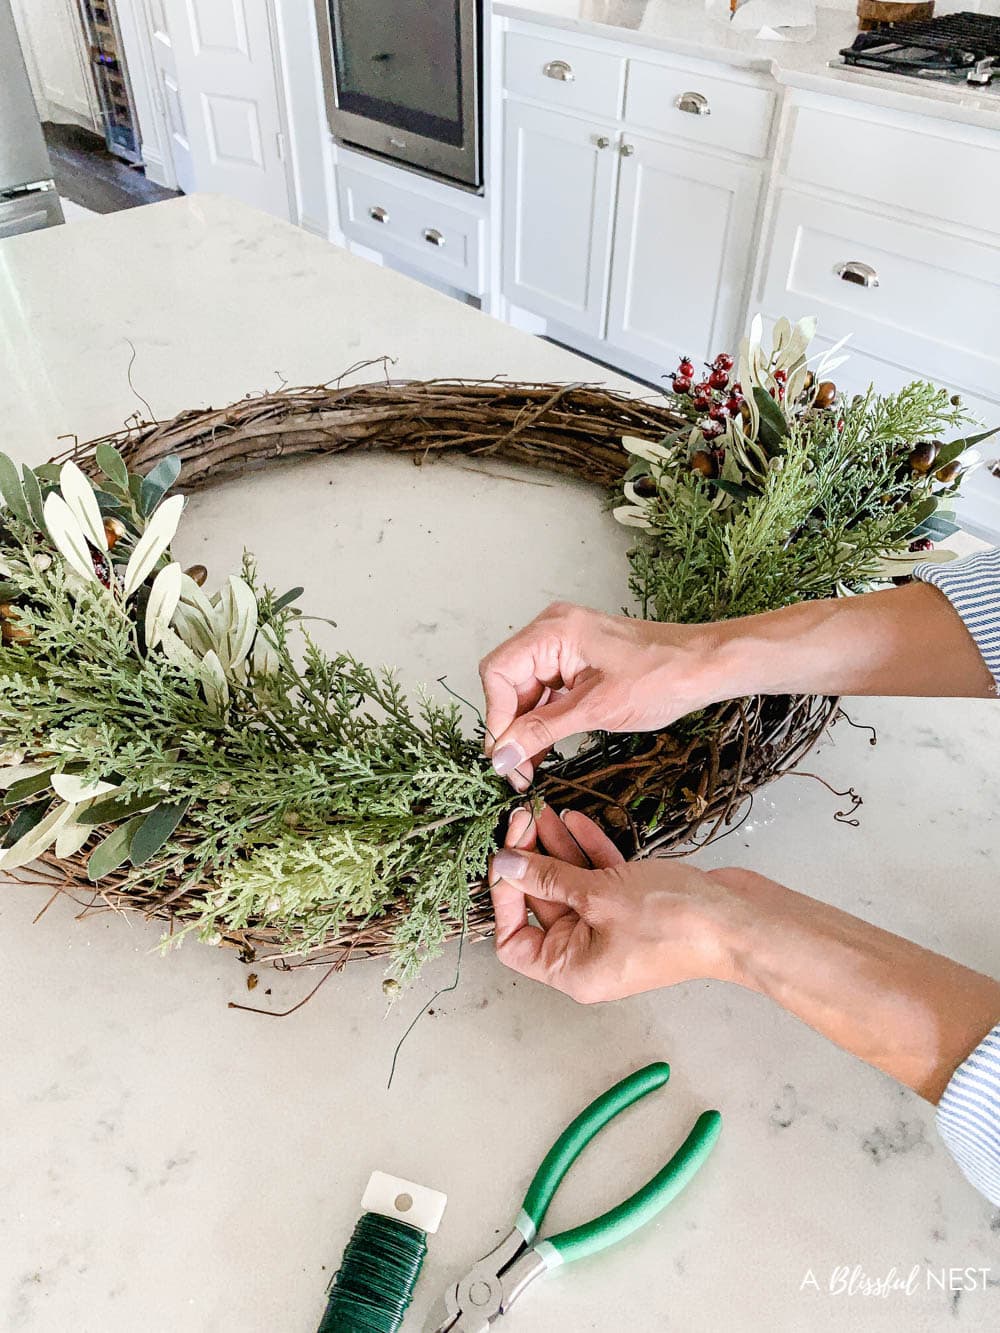
Step 2: Repeat to the other side
Simply repeat what you did on the last side to the opposite side. Be mindful of placement so they are at an even distance when it is hung. I placed it on and checked it before securing with wire just to make sure.
Tip: When securing with wire, wrap around stems on the wreath and the base of your bundle, then twist the wire real tight. Then cut the ends and tuck. This twist method makes for less movement of the stems and really keeps them in place.
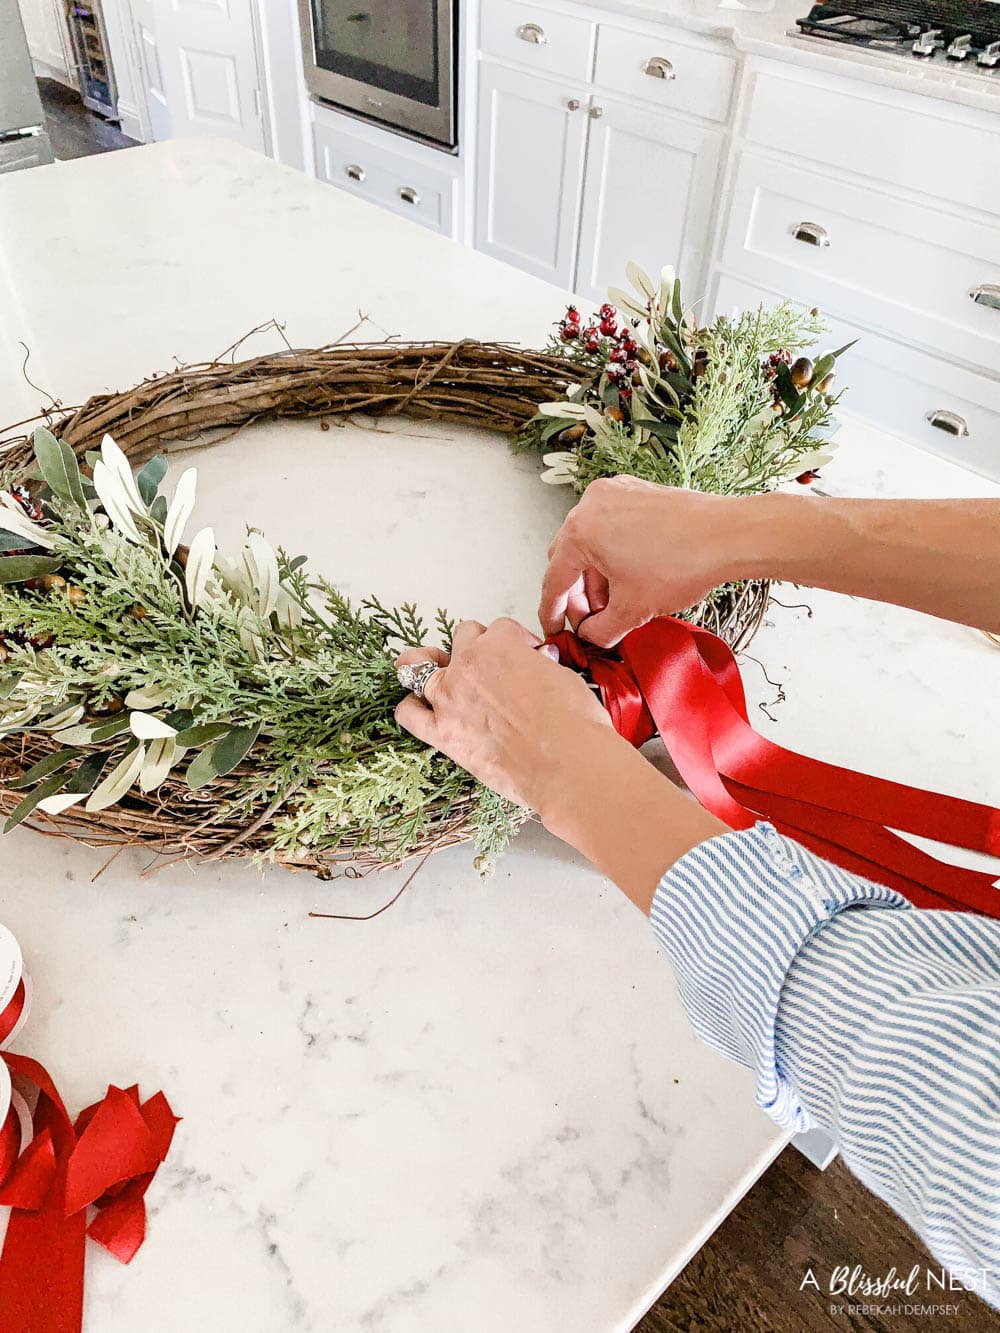
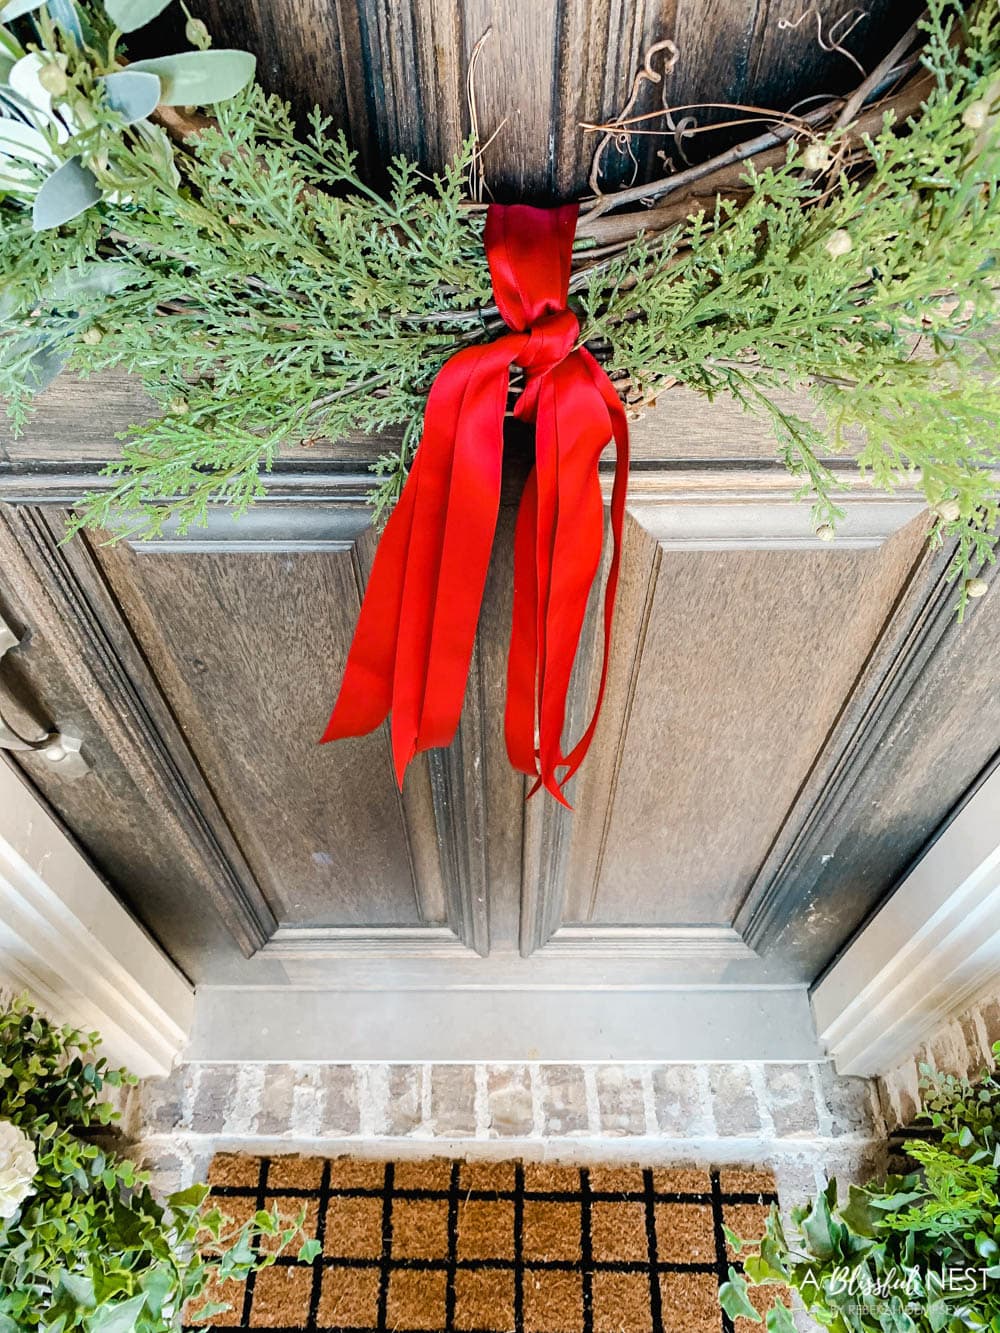
Step 3: Cut ribbon and attach
I used 2 different sizes of ribbon, 1.5″ and 7/8″. I loved the layered look and wanted multiple strands so I thought the two sizes would be pretty. Not necessary and if you wanted to use only one size then make sure to cut an additional strand.
Would you like to save this post?
I cut my strands approximately 42″ and I cut two of each size. Then I just wrapped them around the center section between my attached greenery stems and tied them in a knot. It is that simple!
I then “bunny-eared” cut the ends by folding a strand in half and then cutting at an angle to finish the ribbon ends.

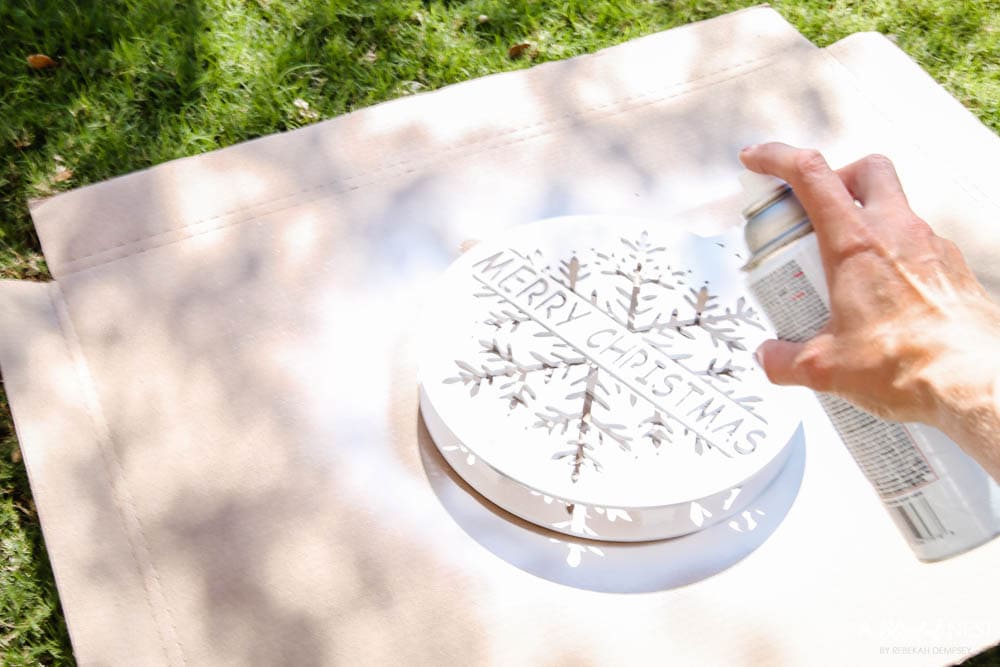
Step 4: Spray paint Christmas ornament
This step you actually could do first to give the paint some time to dry as you are building the rest of the wreath. Technically you should let the paint dry for 24 hours. But I cheated and waited maybe 45 min.
I just grabbed an old box and with long even strokes spray painted the front of the ornament. I also went along the sides to get the inside white.
Step 5: Attach ornament to wreath
Using the same method to attach the greenery stems, wrap a piece of cut wire through the wreath and thread it through the top of the ornament. Then twist the ends of the wire together, cut the excess, and tuck to hide.

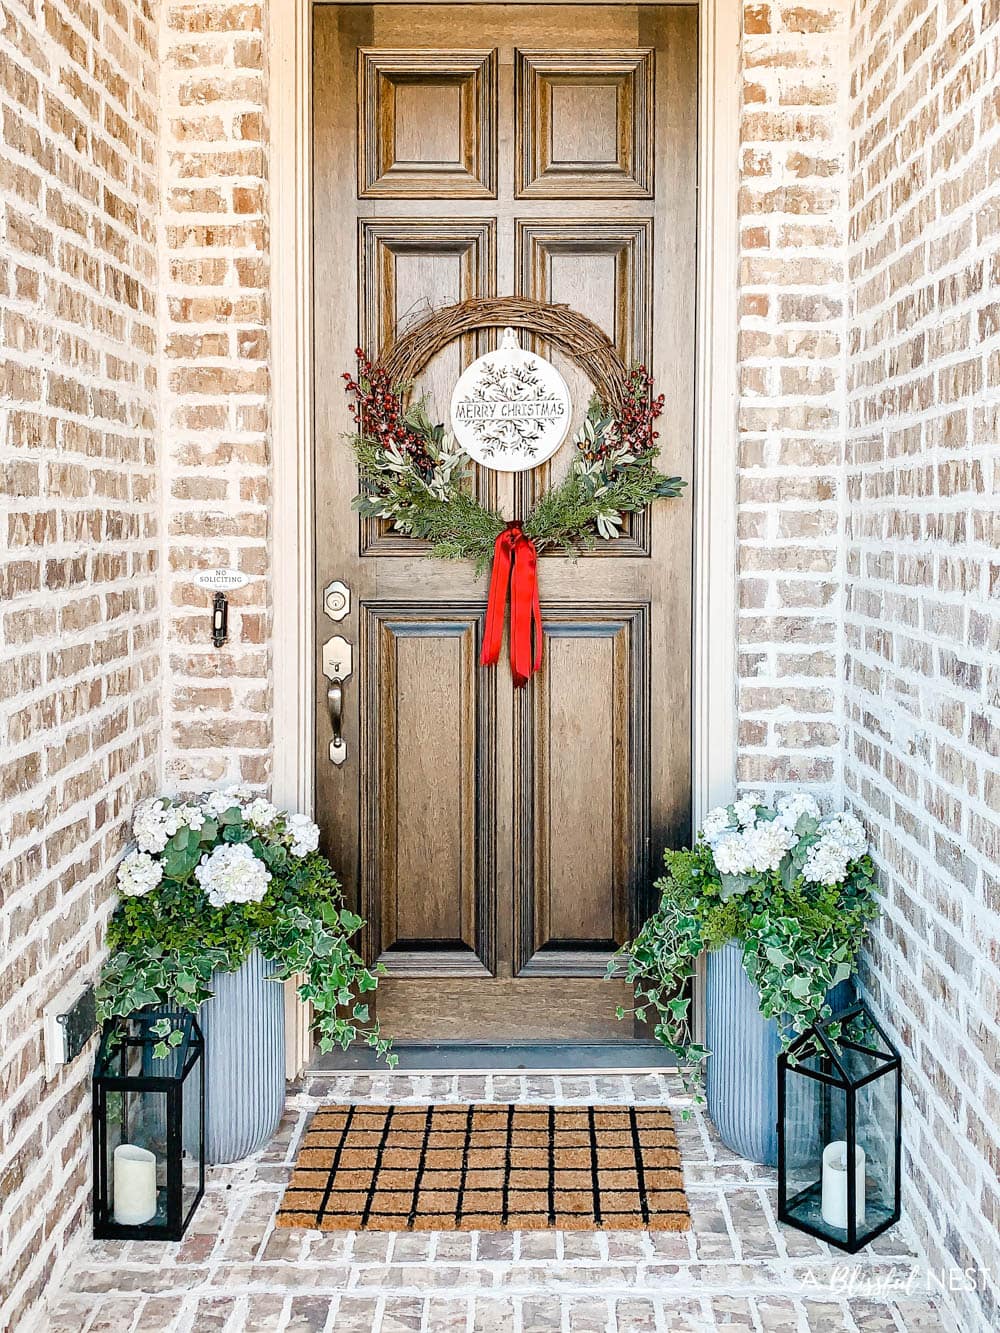
And friends that is it! I mean seriously one of the easiest wreaths ever to make and it took under an hour.

I really think this wood Christmas ornament is a showstopper and it even lights up!

The frosted touch on the berry picks is so pretty and I even snagged some for my Christmas tree this year.

I love the red pop of the ribbon to tie in with the berries.
For now, I have it styled with this doormat and lanterns from Hobby Lobby, as well as my planters that I have up year-round. I have plans to add in my holiday decor but you will have to stay tuned for that reveal in a few weeks.
So make sure to run to your nearest Hobby Lobby and stock up on the huge Christmas sale and I can’t wait for you to make this easy Christmas grapevine wreath!
THIS IS A SPONSORED POST. A BLISSFUL NEST HAS RECEIVED PAYMENT, TRADE, AND/OR PRODUCTS FROM HOBBY LOBBY IN EXCHANGE FOR PROMOTING. HOWEVER, ALL OPINIONS STATED ARE OUR OWN.

