Who’s ready for the easiest interior front door makeover?!
A while back I shared how our entryway is narrow. It has this little section and then opens up into a bigger area by the stairs. You can read more about it HERE.
So it got me thinking about doing an interior painted front door makeover.
One Saturday I woke up and thought today is the day I need to fix this problem. I started researching painted front door ideas and I kept coming back to the light bright ones.
I loved how it made it feel fresh and less heavy.
So just to remind you what our entryway looked like when we moved in. . . .
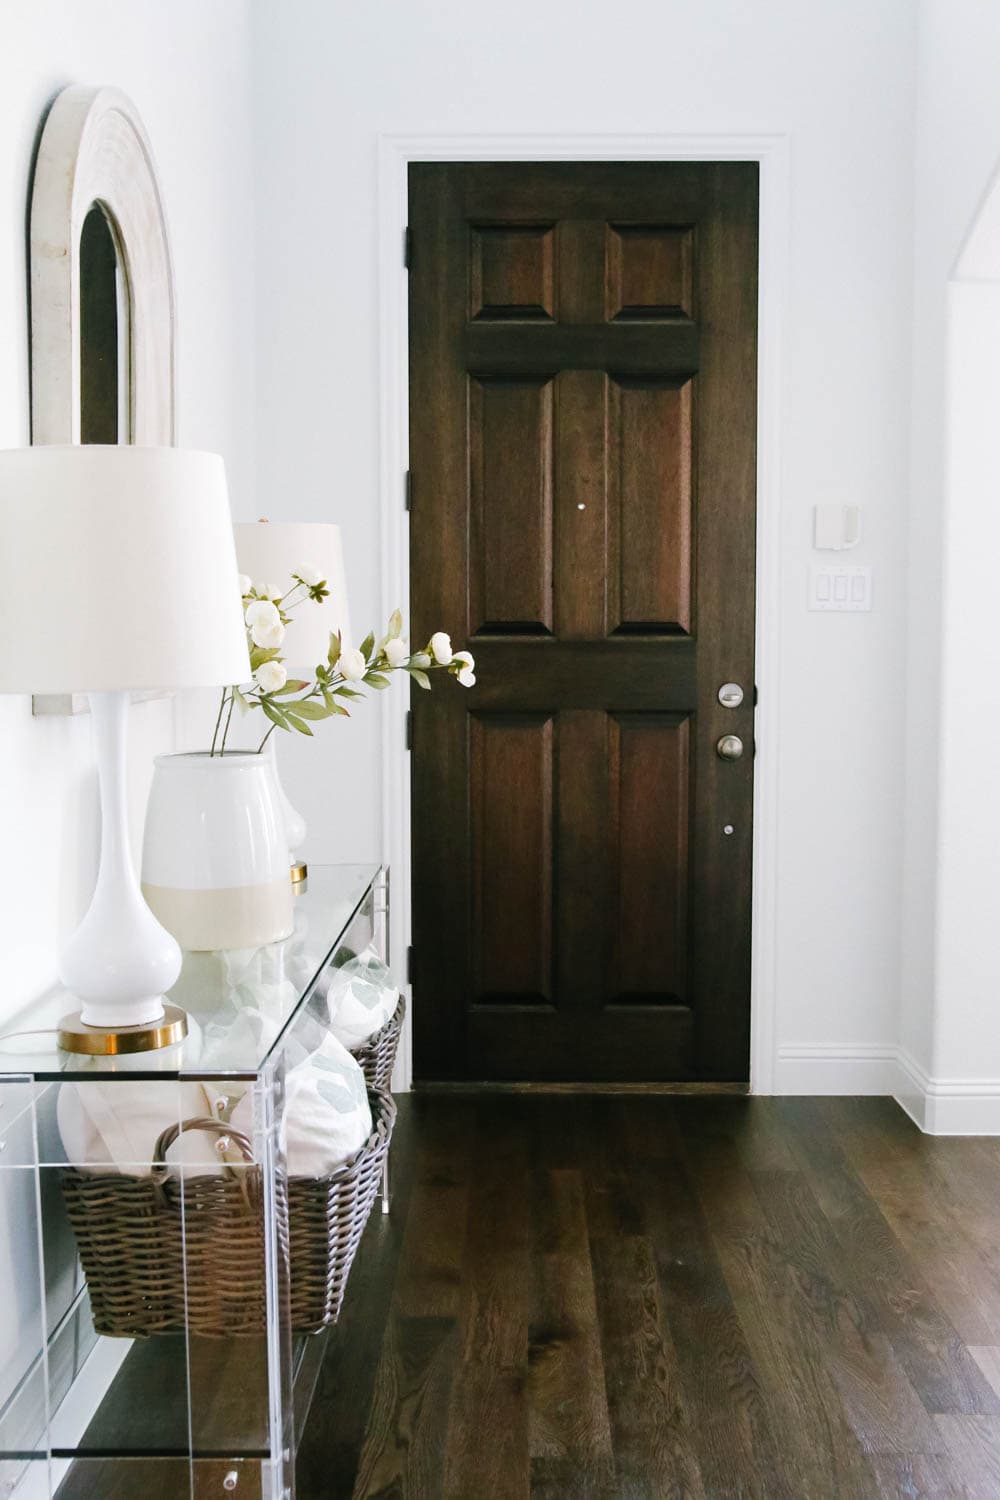
It was a rich dark brown that matched our floors and stairway banister. Such a beautiful color but just not right for the space.
As you can see we have a lucite table here to help make the space not feel too small with a table in here.
And here is what it looks like now.
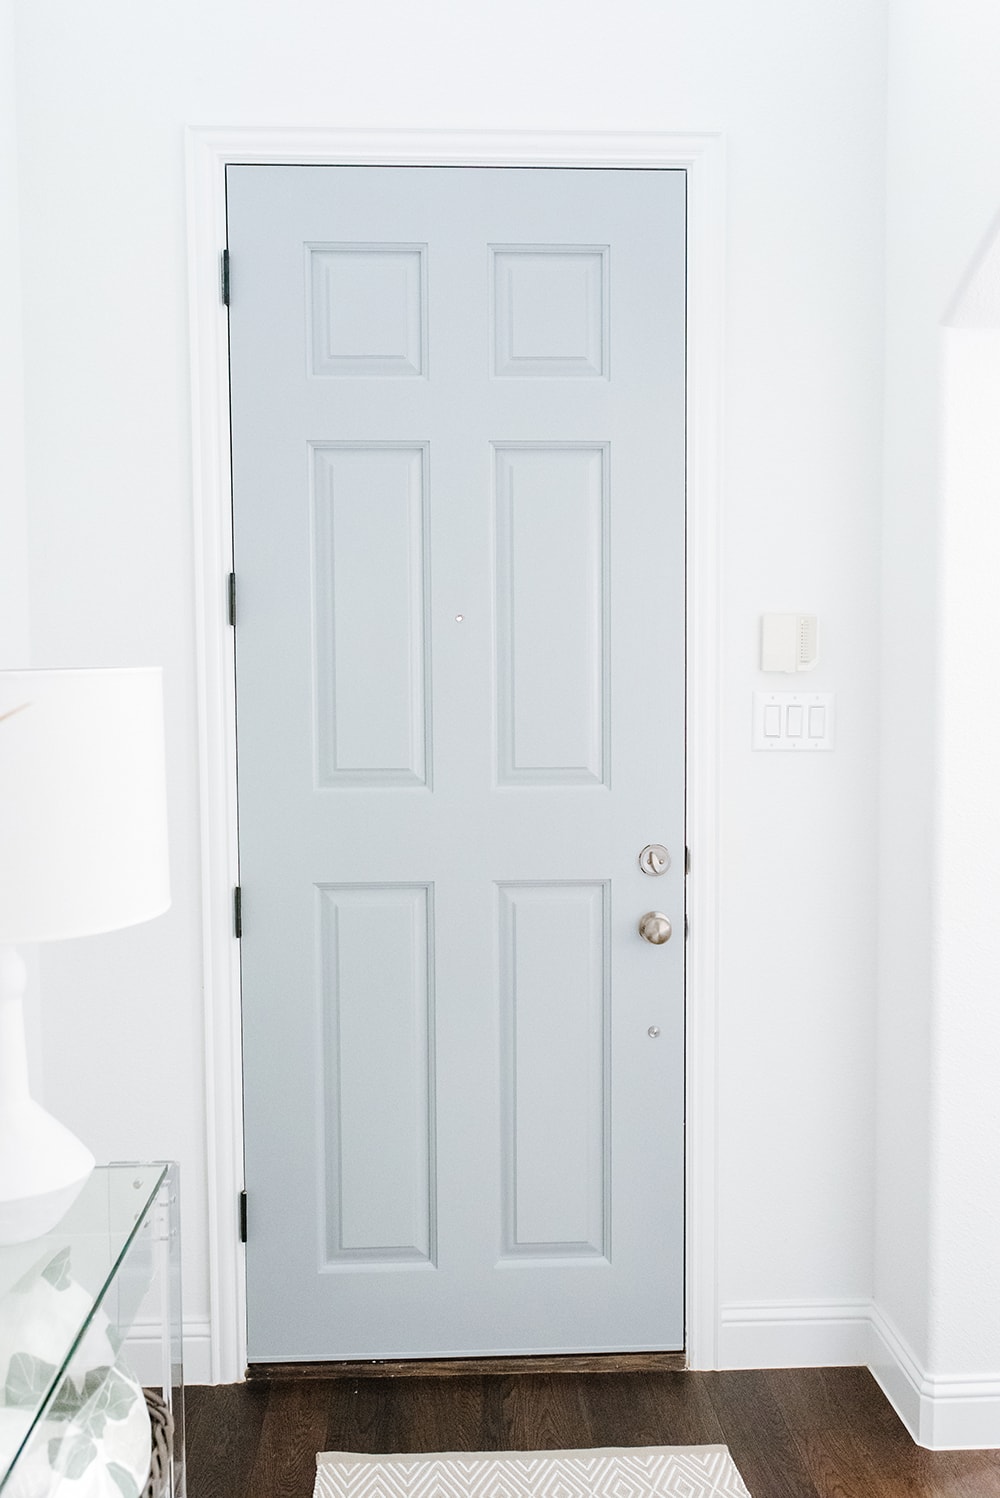
Big difference isn’t it?!
I have such commitment issues with color (dating back to my design job and constantly designing in rich palettes) which is why the majority of the house is white (for now).
But this soft gray color is so beautiful in person and actually is the same color we painted our kitchen island and fireplace this winter.
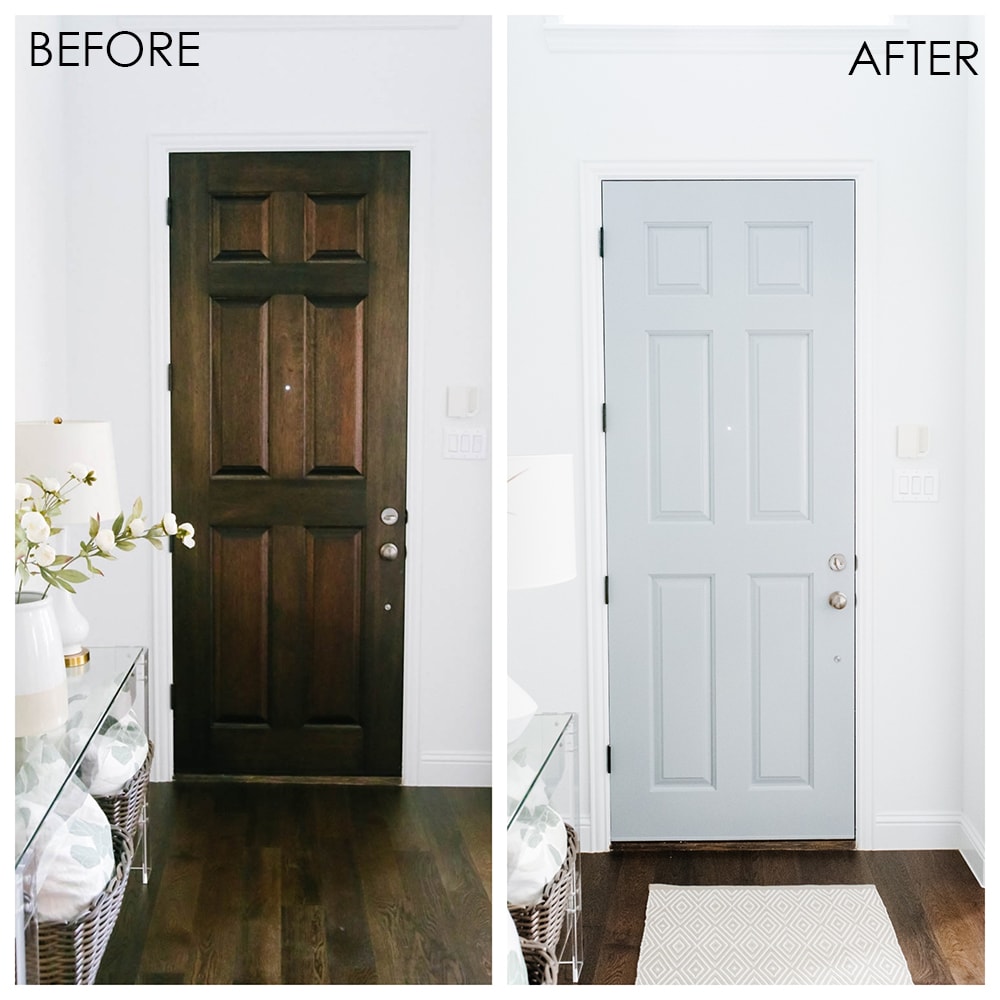
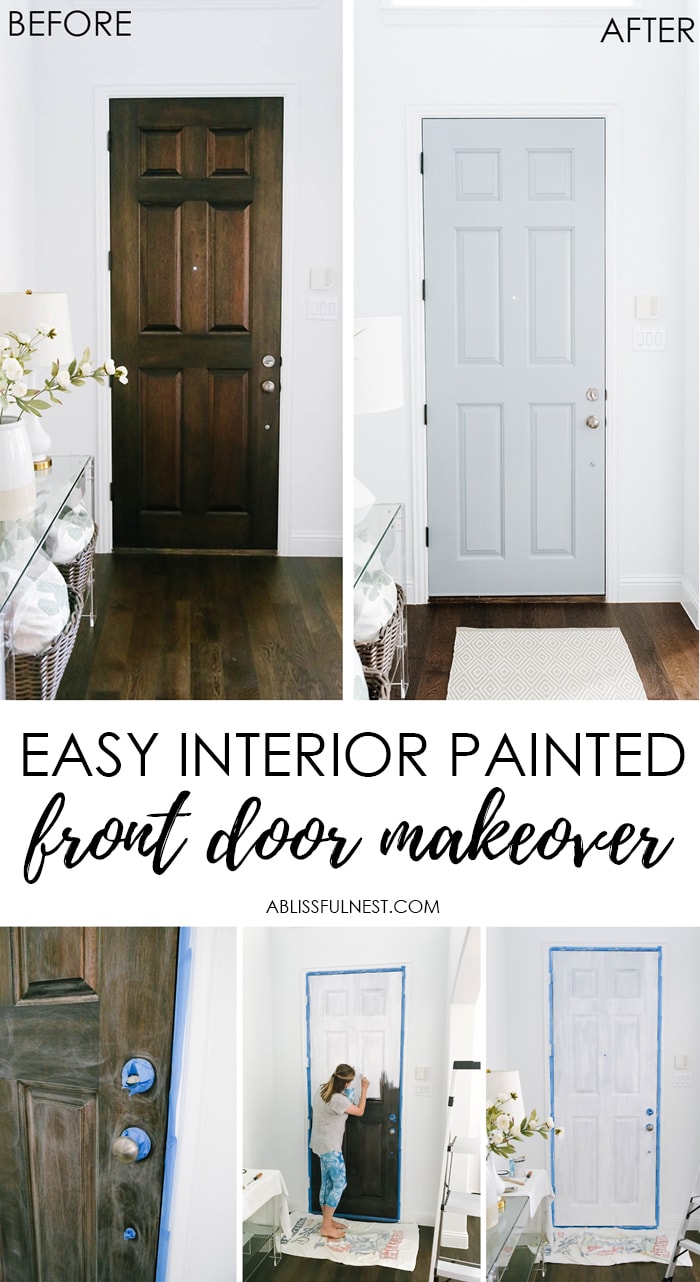
Here is a really good side by side before and after so you can truly see the transformation.
This post contains some affiliate links for your convenience. Click here to read my full disclosure policy.
Materials Needed:
- painters tape
- hand sander
- 120 grit sanding discs
- microfiber cloths
- drop cloth
- paintbrush + roller brush
- paint – mine is Sherwin Williams Uncertain Gray SW6234
- primer paint
Easy Interior Front Door Makeover:
Step 1: It’s all in the prep work!
First and foremost you have to begin with prep work. This is my least favorite part of the process.
The more time you spend doing this, the better your paint project will turn out.
Trust me I have tried to speed this up and ended up with smears on the floor, wall and everywhere else other than where I needed the paint to go.
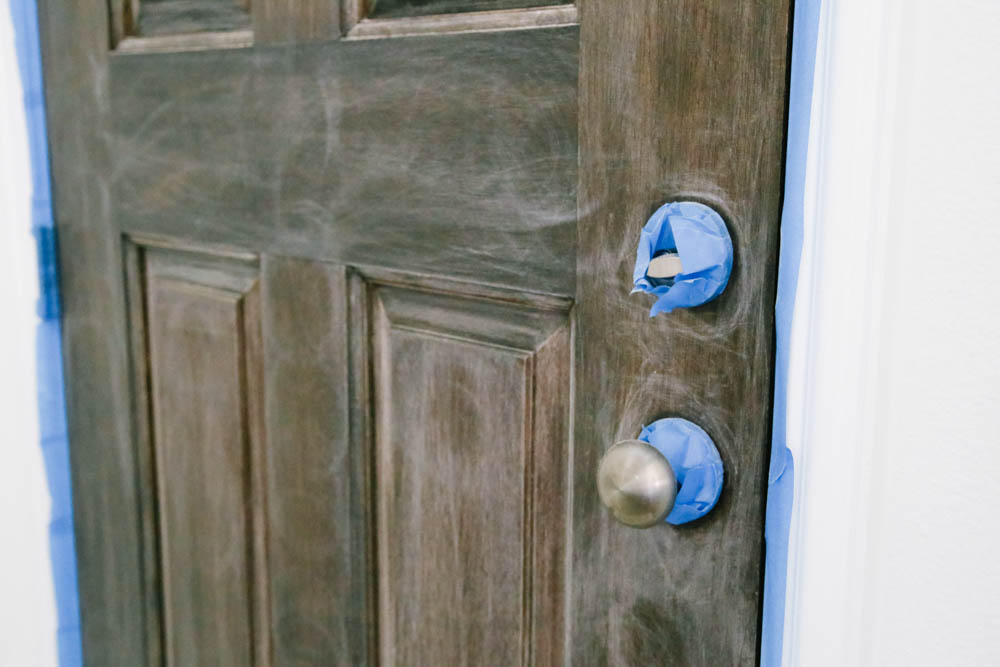
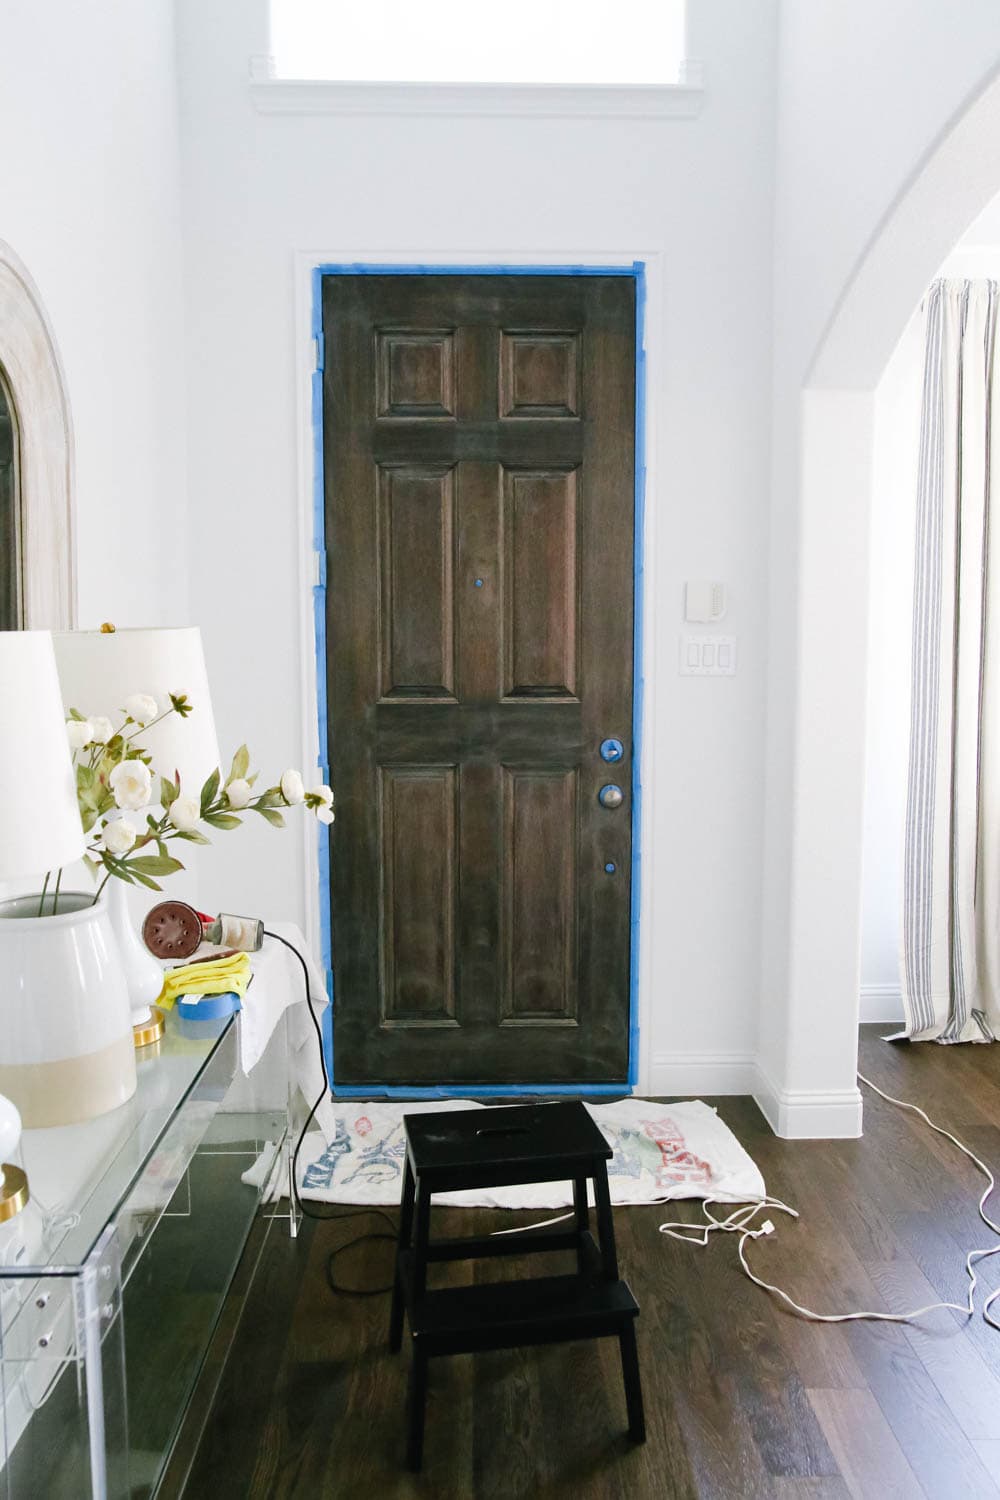
A quick guide for taping off your door
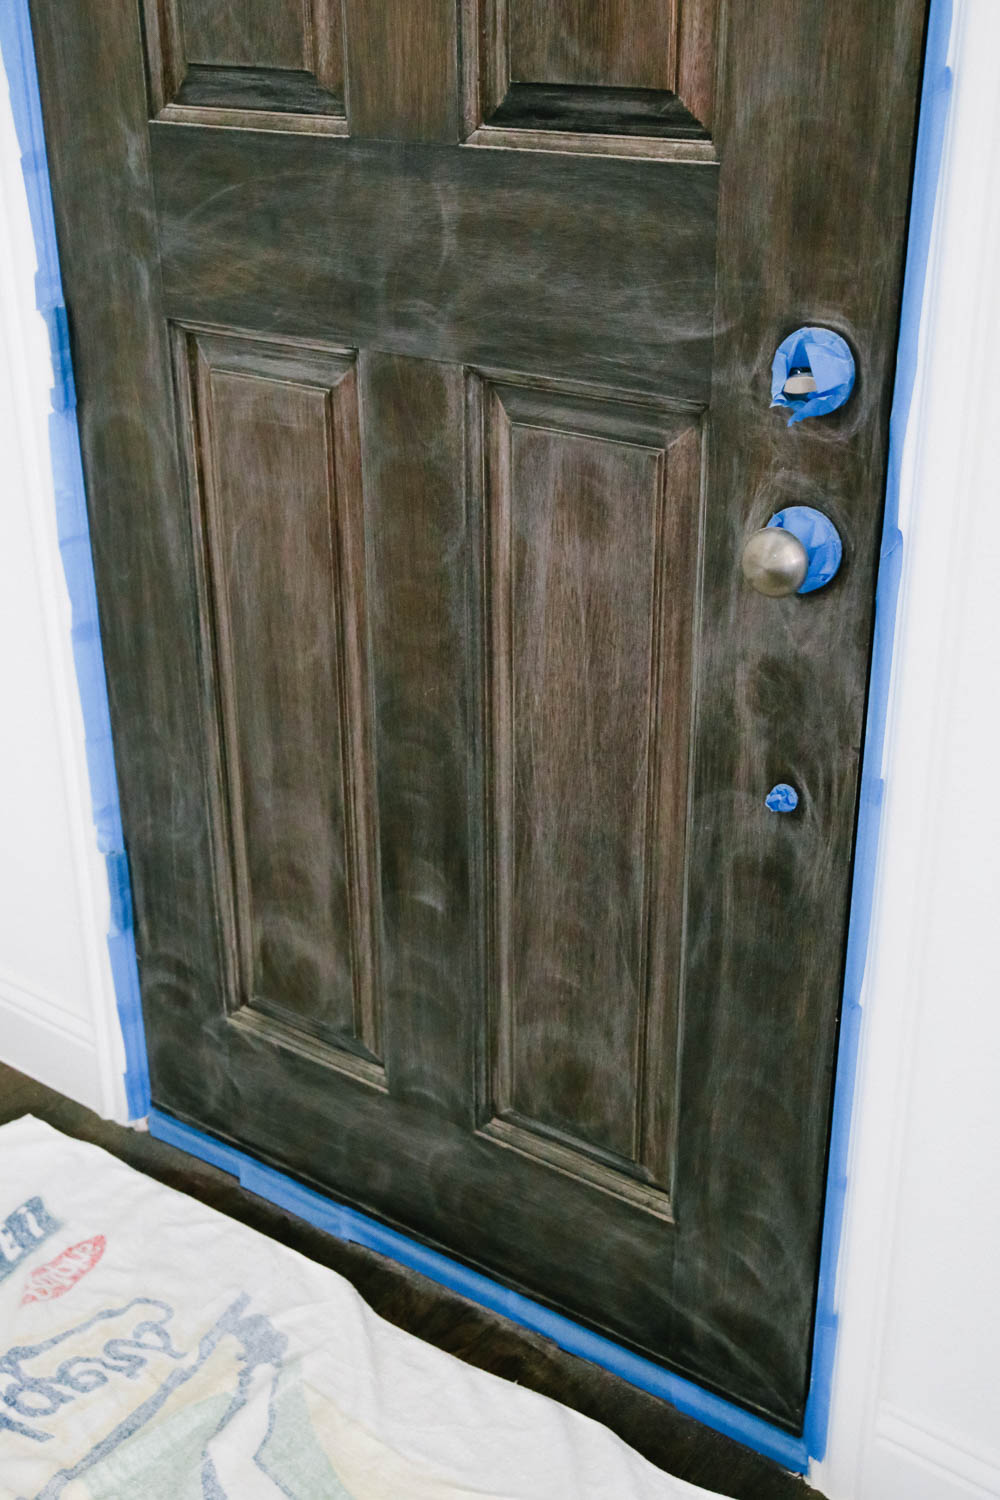
Tape off with painters tape the following:
- the frame of the door
- the handle
- the bolt
- the hinges
- the eye hole
Basically, tape off everything that touches the edges of the door frame.
I love this painters tape HERE. I get sharp clean lines every time and it is easy to remove.
Would you like to save this post?
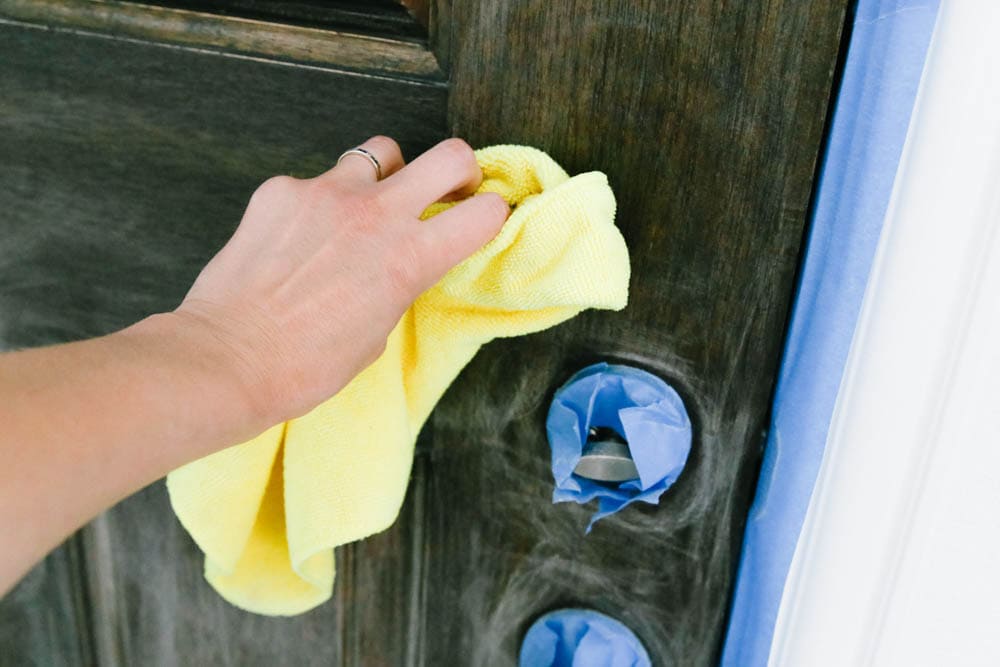
Step 2: Now it’s time to sand your surface.
I used 120 grit sandpaper and sanded by hand in the interior of the panels where the sander cannot reach.
Once the panels are done, then start with the sander and sanding discs.
Move the sander in circular motions up and down the door.
Use a microfiber cloth to wipe down the surface and get all the debris off.
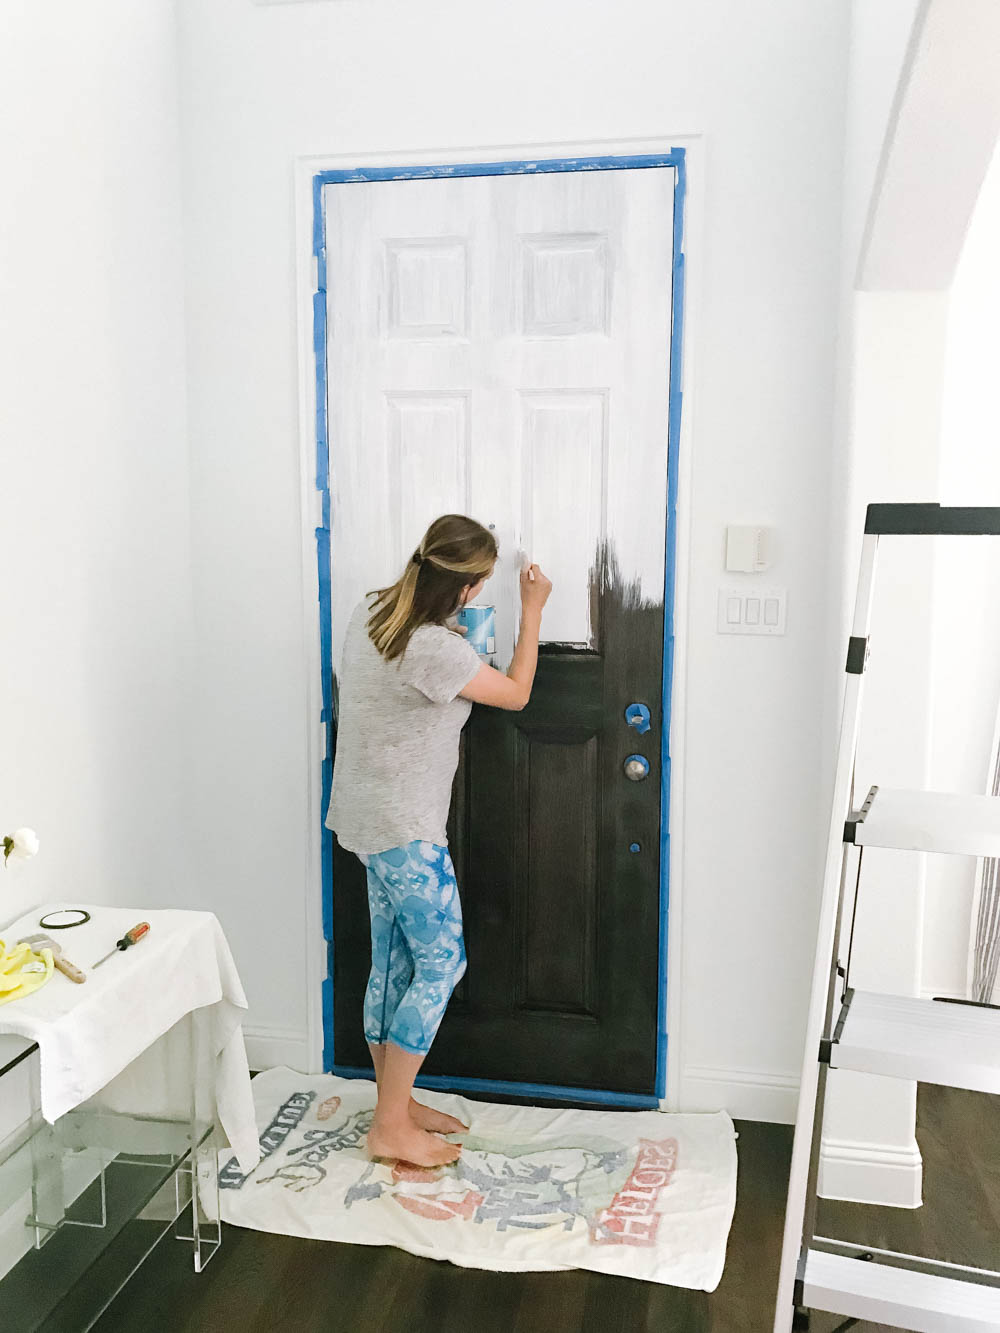
Step 3: Finish the prep work with priming the surface.
With a dark door finish like this, you will need at least 2 coats of primer.
Apply with a paintbrush or roller brush in thin even coats.
Tips + Hints:
- If your door has a gloss finish, you will need to use a liquid deglosser before priming and painting.
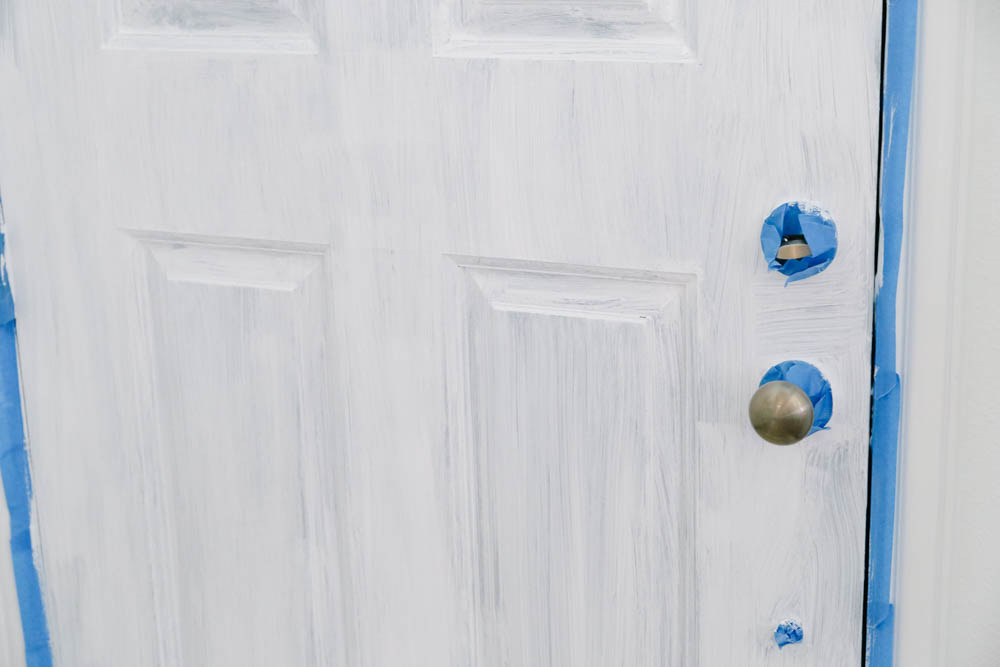
If you are painting during the colder months you may need to let it dryer longer.
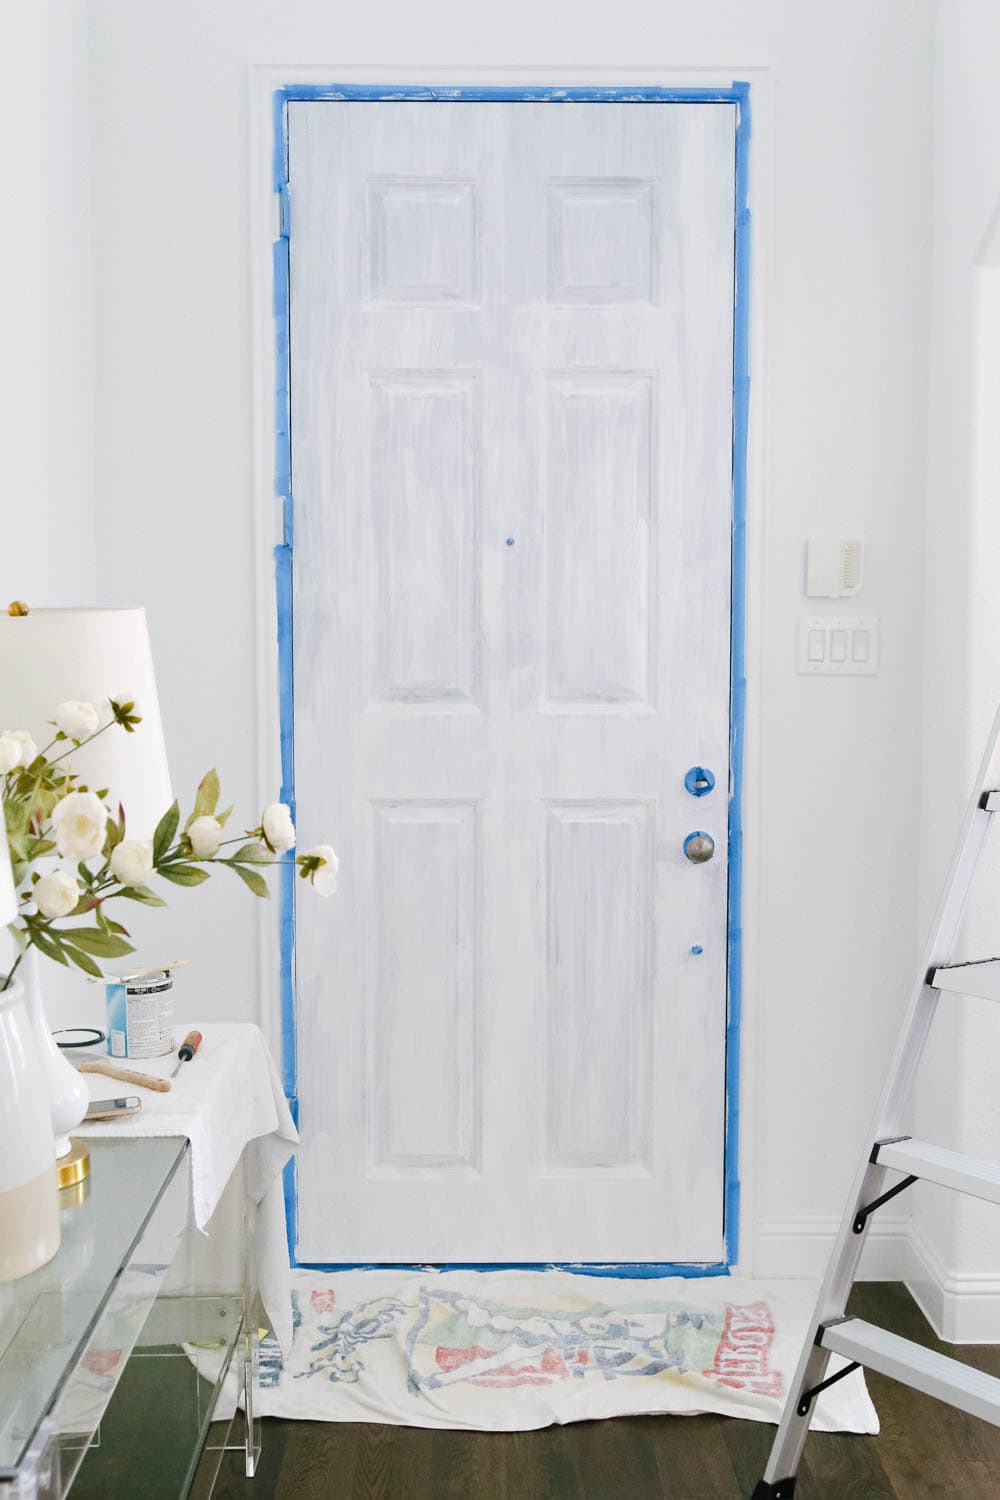
Step 4: Lastly, apply paint
Start with painting the recessed pieces of your door then the raised panels.
Use an angled paintbrush to get into the crevices. Be aware of drip marks and smooth them out ASAP.
You can use a larger sized paintbrush or a roller brush for the rest of the door.
A roller brush will not give you brush strokes and will give a smoother finish.
I applied two coats and let dry 2 hours in between.
You may need to apply a third coat depending on how well you primed the surface.

The difference the lighter color has made is incredible.
It has totally transformed this space!
Depending on the time of day and sunlight, the beautiful gray color can lend to a blue color.
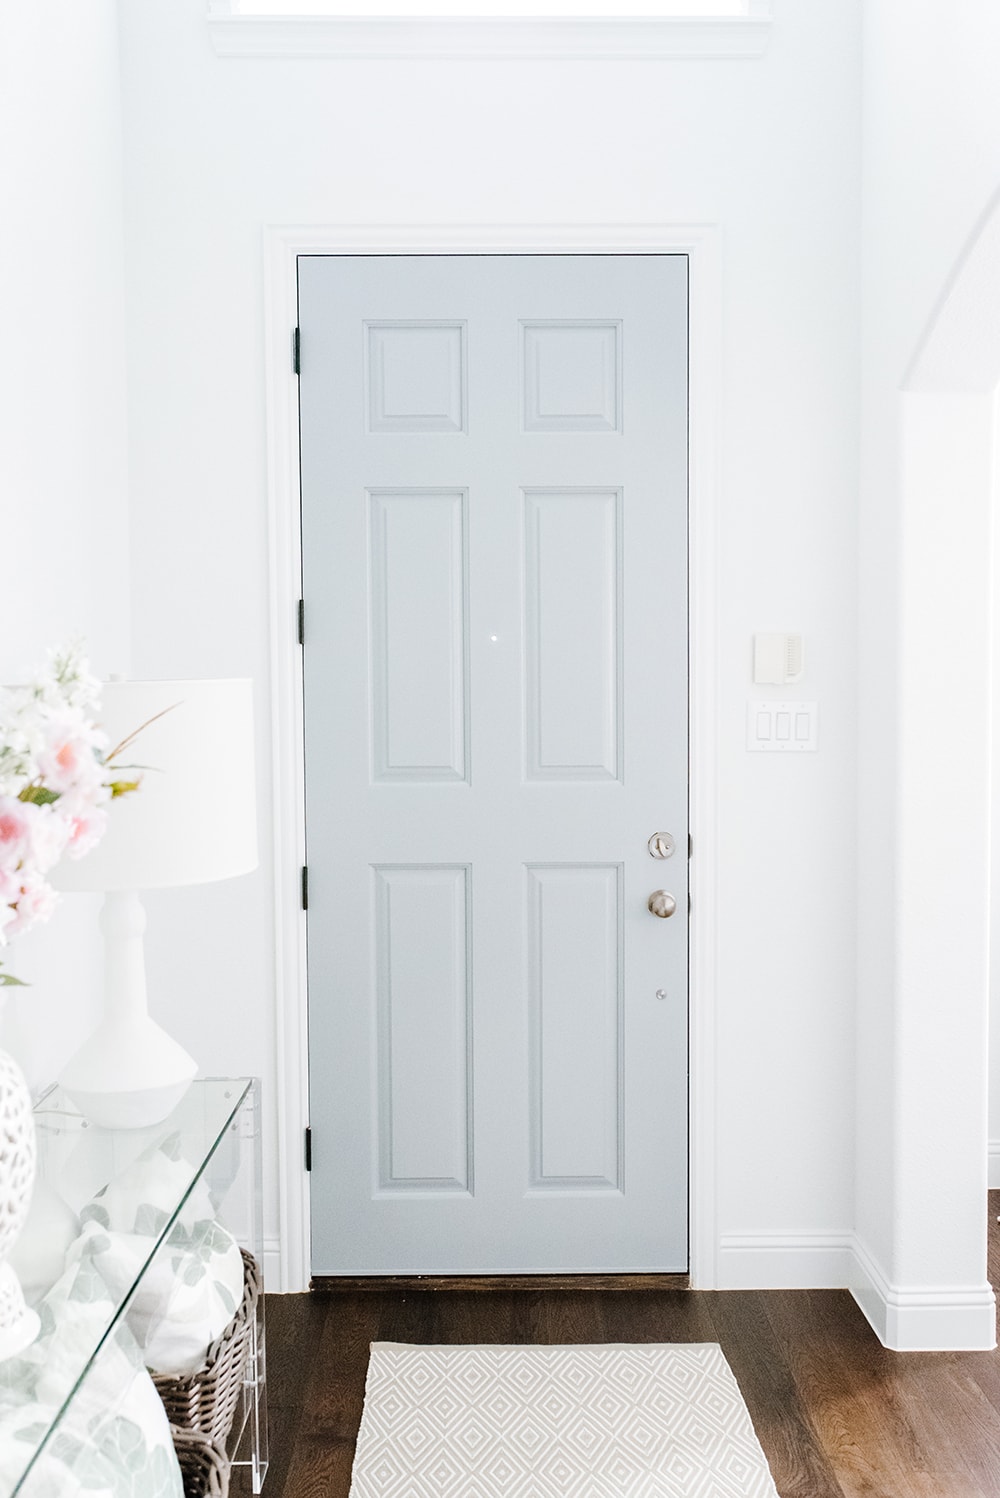
Later this week I will be sharing my full Summer entry reveal and show you how this easy and simple transformation looks with our decor.
Can’t wait for you to see!
Need to bookmark this for later?
Pin Our Image:


Beautifully done! I wish I had the courage to paint my front door. Would love to know the color. It reminds me of BM Coventry Gray?
I love Coventry Gray! That is a gorgeous color too. All sources are on my source page here: https://ablissfulnest.com/source-lists/
This is beautiful. So you only painted the inside of the door and left the outside dark?
Yes correct! I would love to paint the outside but I don’t think our HOA would let me.
I am in the same Boat.(HOA) .. What a lovely gray paint for your door ..Thanks for the tips
You are so welcome!