This post may contain affiliate links. As an Amazon Associate and a participant in other affiliate programs, I earn a commission on qualifying purchases at no additional cost to you.
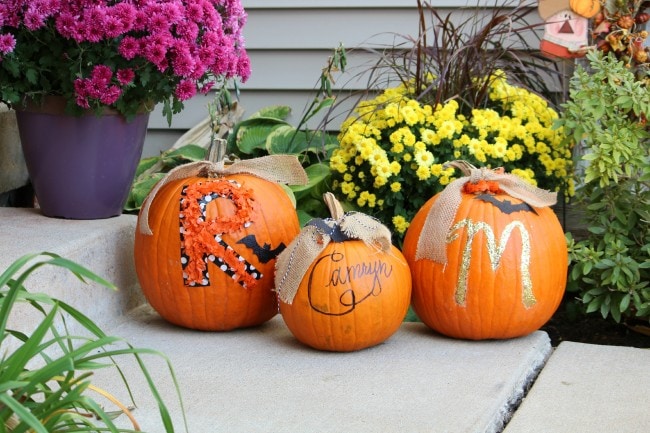
Hi friends! Michelle here with Ellery Designs and I’m thrilled to be guest blogging today at A Blissful Nest. Today I am going to show you a few simple DIY techniques to make your pumpkins crafty & cute! Best thing is, you probably have most of these supplies laying around your house.
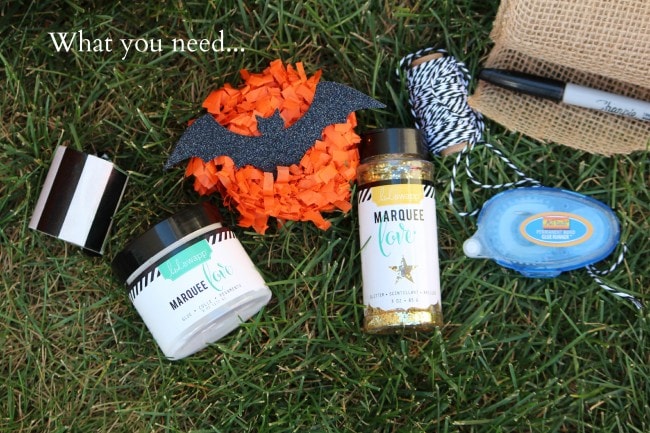
Supplies:
- Pumpkins
- Burlap
- Sharpie
- Glitter
- Glue
- Paintbrush
- Washi Tape
- Tissue Fringe
- Decorative Elements (I used paper glitter bats found at Michaels.)
Directions to make Name Pumpkin:
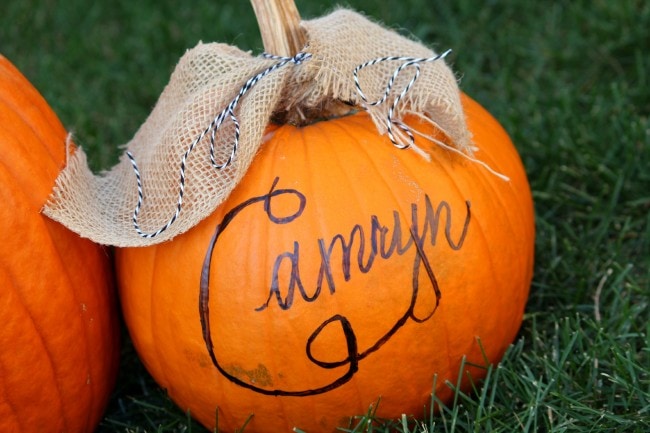
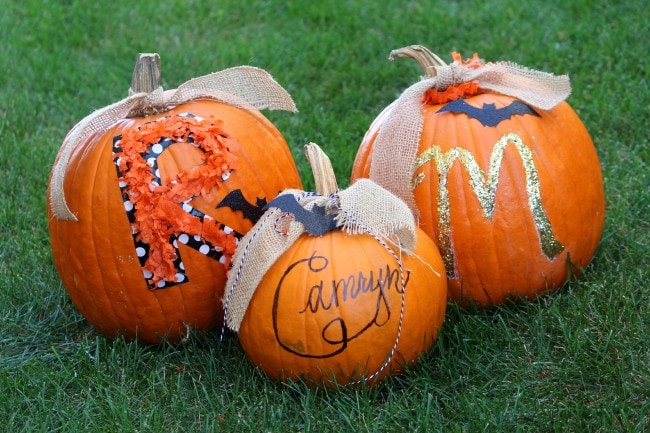
This is such a fun project that my daughter loved helping with. For her pumpkin she wanted her full name so I simply hand wrote her name with a Sharpie. Let me tell you, it’s not easy with the ridges of the pumpkins but I made it work. If you aren’t crazy about your handwriting you could always trace a font, to make it a bit easier.
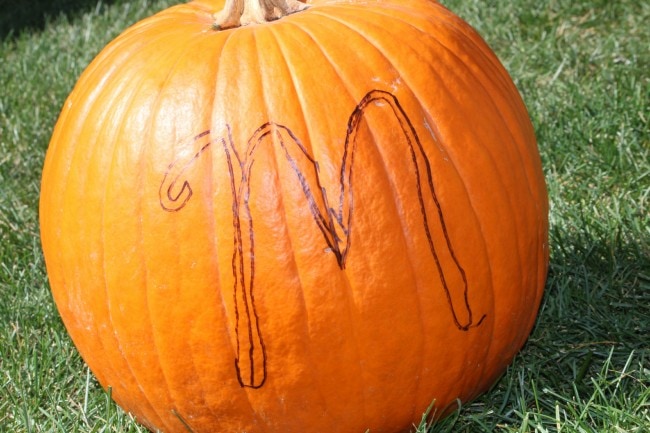
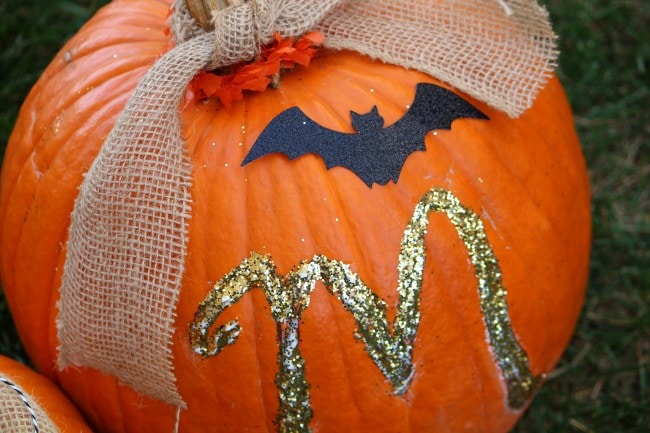
Directions to make Glitter “M” pumpkin:
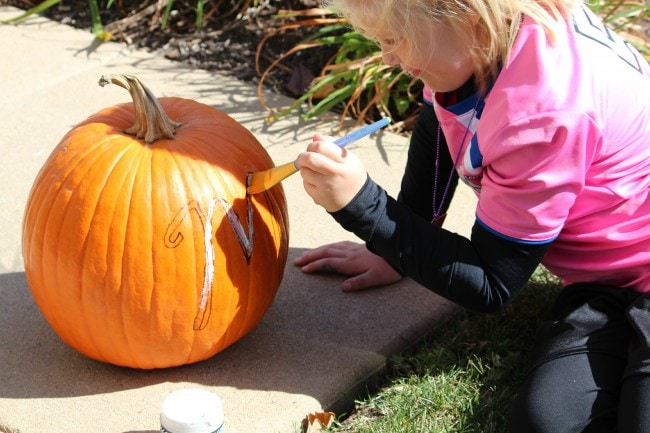
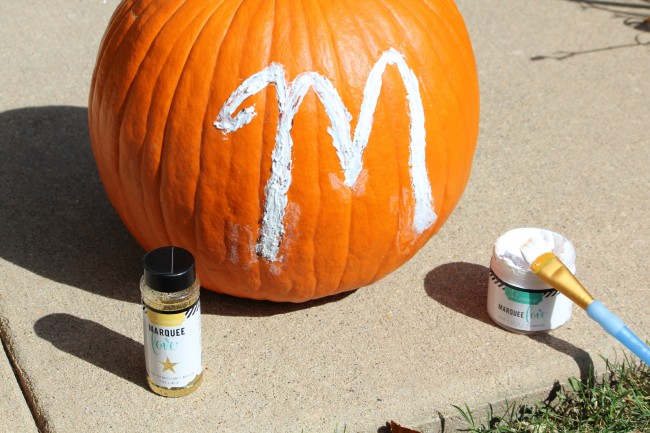
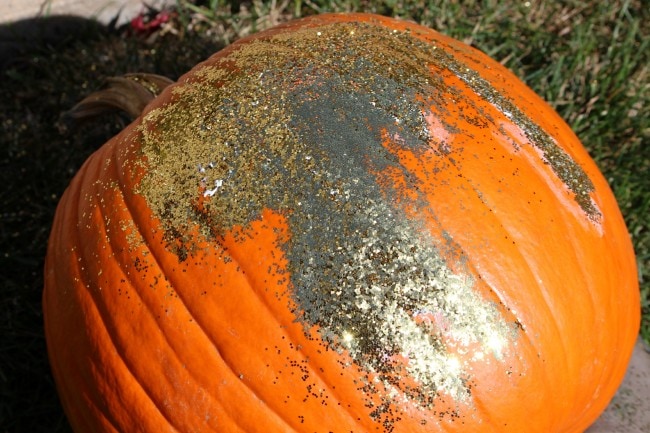
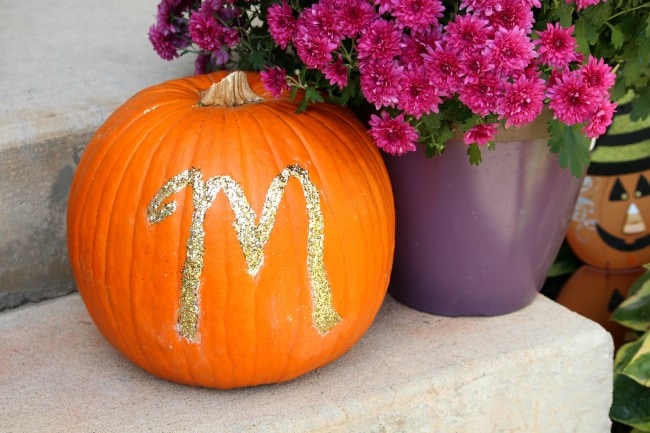
First hand trace your letter, it doesn’t have to be perfect, as you can tell by my photo. I used Heidi Swapp’s glue and glitter found at Michaels. My daughter started putting the glue on but it was drying pretty quickly so I took over and finished it up. Sprinkle the glitter over the glue and voila! A glittery, festive pumpkin!
Directions to make “R” Pumpkin:
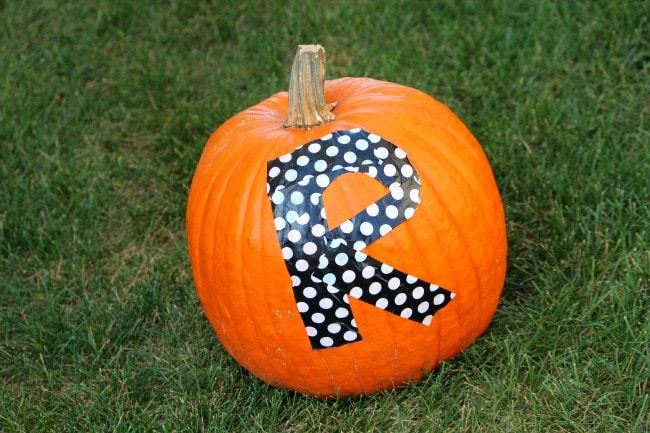
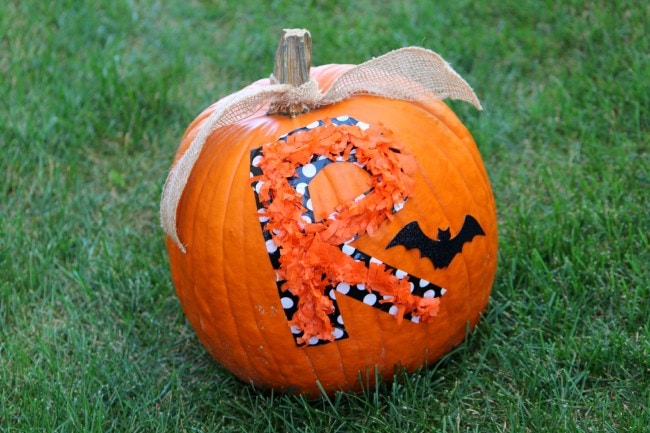
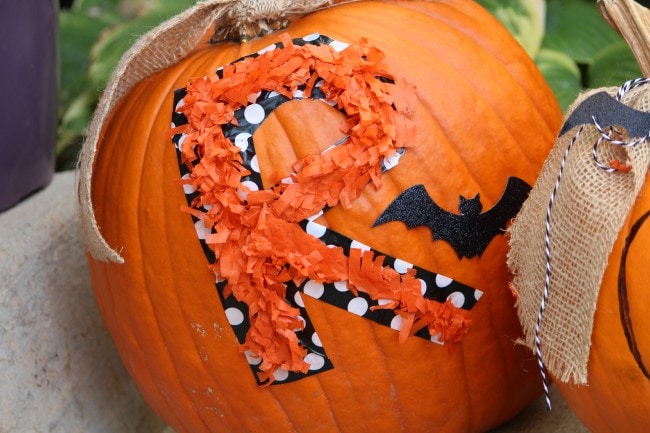
I used Heidi Swapp’s thick washi tape I had left over from her darling marquee letters. The R was a little tricky, I just kept ripping pieces of tape to form the letter. Remember, it doesn’t have to be perfect as you can see here, because I added some tissue fringe over the center to help hide the imperfections 🙂 I found these adorable glittery bats on sale at Michaels for under a $2 and added them to the pumpkins with some glue. Lastly, we decorated the stems with burlap ribbon and twine.
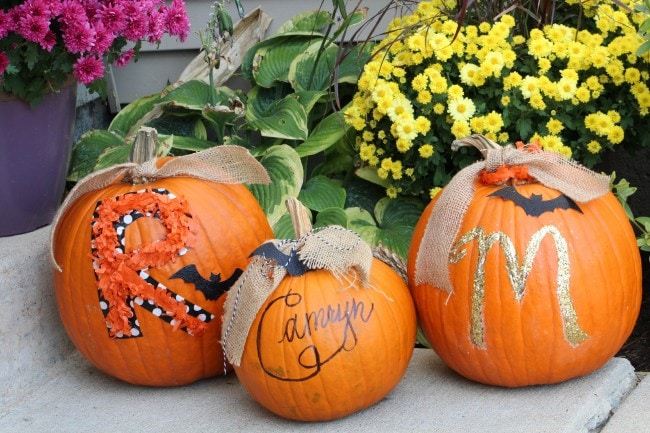
I hope you enjoyed these fun and crafty DIY pumpkins! My daughter just loves them and is quick to show everyone when they stop over.





These are so cute! I personally hate the smell of raw pumpkin, so this would be the perfect way to add some festivity to our house!
Kristi | Be Loverly
Super cute idea and looks pretty easy to do with kiddos!
Beautiful pumpkins!