Finding the right Halloween charcuterie board setup can feel tricky when you want it to be both delicious and visually spooky for your guests.
Lots of people search for Halloween decorating ideas but quickly feel overwhelmed when trying to combine sweet treats, cheeses, and fun seasonal touches into one cohesive display.
The frustration often starts when you cannot figure out how to balance classic Halloween candy with savory items like sharp cheddar or soft cheeses.
A board can also feel unfinished without unique accents like skeleton hands, plastic spiders, or festive Halloween props to complete the look.
It can be hard to source themed accessories, especially items like small cookie cutters to cut cheese shapes or decorative trays that feel special.
Some hosts struggle to arrange items neatly without overcrowding the board, which can make the presentation look messy instead of intentional.
Choosing the right mix of flavors is important, since you want both chocolate-covered treats and savory cheeses to work together without clashing.
This post may contain affiliate links. As an Amazon Associate and a participant in other affiliate programs, I earn a commission on qualifying purchases at no additional cost to you.
For smaller gatherings, fitting everything on one cheese board can be challenging without sacrificing variety or presentation.
The good news is that with a little creativity, a Halloween-themed charcuterie setup can be simple to create and still look impressive.
Once you find the right balance of flavors, textures, and decorations, your spooky Halloween spread can become the highlight of your Halloween party!
Tips to create a Spooky Charcuterie Board:
I have been creating charcuterie boards for a while, and I have compiled a list of tips and tricks to help you make a successful board for your event!
You can check out some of the other boards I have created HERE.
What to build your Halloween Charcuterie Board on:
Selecting the perfect board or tray for your charcuterie board is important.
You will need to consider the size of the board you are planning to create.
All the items you choose to put on your board will be beautifully displayed on this platter or cutting board.
The platter or cutting board is then placed on a table or counter for your guests to easily grab or take items from and enjoy.
A few of my favorite cutting boards and platters:

What cheeses to include on your spooky board:
For this particular spooky board, I used white American cheese and mozzarella balls.
You want to use cheeses that are easy to snack on and pick up!
Other white cheeses could be used instead of white American. Here are a few other options.
- Swiss Cheese
- Brie
- Havarti
What candy to include on your Halloween charcuterie board:
You definitely want candy on your Halloween Board!
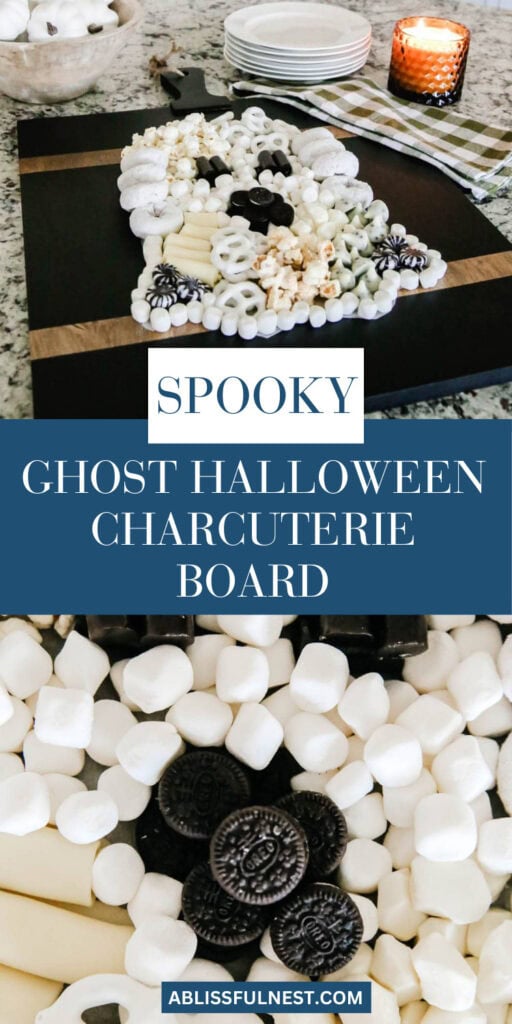
For this ghost board, I went with white candies to keep with the theme.
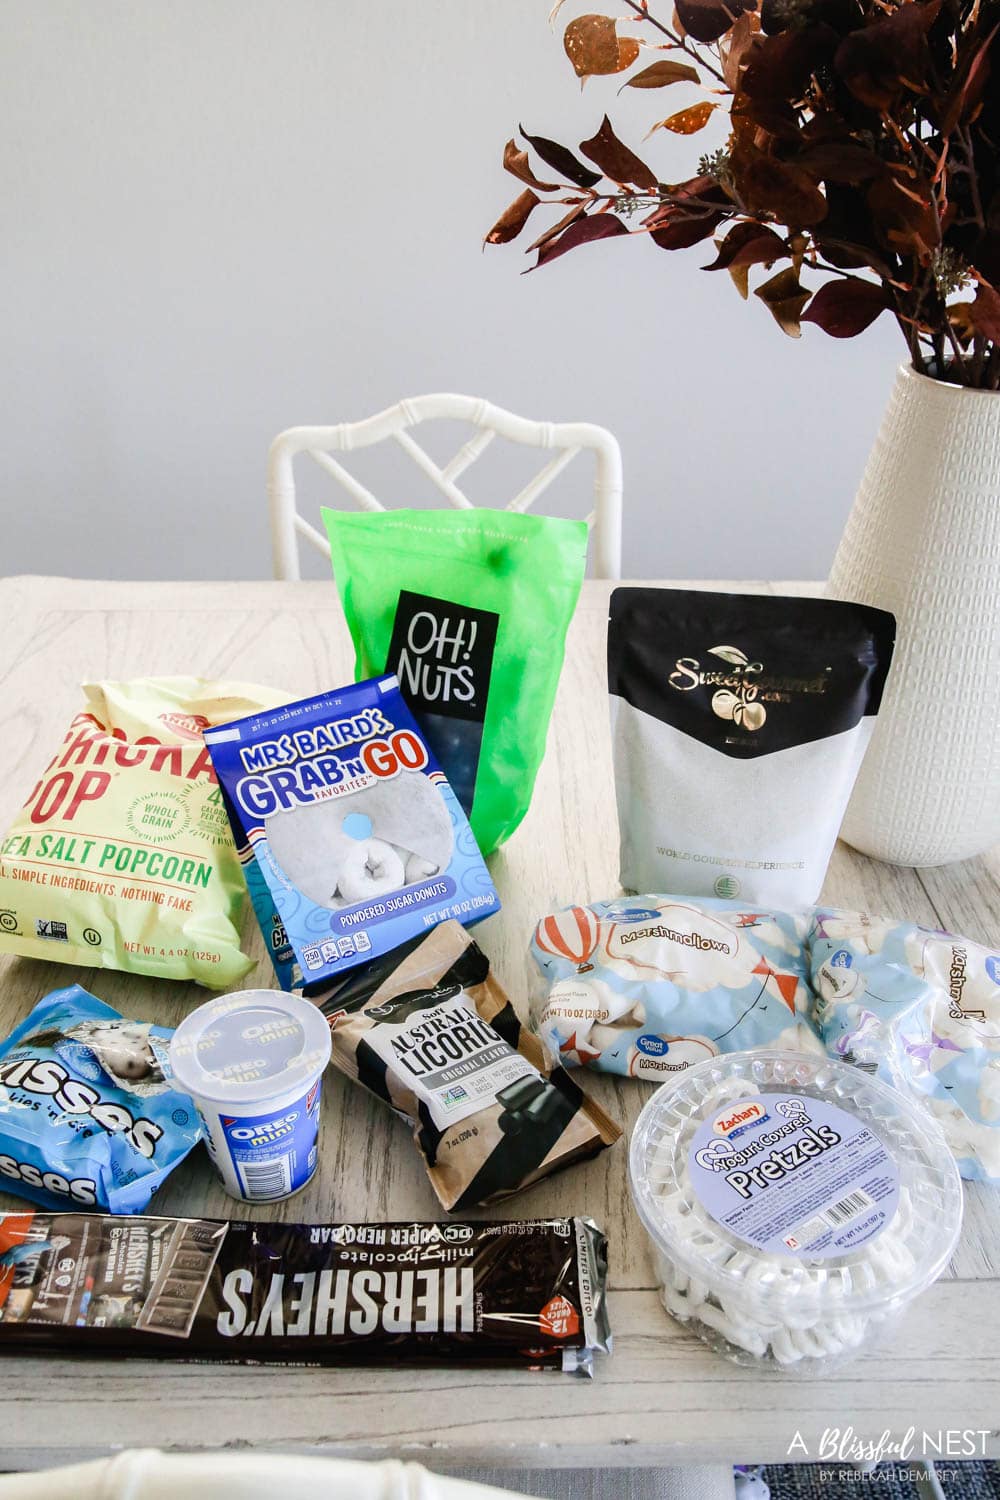
Here are a few that I used but you can use whatever white candy you and your family/guests like!
- Cookies and Cream Hershey’s Bar
- White Chocolate Hershey’s Kisses
- Black and White Mints.
- Black Licorice.
- White Donuts.
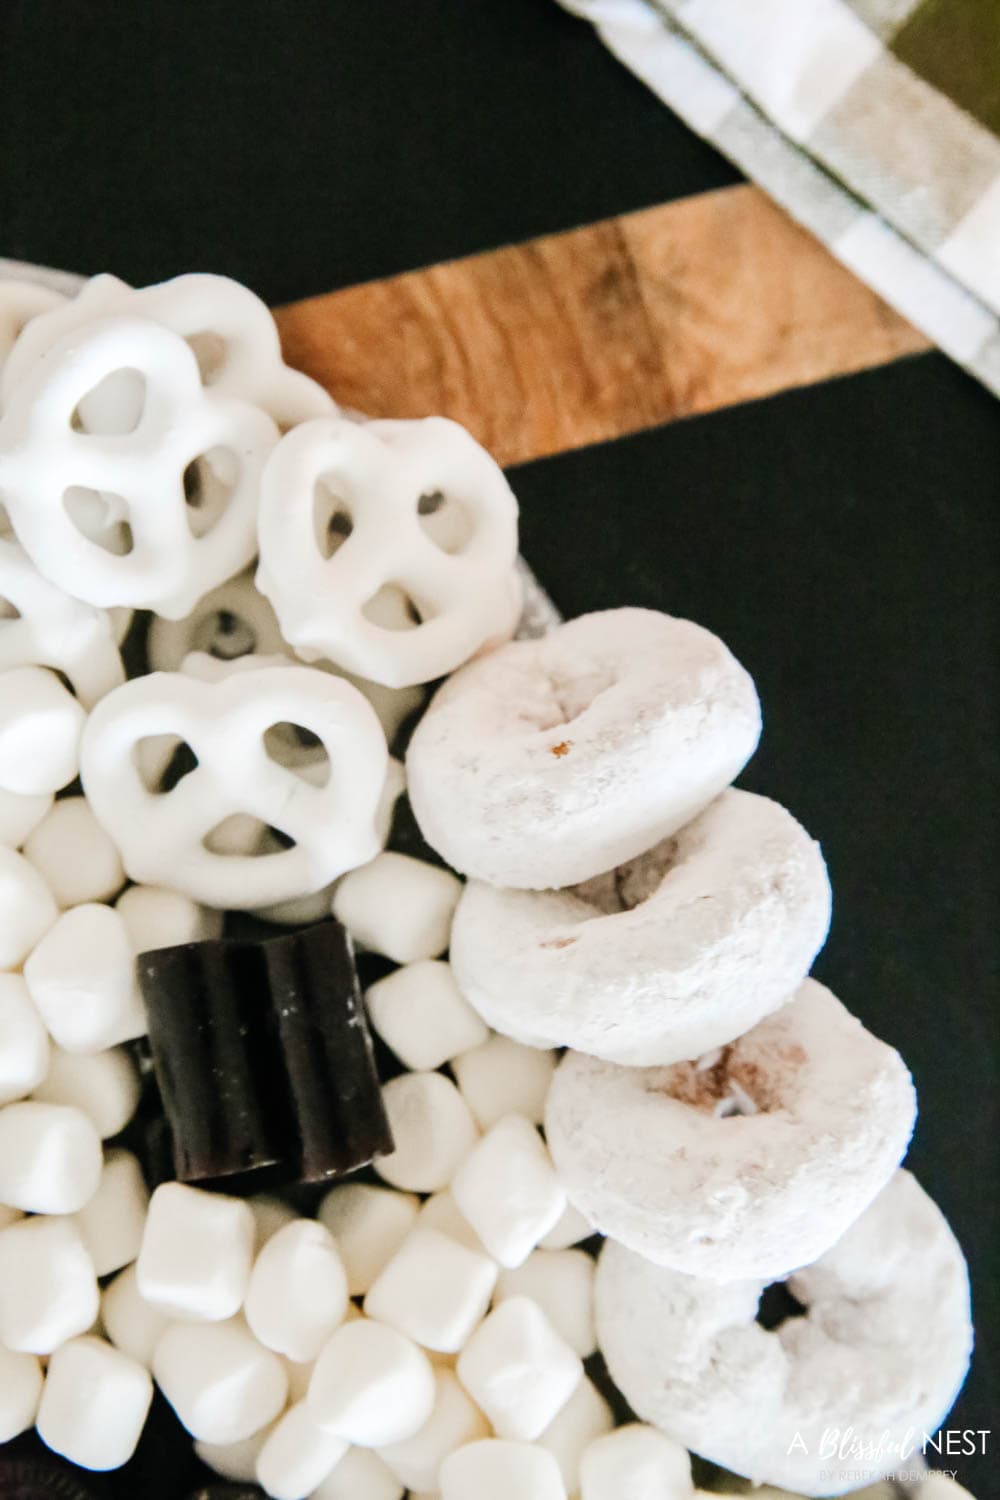
- Yogurt-Covered Pretzels
- Mini Marshmallows
- Mini Oreo Cookies
- Popcorn – you can use any but for this I used flavored.
Best meats, crackers, and fruits to use on a charcuterie board:
It is ideal to use meats and cheese that will not melt or are ok to sit out for a time period.
Would you like to save this post?
No matter what types of meats and cheeses you pick for your board quality is most important!
Salami, pepperoni, and prosciutto are just a few of the meats you can put on a charcuterie board.
For cheeses, you will want to choose some that you can roll up and eat with those meats. Pick soft cheeses that will be easy to spread on a cracker or slice of bread.
Lastly a ‘funky’ cheese, like feta, blue, or goat are delicious to pair with these meats.
Fruits on a board are also a great idea. Any hearty berry will work. I love to use dried fruits and they taste delicious on top of cheese and crackers.

How to build a Halloween charcuterie board step-by-step:
Once you have all of your ingredients and the board selected for your Halloween board you are ready to build it.
Here is a guide to getting yours ready!
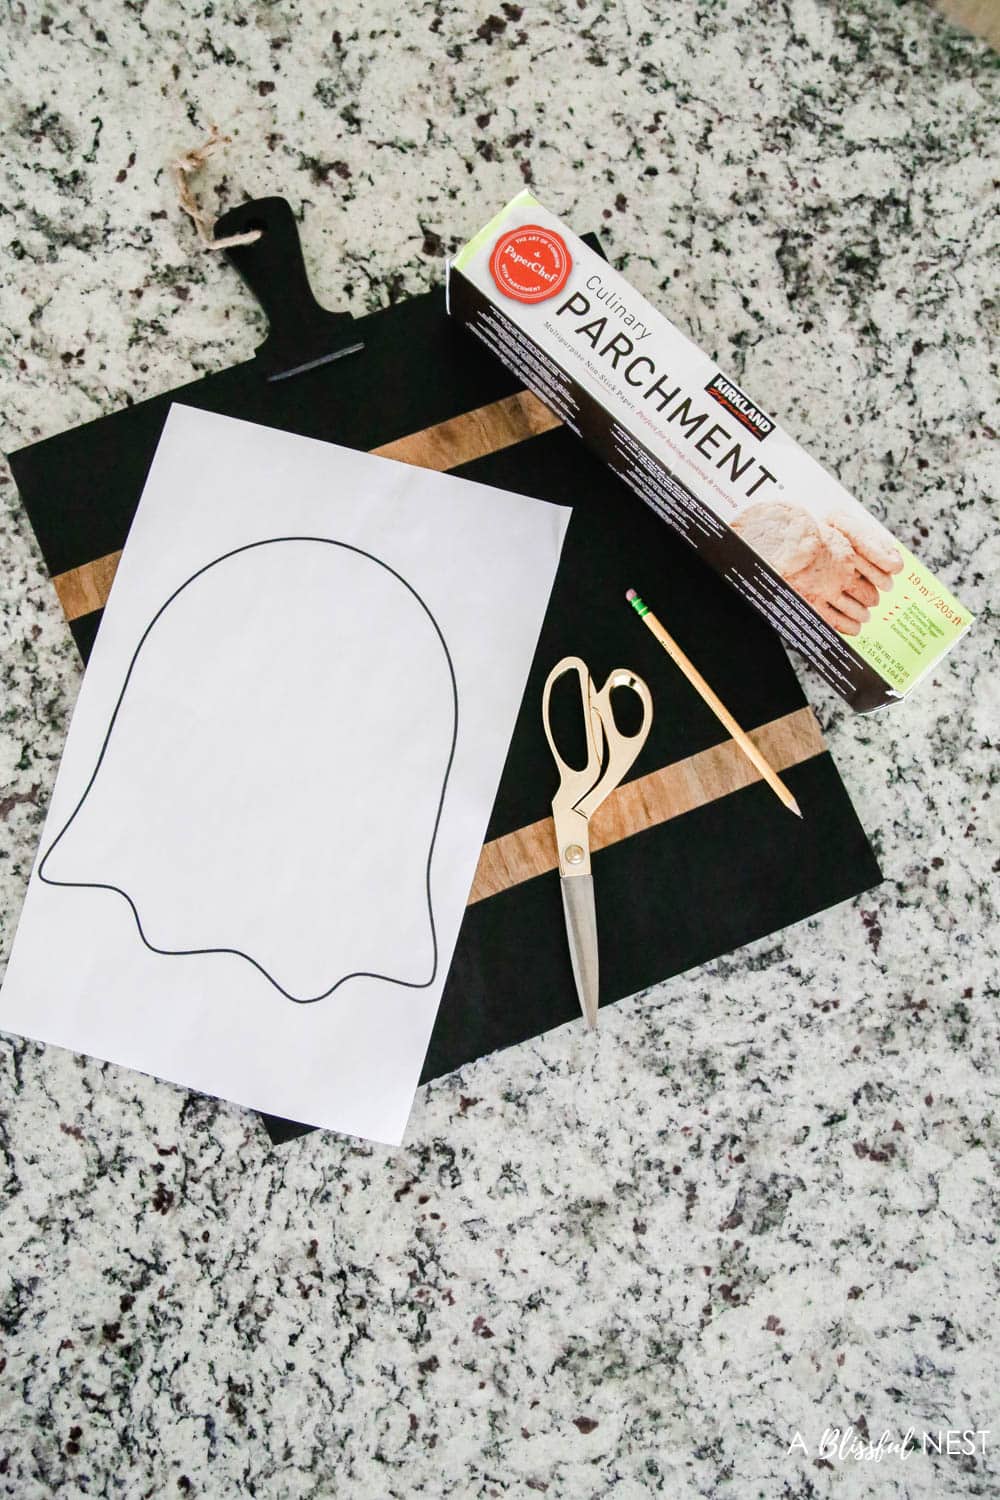
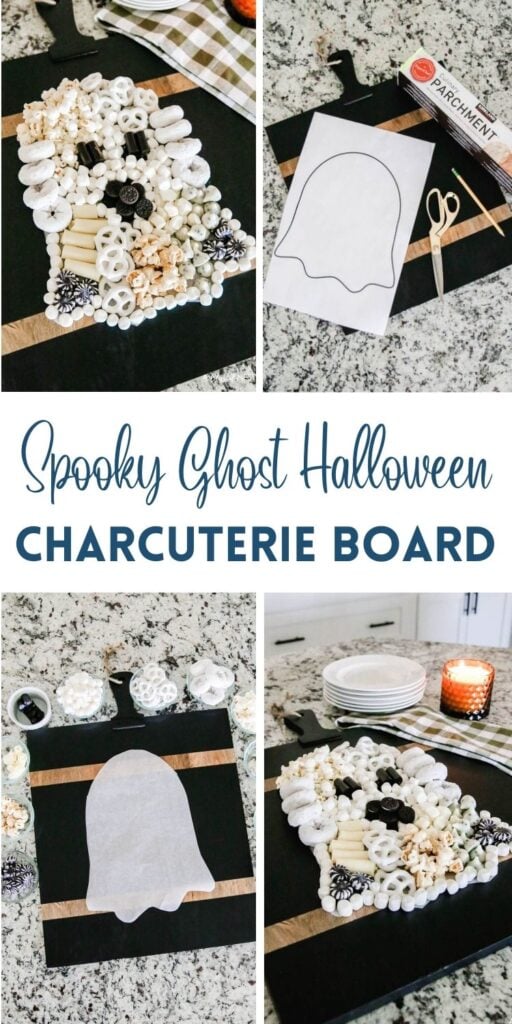
Step 1 – Print out your ghost outline and trace it on a piece of parchment or wax paper, and cut it out. You can download your own copy of the ghost outline HERE.
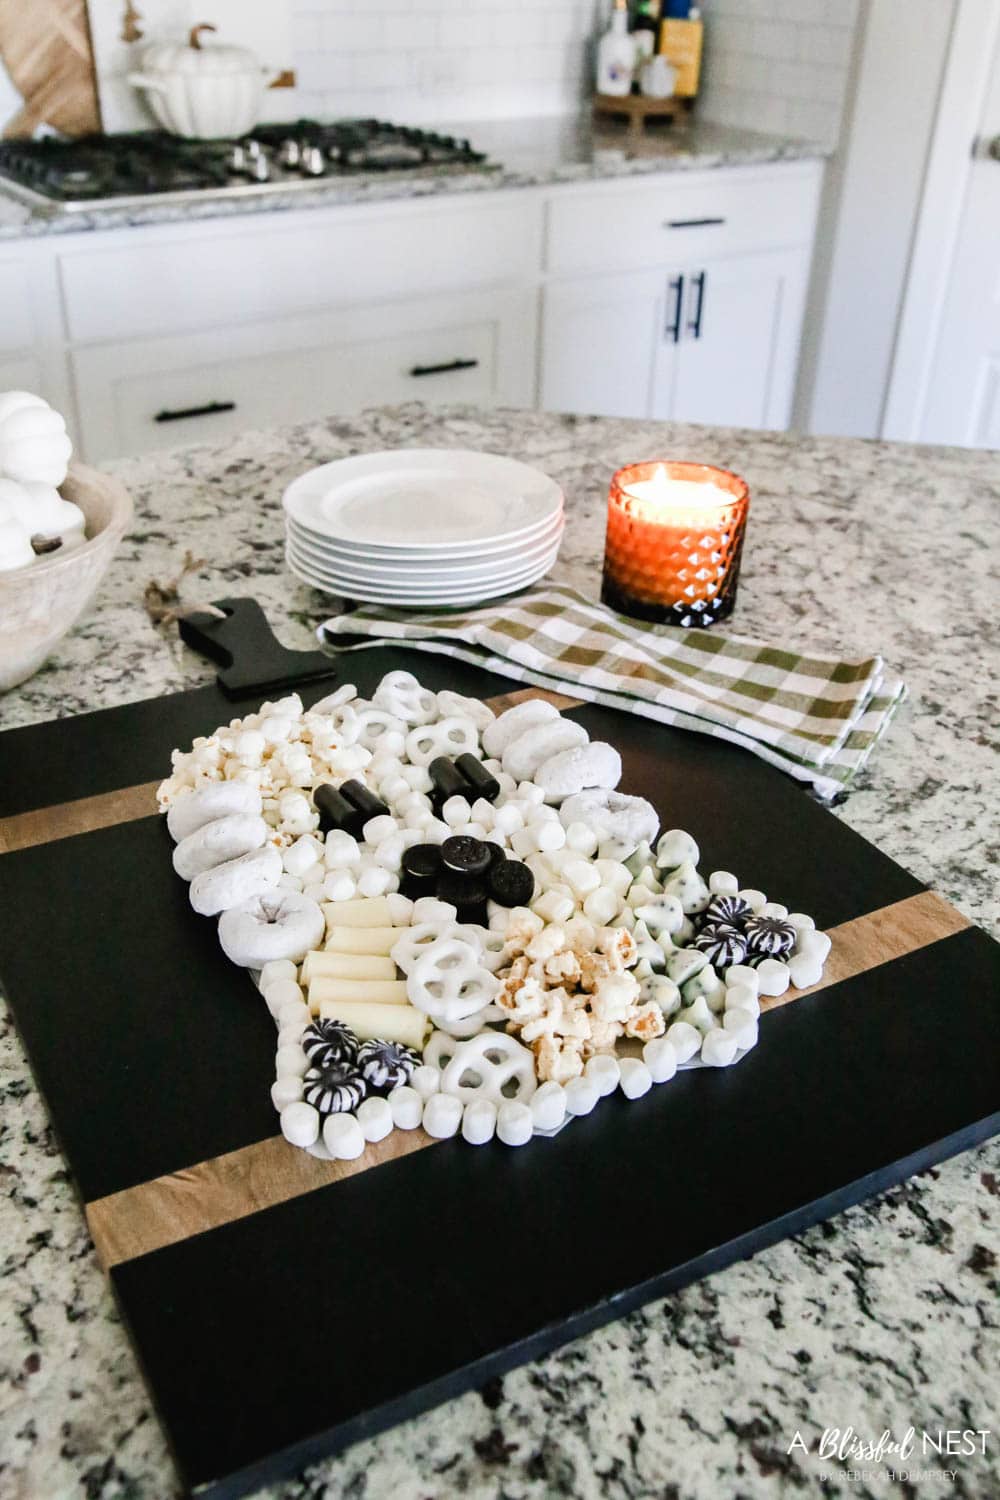
Step 2 – Select the board you would like to use.
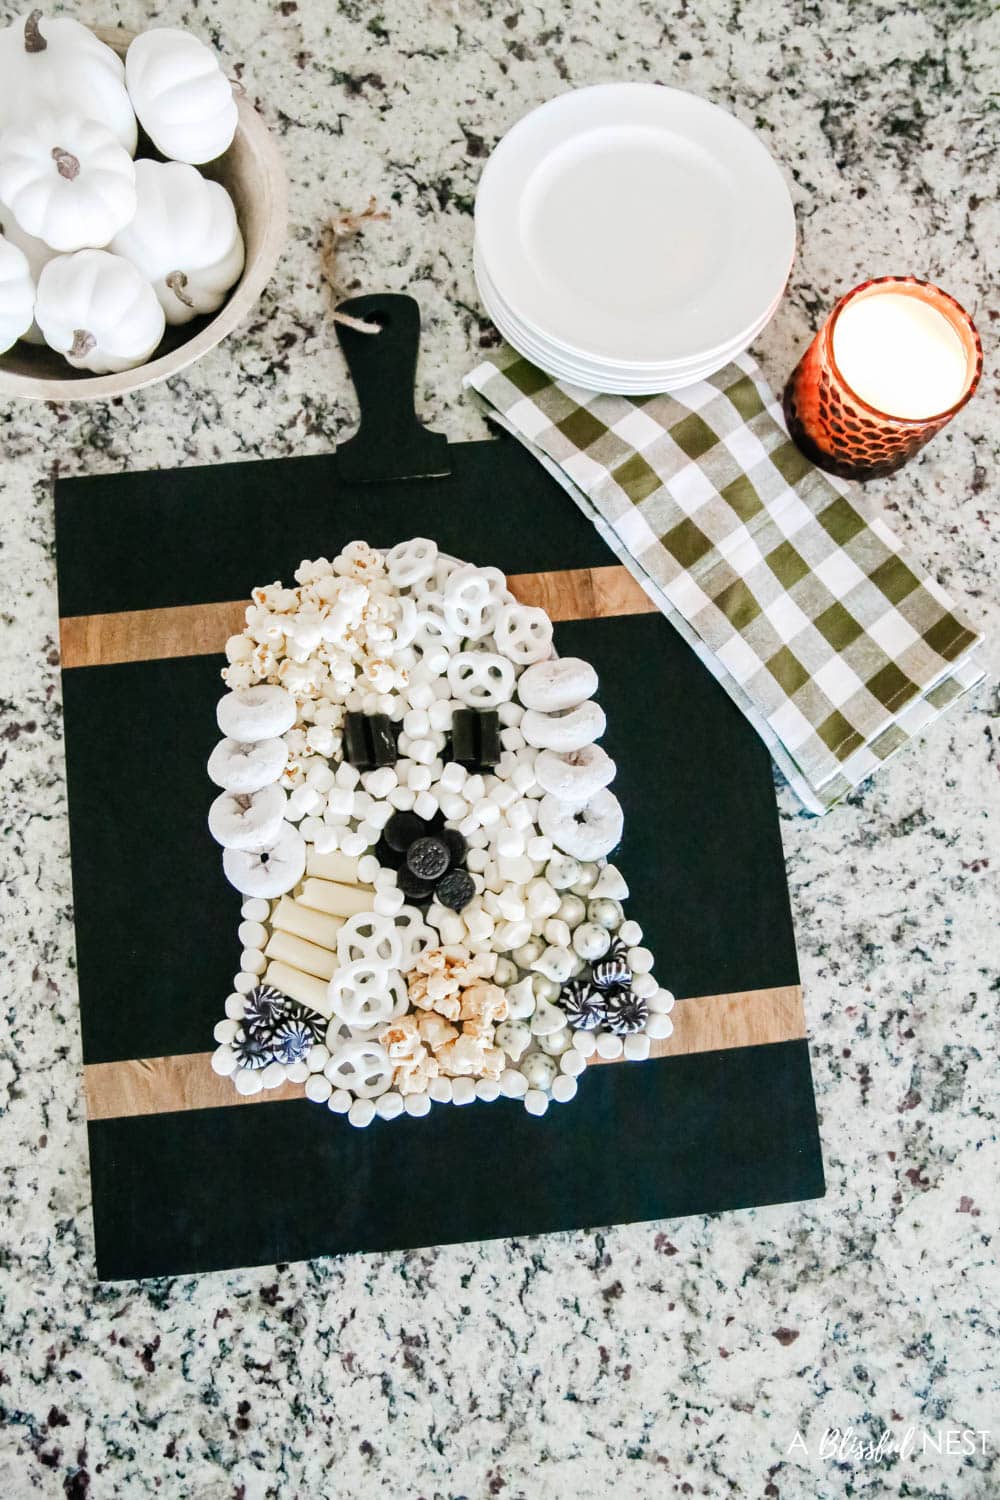
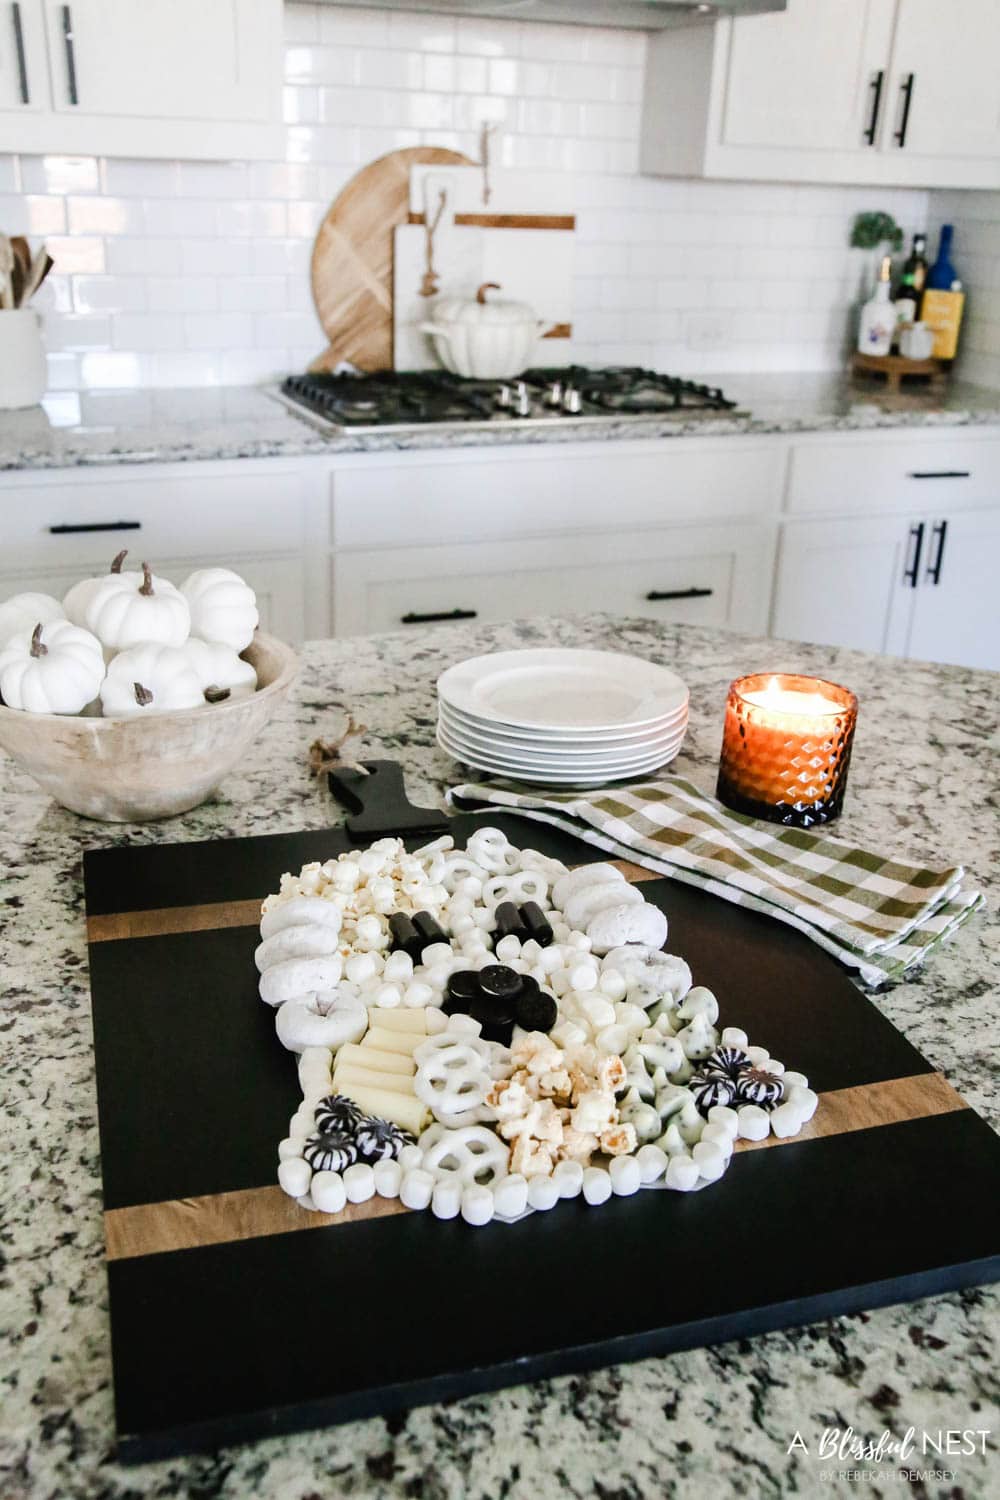
I used this black one with wood accents that we just got into our online shop. It is so pretty and I love the rich tone of the wood.
Step 3 – Place the ghost outline on the board. This will be your guide to making it look like a ghost.
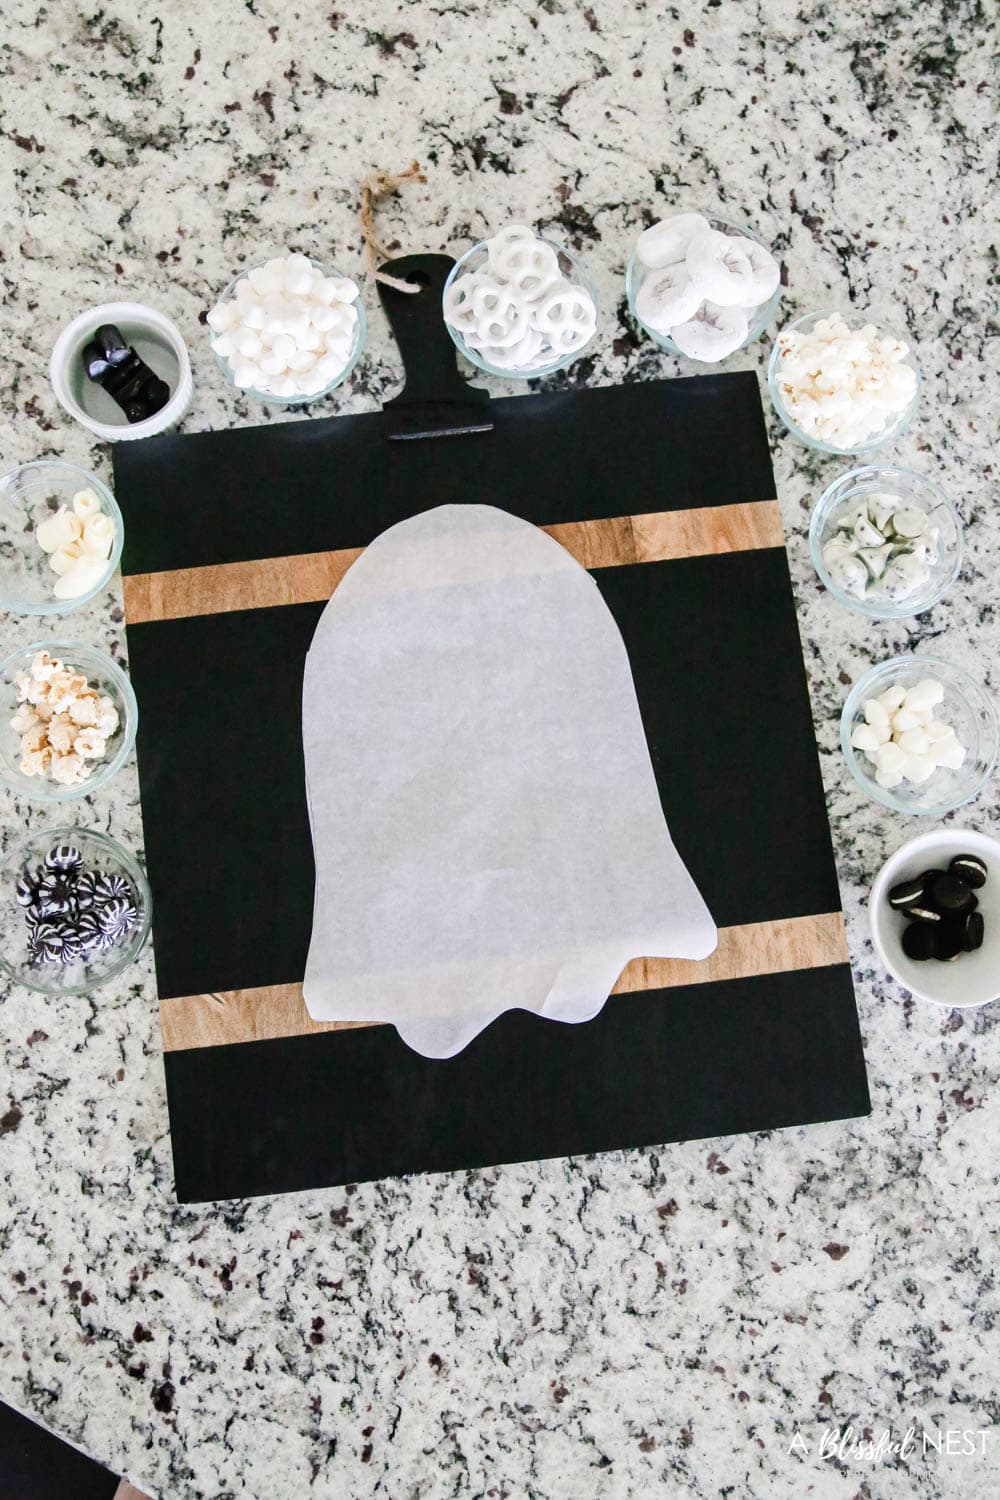
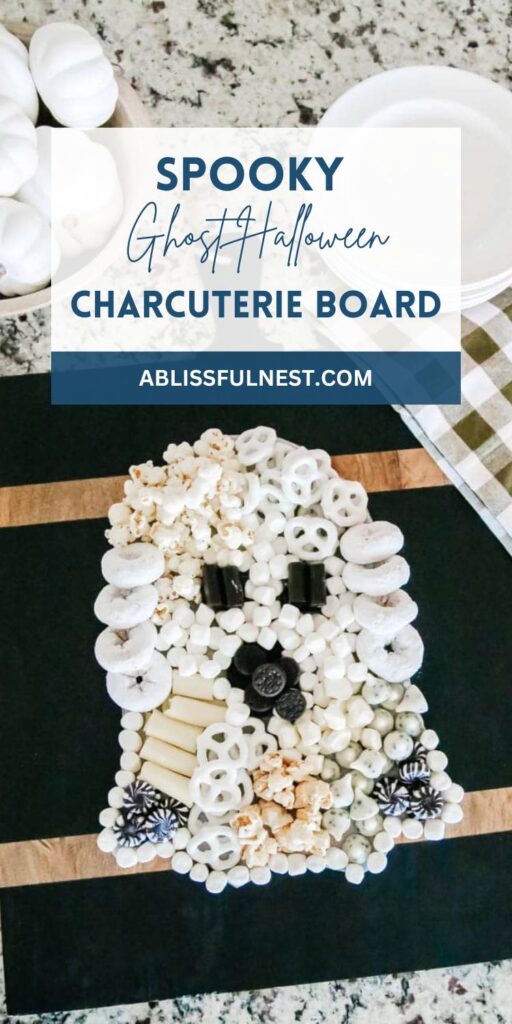
Step 4 – Start at the top and work your way down, by placing the donuts on either side of the ‘face’.
Step 5 – Use white icing and trace the very bottom of the ghost.
This will work like glue and keep those mini marshmallows in place.
It also defines the bottom shape of the ghost so you don’t lose the look of the ghost.
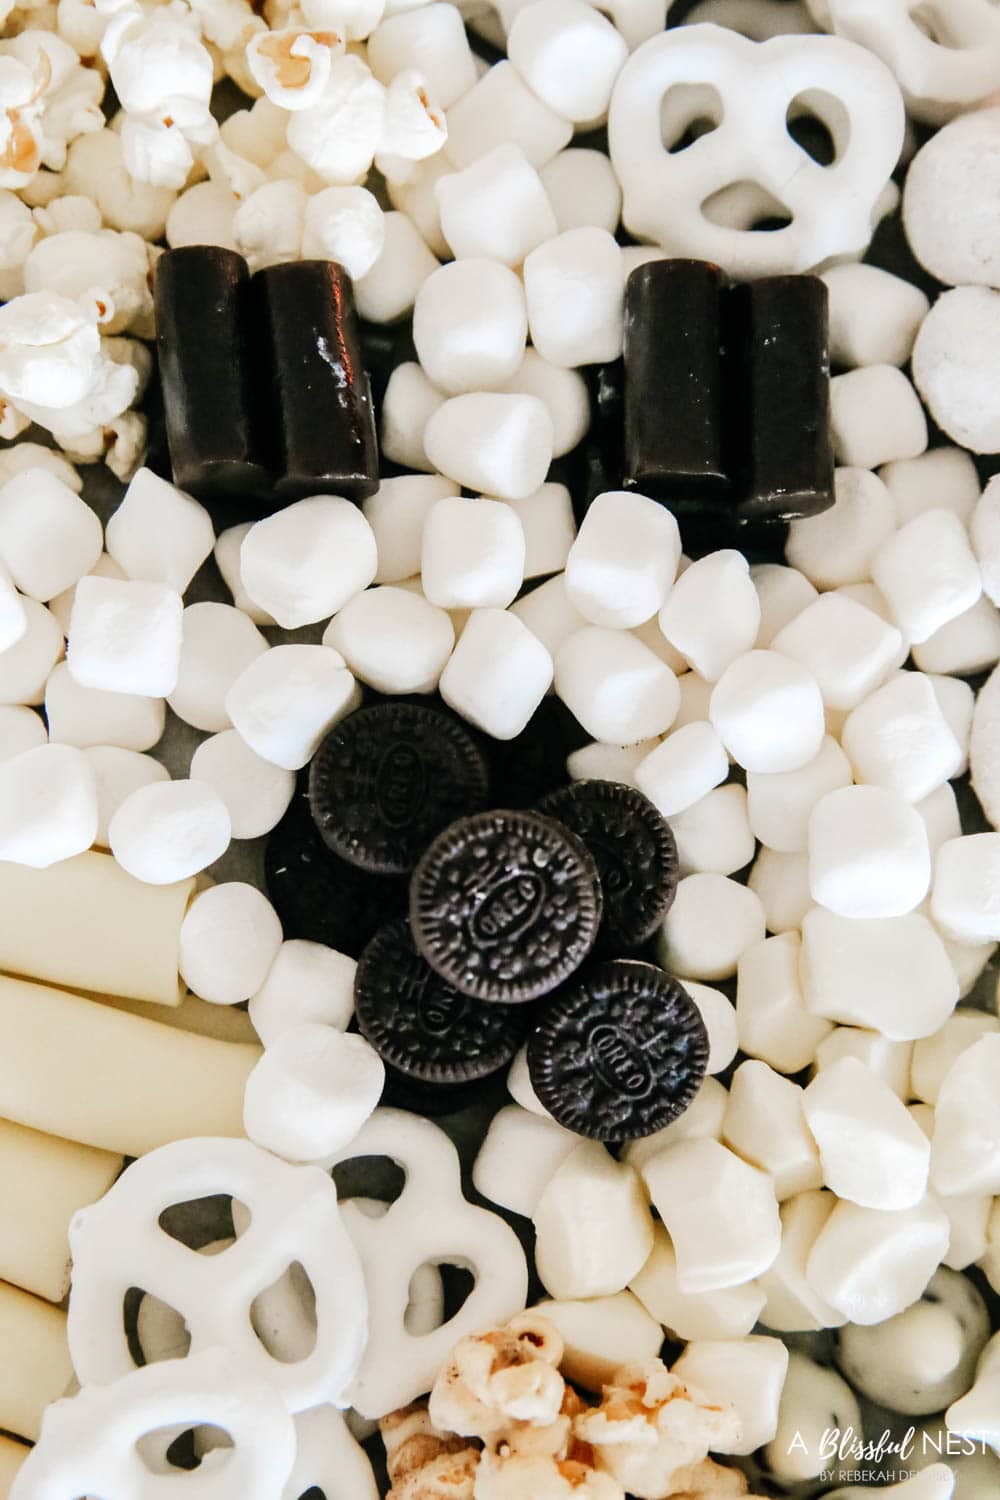
Step 6 – Next place the eyes and mouth using stacked black licorice for the eyes and mini Oreos for the mouth.
Step 7 – Start filling in the top of the ghost with popcorn and pretzels. Fill in the middle area with mini marshmallows.
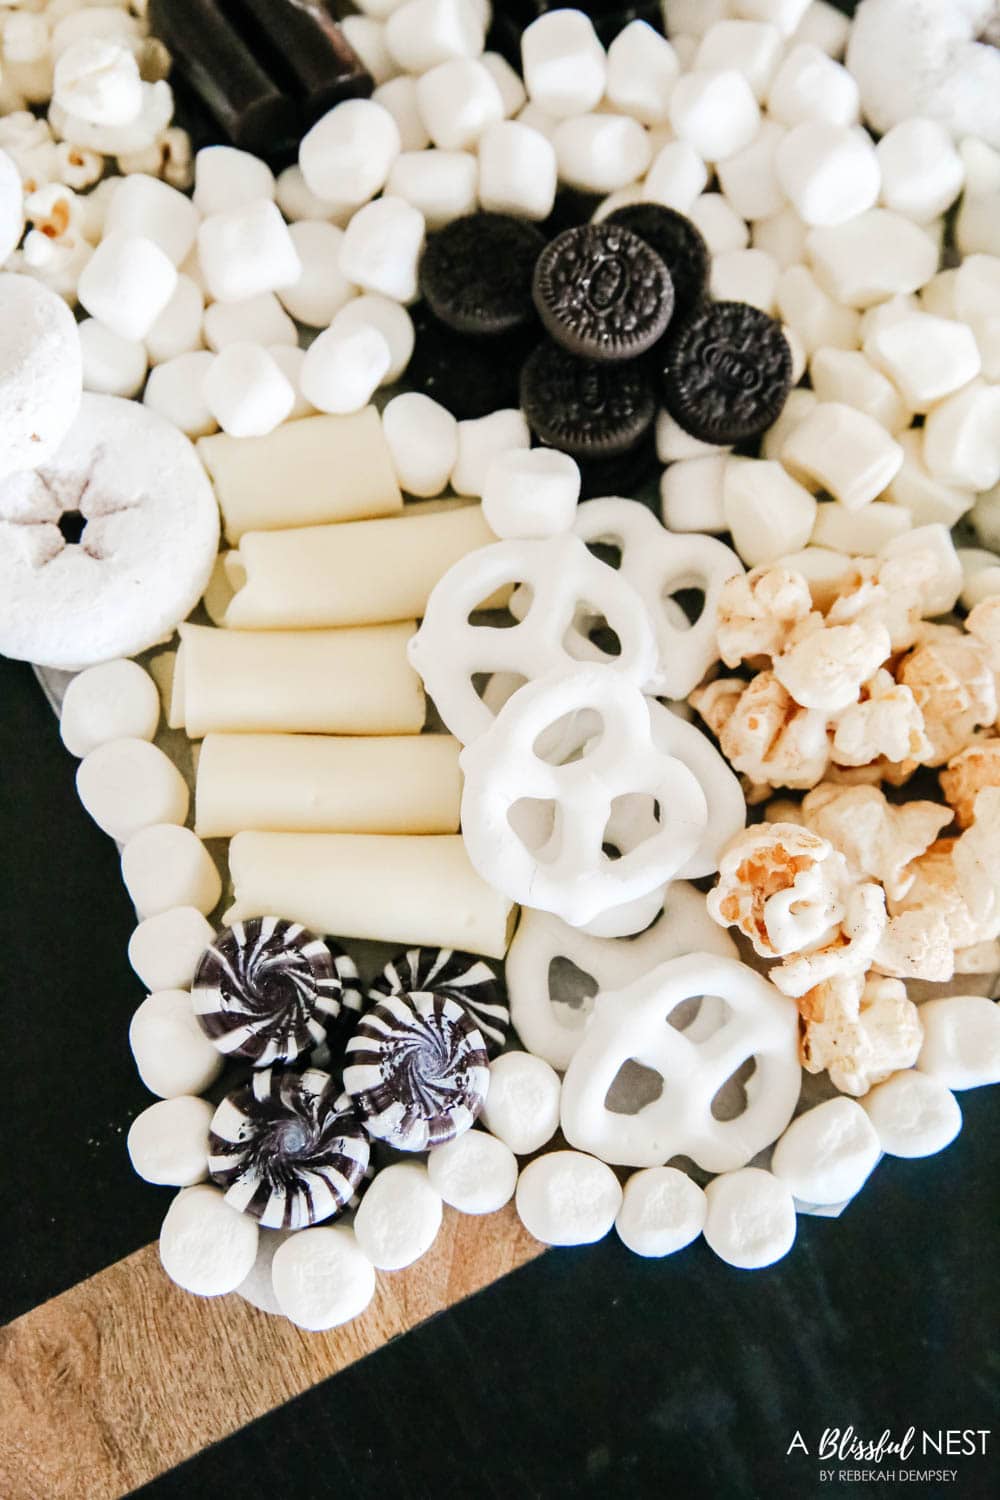
Step 8 – Toward the bottom, add the cheeses to either side of the mouth.
I rolled up some to creat little logs and the others are round which look like marshmallows.
Step 9 – Place the black and white mints symmetrically at the bottom corners of the Ghost outline.
Step 10 – Add flavored popcorn and a few more pretzels to fill in below the mouth.
That’s it!
You have just created a cute little spooky Ghost for your Halloween get-together and would be super cute as a Hocus Pocus charcuterie board! Enjoy!
Ingredients
- Swiss Cheese
- Brie
- Havarti
- Cookies and Cream Hershey’s Bar
- White Chocolate Hershey’s Kisses
- Black and White Mints
- Black Licorice
- White Donuts
- Yogurt-Covered Pretzels
- Mini Marshmallows
- Mini Oreo Cookies
- Popcorn
Instructions
- Print out your ghost outline and trace it on a piece of parchment or wax paper, and cut it out.
- Select the board you would like to use.
- Place the ghost outline on the board. This will be your guide to making it look like a ghost.
- Start at the top and work your way down, by placing the donuts on either side of the ‘face’.
- Use white icing and trace the very bottom of the ghost.This will work like glue and keep those mini marshmallows in place.It also defines the bottom shape of the ghost so you don’t lose the look of the ghost.
- Next place the eyes and mouth using stacked black licorice for the eyes and mini Oreos for the mouth
- Start filling in the top of the ghost with popcorn and pretzels. Fill in the middle area with mini marshmallows.
- Toward the bottom, add the cheeses to either side of the mouth. I rolled up some to creat little logs and the others are round which look like marshmallows.
- Place the black and white mints symmetrically at the bottom corners of the Ghost outline.
- Add flavored popcorn and a few more pretzels to fill in below the mouth.
Frequently Asked Questions
Mix sweet and savory by adding Halloween candy, chocolate-covered snacks, and cheeses like goat cheese, sharp cheddar, or soft cheeses for variety and texture. Decorations such as skeleton hands, plastic spiders, or themed picks help tie the look together and make the display more eye-catching.
Use themed items like candy corn and Halloween cookie cutters to cut cheese shapes that match the holiday spirit. Add spooky accents such as fake cobwebs, mini pumpkins, or dark-colored trays to create a dramatic and seasonal presentation.
Start with larger items like cheese wedges or bowls of dip as anchors, then fill gaps with Halloween candy, crackers, and fruit. Props like skeleton hands, decorative cups, or small cauldrons can hold snacks while adding a playful touch.
Use small cookie cutters to create fun cheese and fruit shapes that children will enjoy. Include plenty of candy corn, pretzels, and mild dips so the flavors stay appealing to younger guests.
Sparkling cider, mulled wine, or themed cocktails complement the mix of sweet and savory flavors for adult gatherings. For kids and non-drinkers, spiced punch, apple juice, or hot chocolate make great seasonal options.

