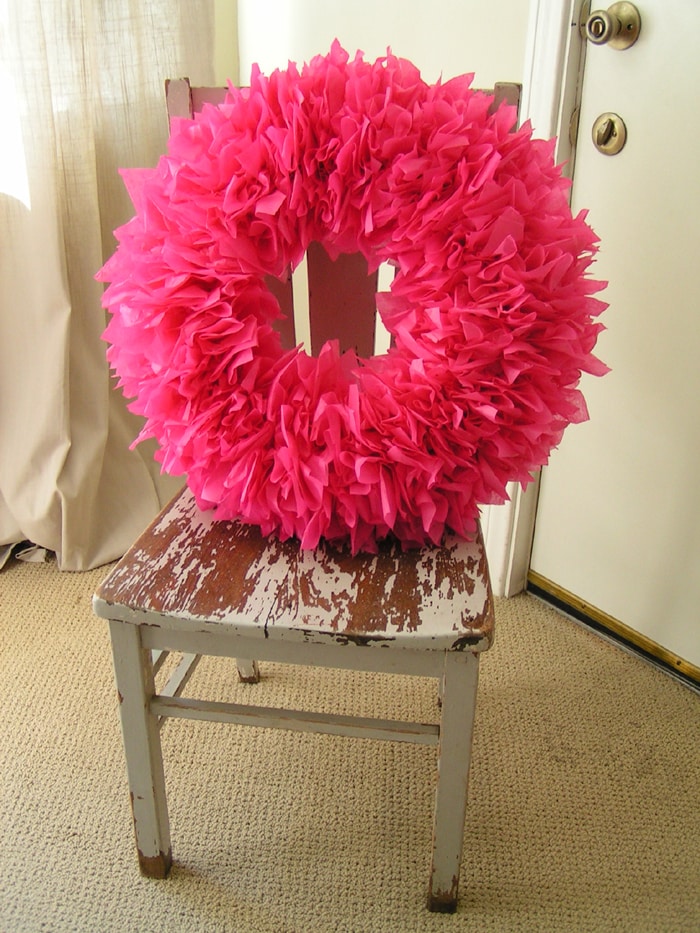
This tissue paper wreath was my labor of love from last week’s party. Now that I think of it, I should have done it at the table rather than sitting on the floor of my Family Room, but I really wanted to watch TV with my husband too. I guess my bad back and some IB Profin are what I get for trying to accomplish 2 tasks at once. So if you sit at a table I am sure you will not get “my” bad back!

This post contains some affiliate links
Materials Needed:
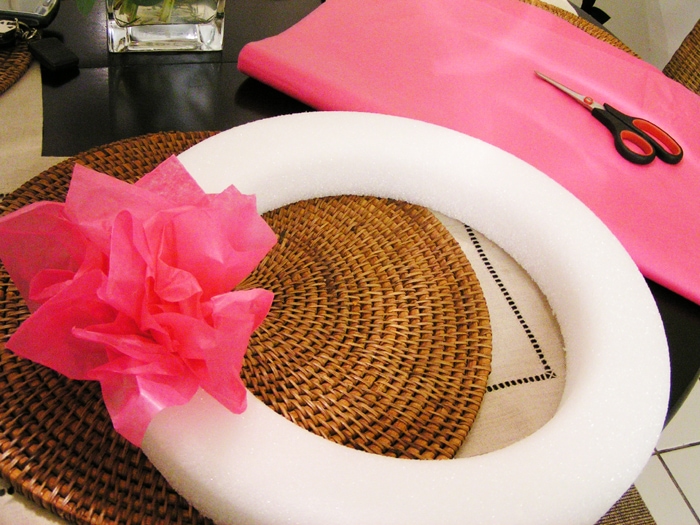
- round styrofoam
- glue gun
- tissue paper– cut rectangles of 5X7
- letter opener (or something pointy – could use a knife!)
Directions:
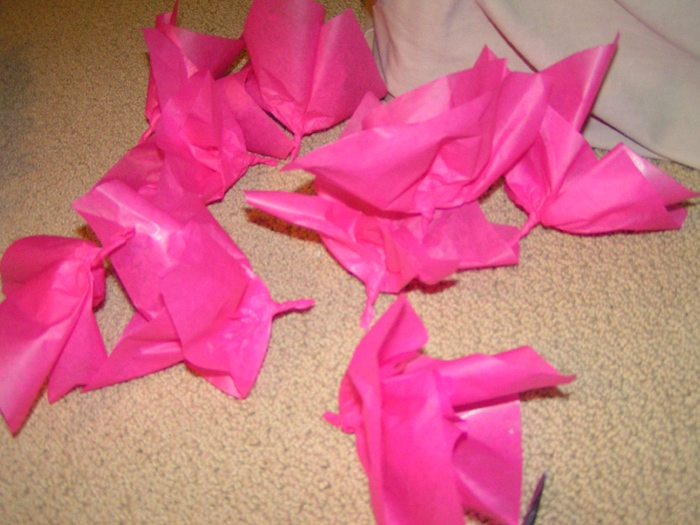
Step 1 – Take one of your 5X7 rectangles of tissue and gather it so you have a point at the bottom (as seen below). Then twist the point. Do this to all your squares.

Step 2 – Take your letter opener (or pointed object) and make a small round hole in the Styrofoam- about 1/2″ diameter.
Step 3 – Fill the hole with glue and put pointed end of tissue paper into glue filled hole. You may need to use your letter opener to get the point completely in. And that’s it!
TIPS – Just make lots of holes close to each other so the tissue will look full and close together. I put tissue on the outer sides of the foam but not on the interior as you could not see the interior after how full I had made the rest.
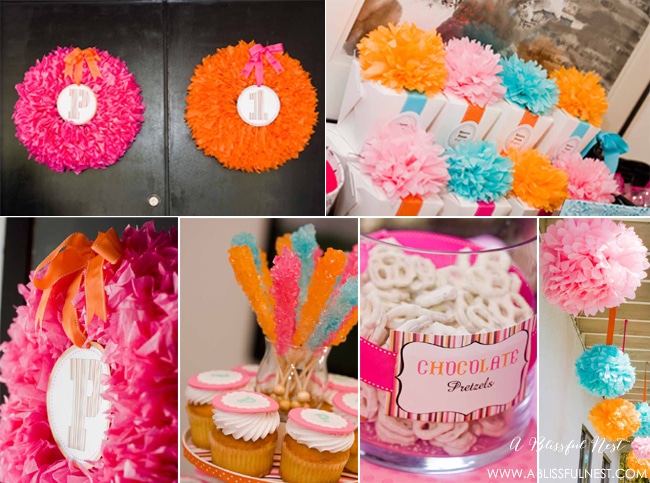
I have not attached my round circles with Parker’s “P” and “1” but I am going to make a big bow, hole punch a hole in my circle and thread by bow through and then hot glue to wreath. I swear hot glue is one of my best friends!! Have fun ladies!!

You could even spray your tissue with glitter spray for a light luster if you were having a fairy party!
Want to see the full party these were used in?? Check out Parker’s 1st Birthday Party right here.


Thanks for sharing with us such a nice, beautiful and easy decoration. Blessings!
I love this! It was so easy to follow & my wreath turned out beautiful!!!! After I was finished I still had a few days before the baby sprinkle I made it for & it inspired me to make this tissue paper owl… using the same technique & adding felt eye, ears, beak & wings!!! Thanks for sharing & the inspiration!!!
http://www.pinterest.com/pin/63331938483558813/
I decided to try this, but instead of tissue paper I used plastic table cloths from the party section and cut them into rectangles. It looks so great, and will last a little bit longer I think. Thanks for sharing!!
I love this! I’m going to try to make this and if do, I will send you s pic of it. Thanks for posting this!
This wreath is fantastic and I absolutely adore your chair!!
I made these for a babyshower,they were inexpensive and a great hit!
so beautiful!!!!!!!
thanks a lot!!!
🙂
HOW PRECIOUS! I am going to make these for my classroom door! Thank you for sharing!