Most people start wondering how to decorate a Christmas tree when they pull out the boxes and realize nothing looks as good as they remembered.
Even after searching through Christmas decorating ideas, it’s easy to feel overwhelmed when the tree still doesn’t look cozy, balanced, or finished.
You may hang ornaments, step back, and feel like something still feels off. Maybe it’s the spacing, the ribbon, or the lights not reaching all the way around. But I’ve got you covered!
I know it can be frustrating when the tree leans, the topper won’t stay straight, or the garland keeps sliding off the branches. It’s happened to me before too.
Some decorations may feel too heavy or too small, and mixing colors or styles can make the whole tree look busy instead of festive.
A lot of people try to copy photos online, but the final result doesn’t always match what you had in mind for your living room.
It’s definitely hard to find a process that works for you when everyone else seems to have their own secret method or favorite order for hanging decorations.
This post may contain affiliate links. As an Amazon Associate and a participant in other affiliate programs, I earn a commission on qualifying purchases at no additional cost to you.

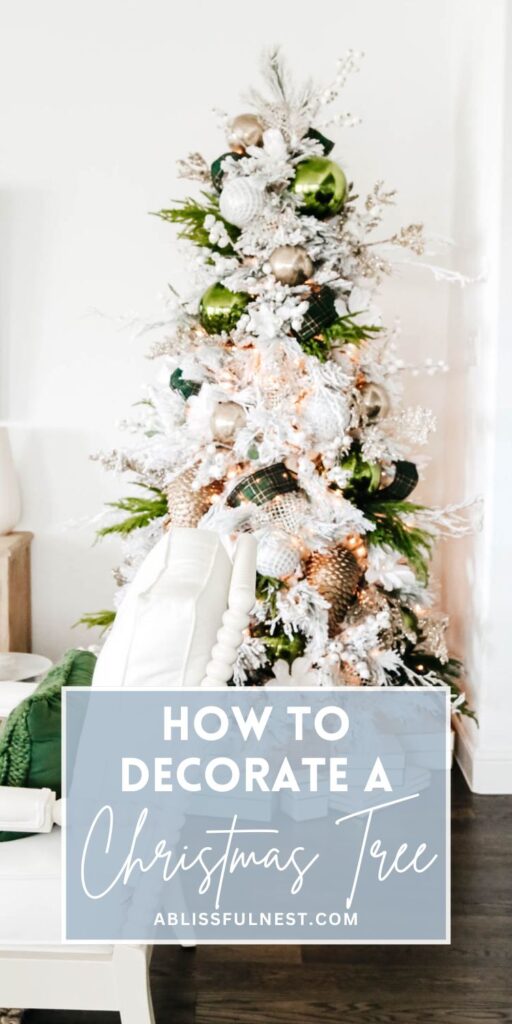
Learning how to properly decorate a Christmas tree gives you the freedom to build something beautiful, one step at a time year after year.
When done with care and the right layers, a tree will become the center of your holiday home and set the tone for the rest of the seasonal decor in your home.
So, I can’t wait to share these simple tips and easy steps to help you decorate your tree in a way that feels joyful, balanced, and ready to enjoy.

What You Need To Decorate A Tree
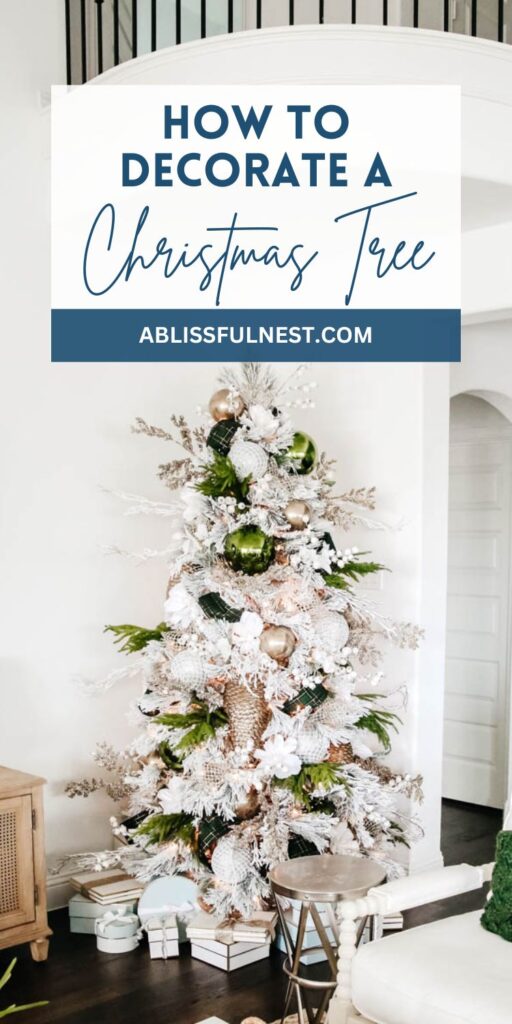
I chose four different floral picks to use this year and oversized (though varying) sizes of ornaments to add color and texture.
I am also using the soft grey-blue shade found in our kitchen island and fireplace mantle as an accent, and I used gift boxes to add a little dimension.
But since I get so many questions on how I design my Christmas trees, I thought I would give you not only a tutorial on how I decorate my trees, but all the sources I use to do this.
How to Decorate a Christmas Tree Tutorial
Step 1: Tree skirt, tree collars, or a basket
Even though the base of your tree will get hidden by presents, you still need to cover that metal base because it will peek through.
I love to use Christmas tree collars or even fluffy blankets. If you use a basket or collar, add it first when you put your tree up.
If you use a blanket it should be the last thing you add from all the snow and glitter that will accumulate from the decorating process. It can be an utter mess!

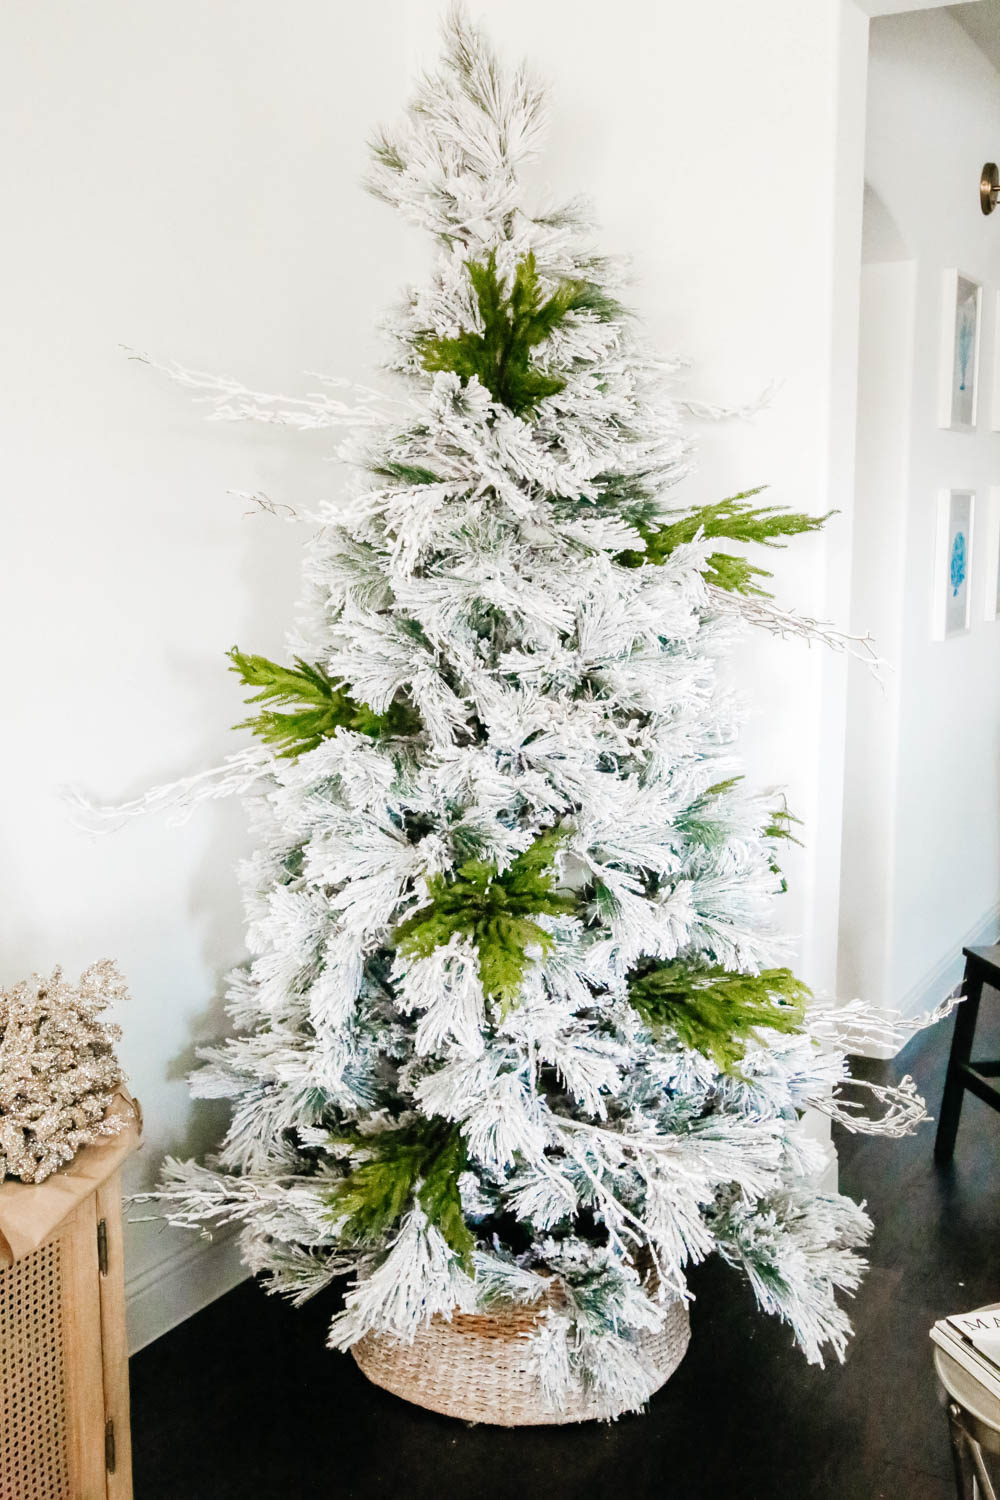
Step 2: Fluff the branches
First things first, set your tree up and fluff the branches. I start at the bottom and I manipulate the branches to fill in the holes (dead space).
Fan out the branches. Usually, they have been pushed in to make it easier to store in a box.
Bring the branches back out horizontally. Spread the tips up and down to make some variation in the direction the branches are going in.
Do this for each stick of branches and layer by layer until you finish at the top.
Pro Tip:
Plug your tree in and turn the lights on before you start decorating.
It is so much easier to work with the tree lights on so you can see where the holes are you need to fill in.
Also, this will also help you to not put an ornament over the top of a light creating a dark space.

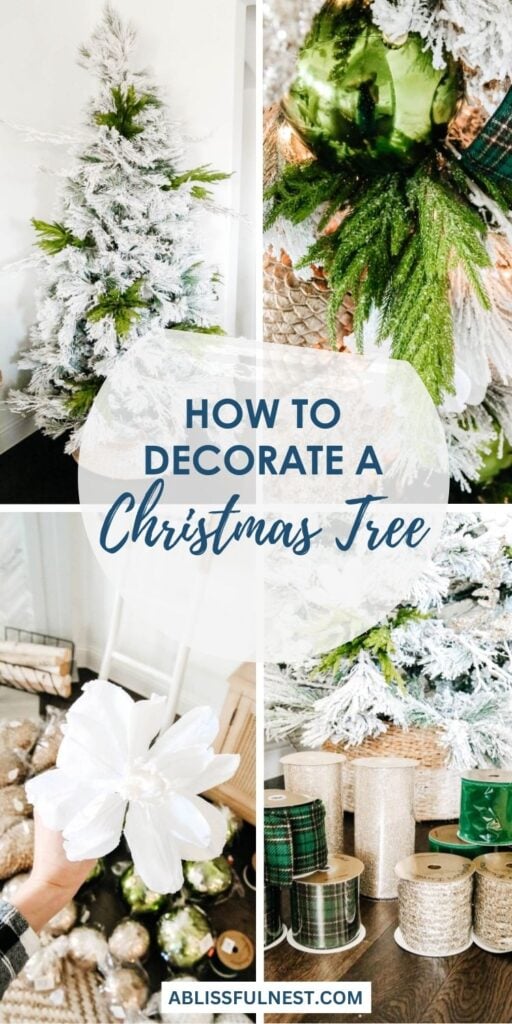
Step 3: Add floral picks
Once your lights are on and your branches have been fluffed, it’s time to add your floral picks.
On this tree, I used four floral picks. Generally, I add anywhere from 3-5 picks depending on my design.
If I want to add more color or texture then I will add in more varying floral picks.
In this particular tree, I used large evergreen pine picks that add dimension and some color to the all white tree.
I love the real-life texture and droopiness of it. It also is wired so I can manipulate the small branches of the pick.
I can not stress this more – for every floral pick you use you need to move the different pieces in different directions to create a fuller look.
Otherwise, the floral pick will not fill in the space very much and will die into the tree and you may not see it.
Pro Tip:
Spread the picks out by zig-zagging them. Create a triangle effect and move back and forth, up and down.
Add a pick and always step back to see if I have made a triangle or Z pattern. If not, pull it out and replace it in its position.

I then added these incredible glitter branches to add a little sparkle.
Once again, moving each leaf and branch to make it fill out the pocket in the tree I put it in.

I then added these beautiful frosted white flowers. I love to use flower picks in my tree every year.
They are beautiful and full, and a great way to add color if you want a less monochromatic look.
Make sure to fluff these as well before putting them in your tree.
Move the leaves to make them look more realistic.

I always add my berry picks last.
Would you like to save this post?
They are not as full as branch and floral picks, but I love the added texture they have.
Always add your floral picks in a triangle or zig-zag to evenly disperse them.
Take a moment to step back after you’ve added a couple to make sure you are on track.

Step 4: Add ribbons
Many years ago, I used to go through the ribbon on one tree like it was running water. There was so much ribbon, and I always tended not to have enough.
Then, somewhere down the road a few years ago, I found a new method that made me save so much money.
I typically like to use anywhere from 2-4 different Christmas ribbons on a tree. I love to use ones that are typically 4-6″ thick and have a wired edge.
It makes it easier to manipulate them, and they stay in place.

Cut about 12″ pieces and fold so the tips touch and bend the wire a bit.
Then stuff each of the ends into the tree to create almost a bubble with the piece (see above).
I like to angle my pieces so that when I add another one, it makes it look like it is weaving in and out of the tree.
You can attach each of the ends if you want with floral wire to the branches, but if you are using a ribbon that has a wired edge, then it should stay in place.
Create a waterfall of the ribbon going back and forth and up and down the tree again in a zig-zag pattern. This is what makes it look like it is being woven in and out.
Do this with multiple ribbons to create a dramatic effect with pattern and texture.

Step 5: Organize your ornaments
Before you add your ornaments to the tree, lay them all out and group them.
Group by color, style, and size so you can see everything and decide what will go on your tree first.
I do this with my floral picks as well just so I have a good plan of what will be added to the tree and when.
I am such a visual person and like to take inventory first so I don’t forget anything.

Step 6: Add ornaments by size, color, and pattern
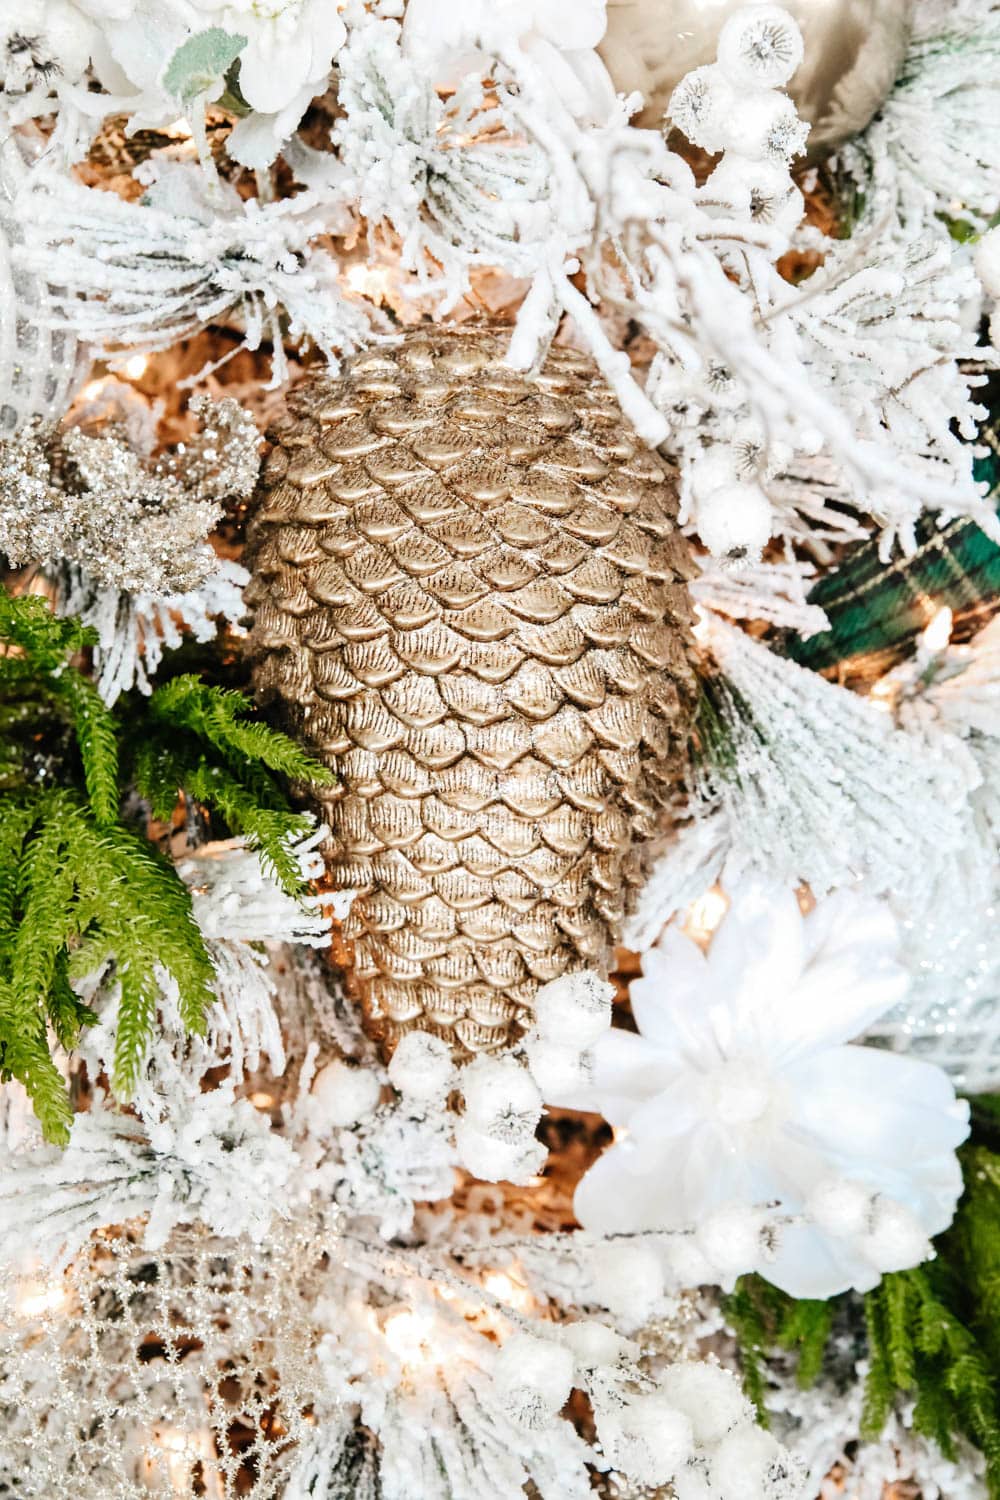
I start with the largest ornaments first and make my way to adding the smallest last.
The larger ornaments, like these pinecone ornaments, take up so much room, and you want to make sure you have enough room first.
I spread them out with the zig-zag method and then move on to the next size down.

These gorgeous green shatterproof balls add that pop of color and I tuck them back into the branches so they don’t stick out too much.
I do this so I can hang smaller ones closer and create more layers.

I always love to have ornaments that have texture to mix into my tree decor. It creates visual interest and makes your ornaments less plain looking.
I chose these sparkly white ornaments to add a little glitz.
Just like in my interiors, I have no problem mixing silver and gold. I love the contrast they add to each other.

Step 7: Add tree topper
Add a tree topper or something decorative to spruce up your top.
This is when I will even add additional floral picks to elevate the height of my tree if you want it a little taller.
I like to mix in ornaments and ribbons here to create even more fullness.

And that’s it! It really is very easy, and just think about it in layers. As you move along from step-by-step, you are creating full layers of what you are applying to the tree.
From floral picks to ribbon and ornaments, add variety and pile them onto the tree.


Play with colors and don’t be afraid to mix and match silver and gold accents. It will just add to the depth of color and pattern to the tree.

I love to add beautiful decorative boxes with coordinating ribbons to the bottom of my tree until I have my real wrapped presents ready. It just makes it look fuller and more complete.
Have fun with it and change up your color scheme each year with different ribbons and ornaments.
Your Christmas tree should be fun to decorate and hope this guide helps you!
Frequently Asked Questions
Most people start with lights because it’s easier to space them evenly before ornaments and ribbon are in the way. If you’re learning how to decorate a Christmas tree, starting with lights helps everything look clean and balanced from top to bottom.
The average seven-foot tree usually looks full with 70 to 100 ornaments, depending on the size, spacing, and style you prefer. When figuring out how to decorate a Christmas tree, mix small, medium, and statement ornaments to create depth and variety without crowding.
Ribbon usually goes on right after the lights because it helps shape the tree and gives you a base for spacing your ornaments. A big part of learning how to decorate a Christmas tree is layering elements in the right order so everything feels neat and natural.
Stick to two or three main colors, use ribbon or mesh in soft loops, and tuck in ornaments at different depths for a full look. To master how to decorate a Christmas tree like a pro, focus on balance, spacing, and texture from top to bottom.
Traditional stars, bows, or angels work great for classic trees, while oversized picks or floral sprays feel more modern and creative. No matter your style, learning how to decorate a Christmas tree includes picking a topper that ties your theme together and finishes the look.


Beautiful! I LOVE the console next to the tree! I’m furnishing our new Florida condo and love the washed look. please share the source for this. So grateful!
It is from Pottery Barn and has been discontinued unfortunatly.
Rebekah it is the perfect tree!!! Love it!!
Thank you Tracy!
I love your tree so much. It was wonderful to see your steps. Fun to see what other people did. I’m sure it reflects their different personalities. Thanks
You are so welcome Mary!
It’s a STUNNER Rebekah!!!!
Love your color scheme too 😉
We might be twinning a bit this year.
Thank you sweet friend!