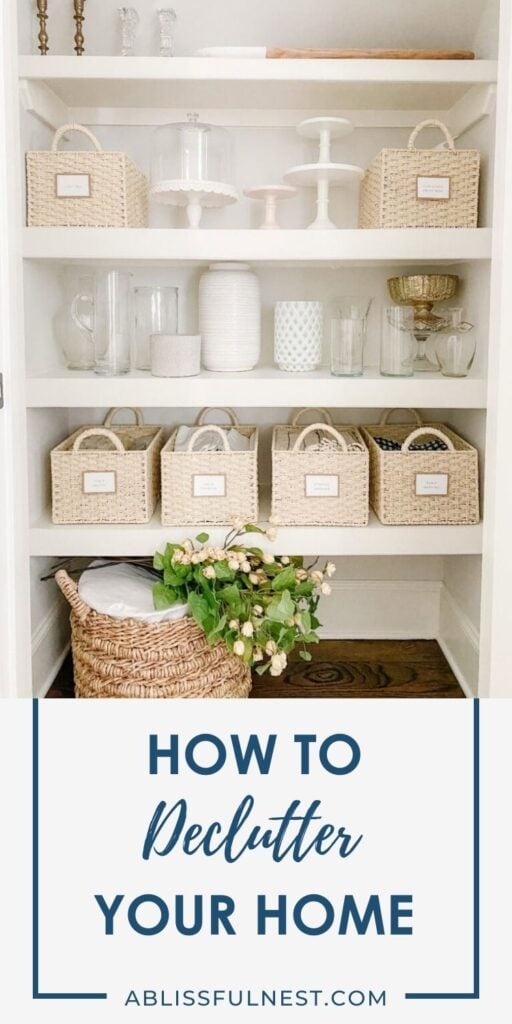
Clutter builds quietly, and before long, you start searching for real advice on how to declutter your home without turning your entire weekend upside down.
That moment usually sends you looking for practical decluttering ideas that feel realistic for busy homes where counters, drawers, and closets slowly collect more stuff.
You promise yourself you will deal with the clutter later, but later turns into weeks, while piles keep growing in corners of your home quietly.
Cabinets become harder to close, random items sit on tables, and even simple cleaning takes longer because there is always something in the way today.
You might even start wondering how your space filled up so fast when you never remember bringing half those things inside your home these days.
Every room seems to hold a small pile waiting for attention, making your home feel busier than it should during normal daily routines lately too.
With simple routines and smart sorting methods, it would be easy to control the clutter without feeling stressed every single day.
This post may contain affiliate links. As an Amazon Associate and a participant in other affiliate programs, I earn a commission on qualifying purchases at no additional cost to you.

Learning how to quickly declutter your home starts with small decisions that clear space step by step, instead of trying to fix everything today alone.
Whether you’re just fixing up one messy closet or implementing organization ideas for the home throughout your space, these practical ways can make the job less of a headache.
Let’s get started and make your home well-organized, clutter-free, and looking good in every single room!
When Should You Declutter Your Home
Knowing when to declutter your home is as important as knowing how.
The best time to start decluttering is when you feel overwhelmed by your stuff or when your home stops bringing you joy.
You might notice it’s time to declutter if you have trouble finding things, feel stressed in your own space, or see that you have lots of duplicates.
Many people choose to declutter in spring or fall because these seasons feel like a fresh start.
But you don’t need to wait for the perfect time. If you’re feeling ready, go for it.
Decluttering isn’t something you do just once. It’s an ongoing process.
Spending just 15 minutes a day on it can help keep your home organized and prevent clutter from building up again.
What To Use To Declutter Your Home
Before you start decluttering, it’s smart to gather some tools that will make the job easier.
Having the right items on hand can really speed things up and keep you organized as you work. Here’s what I’ve found super helpful.
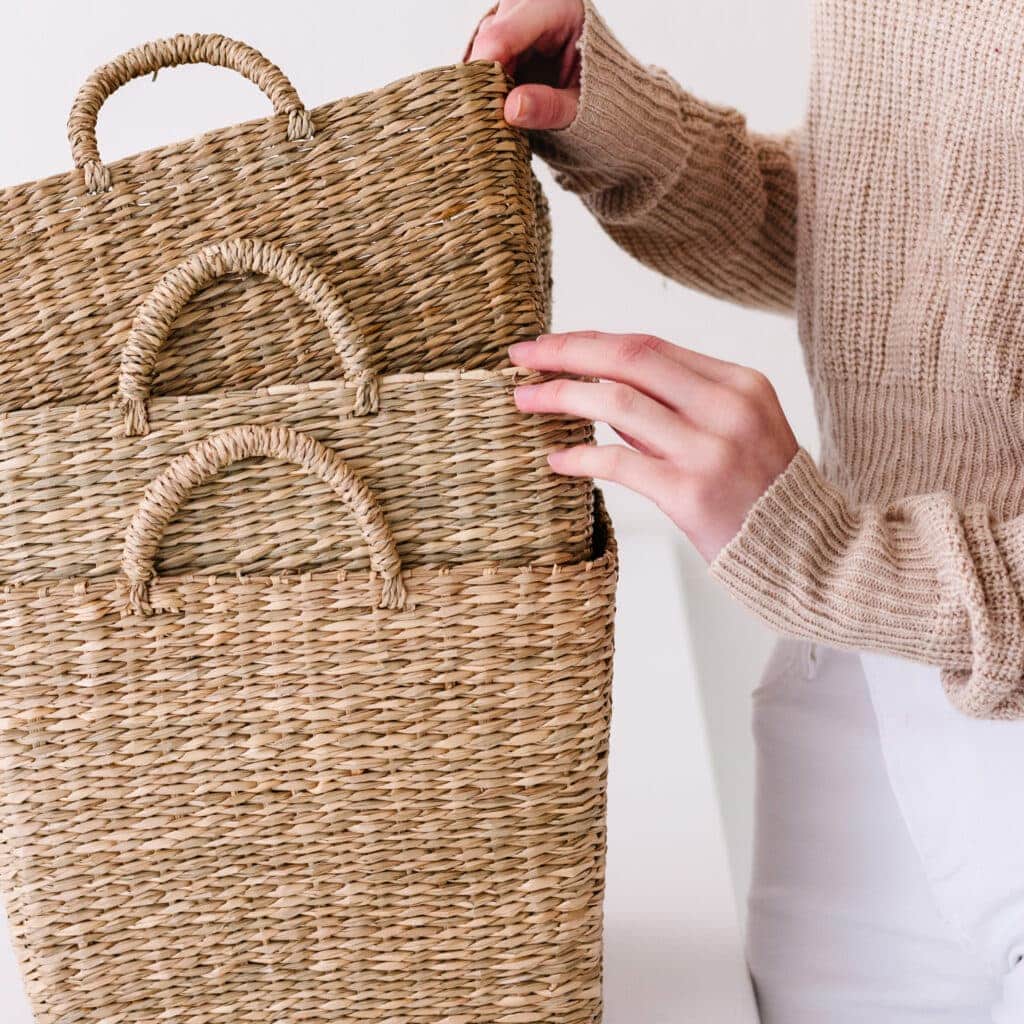
- Boxes and Bins – Use these to sort items into categories like keep, donate, and toss. Having sturdy containers makes it easier to move things around and stay organized.
- Trash Bags – You’ll need these for items that are broken or no longer useful. Heavy-duty bags work best for larger or heavier items.
- Labels – Labeling boxes and bins can help you keep track of what’s what. This is especially useful if you’re planning to store some items for a while.
- Cleaning Supplies – As you clear out clutter, you’ll likely uncover spots that need a good cleaning. Have some basic cleaning supplies on hand to tidy up as you go, and consider incorporating some DIY home cleaning hacks to make the process more efficient and eco-friendly.
- Markers and Sticky Notes – Use these for quick notes and reminders. You can label items or areas that need special attention.
- A Timer – Setting a timer can help keep you focused and make the task less overwhelming. Try working in short bursts of 15 to 30 minutes.
Tap Photos To Shop

10 Steps to Declutter Your Home
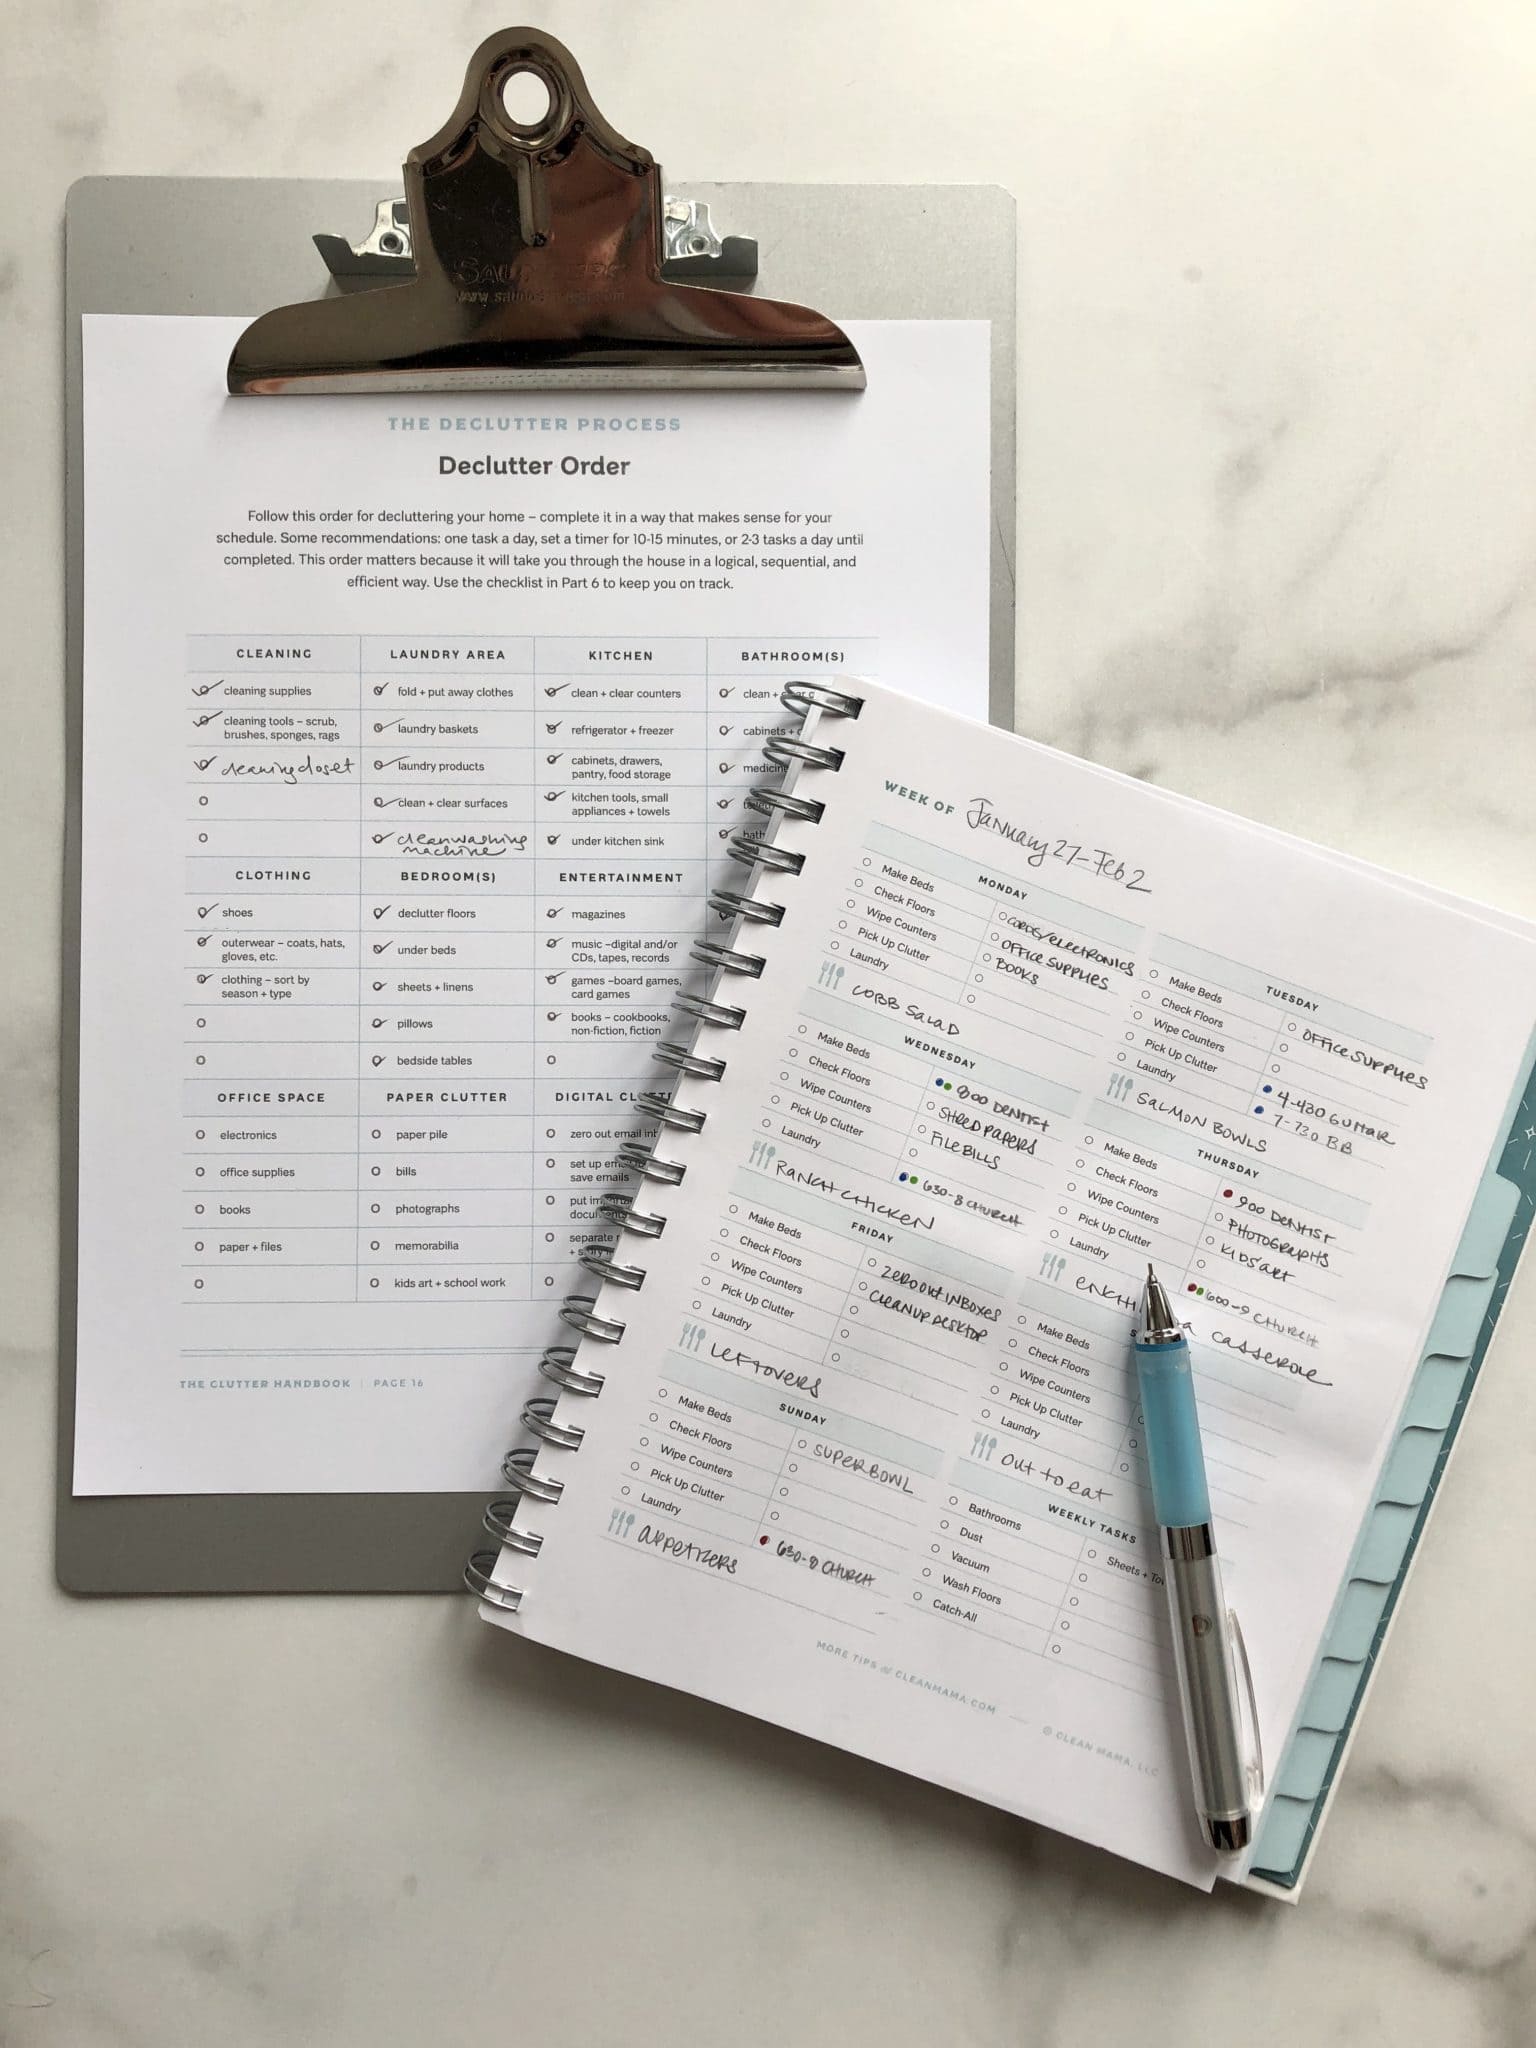
1. Schedule a block of time to focus on decluttering
Organizing and straightening up your space takes time. A big decluttering overhaul isn’t done in five minutes. In fact, I like to block out at least an hour of time per area I’m decluttering.
If you’re ready to make some serious progress on your home organizing, schedule time in your planner, and be sure to explore various home organization ideas to find inspiration.
You may want to block it out in chunks of a few hours, over the course of several weekends or days off. If you don’t prioritize organizing, it will never get done, so write it down and stick to it!
2. Keep only what you’ve used in the last year
Honestly, you must get out of the mind frame “maybe I could use this item in the future.” Nope! That packrat mentality isn’t going to work if you want to make your home clutter-free.
If you haven’t used an item in the last year, it needs to go in a trash bag or donation pile.
The time-frame of a year works well because it allows you to make a decision about seasonal decorations and items.
Over the course of a year, you should have the opportunity to use every item in your home. If you don’t use something in twelve months, it’s time to simplify.
3. Get rid of duplicate items
If you have multiples of an item (unless we’re talking practical storage items like lightbulbs and batteries), then it needs to go.
Sometimes we forget we have something, so we buy it again. Sometimes we upgrade but still hold onto a less-useful, lower-quality item.
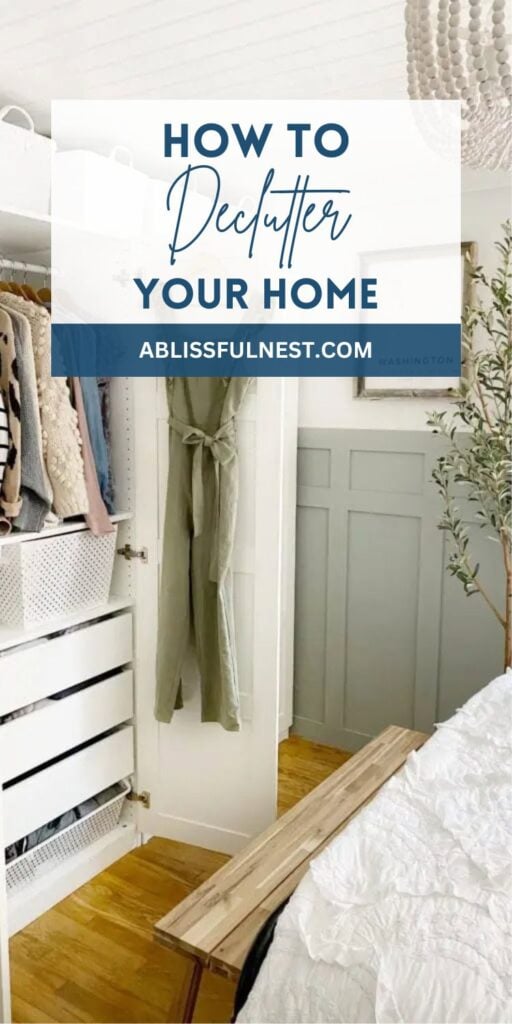
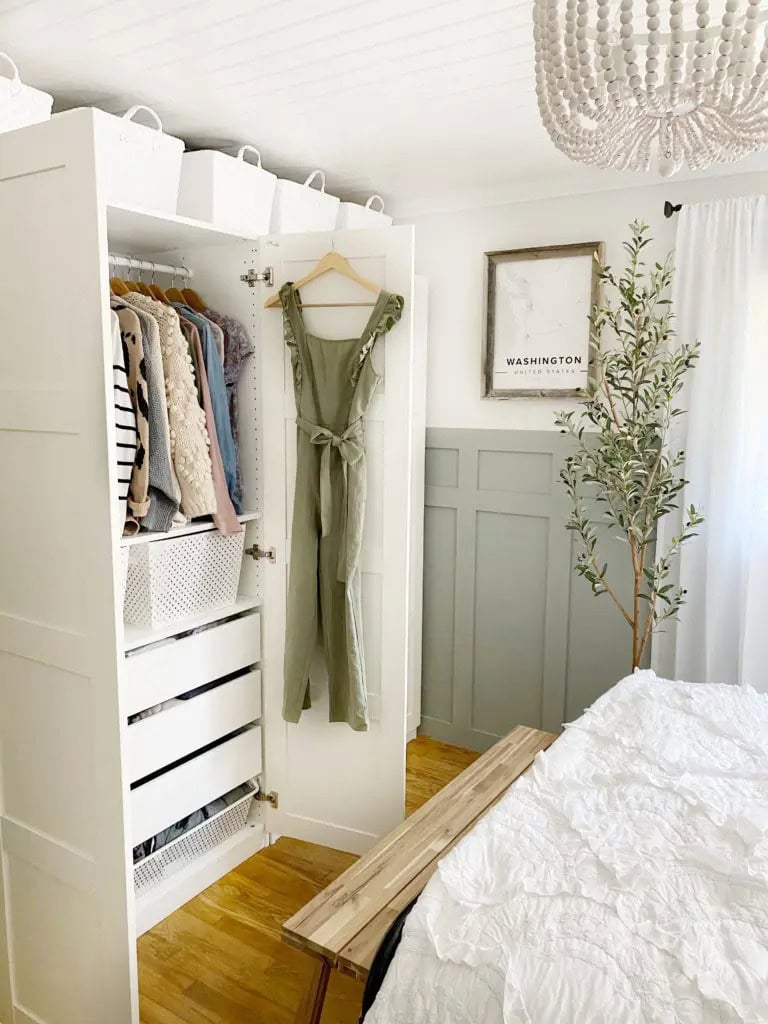
This is especially true when it comes to decluttering and organizing to maximize closet space and drawers. Trust me, you do not need five white sweaters.
Sort through your multiples—pants, tops, accessories, and other items. Decide what fits well and which items are in optimal shape. Keep the best of the best and donate or trash the rest.
4. Create a designated spot for items you want to keep
Everything needs a home. EVERYTHING. Even if it’s going in a drawer. Use clever container ideas for drawer organization to help you maximize your storage space.
Would you like to save this post?
Find creative solutions to house and hold all the stuff you want to keep. I love cute boxes, trays, and even repurposed Kleenex boxes to help me stack items in cabinets (and to organize tough areas, like underneath the sink). Get creative if you want to keep it.
As you’re decluttering, if you end up with items that don’t fit in the designated drawer or container? Time to go back to step 2.
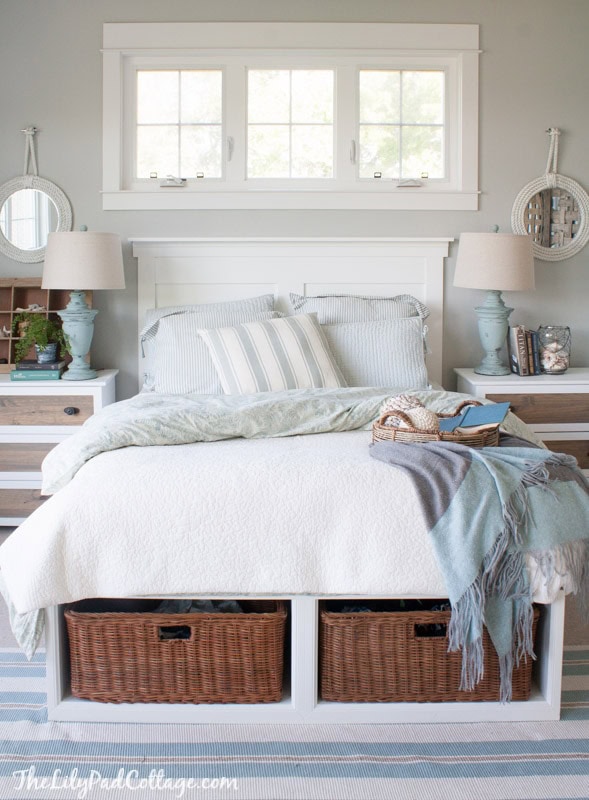
5. Utilize furniture storage
Do you have a desk with storage, room under your bed, or an empty bookcase? Utilize these spaces well with step #4.
You will be surprised how much more space you will create in these spots when you have the right containers to store your items in.
The great aspect of organizing items into homes within your existing furniture is that they’re totally camouflaged.
There are many storage containers like this gorgeous cabinet made especially for those strange, underutilized spaces.
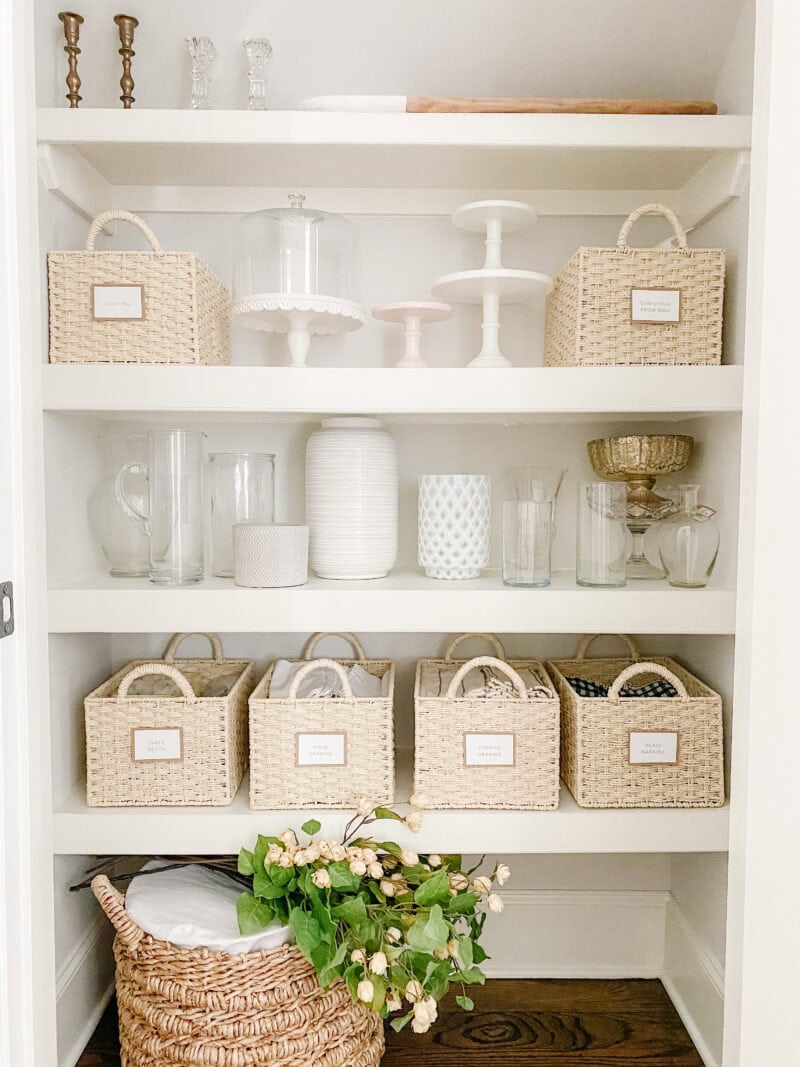
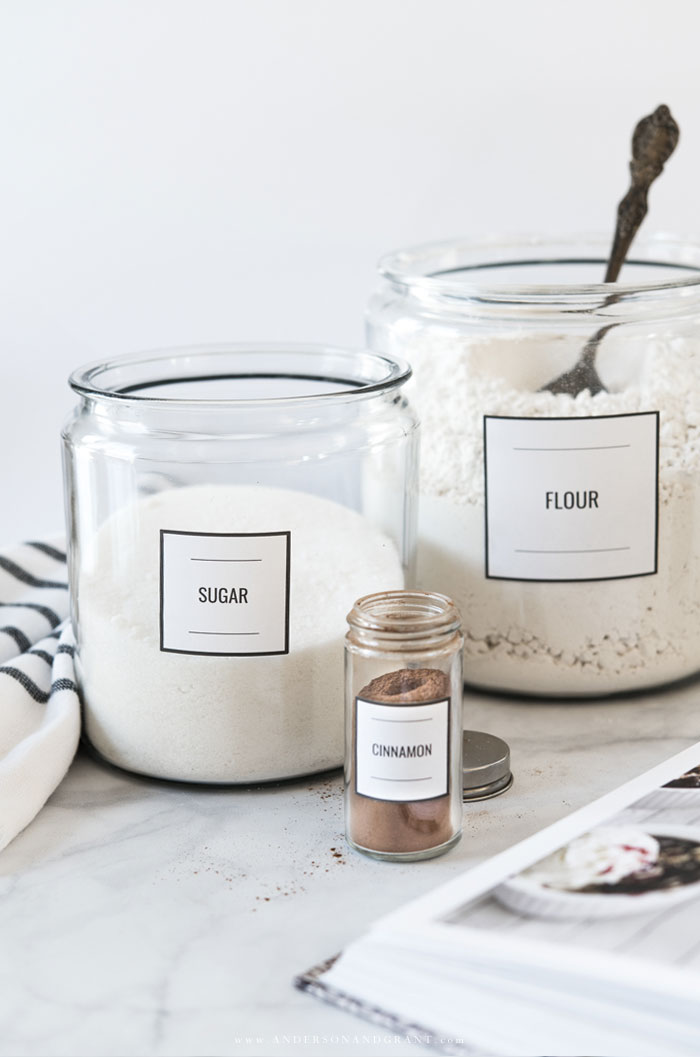
6. Label every item
Ever wonder why organizing ideas on Pinterest look so amazing? It’s often because they’re neatly labeled.
Label-making may seem like a time-consuming process, but it’s well worth the effort when you see the finished result stacked in your neat storage areas.
When you add a label like these erasable bin labels, they add a visual element to stacks of boxes. Even if you can’t see into the box or inside the back of a dark cabinet, you still know what items are in there.
Later, you aren’t wrestling through your organized space, searching for something you need and turning it into a mess again. You can read right where it’s at. A label maker really is a fabulous thing!
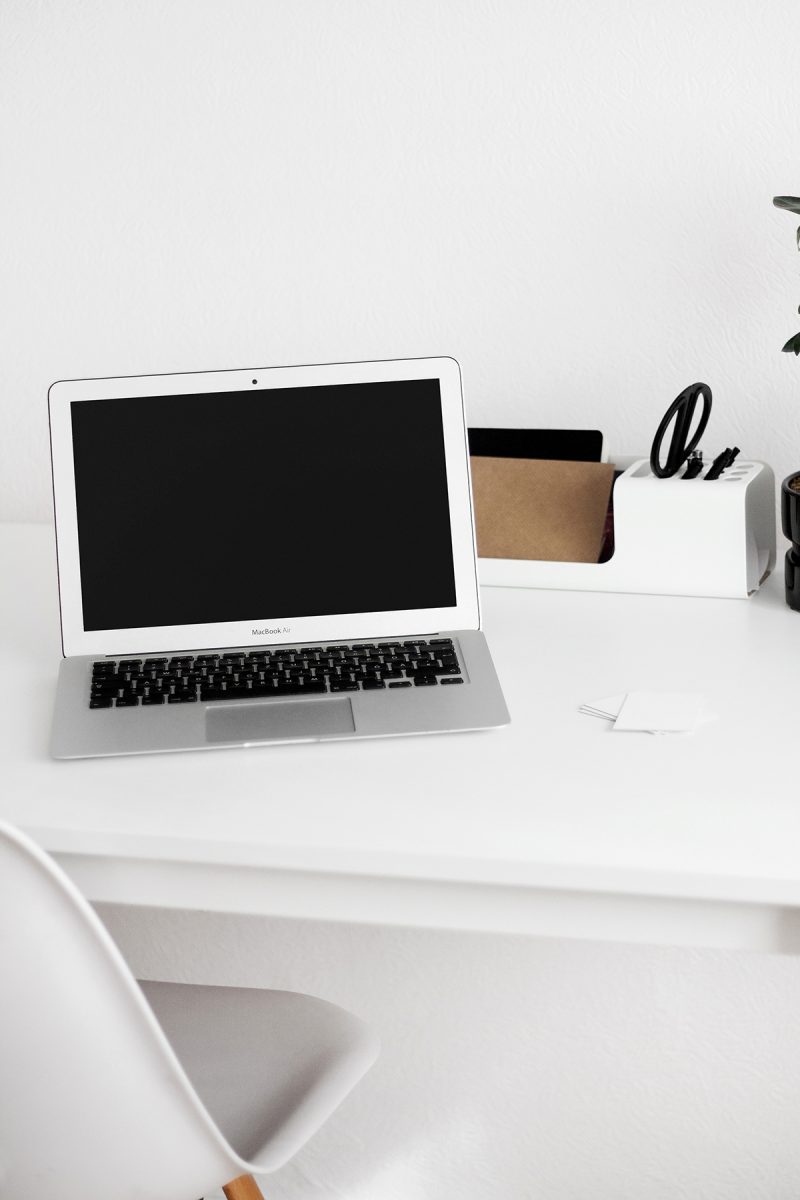
7. Cut back on paper clutter by digitalizing your keepsakes
Do you have tons of photos? I know I do! But the great thing is that we live in a day and age where we can store all of them on our computers (or cloud storage).
It’s a little frightening to part with those treasured items, especially if you’re new to digital storage, but once you see how much it cuts back on paper clutter, you’ll be convinced.
I actually store my photos on both my computer and in the cloud for safekeeping. If one storage method fails, then I know they’re safely in the other place. I label them on my computer by year, then create a subfolder with the activity and date.
To sort I just drag and drop the photos right into my designated folders. Once the photos are safely organized, I copy the same folders to the cloud. Done!
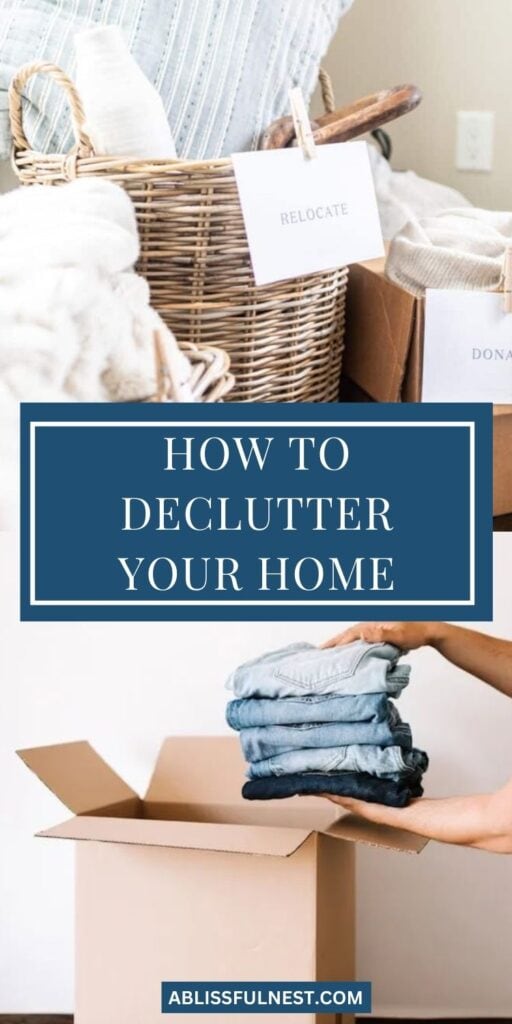
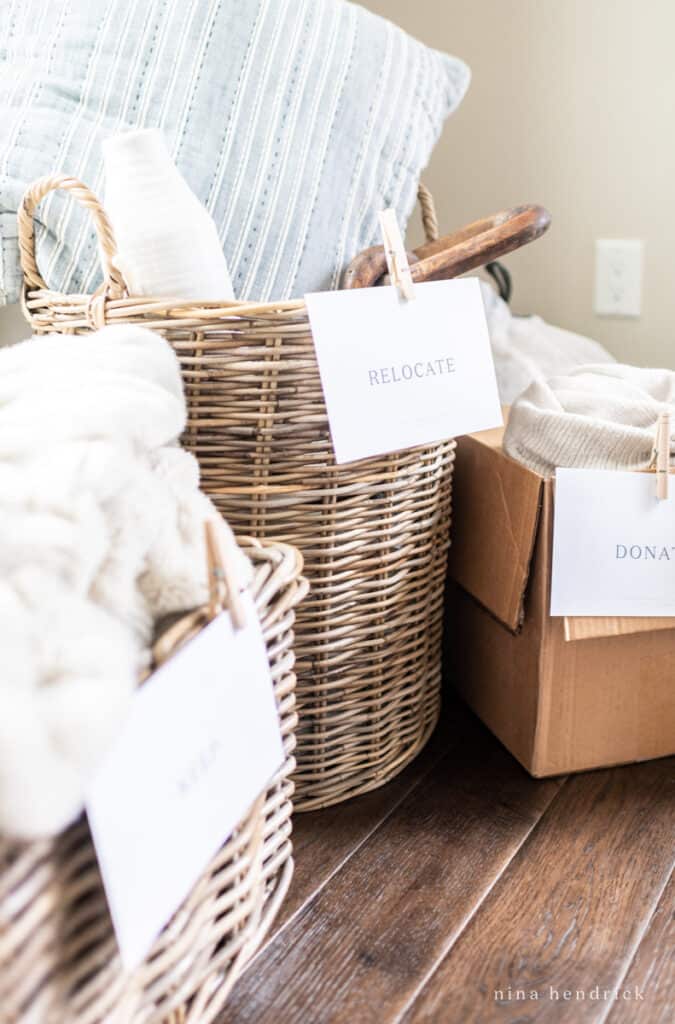
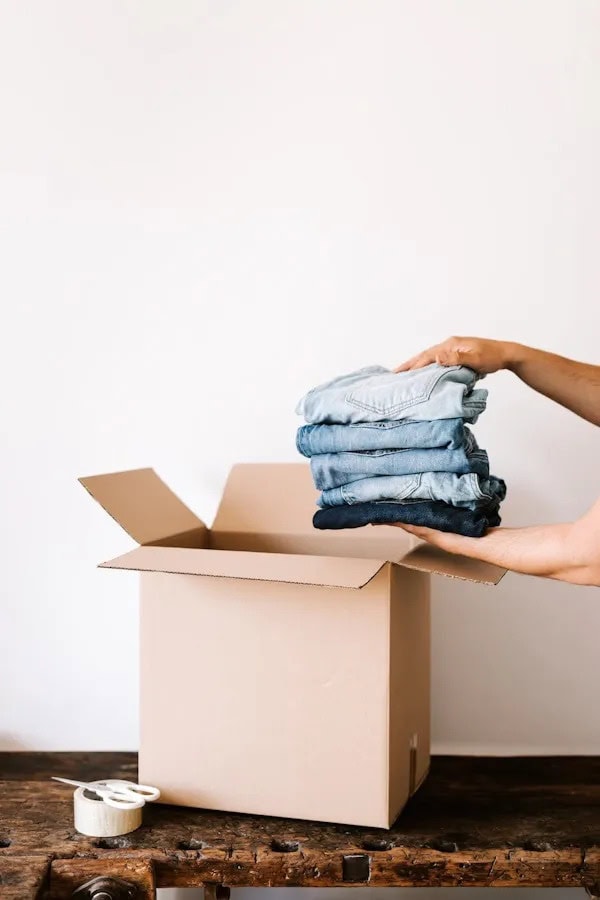
8. Divide your remaining items into 3 piles
Once you’ve pared down your stuff, labeled and designated a spot for each item you want to keep, you probably have a big pile of to get rid of. Turn your “don’t keep” pile into three categories: trash, sell and donate.
For each item, ask yourself if you can sell it, first. With online selling options like Craigslist and eBay, you might earn money on what you aren’t going to use anymore.
Don’t forget to check out local resale and consignment shops as well. Selling your stuff is worth considering and you might end up with some extra spending money!
For the rest of the items, you’ve got left, donate anything that’s in decent repair, but not worth the effort to sell.
Clothing, dishes, and toys are often welcomed by Goodwill or the Salvation Army. The biggest rule to follow is if you aren’t going to clear it out within a week—sell or drop off to donate—then it’s time to put it in the trash. Don’t hold onto bags of junk. Get rid of it and move on.
9. Adopt a policy to put items back where they came from
Decluttering your home is just the first step. Keeping your home organized and decluttered is where the real challenge comes in!
You need a shift in your mindset and to incorporate organizing into your daily life. Adopt a new policy so you’re always taking the extra step to return an item after you use it.
If it had a home before, then put it back. We’ve all been guilty of this because we get lazy. I am a major culprit of stashing items by the front door.
Walk-in my house and you’ll probably see a collection of my shoes piled up. I take them off when I come in and then never go put them away. I swear I am working on this!
10. Plan another decluttering session
I hate to tell you friends, but this isn’t a one-time deal. You have to keep up on clutter every 3-6 months, so it doesn’t get out of hand again.
It’s a regular process and you’ll need to add organizing time to your calendar and make it a priority.
But I know you can do it! Maybe you can even get some help from your girlfriends and make it a wine night.
Good friends are often the best motivators to push you to let go of the items you don’t need.
Find an honest buddy to tell you what she REALLY thinks you should hold onto and what items should head into the donation pile. The idea is to make decluttering fun, so you’ll feel excited to stick to it.
Frequently Asked Questions
How long does it take to declutter an entire home?
Decluttering a whole home can take from one weekend to several months depending on home size, clutter level, and daily schedule. Work room by room for 30 to 60 minutes each day to finish faster.
How do you declutter sentimental items without regret?
Start with items that matter least and leave strong memory items for last so decisions feel easier. Take photos of keepsakes, keep only the most meaningful pieces, and store them together in one small memory box.
What should you never throw away when decluttering?
Never discard vital documents like birth certificates, passports, medical papers, tax records, and property files during decluttering. Store these papers in a labeled folder or safe box so they stay protected and easy to find.
How often should you declutter your home to keep it organized?
Many organizers suggest doing a small declutter session every week to stop clutter from building again. Plan a deeper clean two times each year and check closets, storage boxes, and kitchen areas.
How do you declutter when you have very little time?
Set a timer for ten or fifteen minutes and clean only one small space like a drawer, shelf, or bag. Repeat this quick habit each day so clutter slowly disappears without needing long cleaning sessions.
Learning how to declutter your home can truly transform both your space and your well-being.
I hope these simple steps on how to declutter your home help you create a more peaceful and organized living space.
Start with small areas, celebrate your progress, and enjoy the benefits of a clutter-free environment.
Your future self will be grateful for the time you spend decluttering and organizing today!


Designating an area to your disposable items to keep things away from your house and avoid clutter sounds like a great first step. This way, we can clear our areas like the living room and basement so we have cleaner spaces to work with and have a better chance at remodeling them for more functionality. I’ll take your advice and start renting out dumpsters from a removal service in the area so we can start disposing items that we don’t need anymore.
My house is already cluttered, and that is why I’ve decided to start looking for a storage unit where my other belongings will be placed. Thank you for sharing here as well the importance of labeling the boxes. Aside from this, I’ll also keep in mind to get rid of the duplicated items, such as White sweaters.
Where did you buy the white bins, in what could be a linen closet or your bathroom storage?
Thanks for the tips! I think the most important one for me is to block the time because I can never seem to do it!
Completely agree – you shouldn’t have more than one of something, so just keep “the best of the twin”.
Thanks for these tips. I love them
It brings us back to the famous William Morris quote “Have nothing in your house that you do not know to be useful, or believe to be beautiful.”
I fully agree about having a designated space for everything & I also subscribe to the mantra of ‘it takes just as long to put it in the right place as the wrong place …. ‘
Thank you for the good tips.
Nice Idea. I liked it.