Are you surprise I redid the entry AGAIN. I’m not but my husband is. He thinks I should have left well enough alone . . .until he saw this all finished. We have been from here to here to here. The minute I saw this Fawn Wallpaper from WallsRepublic I was head over heels. I mean just look at it. I love that it is slightly understated in this lighter color of it and the perfect amount of pattern this space needed.
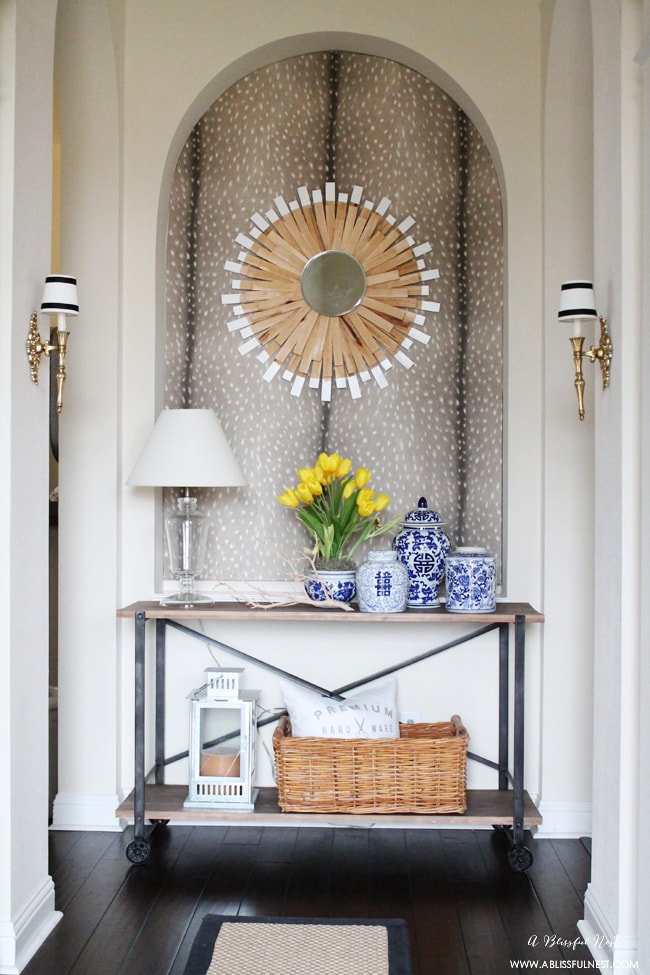
Of course if you remember we are still renting so I wanted to show you that you can really make a statement even if you don’t own your house. This is a simple way to add pattern to your walls without it permanently “living” there. So take a long look and get ready to get your craft on!
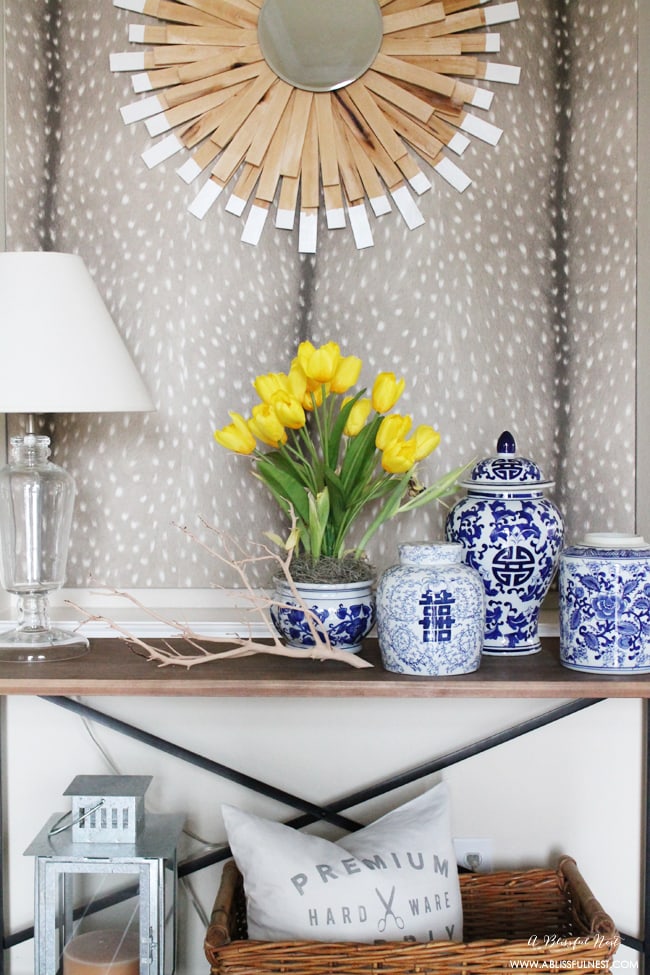
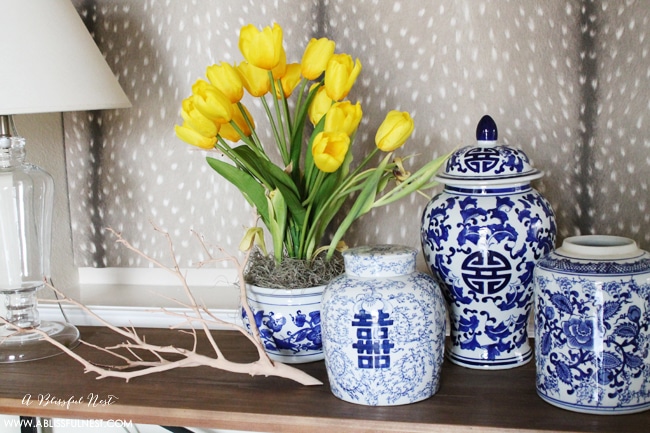
Okay are you ready??
Here is what you need:
- Foam Core Boards (quantity will be up to how big your space is – so enough to cover the full surface space)
- Exacto Knife
- Duct Tape
- Wallpaper (I recommend WallsRepublic since they have such a huge selection and are amazing to work with)
- Spray Adhesive or Liquid Cement
- Tape Measure, Pencil and Scissors
- Large sheets of paper – parchment, newspaper, etc.
- Command Strips
Step 1 – Measure your space. Use large sheets of paper to create a template of your curve. To do this, tape your paper up into the niche – push in where the curve is and draw the curve with your pencil. Take it down and cut it out.
Step 2 – Duct tape together your foam core boards. Reinforce with more duct tape on both sides so it is strong. Measure the sides of the width you need in your space and cut your board width down using a exacto knife.
Step 3 – Lay your template over the top of your boards and draw your arch onto them. Cut out the arch using the exacto knife.
Step 4 – Lay your wallpaper down on top of your boards and cut out all the sheets you need to cover the boards. I cut 2-3 inches over the size of the boards so I could wrap the sides later.
Step 5 – Using the spray adhesive or liquid cement, glue down your wallpaper to your board. Once it is dry, flip you board over and wrap the wallpaper to the back and glue in place.
Step 6 – Using command stripes (we used 5 on our wall), mount your board onto your wall
You are done!

So what do you think?








I love your entry niche! The wallpaper is excellent and the mirror is the perfect accent. Great job
Great job! What a perfect timing. I’m currently looking for wallpapers for my entry way 🙂 Thanks so much for sharing your tips and for the discount code! xoxo.
You will LOVE WallsRepublic Mariella! They are such a great source for designers.
This is gorgeous! And I also love seeing the transformation via the other posts. Beautiful job!
It sure HAS transformed too many times to count in 1 year! Thanks Chris!