


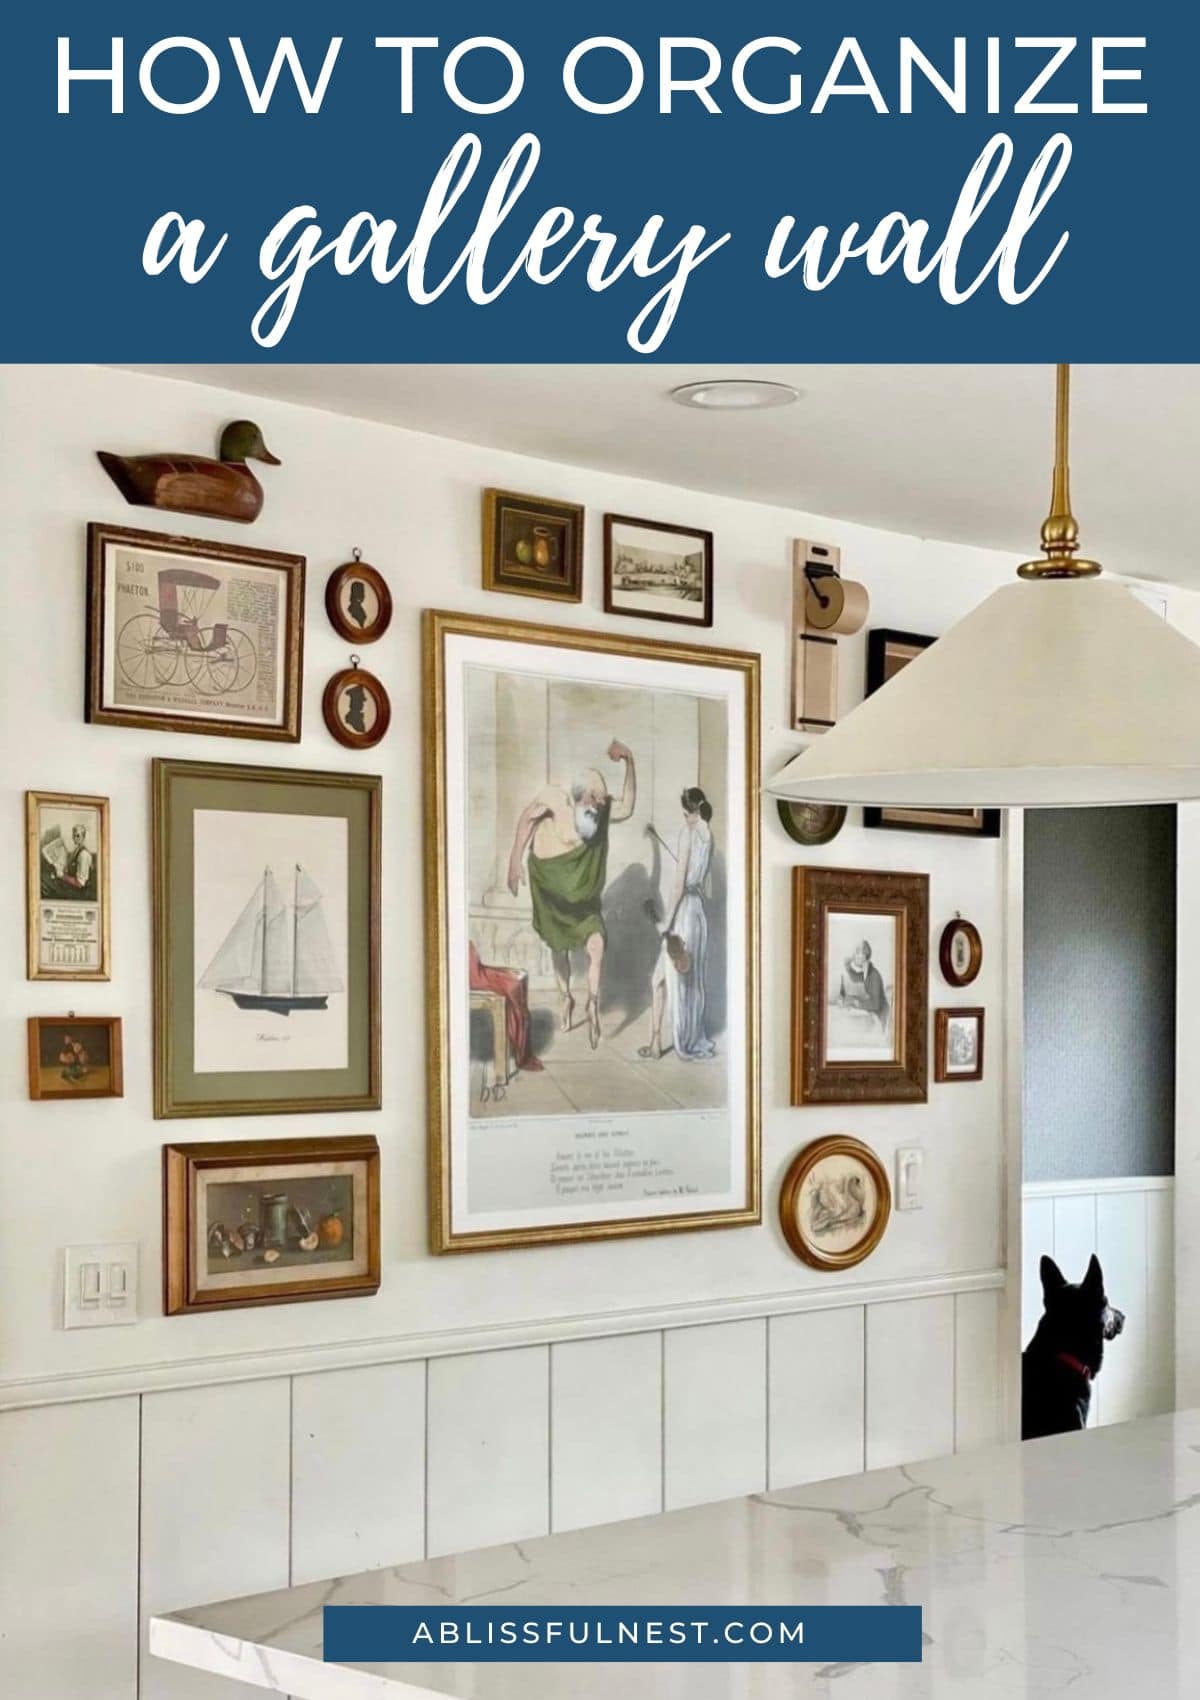
Turn your blank wall into a masterpiece by learning how to organize a gallery wall that’s stylish, personal, and a true conversation starter.
I have so many creative home organization ideas to share that will help you transform any wall into a stunning focal point filled with personality and style.
With the right layout and a few simple tricks, you can showcase your favorite art, photos, and decor in a way that feels cohesive and professional.
These tips will guide you through everything, from selecting the perfect pieces to arranging them in a way that maximizes visual impact and balance.
Whether you’re decorating your family friendly living room, a hallway, or your home office, a well-organized gallery wall can elevate the entire space.
So, I’m excited to share these practical tips to help you plan and create a gallery wall that tells your story and makes your space uniquely yours.
This post may contain affiliate links. As an Amazon Associate and a participant in other affiliate programs, I earn a commission on qualifying purchases at no additional cost to you.
Picture walking into a room and seeing your wall filled with beautifully arranged memories and artwork that inspire you every day.
Having a thoughtfully designed gallery wall can bring life to any space and make it feel complete.
So, let me help you turn that empty wall into a stunning, personalized display that you’ll love to look at every single day!
Where To Put A Gallery Wall
Deciding where to put a gallery wall depends on the space you want to enhance and the story you want to tell.
A popular spot is the living room, where a gallery wall can act as a stunning focal point above a sofa or fireplace.
Hallways are another great choice, offering the perfect canvas for displaying a series of photos or artwork to create a visual journey as you walk through.
Bedrooms are ideal for personal touches, such as family photos or calming art, which are key elements in understanding how to decorate a bedroom, creating a cozy and inviting atmosphere.
If you have a staircase, the wall alongside it is a natural fit, as you can arrange pieces to follow the upward flow, adding interest to an otherwise overlooked area.
For a modern touch, consider your home office, where a gallery wall can provide inspiration or personality without being distracting.
Entryways or foyers are another excellent option, offering guests a glimpse of your style and showcasing entryway ideas that make a welcoming statement.
Even kitchens and dining rooms can host smaller gallery walls with themed pieces, such as food-related art or vintage prints, to add charm to the space.
Choose a location with good lighting to highlight your pieces, and ensure the wall complements the room’s overall decor.

What To Hang On A Gallery Wall
When creating a gallery wall, what you hang should reflect your personality, style, and the purpose of the space.
Artwork is a classic choice, whether it’s bold abstract pieces, calming landscapes, or framed prints that align with your room’s theme.
Family photos or travel snapshots add a personal touch, turning your wall into a story of cherished memories.
Mixing in mirrors can enhance the visual appeal, as they reflect light and make the space feel larger.
You can also include decorative items like woven baskets, small shelves, or even unique finds like vintage keys or clocks for added texture and dimension.
Typography prints or motivational quotes can add an inspiring and modern touch, making your gallery wall both stylish and meaningful.
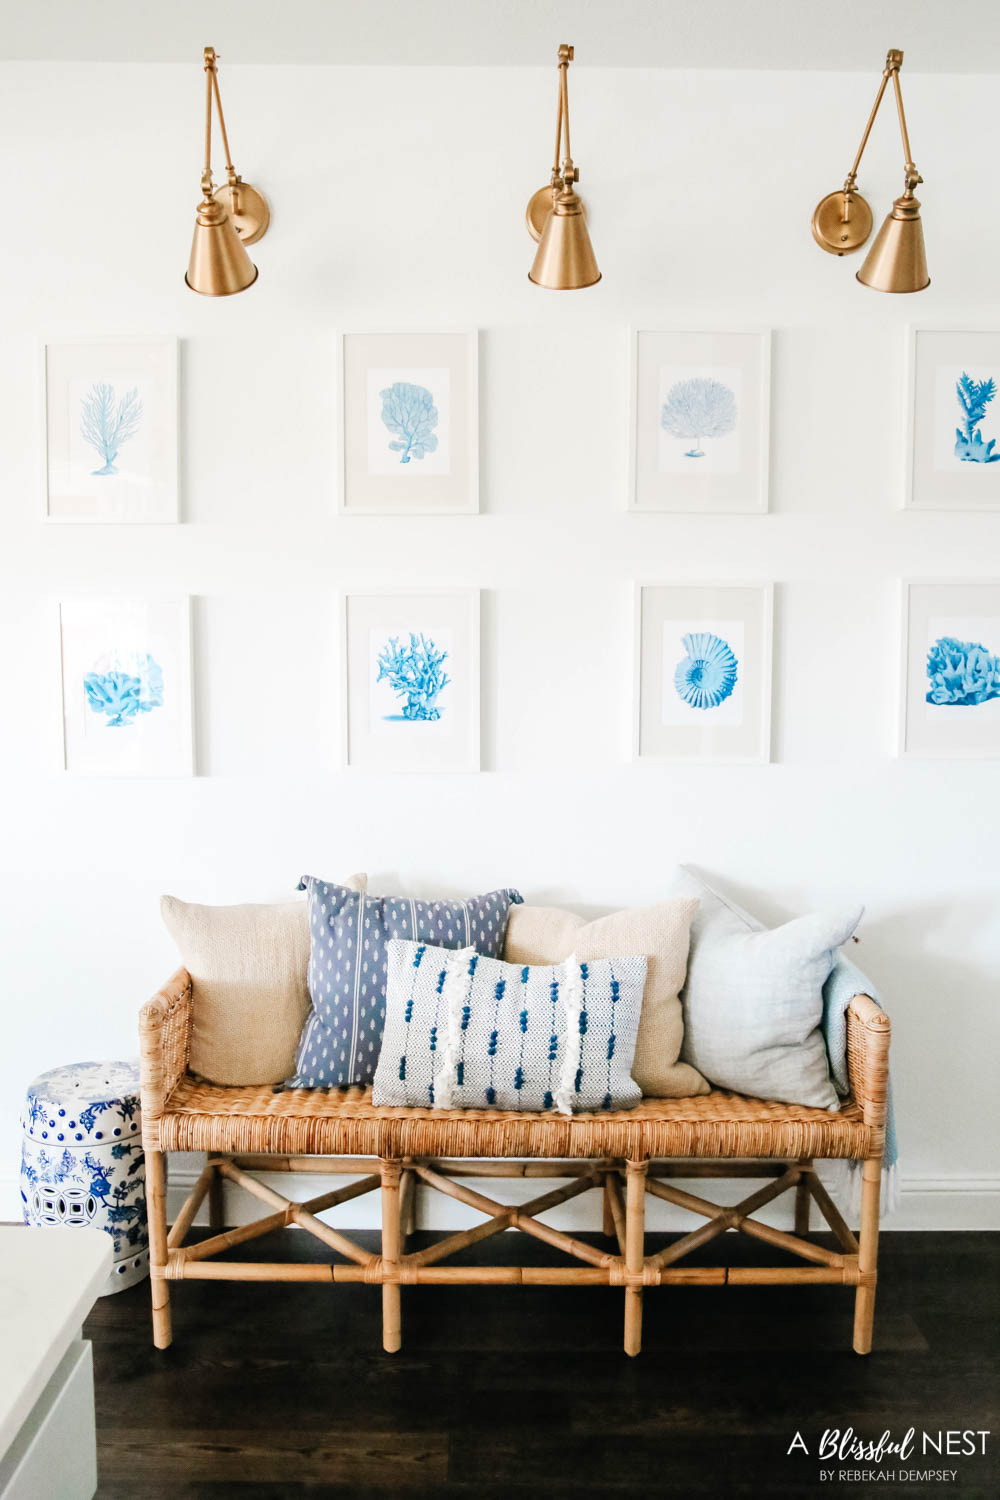
If you prefer a cohesive look, stick to a color palette or frame style that ties everything together.
For an eclectic vibe, mix and match different sizes, frames, and styles to create a dynamic, eye-catching display.
Shadowboxes with small mementos like tickets, postcards, or keepsakes can add depth and a personal flair.
Whatever you choose to hang, focus on items that resonate with you and complement the mood you want to create in the space.
Would you like to save this post?
What You Need To Hang A Gallery Wall
To hang a gallery wall successfully, having the right tools and supplies ensures that your pieces are securely mounted and arranged perfectly.
Here are some items you need to help you achieve a clean, professional look while making the process easier and more efficient.
Tap Photos To Shop

How To Organize A Gallery Wall
Creating a gallery wall is a wonderful way to showcase your favorite art, photos, and decor while adding personality and style to any room.
With a little planning and creativity, you can turn your space into a stunning focal point by exploring blank wall space ideas that feel cohesive and unique.
Here is a simple step-by-step guide to help you create a gallery wall that’s visually stunning and uniquely yours.
Step 1: Choose Your Wall
Decide which wall you want to use, considering the space, lighting, and purpose of the gallery. Popular spots include above a sofa, in a hallway, or along a staircase. Ensure the wall has enough space to accommodate your desired layout without feeling cramped.
Step 2: Select Your Pieces
Pick a mix of artwork, photos, and decor that reflects your style and complements the room. Consider a balance of sizes, colors, and textures to add variety and interest. If you want a cohesive look, stick to a specific theme or color palette.
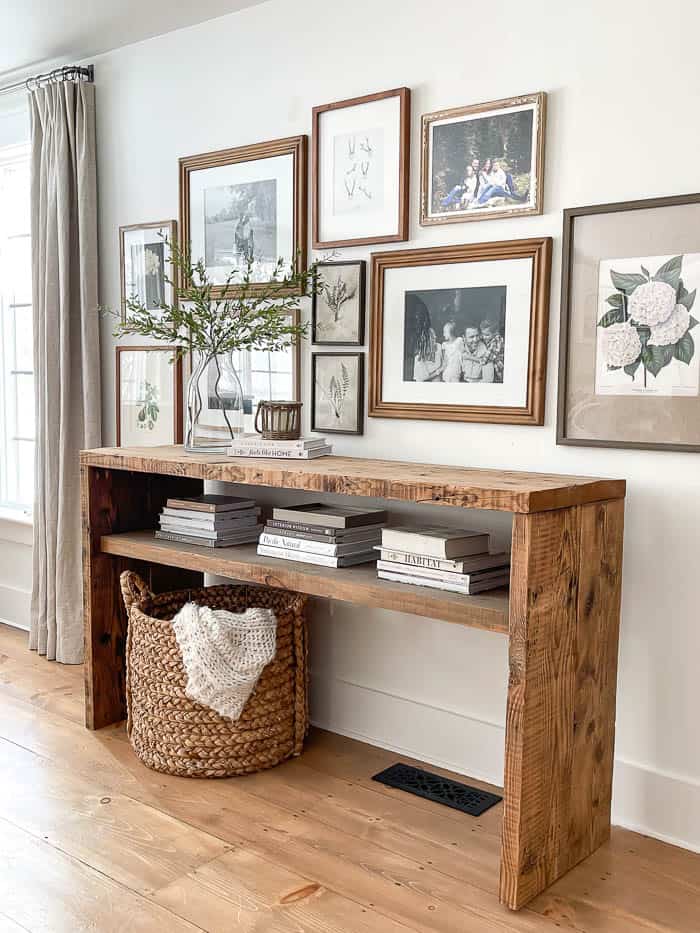
Step 3: Plan Your Layout
Before hanging anything, lay out your pieces on the floor to visualize the arrangement. Start with the largest piece as the anchor and arrange smaller items around it for balance. Adjust spacing to ensure the arrangement looks proportional and doesn’t feel overcrowded.
Step 4: Measure and Mark
Use a measuring tape and pencil to map out your layout on the wall. Mark where each piece will go, and ensure even spacing between items. Painter’s tape can also help outline your design without damaging the wall.
Step 5: Prepare Your Frames
Make sure all frames and hanging materials are clean, secure, and ready to go. Use matching frames for a uniform look or mix and match for a more eclectic feel, depending on your style.
Step 6: Hang the Centerpiece First
Begin by hanging the largest or most central piece of your gallery. This will act as the focal point, helping to guide the placement of the remaining items.
Step 7: Add Surrounding Pieces
Work outward from the centerpiece, placing each item according to your planned layout. Use a level to ensure everything hangs straight, and adjust as needed to maintain balance and alignment.
Step 8: Step Back and Assess
Once everything is hung, step back and evaluate your gallery wall. Check for balance, spacing, and overall visual flow. Make any necessary adjustments to perfect the arrangement.
Step 9: Add Final Touches
Incorporate small details like decorative objects or lighting to enhance the gallery’s impact. Consider adding a spotlight or wall sconce to highlight key pieces.
A well-arranged gallery wall can completely change the way your space feels and looks, turning any blank wall into a stylish and meaningful focal point.
I hope these steps on how to organize a gallery wall help you create a display that’s both personal and visually stunning.
Select the right pieces, plan your layout, and use the right tools to bring your gallery wall design ideas to life in a way that feels polished and perfectly tailored to your home.
Remember, the key to a standout gallery wall is taking the time to plan and letting it reflect your unique personality and style.
So, start designing your gallery wall today and transform your space into a place that inspires and tells your story!

