Trying to create the perfect diy pumpkin centerpiece can feel frustrating when your arrangement looks messy or doesn’t last through the season.
Many decorating ideas look beautiful online, but recreating them at home often leaves people confused, overwhelmed, or stuck with a big mess.
You might try carving a pumpkin only to have it wilt or collapse after one day, making you feel like your effort was wasted.
Others use faux pumpkins but end up with arrangements that look stiff or unnatural, missing that warm and welcoming fall feel.
It’s hard to balance color, height, and texture when working with floral pieces, especially if you’re not sure where to place each item.
Some people give up after their first try because they don’t have the right tools or run out of patience halfway through the project.
Buying a premade centerpiece sounds easier, but those often cost more and still might not match your home’s colors or table size.
This post may contain affiliate links. As an Amazon Associate and a participant in other affiliate programs, I earn a commission on qualifying purchases at no additional cost to you.
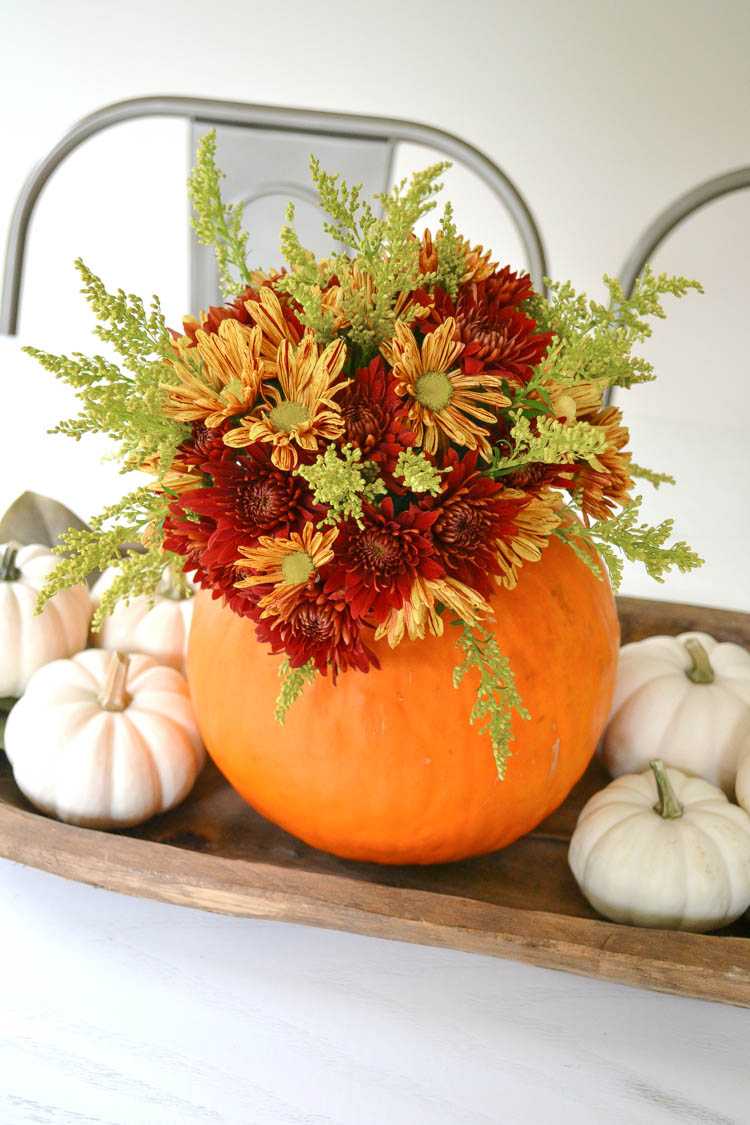
You want something that looks handmade but not sloppy, that feels festive but still fits in with your everyday style.
Making your own centerpiece should be fun and relaxing, not another thing on your list that adds stress during the season.
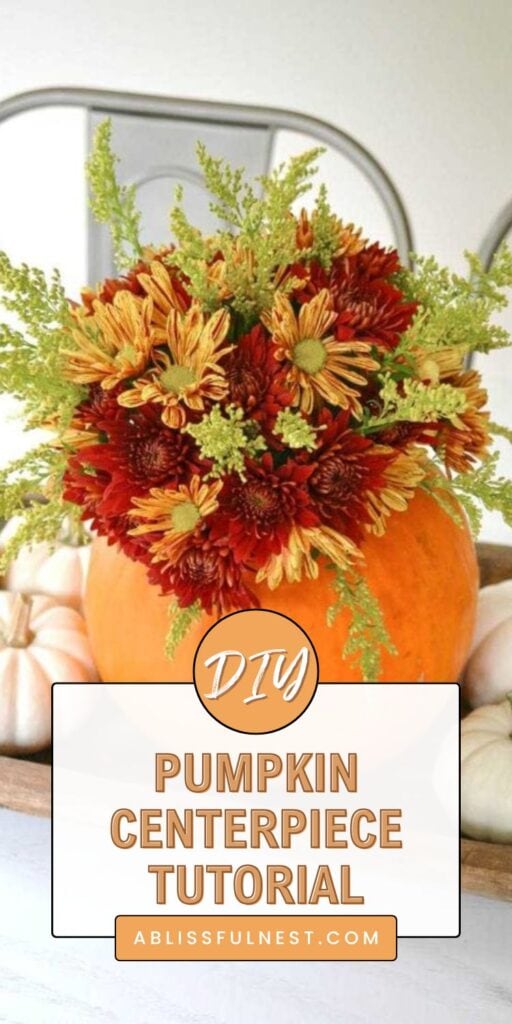
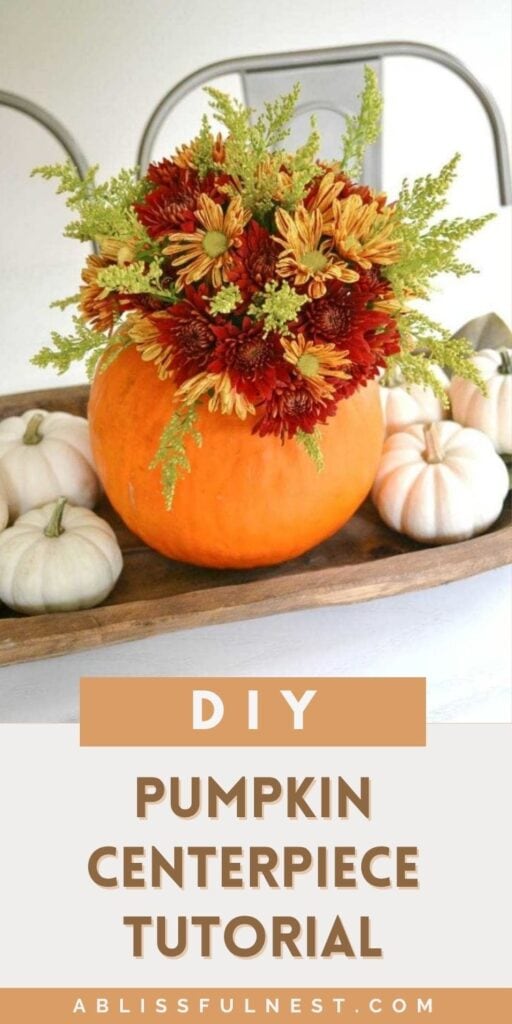
This DIY pumpkin centerpiece tutorial will help you create a beautiful, balanced fall arrangement with easy steps and items you can find almost anywhere.
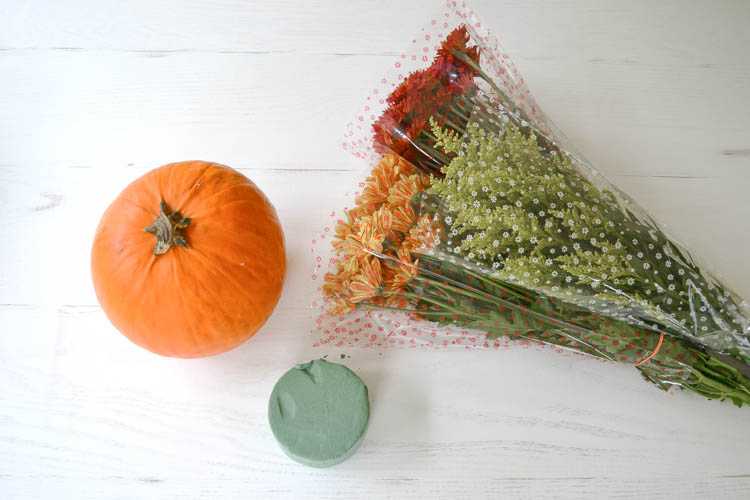
What You’ll Need for This DIY Pumpkin Centerpiece
Before you begin, gather all your supplies so the project goes smoothly without needing to stop and search for missing items halfway through.
This centerpiece doesn’t require special skills or expensive tools, just a few fall pieces and the right setup to make everything come together.
Below is a list of what you’ll need to build a beautiful, long-lasting pumpkin centerpiece at home.
- Fresh or faux pumpkin
- Floral foam or small vase
- Seasonal flowers (real or artificial)
- Greenery, berries, or dried elements
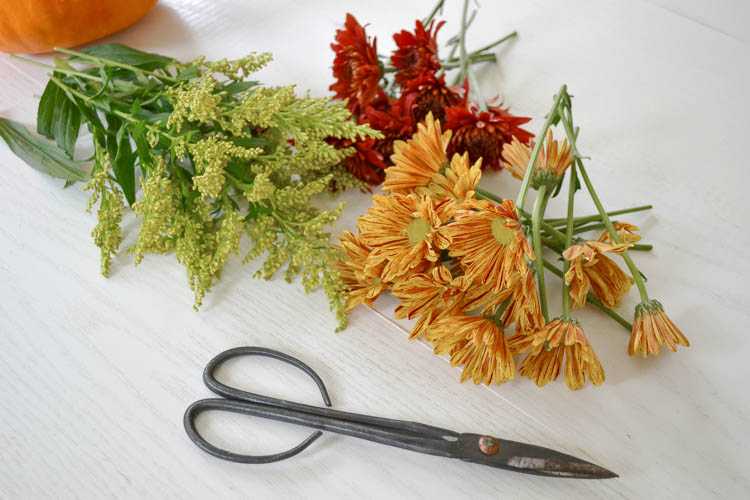
- Tools: knife, glue gun, floral shears
Choosing the Right Pumpkin for a Fall Centerpiece
The type of pumpkin you choose will impact the size, shape, and overall look of your centerpiece.
Look for varieties like Cinderella, white ghost, or sugar pumpkins because they hold shape well and give a clean base for floral arrangements.
If you’re exploring pumpkin decorating ideas, pick a real pumpkin that feels firm with a flat bottom so it sits level on your table without wobbling.
Faux pumpkins are great if you want something reusable and longer-lasting, plus they are easier to cut and clean up after.
Real pumpkins bring a natural feel, but they can spoil quickly and often need to be replaced if you’re decorating early in the season.
Faux pumpkins made from foam or plastic last for years and are lighter, but they can look less realistic without the right finishing touches.
Stick to small or medium-sized pumpkins for table use so they don’t take up too much space or block conversation.
Round pumpkins work best, but slightly flattened or oval shapes can add variety and help your arrangement look more organic.
Avoid pumpkins with soft spots, cracks, or bruises if using fresh ones, as those can lead to quicker rotting and uneven surfaces.
Choose a color that fits your table and room style, like soft orange, creamy white, or even a painted tone for a custom look.
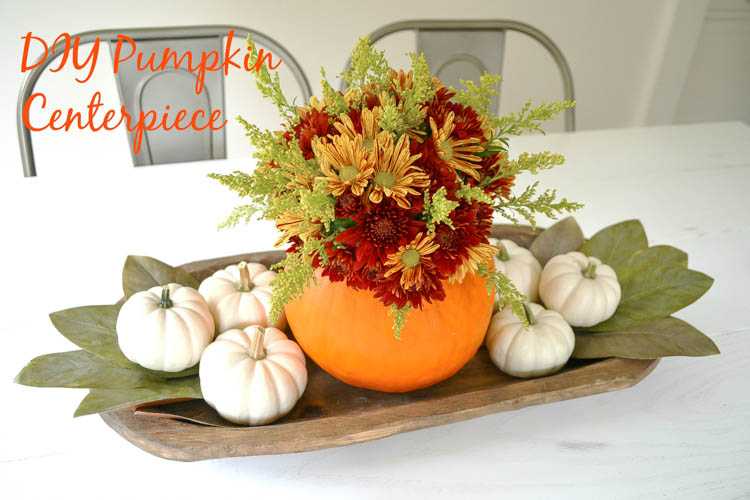
Step-by-Step DIY Pumpkin Floral Centerpiece Tutorial
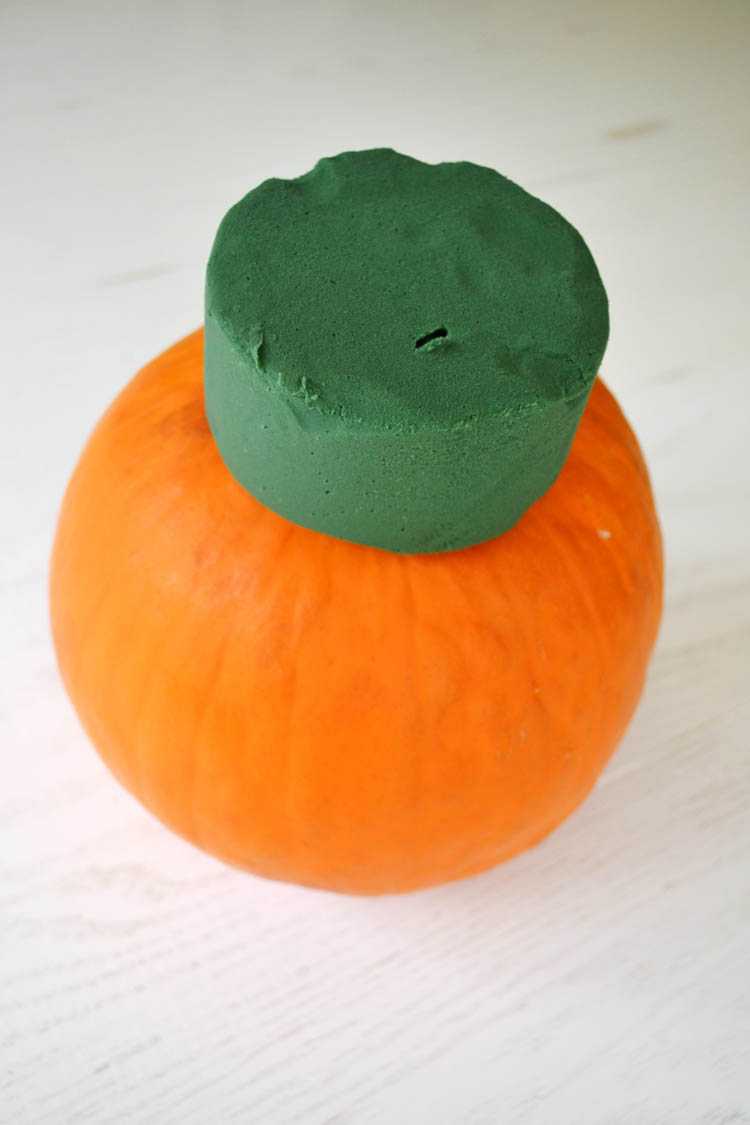
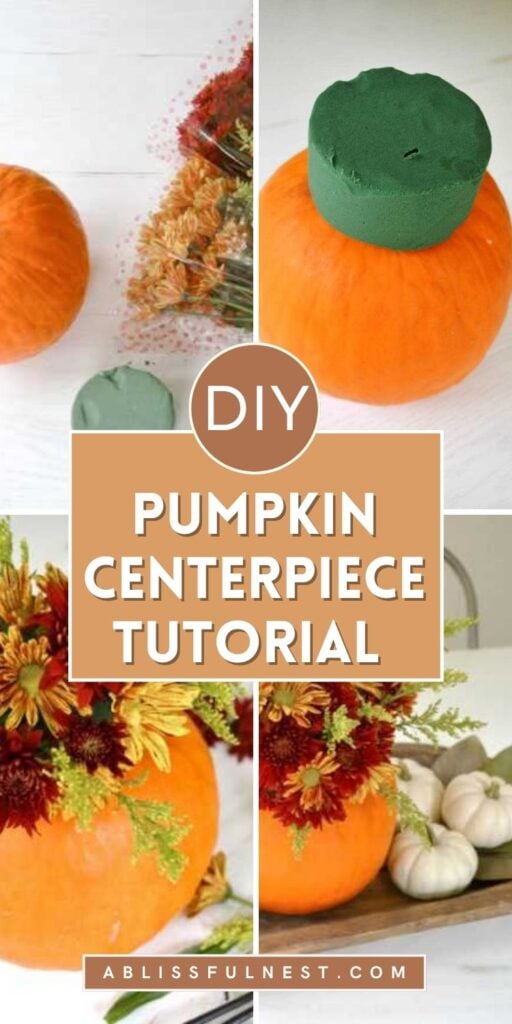
Start by cutting a wide opening at the top of your pumpkin, just enough to fit your floral foam or small vase inside.
Scoop out the seeds and pulp if using a real pumpkin, then wipe it dry inside to help it last longer.
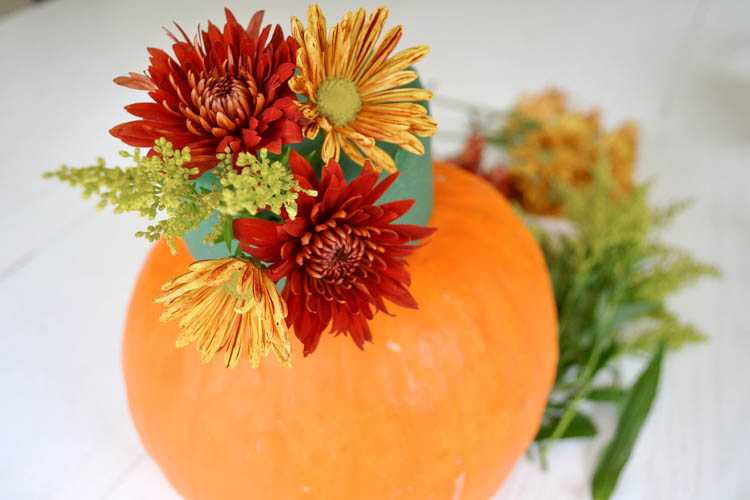
Place your soaked floral foam or small vase into the hollowed space so it sits level and doesn’t tip while you arrange your flowers.
Begin with your largest or most colorful flowers, placing them first as the main focus of your design.
Add medium-sized blooms around the edges and begin building out the shape evenly to keep things full without being crowded.
Tuck in greenery like eucalyptus, fall leaves, or ferns to soften the edges and add texture to the design.
Would you like to save this post?
Add small accent pieces like berries, dried pods, or miniature flowers to fill in gaps and create natural movement throughout the centerpiece.
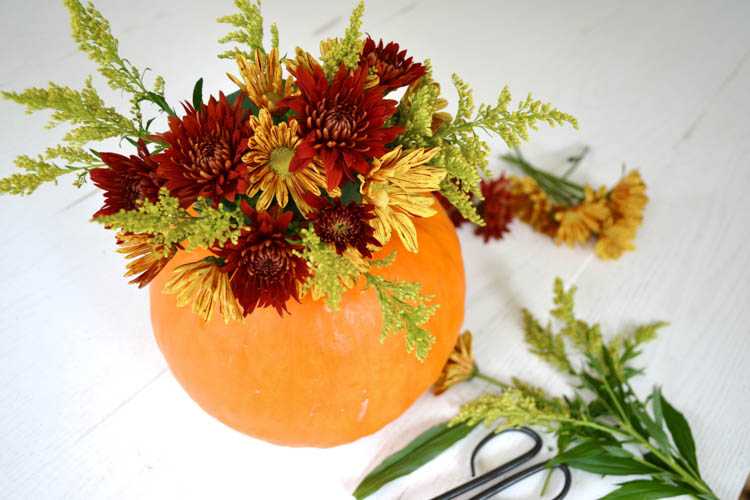
Step back and check for balance, making sure the flowers are spaced out evenly and the height works well from all angles.
Adjust anything that feels too heavy on one side or too flat by gently trimming or repositioning stems.
Once you’re happy with how it looks, mist with water if using real flowers and set it on your table to enjoy.
More Halloween Design Ideas + Inspiration
- Creative Halloween Desserts
- Last Minute Fun and Spooky Halloween Decor
- No Carve Pumpkins – 3 Simple Crafts For Kids
- Scary Halloween Front Porch Ideas
- Halloween Mantel Decor Ideas
- Halloween Console Table Decor
- How To Decorate For Halloween In Your Home
- Halloween Mantle Ideas + Tips For A Spooky Display
Styling Tips for Your Pumpkin Centerpiece
Once your arrangement is finished, these simple styling tips will help you display your pumpkin centerpiece in a way that feels thoughtful and well put together.
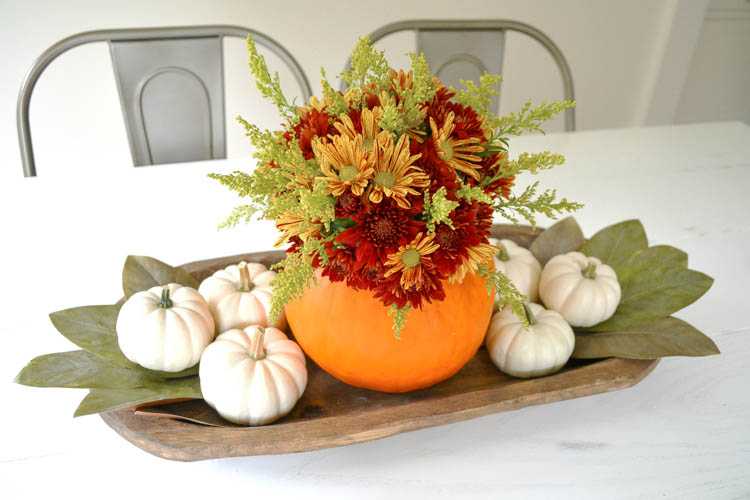
Place your pumpkin centerpiece on a charger or shallow tray to catch any moisture and make it easier to move.
Pair it with candles, mini gourds, or scattered leaves to build a layered fall look without needing extra large pieces.
Keep your table linens neutral so the centerpiece stands out and becomes the focus of your dining or coffee table.
Use flowers in shades that match your decor or seasonal theme, like burnt orange, cream, gold, or deep burgundy for a rich autumn feel.
Balance your centerpiece height so it doesn’t block people’s faces if placed on a dining table where people will be sitting.
If using more than one centerpiece, vary the heights slightly so the overall look feels full but not too symmetrical or stiff.
Consider placing it on a buffet, entryway table, or kitchen island if your dining table is already full or used for serving.
Add name cards, napkin rings, or mini pumpkins around it if you’re using it as part of a simple fall tablescape.
Use a glass cloche over a small faux pumpkin centerpiece to create a more styled and protected display in higher traffic areas.
Keep your colors consistent throughout the room by repeating one or two flower shades from your centerpiece in nearby accents or decor.
How to Make a Faux Pumpkin Centerpiece That Lasts All Season
If you want something that lasts the whole fall season without needing water or daily care, a faux pumpkin centerpiece is the way to go.
Start by choosing a foam or plastic pumpkin with a hollow center, or cut the top to create a wide opening for your insert.
Use dry floral foam or a small weighted vase inside to anchor artificial stems so they stay in place and don’t tip over.
Choose the best artificial flowers that mimic real blooms for a natural look that doesn’t feel too stiff or shiny.
Mix in a variety of textures like faux leaves, small berries, dried wheat, or preserved moss for added depth and interest.
Keep the color palette simple and natural with warm neutrals, fall tones, and a pop of deep green or soft gold.
Use a hot glue gun to secure stems if needed, especially around the opening to hide the foam or add finishing touches.
Check from all sides as you build so the arrangement feels full and balanced from any angle, not just from the front.
Store your finished centerpiece in a cool, dry place when not in use to keep it looking fresh and reusable for next year.
This type of centerpiece makes a perfect option for long-term display in your entryway, kitchen, or side table all season long.
Yes, plastic pumpkins are a great choice because they don’t rot or require cleaning, which makes them easier to work with. They’re also reusable, so you can change out the flowers or colors each year to match your fall style without buying new supplies.
A fresh pumpkin centerpiece usually lasts about five to seven days if kept in a cool, dry space away from direct sunlight or heat. After that, the inside may start to soften or mold, especially if moisture gets trapped or the room is too warm.
Sturdy fall blooms like mums, sunflowers, roses, and dahlias hold up well and bring out the rich colors of the season. These flowers also keep their shape in arrangements and don’t wilt quickly, making them ideal for centerpieces that need to last a few days.
Both work well, but floral foam helps you control where the stems go and makes it easier to shape your design. Using a vase with water, however, keeps fresh flowers hydrated longer and is better for real blooms that need moisture.
Line the inside of the pumpkin with plastic wrap or use a small bowl or vase to hold the flowers and catch extra water. You can also place the finished centerpiece on a tray or charger to protect your table surface from moisture or spills.
Creating your own fall decor can feel frustrating at first, especially when you’re short on time or don’t have much experience arranging flowers.
This diy pumpkin centerpiece makes it easy to build something beautiful that fits your table and lasts through the season.
You don’t need special skills or expensive tools, just a few basic items and a little time to pull everything together.
With the right pumpkin, flowers, and setup, you’ll end up with a centerpiece that looks custom-made for your home.
Use this diy pumpkin centerpiece to decorate your dining table, sideboard, coffee table decor for fall, or entryway with a warm, seasonal touch everyone will notice.




such a cute idea!!!