Sharing how to make a fruit charcuterie board, which fruits to use, how to pair them with other cheeses, and so much more so you will wow your guests with the ultimate fruit board.
Fruit is one of my favorite snacks, they are perfect any time of the year. I love sitting on my patio any time of the day with a nice fresh plate or bowl of fruit!
Fruit is great to serve in the morning with a cup of coffee, at brunch with your favorite mimosa, or in the evening with a glass of sweet tea or your favorite adult beverage.
I’ve not met too many people that do not like fruit, it is colorful and will add a pop to any plate or table!
So whether you are hosting an event or just sharing with your own family, why not make an arrangement of your beautiful colorful fruit on a fresh fruit charcuterie board!
This post may contain affiliate links. As an Amazon Associate and a participant in other affiliate programs, I earn a commission on qualifying purchases at no additional cost to you.
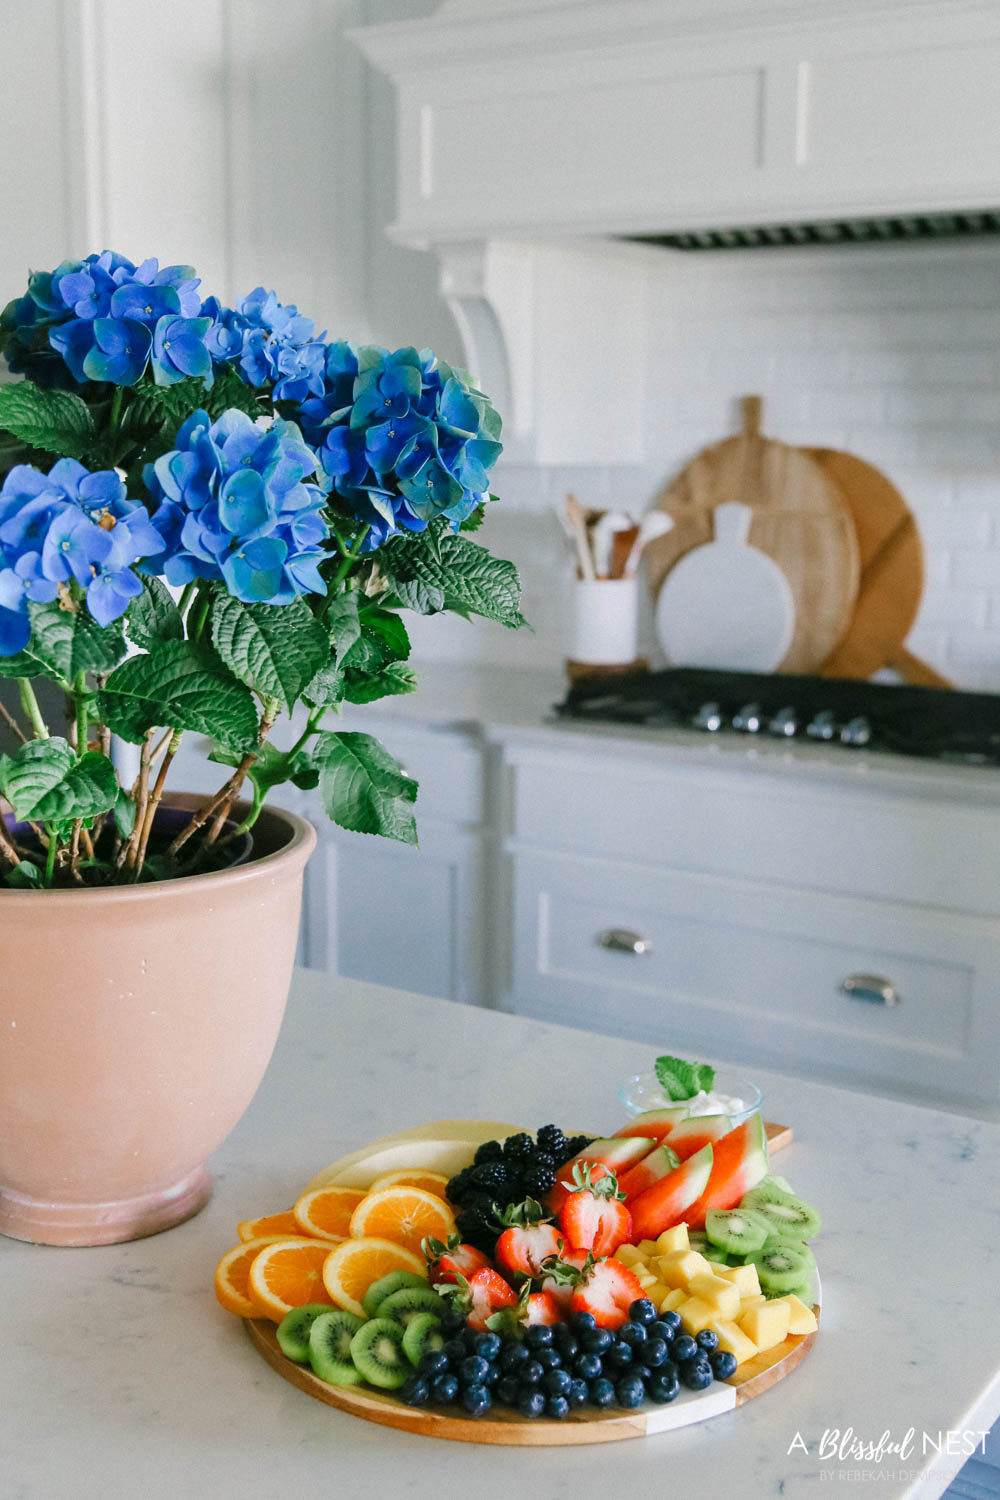
Create your own fruit charcuterie board.
Fruit is so beautiful and colorful and there are so many seasonal fruits available to choose from to make truly unique boards!
Fruits are also such a crowd-pleaser, everyone loves them. I love nothing more than sharing them with my family and friends, and what better way than on a charcuterie board!
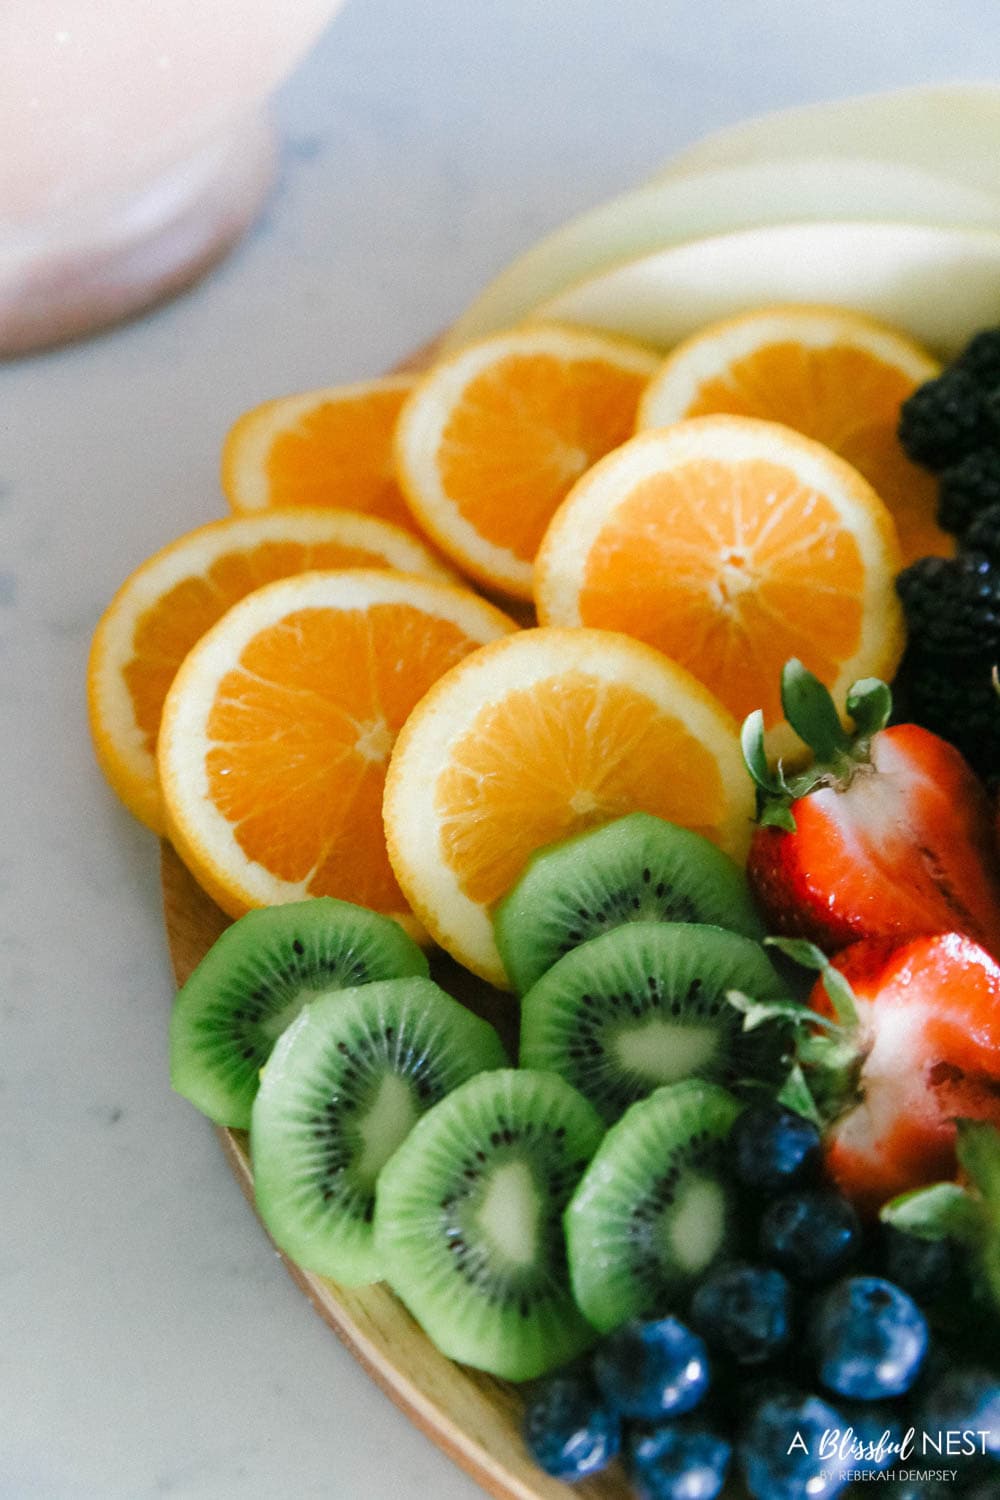
Below I will show you to cut the fruit beautifully, and creatively arrange it all on a beautiful board.
What fruits do you put on a charcuterie board?
Depending on the season or time of year you plan to create your fruit-only charcuterie board, is how I would choose the fruit to use.
Some of the best fruits to choose from are watermelon, berries, grapes, and apples. Berries are easy to grab from a board, and there is quite a variety of berries to choose from.
Watermelon is a great choice as a larger-sized fruit it will take up some room on your board but there are so many ways to cut and serve it.
There are so many beautiful flavorful fruits to add to your board. I love to add tart green apples to my boards, and sweet grapes as a ‘pop’ of flavor!
What dried fruit goes with charcuterie?
Adding some dried fruits to your boards is always a great idea.
Some options are dried apricot, raisins, pineapple, and mangos.
By adding the dried fruit you are adding texture and color to your board. The smaller bits of dried fruit, like raisins, will help fill in any gaps on your board and add final touches.
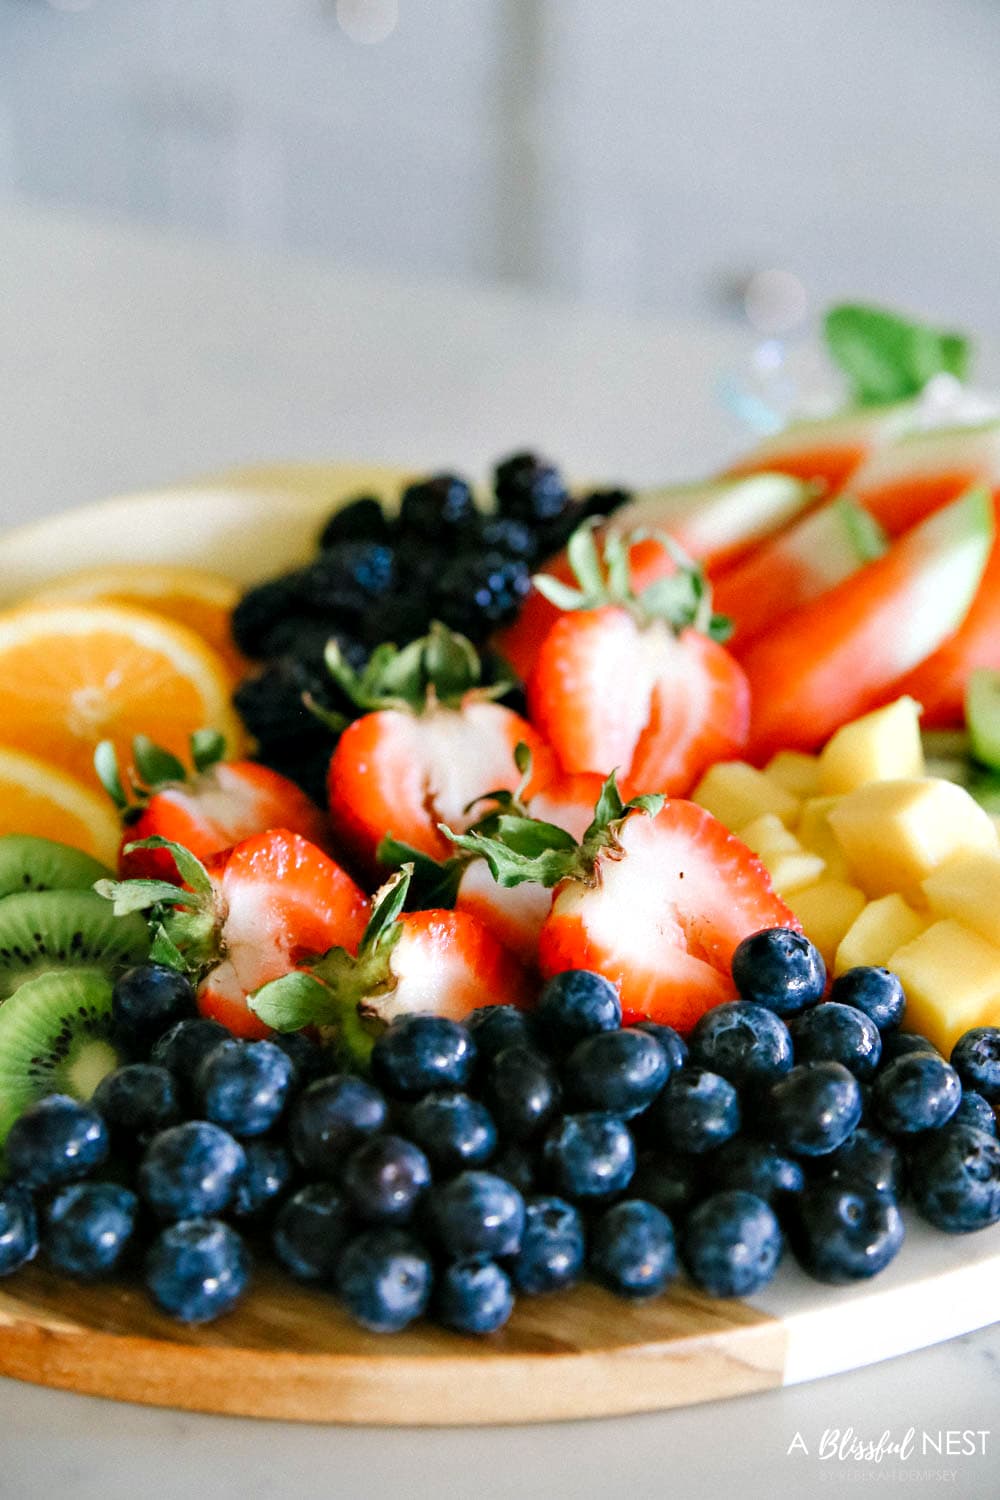
How do you cut strawberries for a charcuterie board?
There are several ways to cut a strawberry to display on a charcuterie board.
First, you can cut strawberries in half lengthwise and leave the steam intact.
You can also fan the strawberry by making slices up to the stem but leaving the stem and then fanning out the strawberry.
But if you are feeling really creative you can create strawberry roses, this will require more intricate cutting but will add a beautiful rose to your fruit board!
What kind of cheese goes with fruit?
Cheese and fruit go hand in hand! Here are a few pairings I love.
- Strawberries and goat cheese, you can even add a balsamic reduction to drizzle over the two.
- Watermelon and feta are a great pair even adding a little mint to give it a little flare!
- Pear goes really well with brie as well as raspberries and cream cheese.
There are so many pairing options with cheese and fruit!
How long can a charcuterie board sit out?
Try to prepare your charcuterie board fresh, within an hour of serving. Remember fruit will turn brown soon after cutting it.
Would you like to save this post?
Apples you can let sit in a bit of salted water or lemon water to help keep them from browning so soon.
Remember to cover your board with cellophane and store it in the fridge until serving.
Tips for creating a beautiful fruit charcuterie board.
Select bright-colored fruit and a few different varieties of fruit for your fresh fruit charcuterie board.
You can use skewers to keep some flavor profiles together, which adds a fun touch to your board.
Also, cut shapes with your fruit to beautifully arrange them on your board. There are so many options!
Like I said earlier, you can use tiny cookie cutters or just different techniques to cut the fruit.
You can also add dips for your fruit like even something as simple as honey. Have fun with what you are creating, it is after all, like a piece of artwork!
Ingredients for a fruit charcuterie board.
Ingredients
- Watermelon
- Honeydew Melon
- Blackberries
- Strawberries
- Kiwi
- Black Grapes
- Orange Slices
- Mango
- Vanilla Greek Yogurt
How to make a fruit charcuterie board
Creating a FRUIT ONLY board is such a great way to serve fruit! I will show you how to do this step by step.
Get your favorite fruits together and let’s pull this board together! You will see just how easy this is to do.
Step 1: Prepare your fruit.
Here you will lay out your fruit choices and cut and slice each fruit for display.
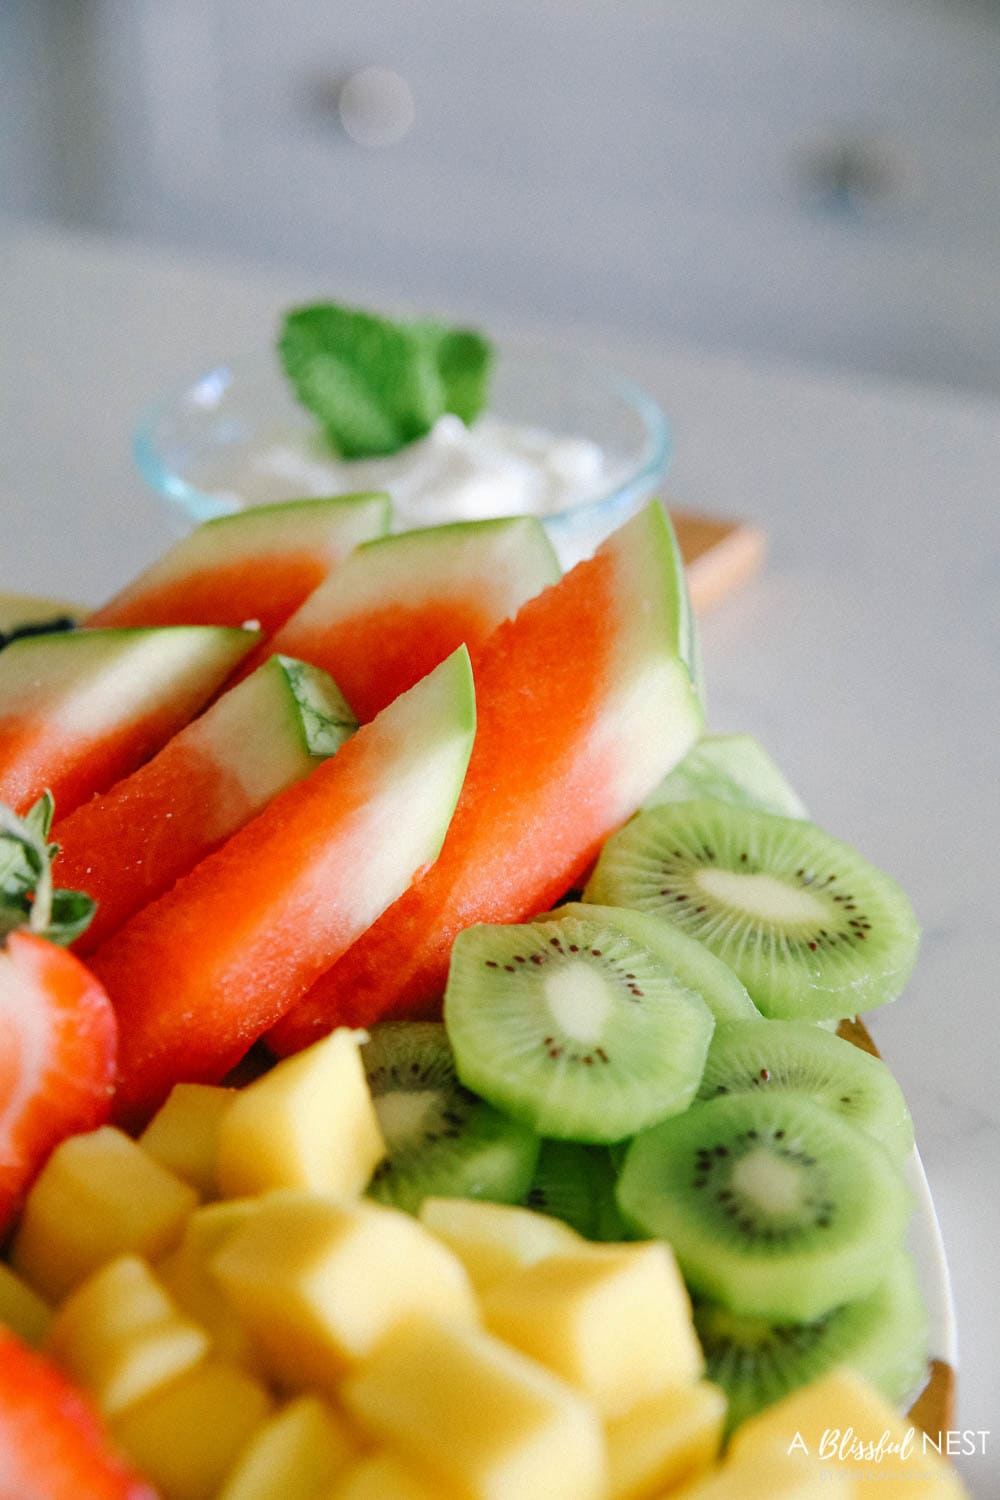
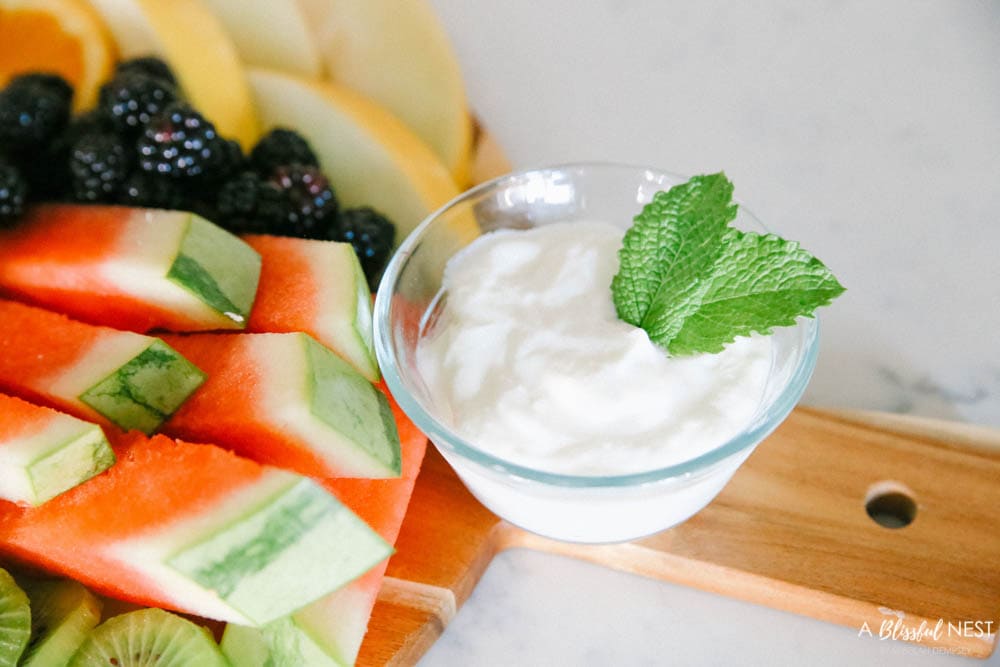
Step 2: Chose a small bowl or container for your dipping sauce.
On my board, I used vanilla greek yogurt. I choose a small glass bowl to serve the yogurt in and placed it near the fruit it would be used with.
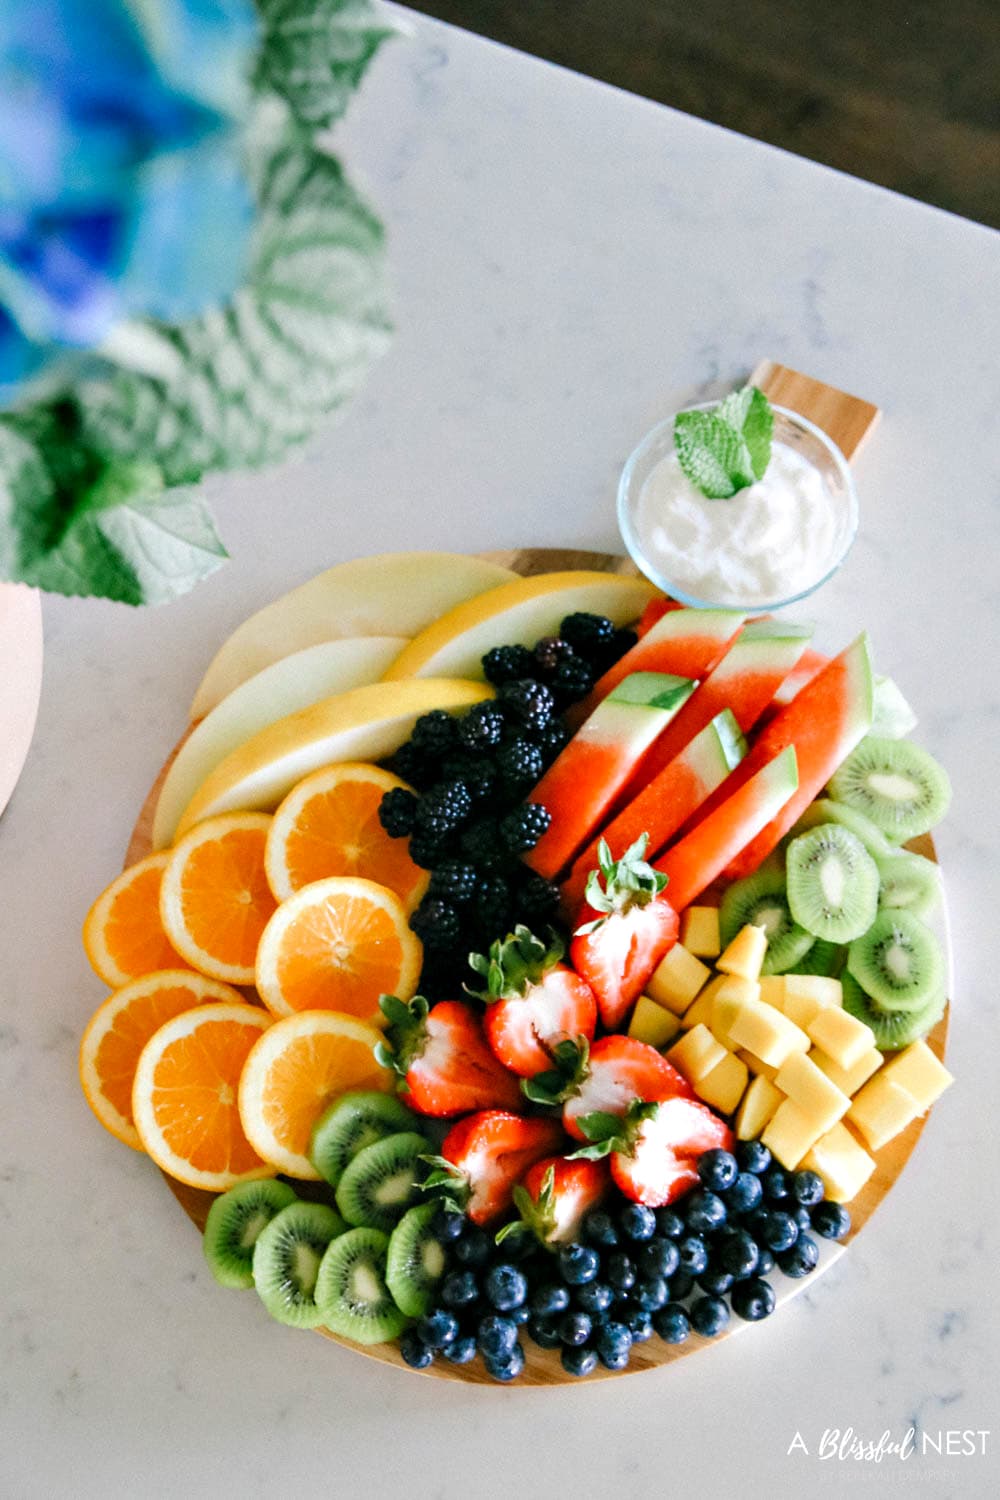
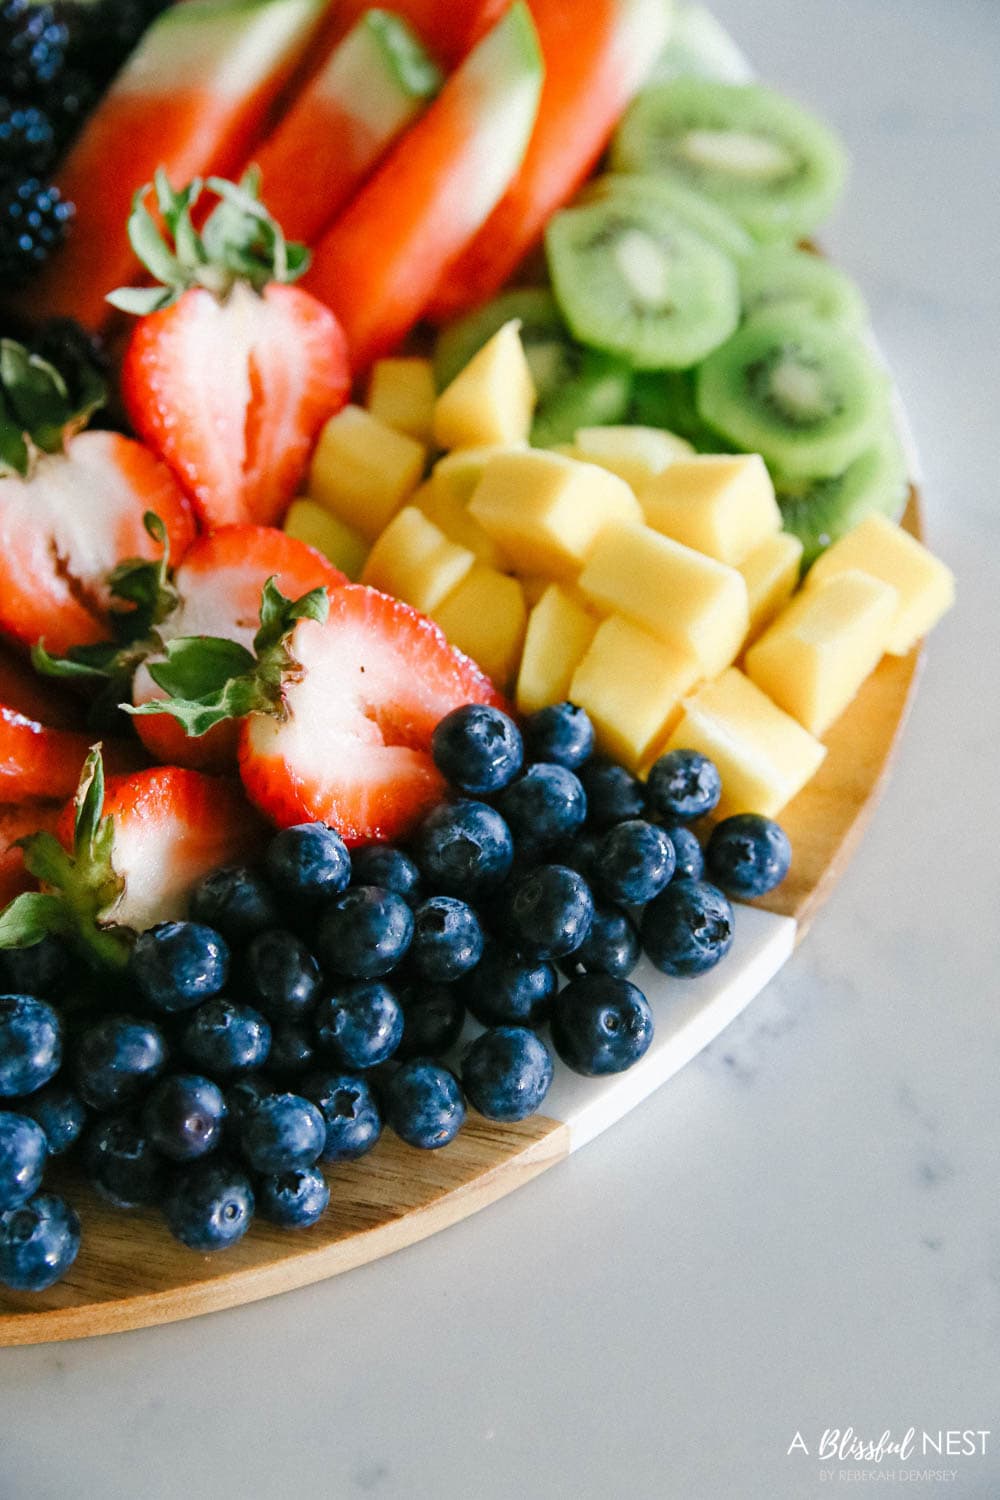
Step 3: Begin to lay out the fruit.
Have all of your fruit cut, cleaned, dried, and ready to go.
You will want to keep the fruit of the same color opposite each other.
I do tend to start placing the larger pieces of fruit on the board first, filling in the rest of the board with all the smaller fruit.
If you are using any containers place those near the center of your board or at the very top, and place any corresponding fruits around those dips.
And that is it my friends! This might just be THE EASIEST charcuterie board ever to make. I have a feeling you will want to make this every weekend for your family.
More Charcuterie Board Ideas + Inspiration
Get even more ideas on charcuterie boards with these other posts. Just click on their titles to go right to the posts.
-
Charcuterie Board Essentials
-
Simple Steak Grilled Summer Charcuterie Board
-
Ultimate 4th of July Charcuterie Board
-
Fall Harvest Charcuterie Board
-
How to Make a Meat and Cheese Tray
Ingredients
- Watermelon
- Honeydew Melon
- Blackberries
- Strawberries
- Kiwi
- Black Grapes
- Orange Slices
- Mango
- Vanilla Greek Yogurt
Instructions
- Prepare your fruit. Lay out your fruit choices and cut and slice each fruit for display.
- Chose a small bowl or container for your dipping sauce. Place it near the fruit it will be used with.
- Begin to lay out the fruit. Have all of your fruit cut, cleaned, dried, and ready to go. Start placing the larger pieces of fruit on the board first, filling in the rest of the board with all the smaller fruit.

