An easy to follow step-by-step outdoor dog gate tutorial for a large opening in your yard. Includes all the materials and dimensions to make this project and easily adjust to the space you have in your yard.
A couple of months back before the summer started, we started landscaping our backyard. You can read more of that planning and process HERE. But this little side yard was not on the big plan list and was left untouched. It is right off our patio and typically not used at all. So that was when I put my thinking cap on and started brainstorming how I might use this space a little bit better. When I was contacted by National Hardware and inspired to create a DIY project using their incredible hardware, that’s when my brilliant plan for this side yard started to form.
This post may contain affiliate links. As an Amazon Associate and a participant in other affiliate programs, I earn a commission on qualifying purchases at no additional cost to you.
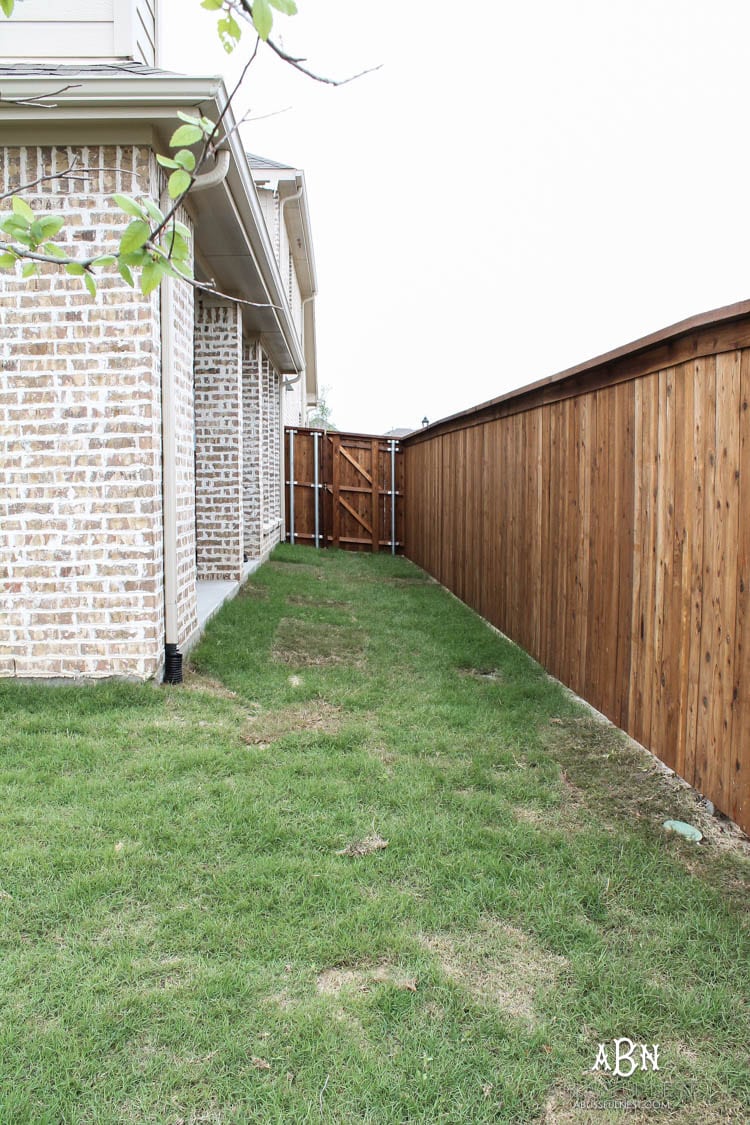
So take a look at what I came up with!
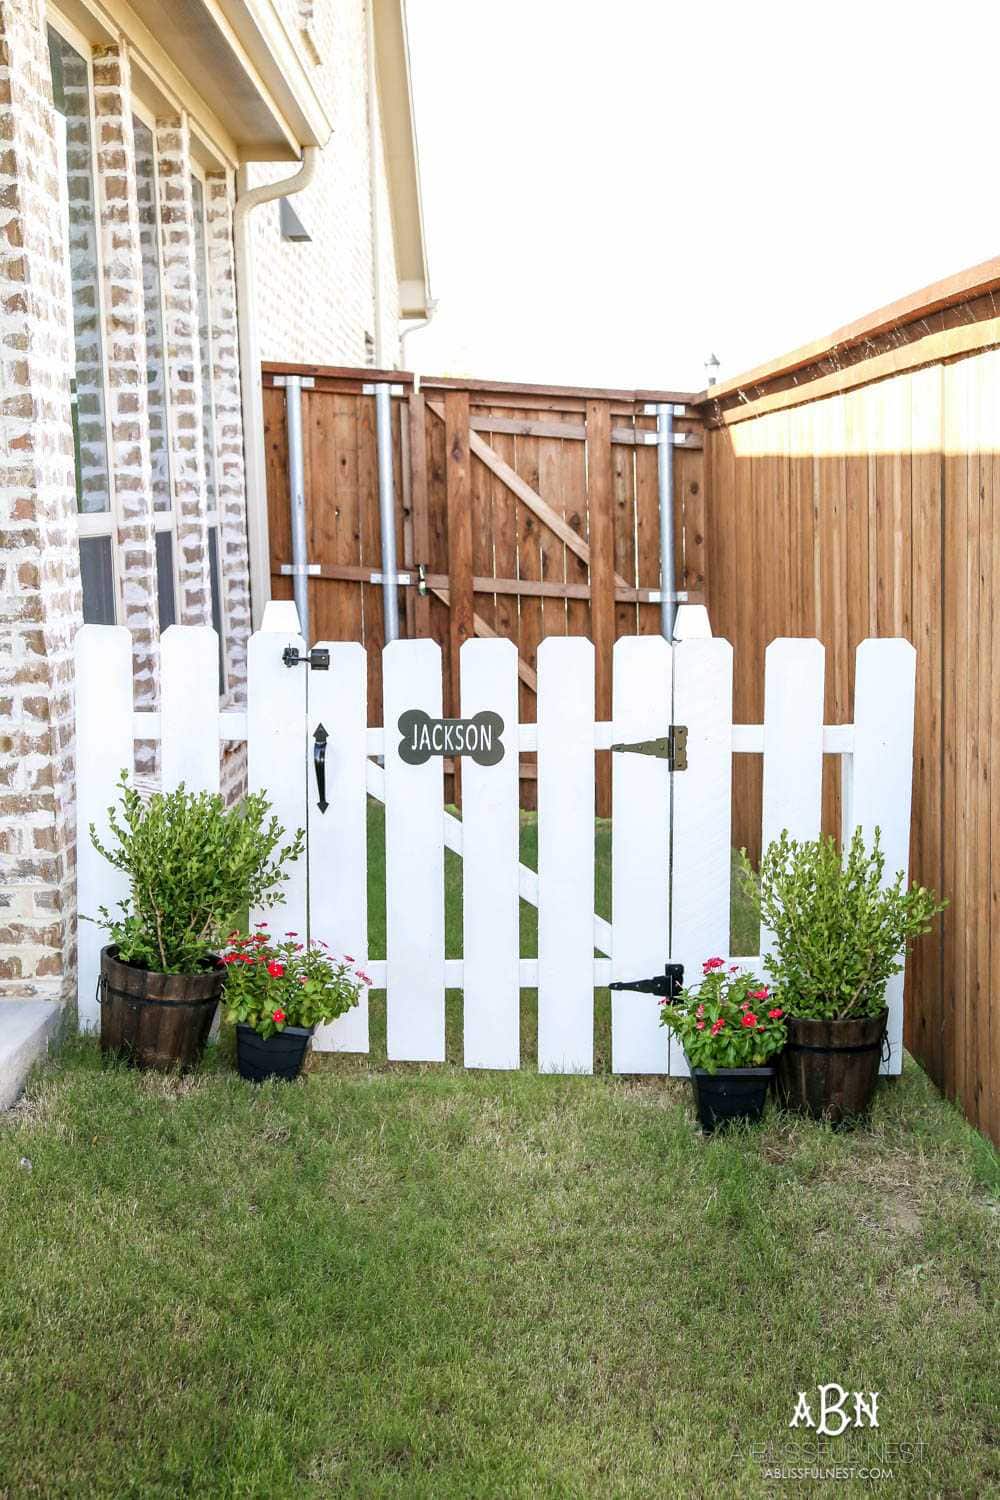
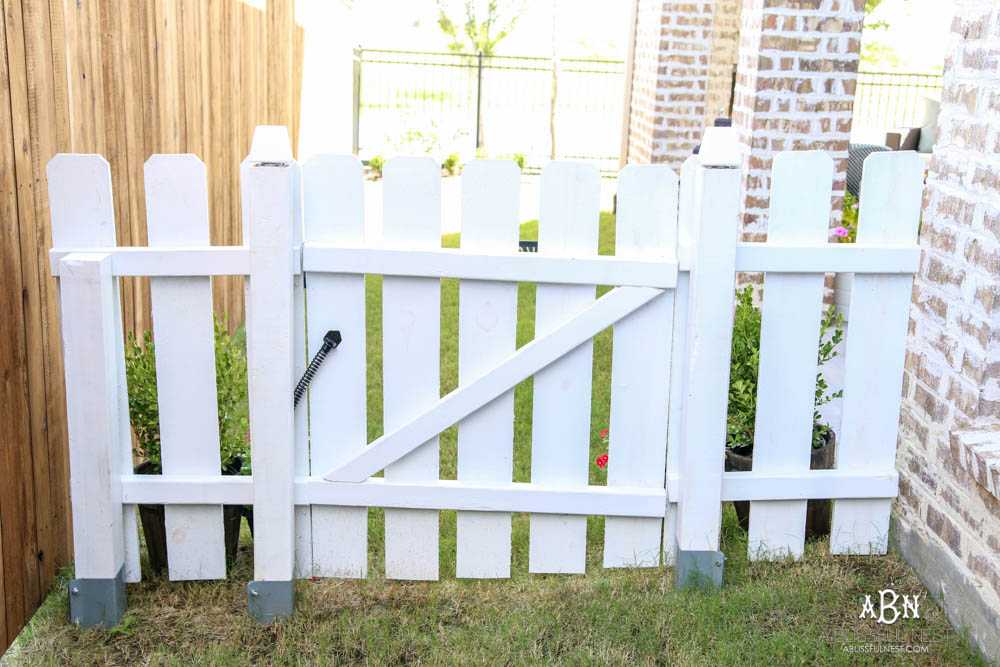
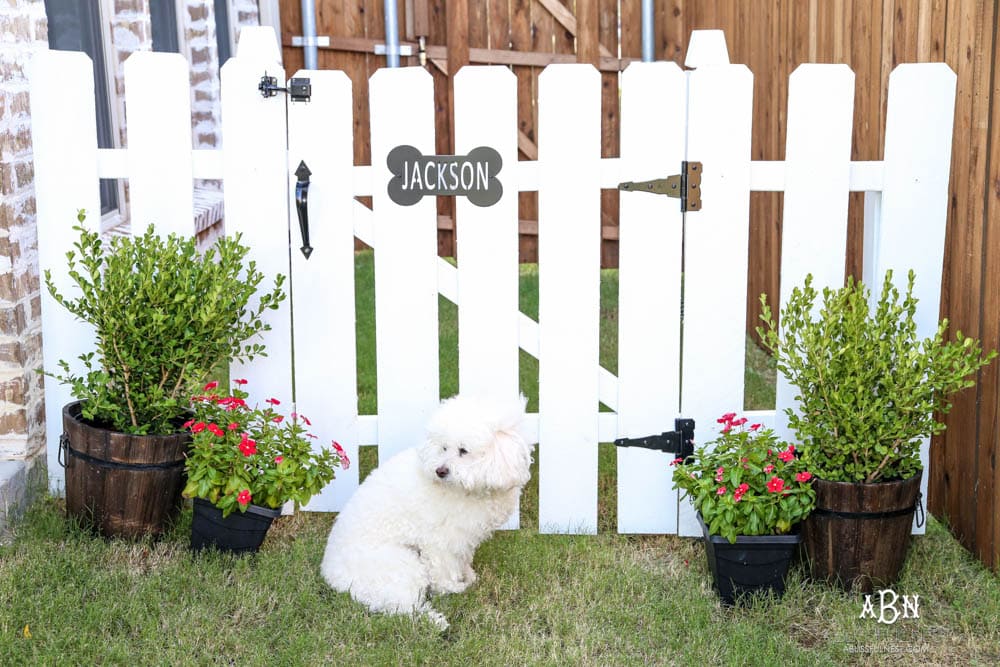
The cutest and best place for my little guy! I have to tell you this is the perfect spot for him. It is easy to access when it is raining and I don’t want to get wet, and it keeps the rest of my yard clean and free of . . . . well you know what. Also, I love having a safe place for him in the yard. We back up to a lake and there are always people walking with dogs in the back of our house. Unfortunatly Jackson can get through and I am afraid something may happen to him. Now with our dog gate, if we are hanging out in the back we have a place for him if need be.
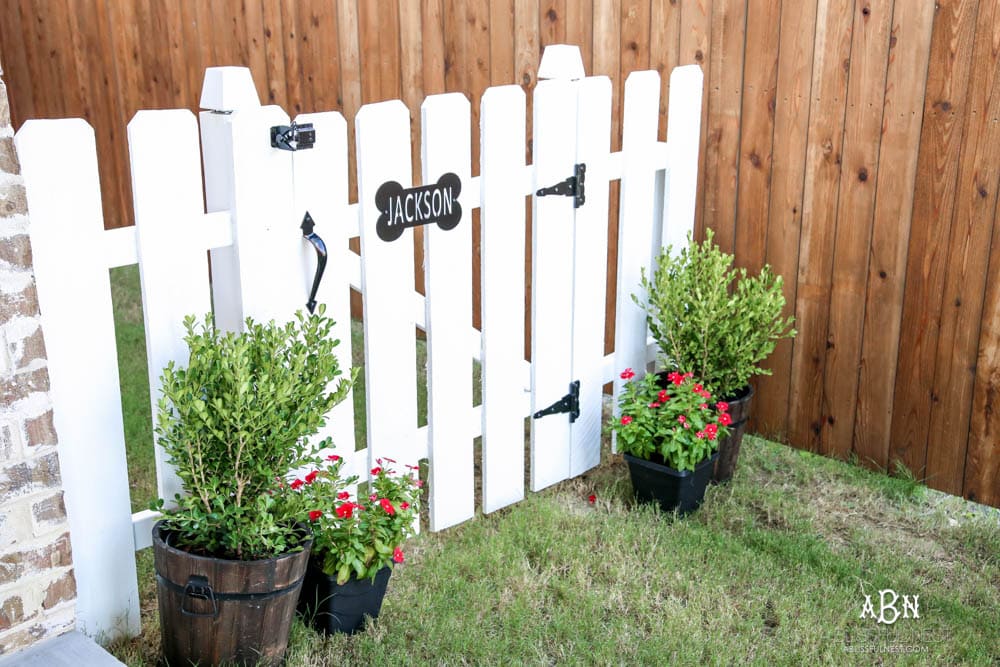
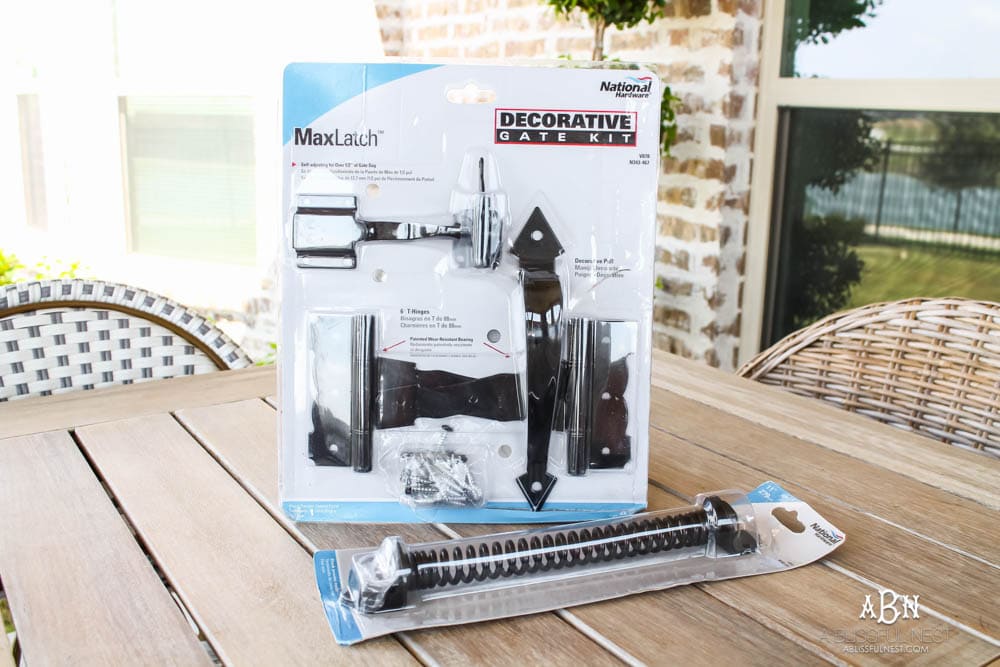
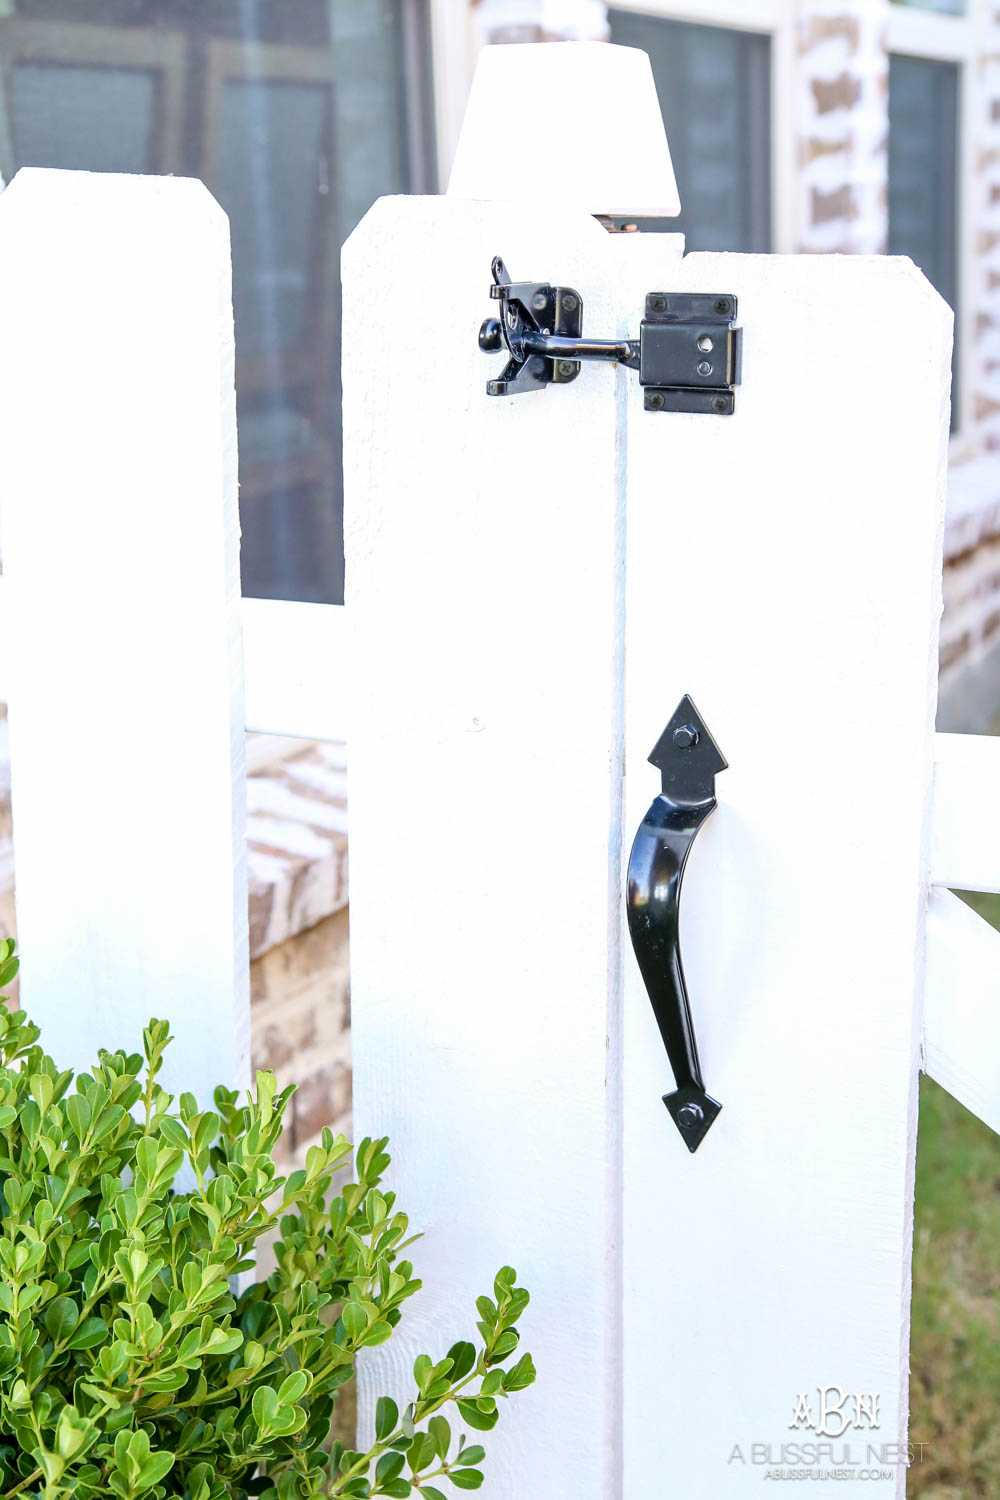
I loved this gate kit from National Hardware in black for a clean and modern gate look. It is functional and stylish, which was exactly what I was looking for to give me that push to be able to tackle this project. It was also so easy to install and came with everything we needed so we just needed to build the gate itself.
I created a simple tutorial for you to recreate this easy gate for your backyard as well as a supply list so you can get all the items you need to do your project.
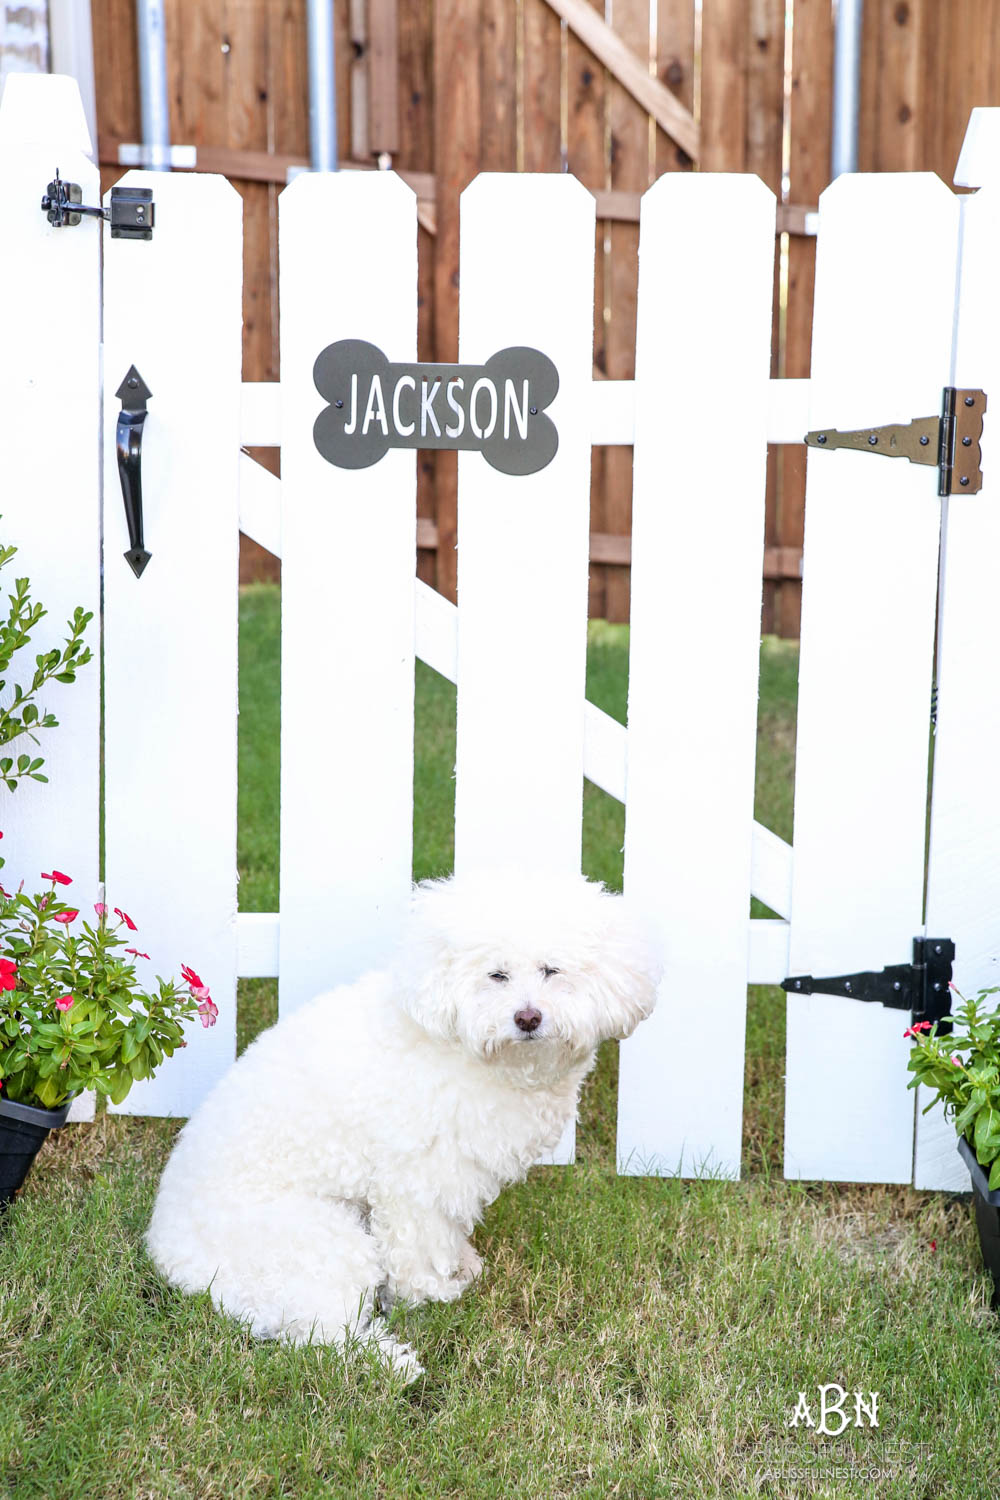
Simple Step by Step Outdoor Dog Gate Tutorial:
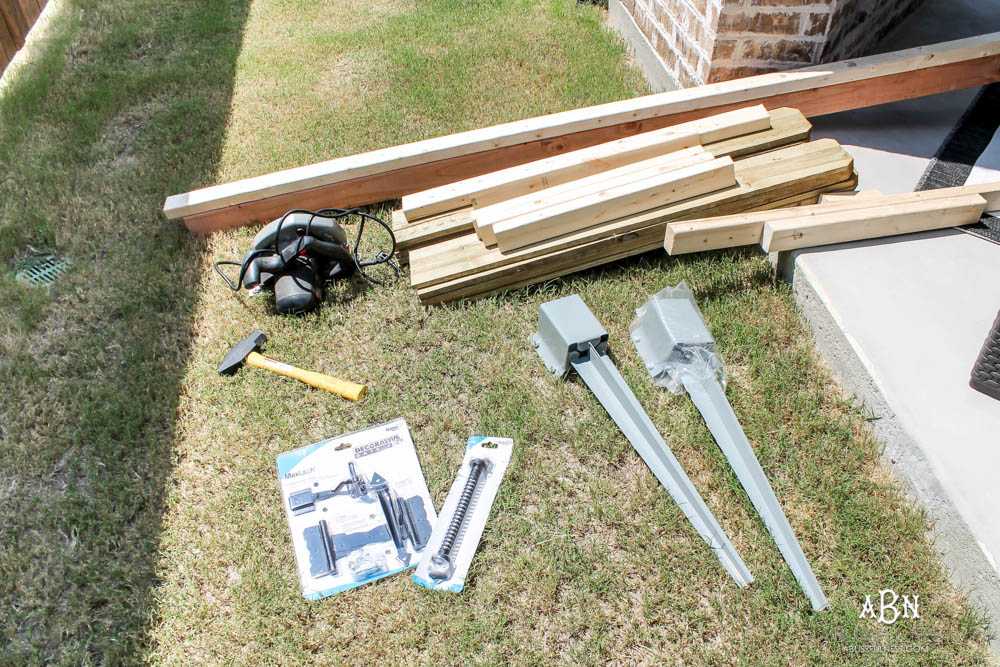
Supplies Needed:
- Gate Kit from National Hardware
- 4×4 wood for posts
- 2×3 wood for back supports
- Fence planks
- Post anchors
- Mallet
- Screws
- Paint for fencing
- Measuring tape
- Drill
- Circular saw
- End caps
- Wood putty filler
- 110 grit sand paper
Directions:
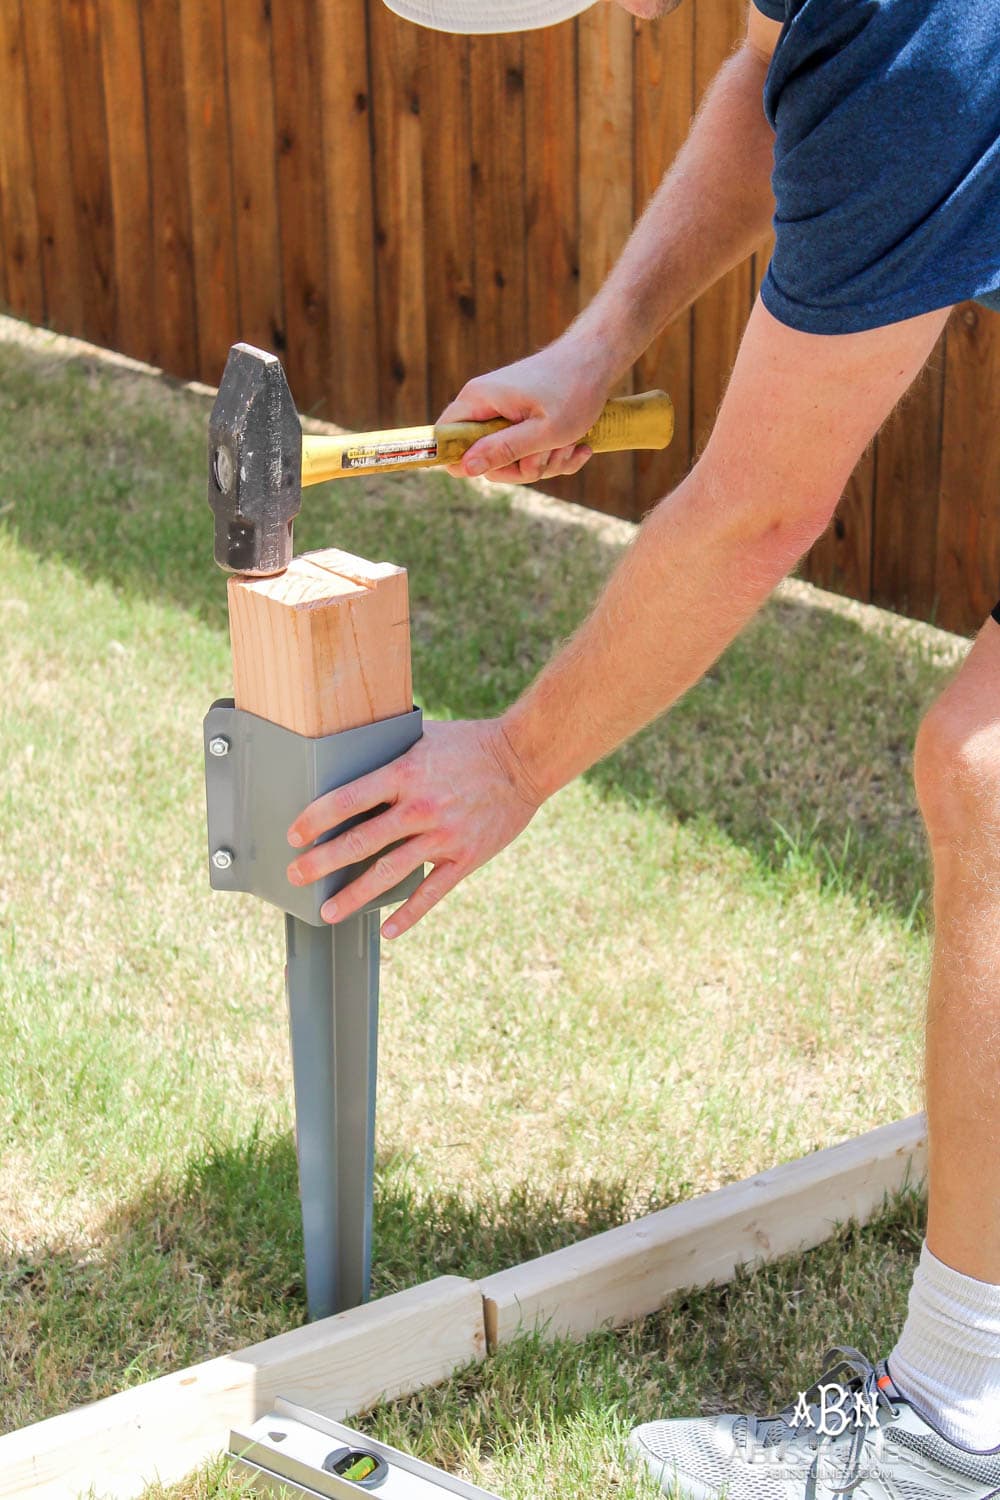
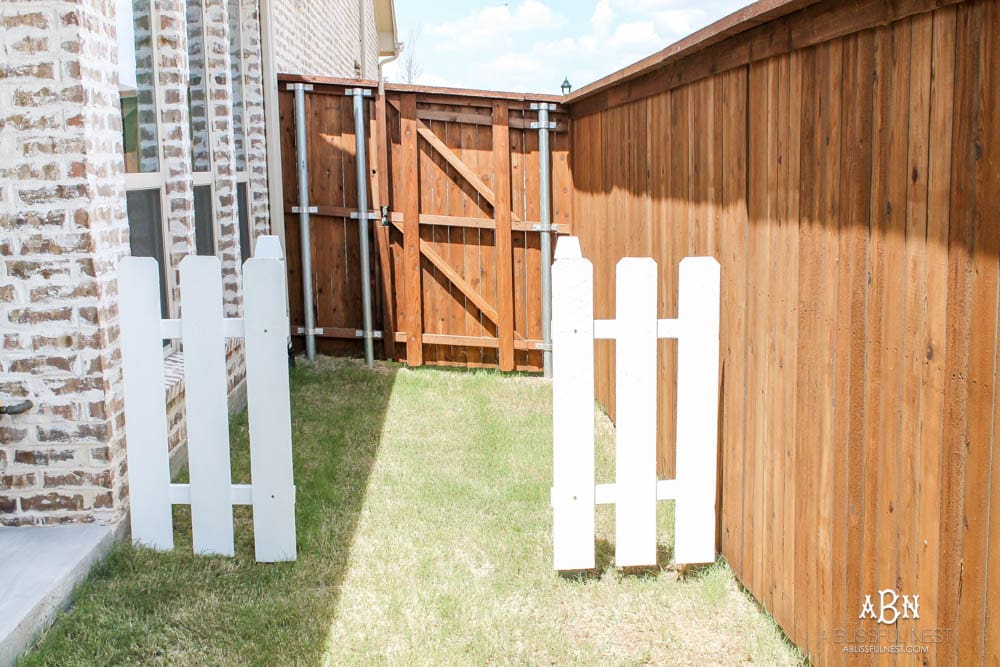
Step 1: Measure out your total opening with a tape measure. Plan on your opening to be a minimum of 30″ for pass-through. Then divide the rest of the opening by 2 which will give you the size of the 2 ends. Use wood to measure out what that will look like. Then lay your post anchors on the interior ends closest to the main opening for maximum support. Add additional post anchors if more support is needed.
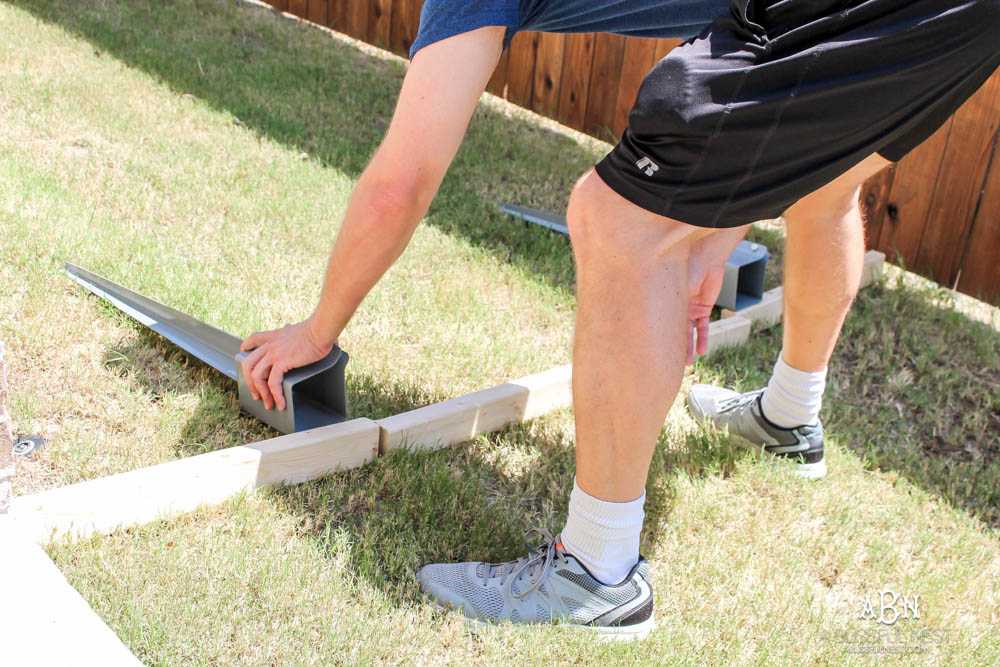
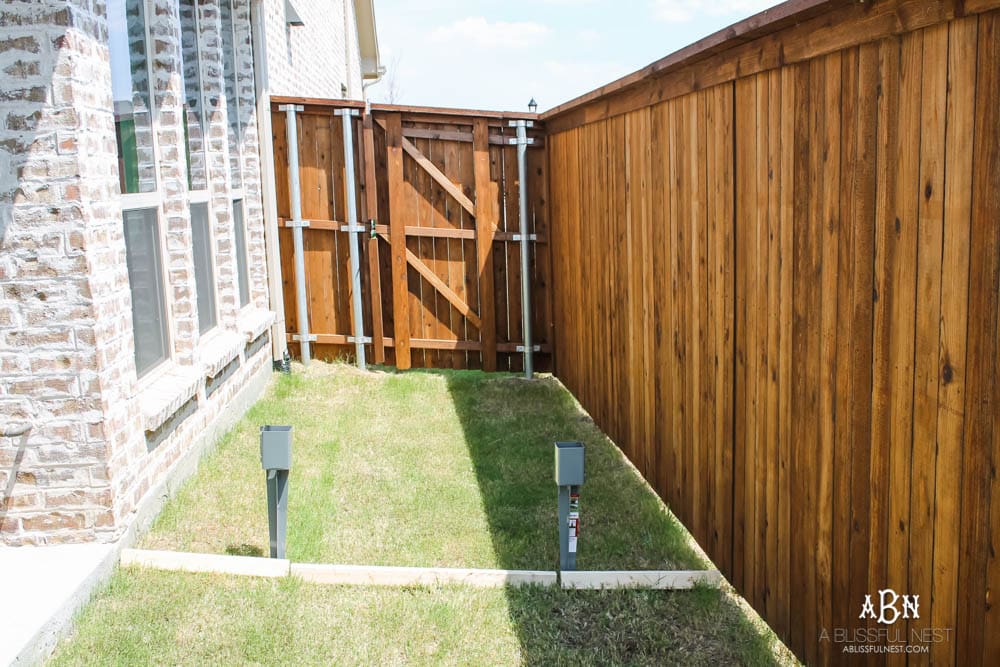
Once your post anchors are planned for placement, use a mallet and pound them into the ground. We added a piece of left over wood to the top to make it easier to hammer in.
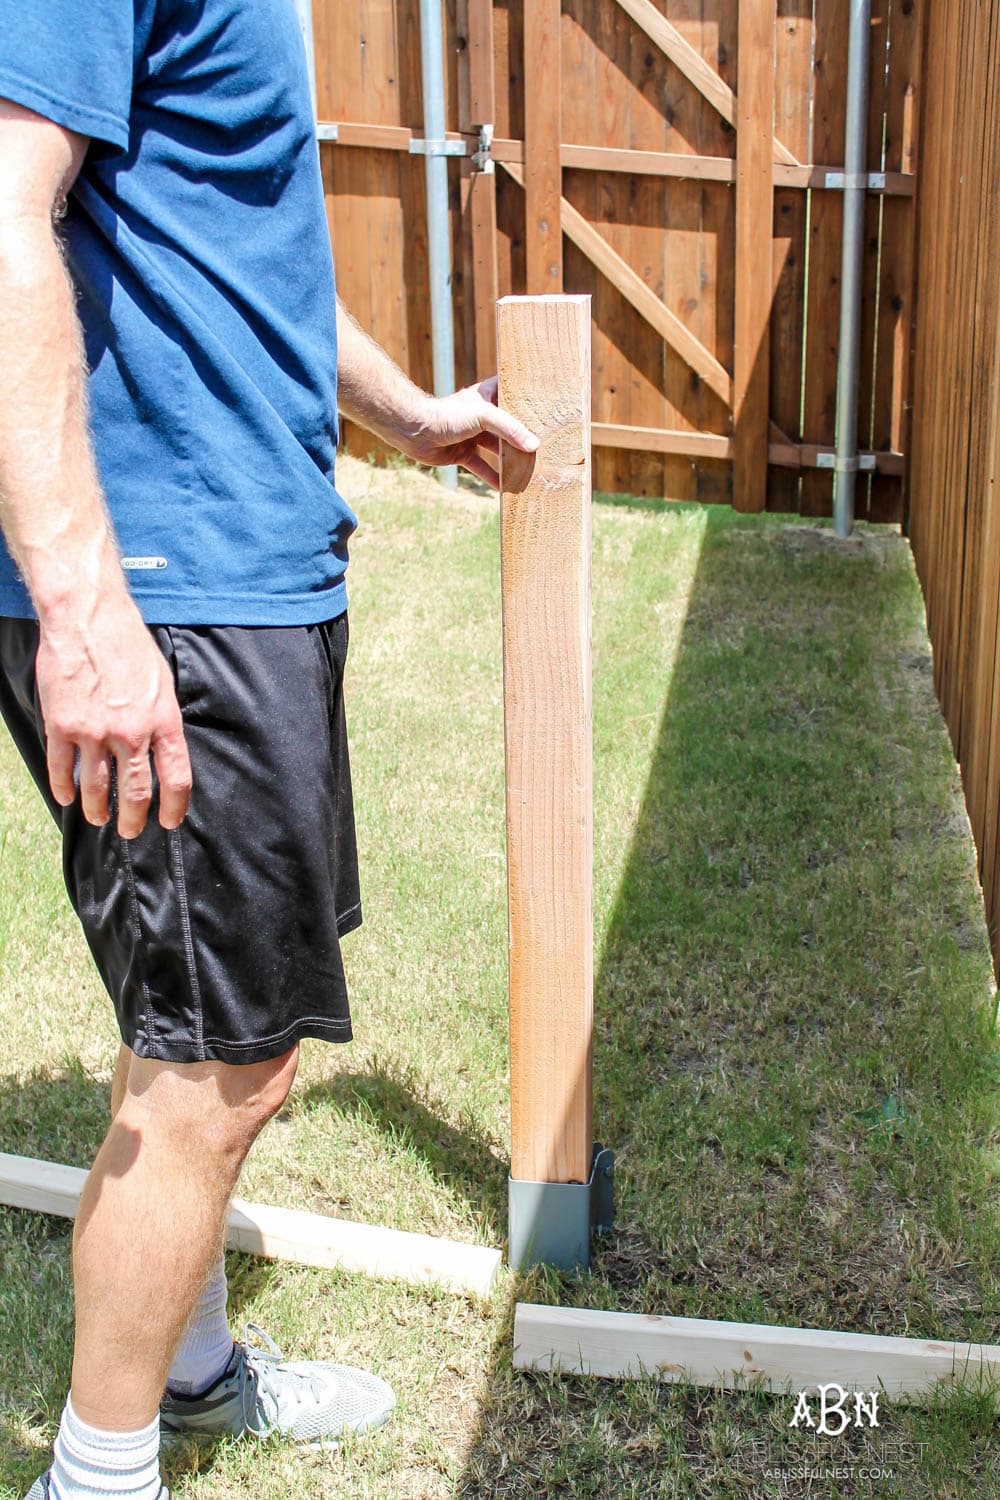
Step 2: Use your 4×4 wood posts and determine the height you would like them. We made ours 42″ tall.
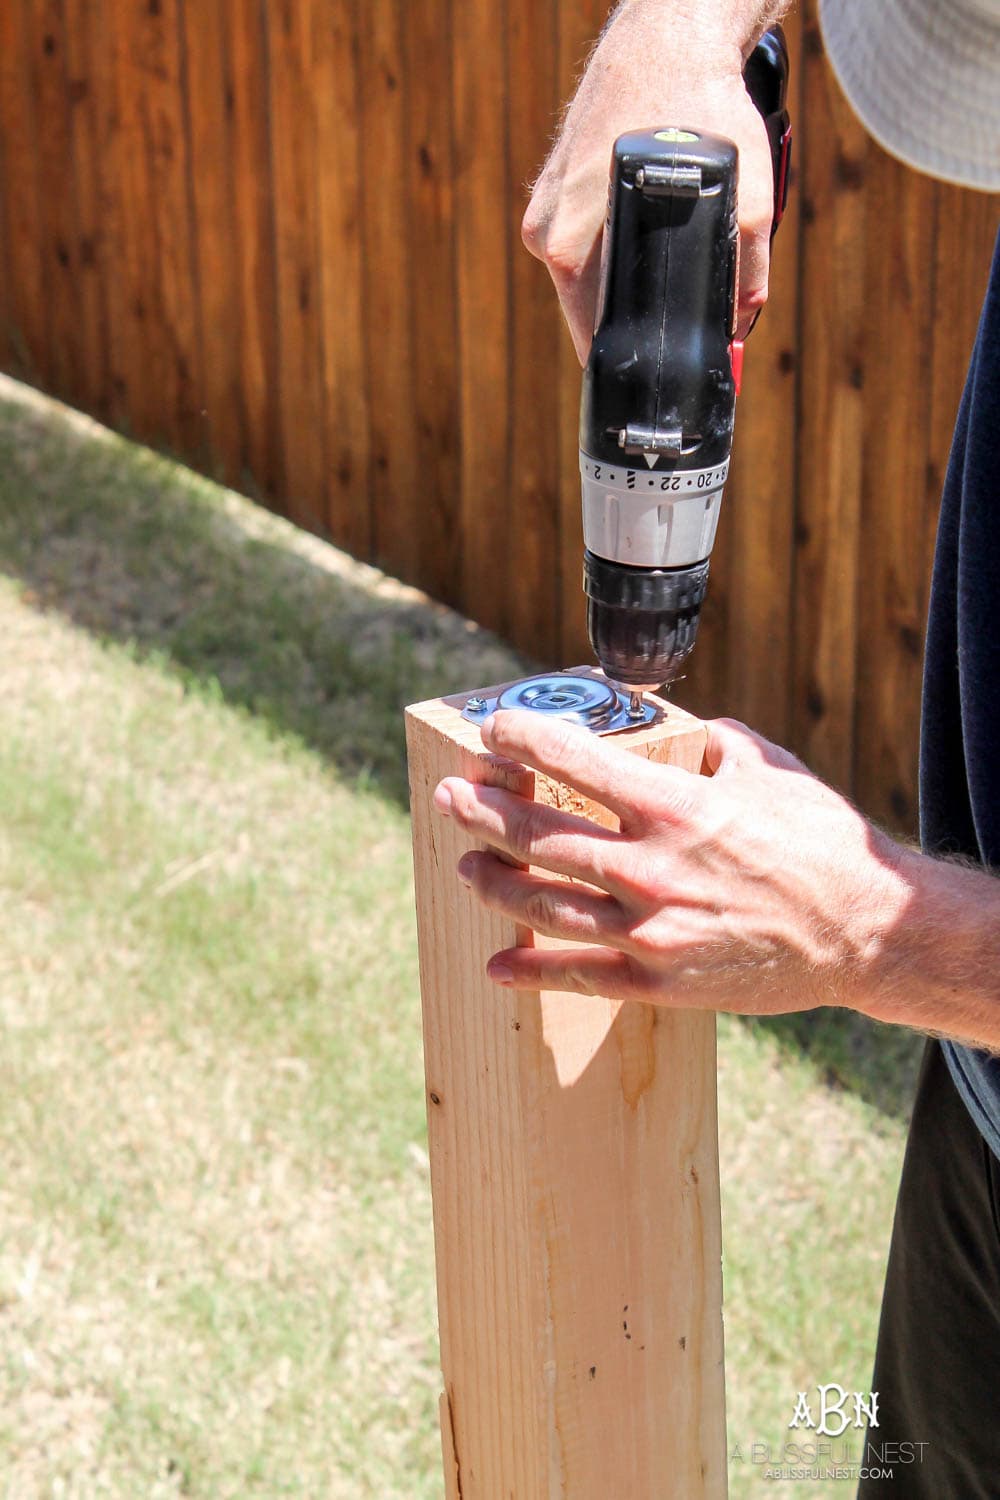
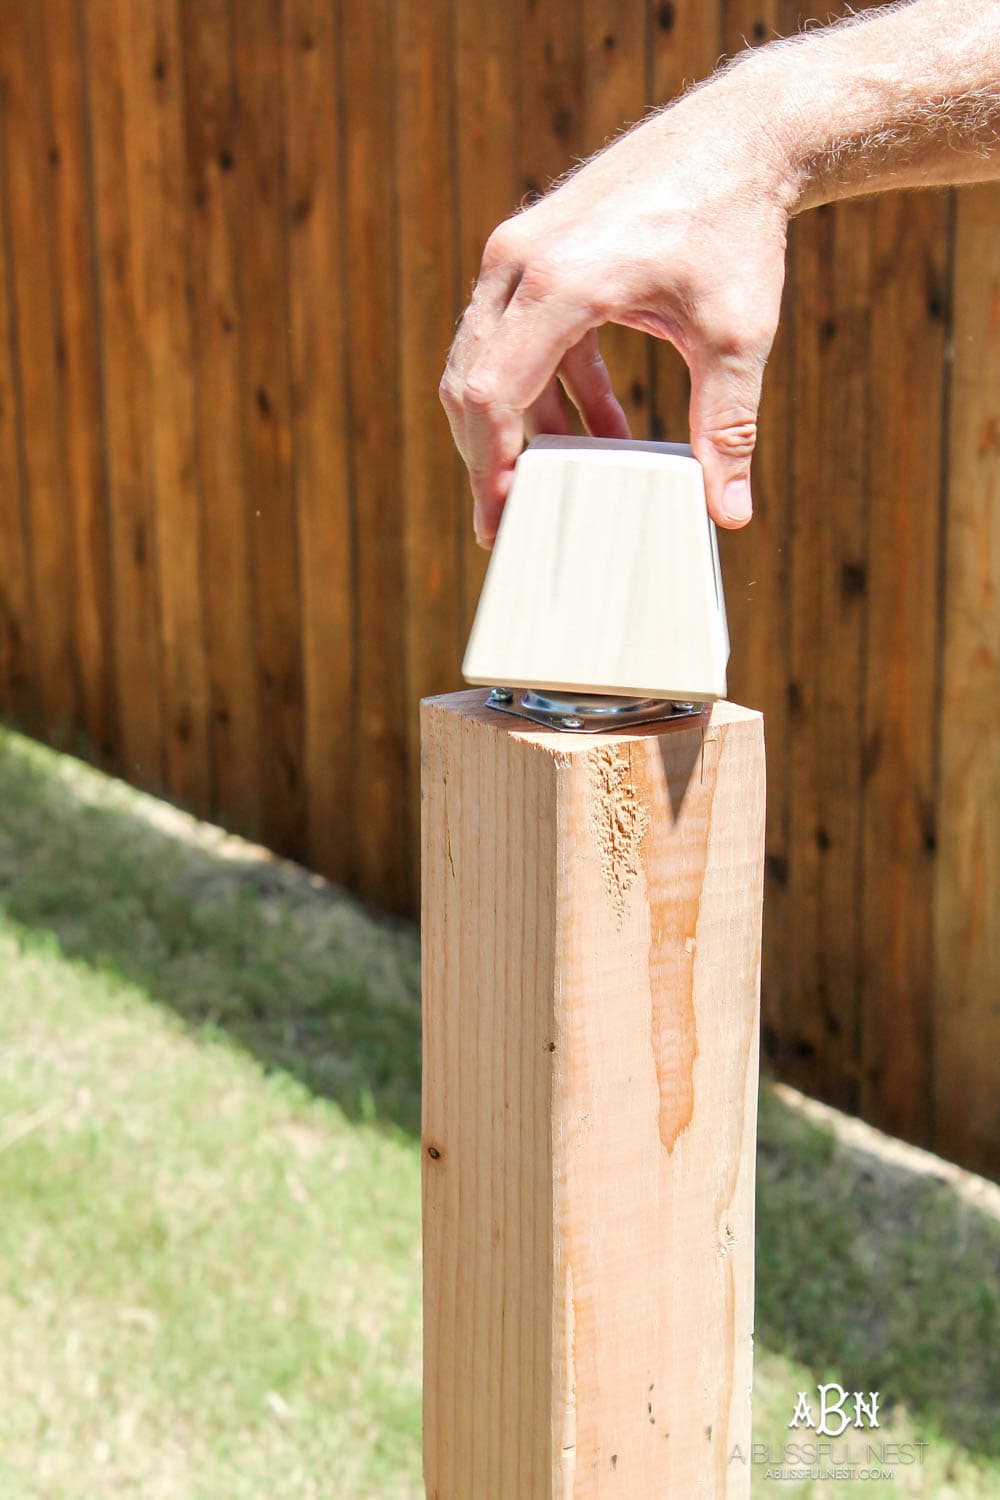
Drill and secure the end caps to your posts.
Step 3: Cut your fence planks to the height you would like them. We cut ours to 40″. Then determine from the top of the fence plank, how far down you would like the horizontal support pieces from the top and the bottom of the planks to run. We made ours 8″ down from the top and 8″ up from the bottom.
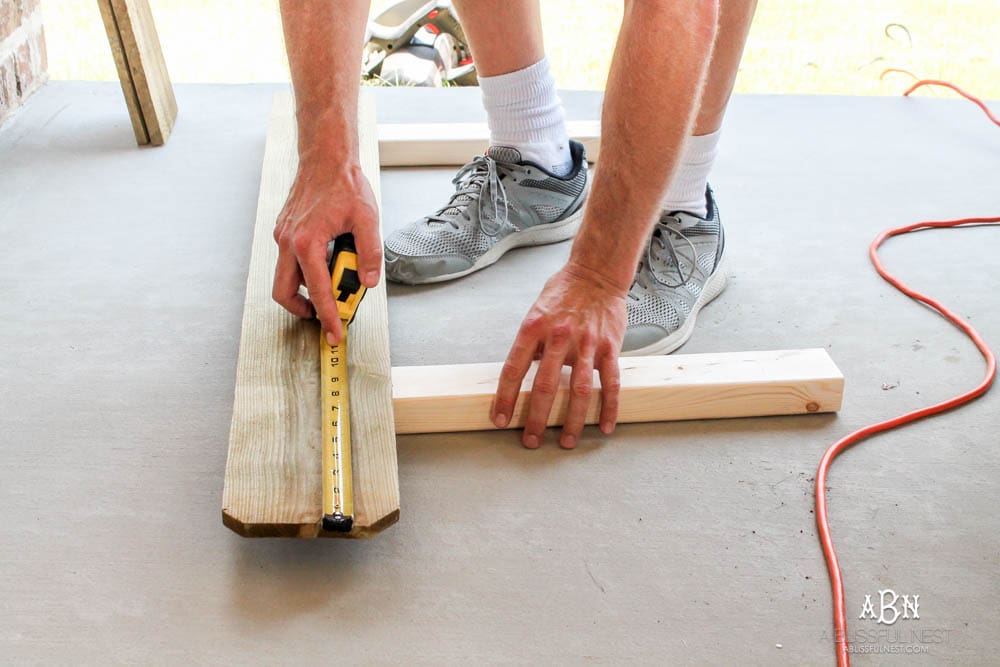
Then lay your planks out and drill them into the horizontal support pieces.
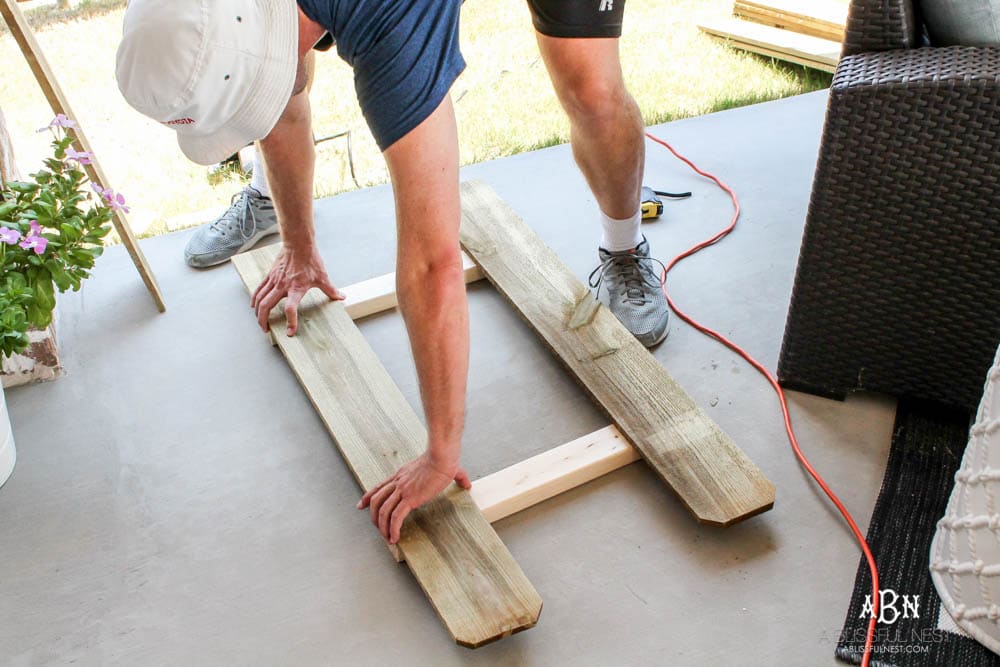
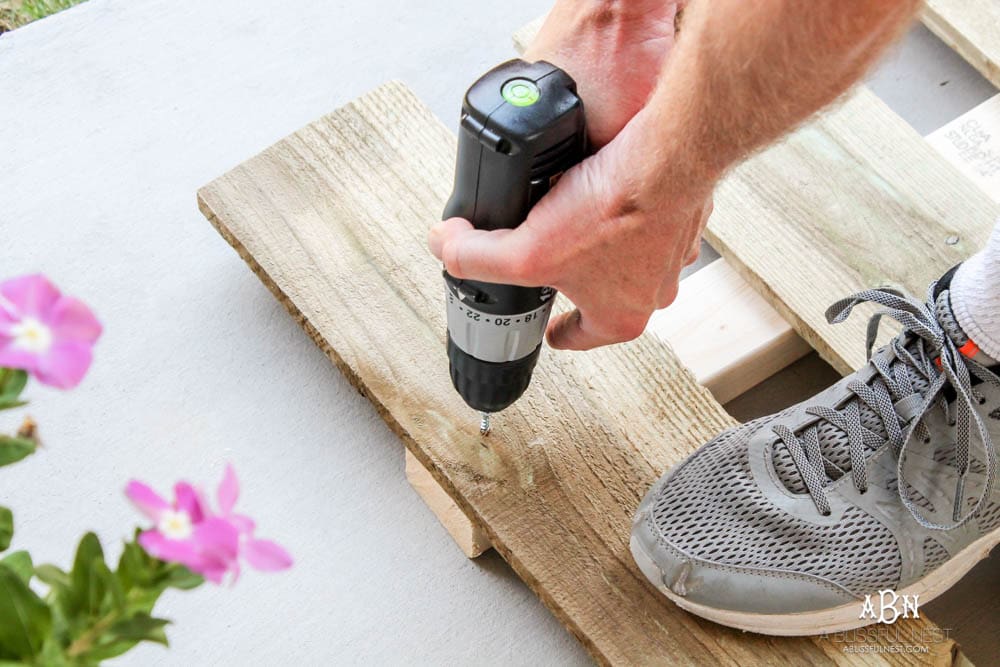
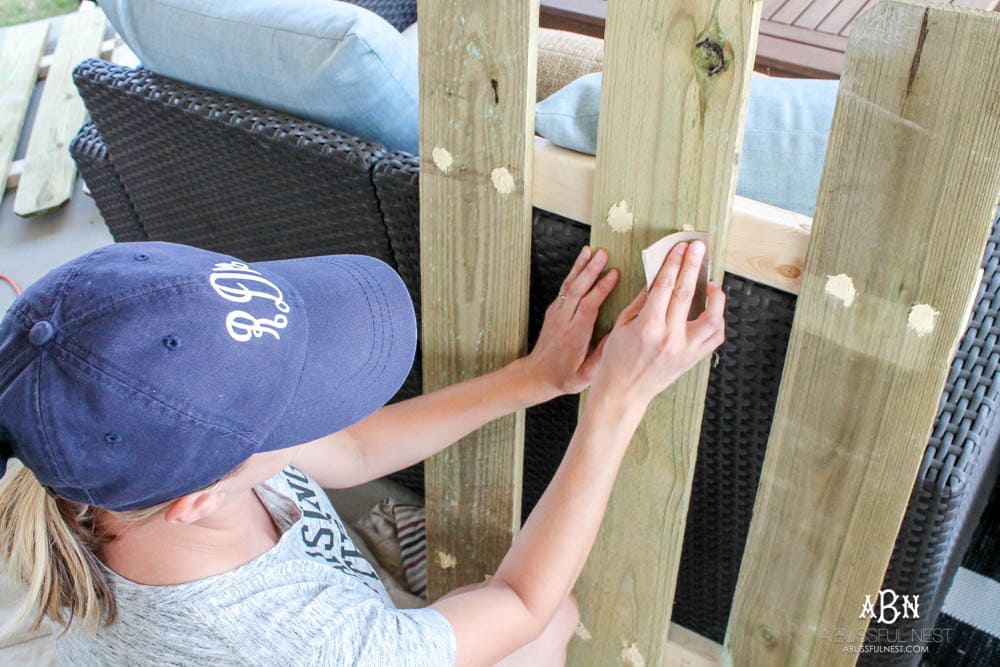
Step 4: Use wood filler and smooth out the screw holes.
Would you like to save this post?
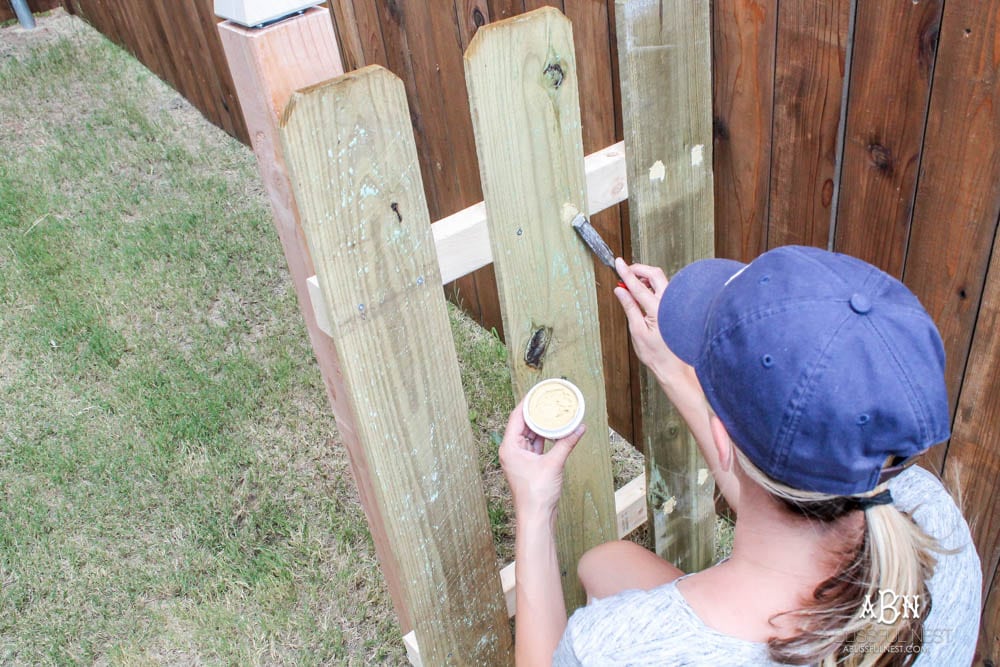
Let it dry according to the package (it took ours 20 minutes to dry) and then sand until it is smooth.
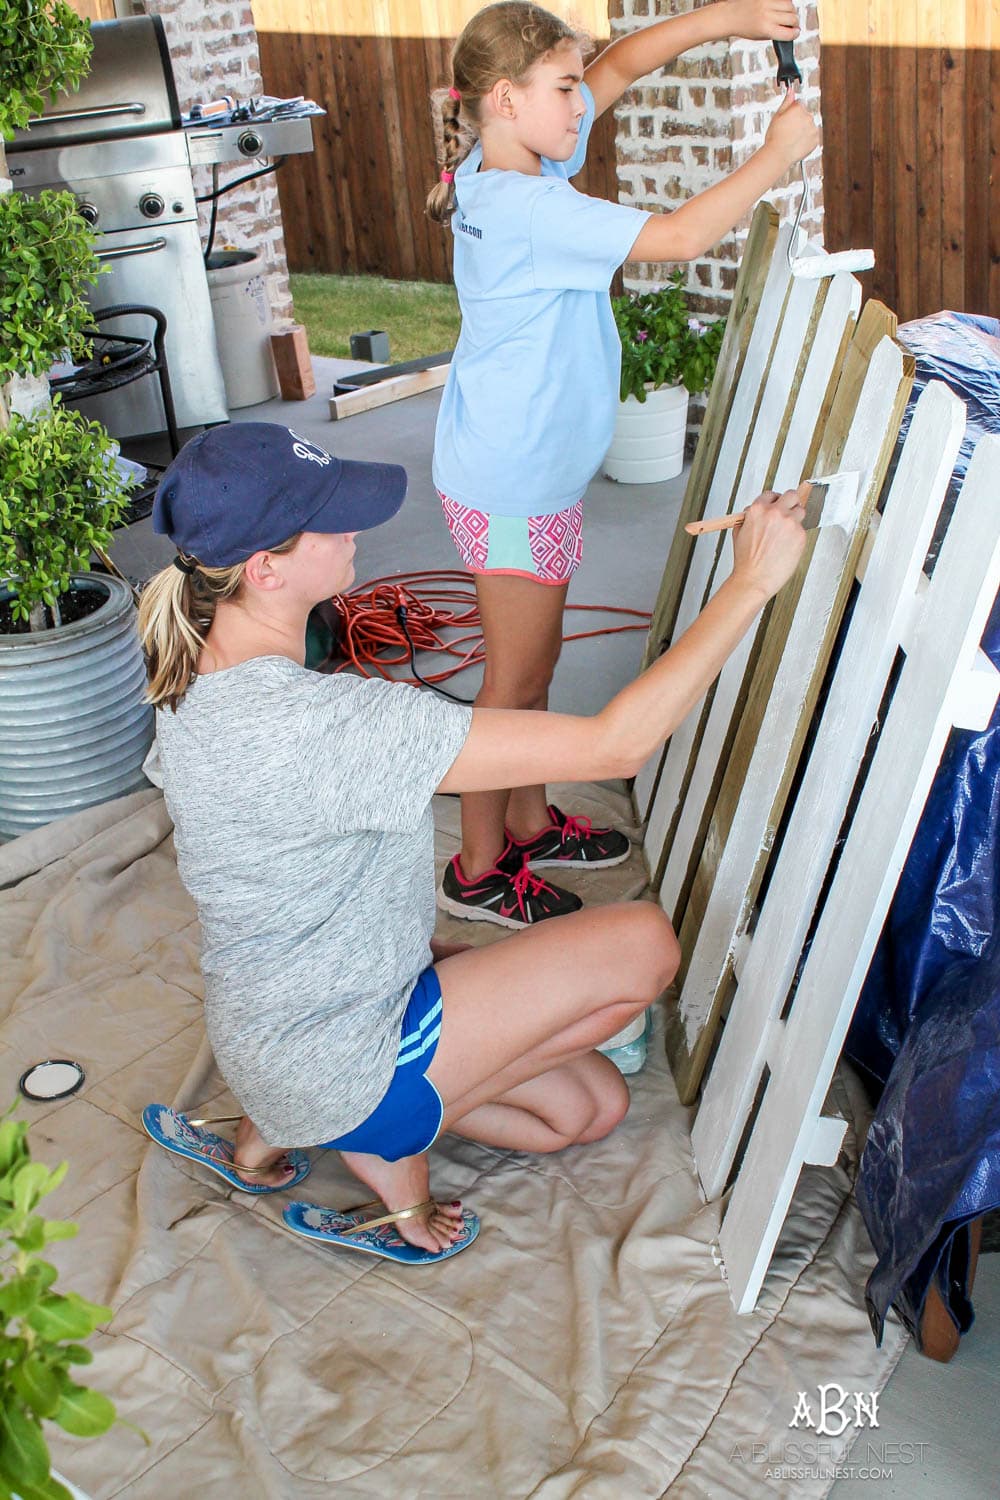
Step 5: Use a semi gloss paint and paint your fence. Let stand and dry and paint a second coat for maximum coverage. I had a little helper that made this quick and fun!
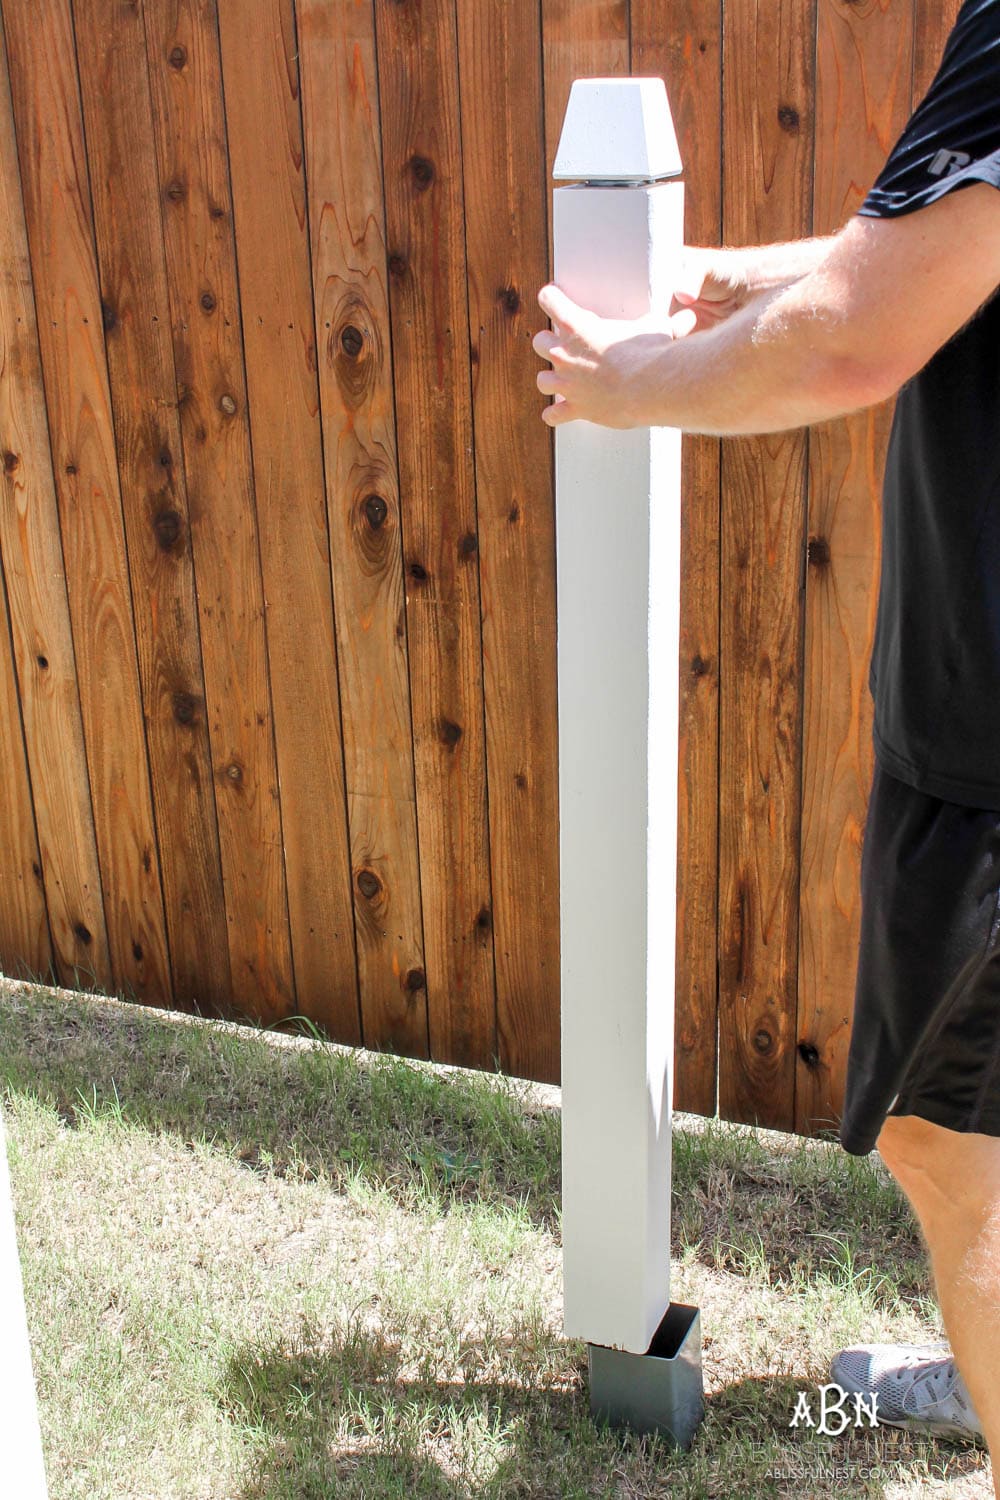
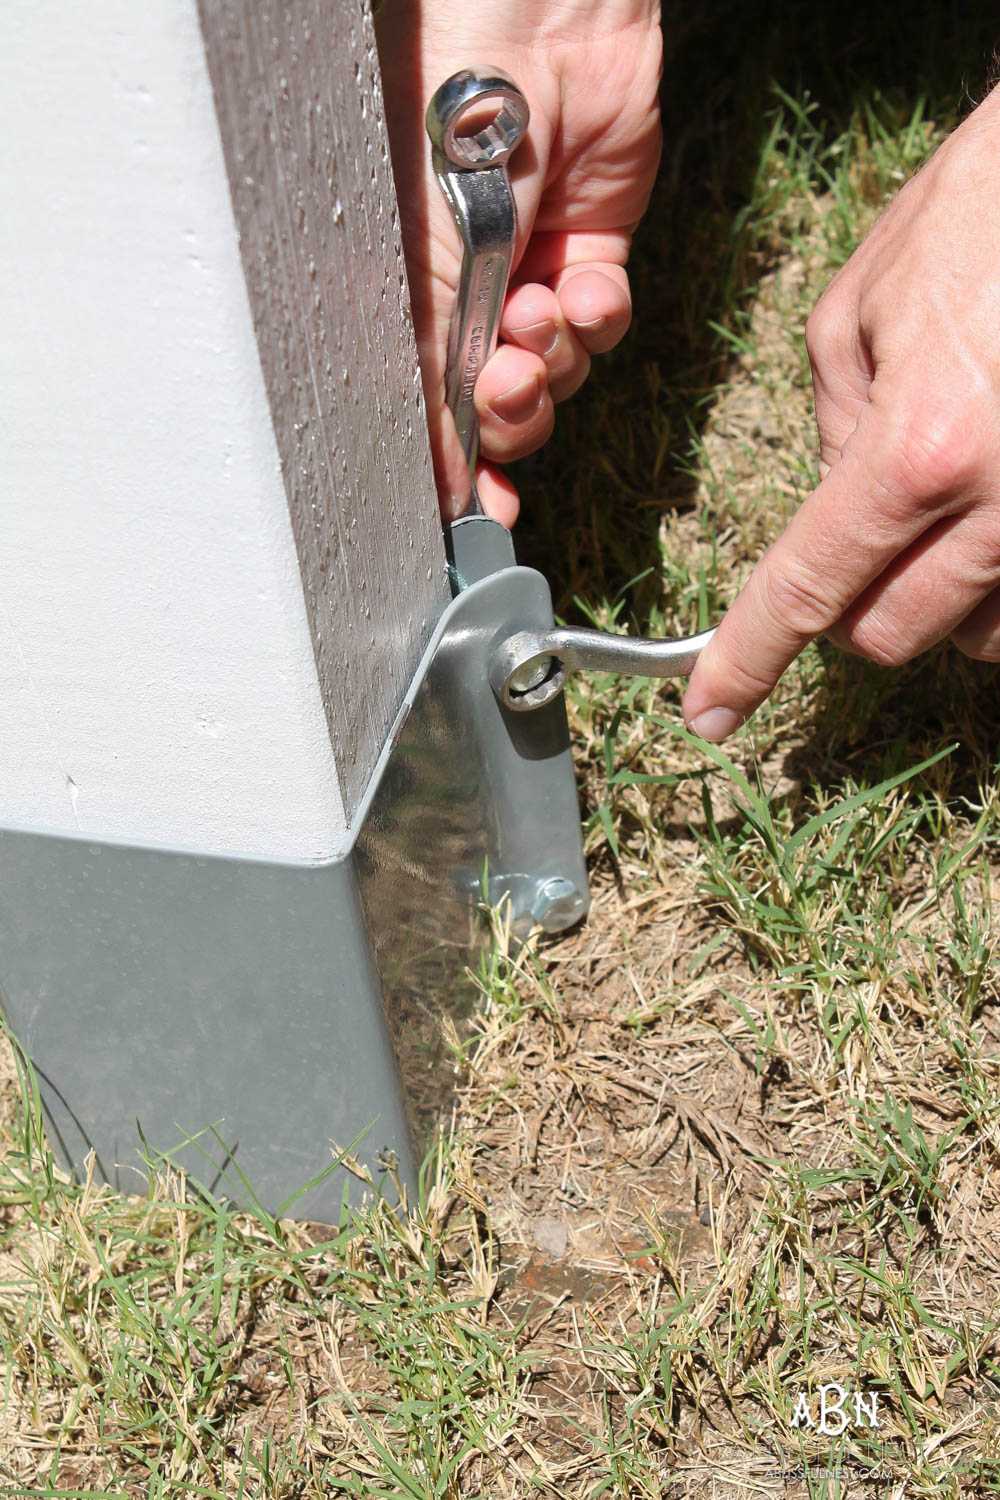
Step 6: Once everything is dry it is time to assemble it all! Place your posts into the post anchors and tighten the bottoms with a wrench.
Step 7: Drill the side panels into the posts. We drilled them to the top and the bottom wood supports.
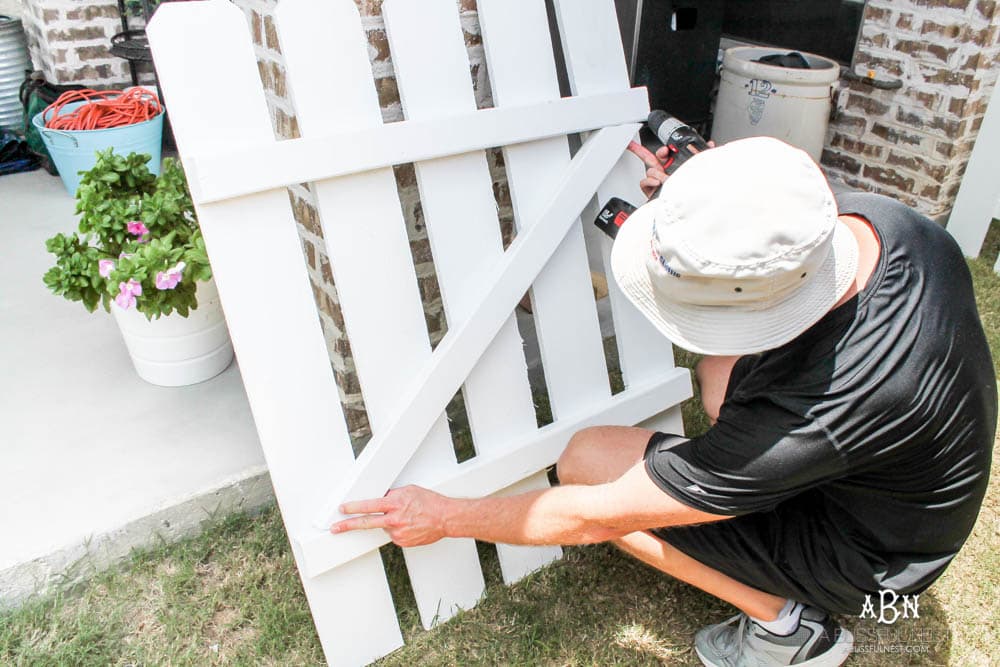
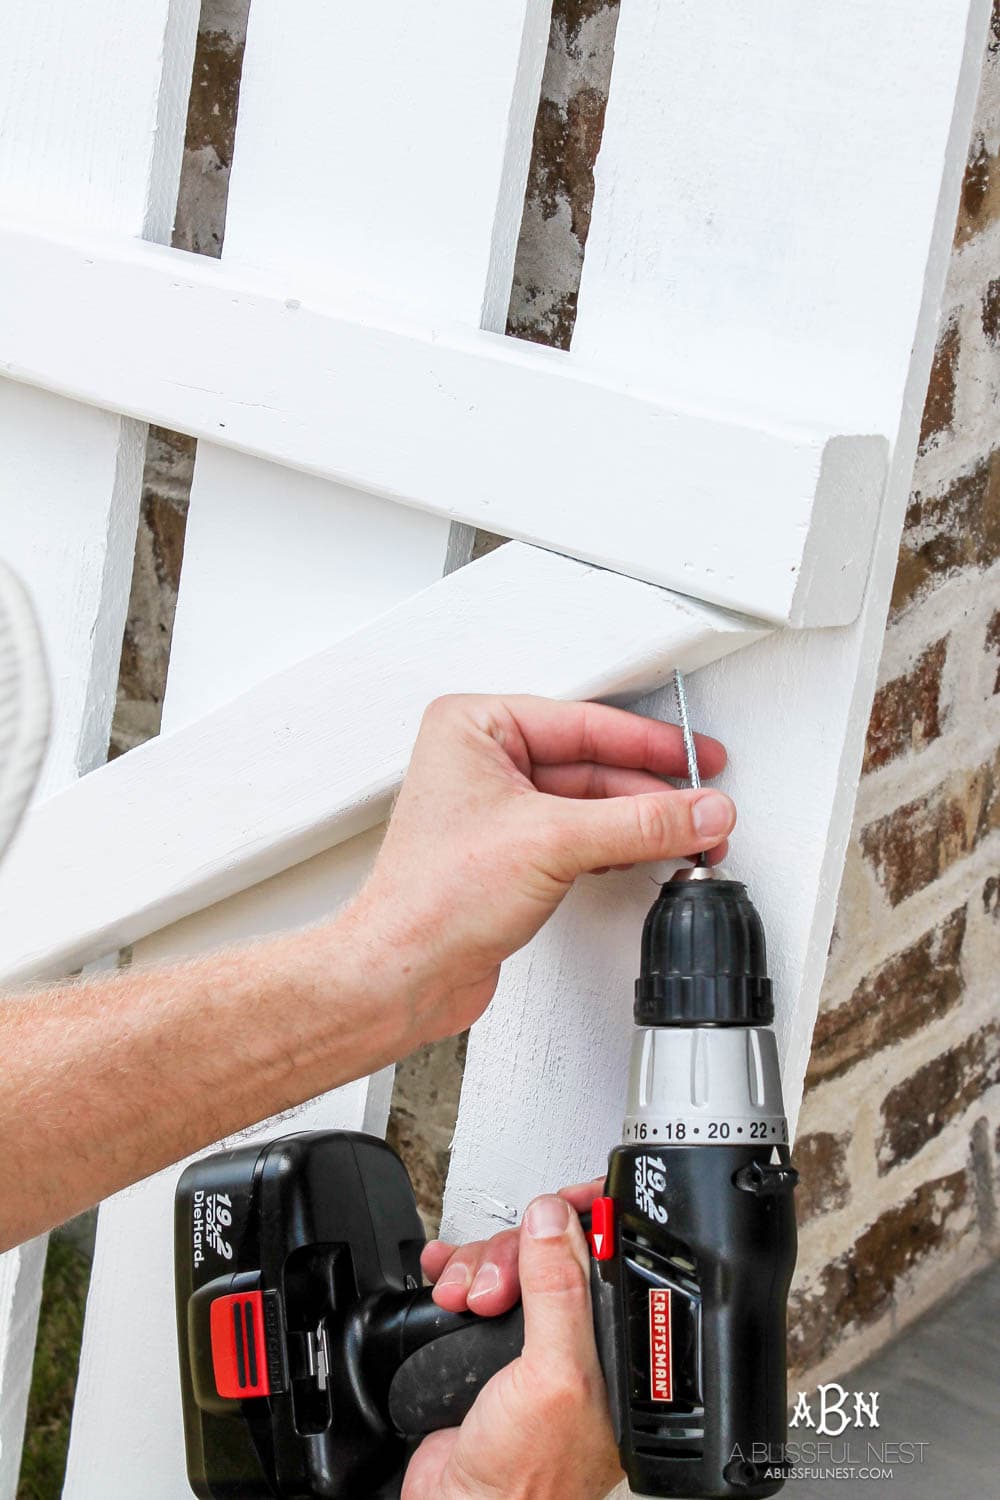
Step 8: Cut and paint a 45 degree angled wood support for the main middle gate section. Then at an angle, drill screws into the top and bottom into the back supports of the panels.
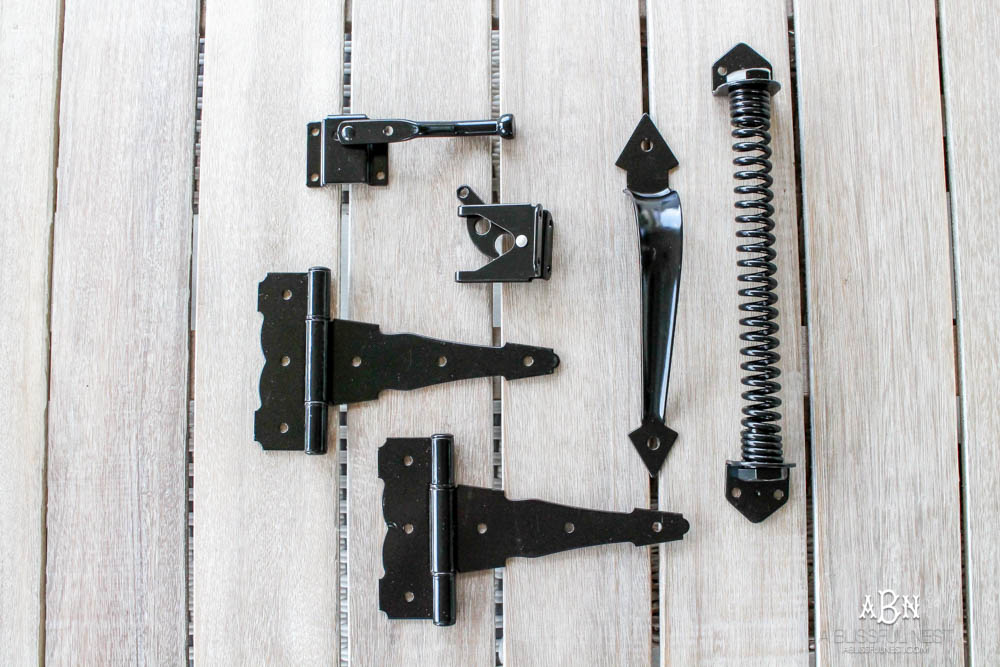
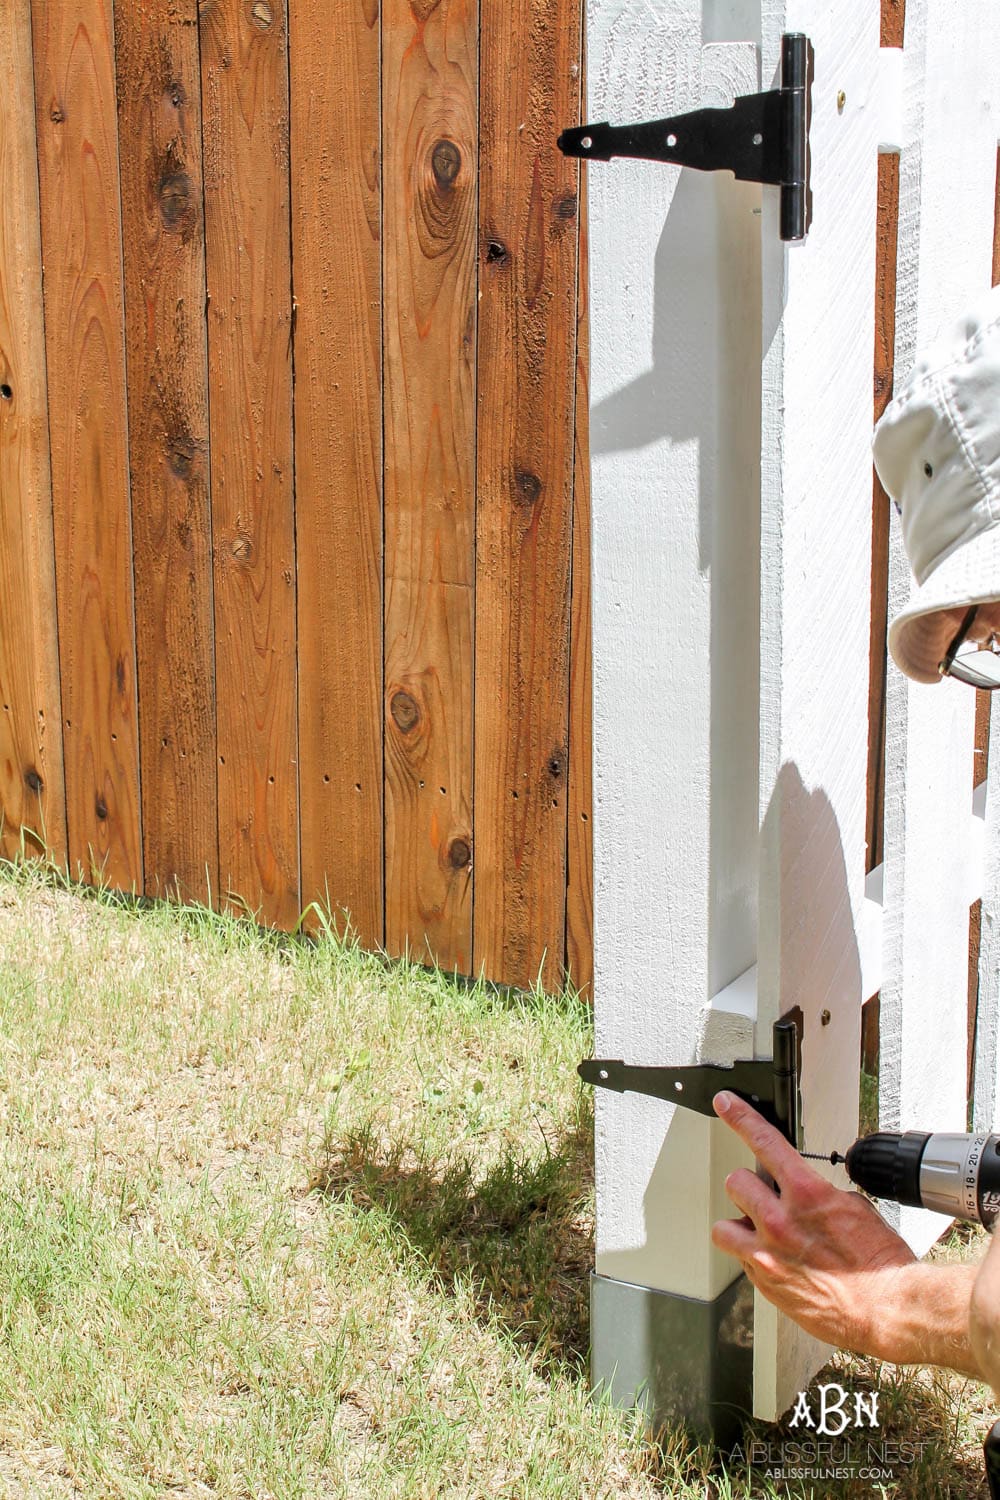
Step 9: Now it’s time to get out your beautiful gate hardware from National Hardware! Drill the hinges onto the side panel opposite where your door swing will be.
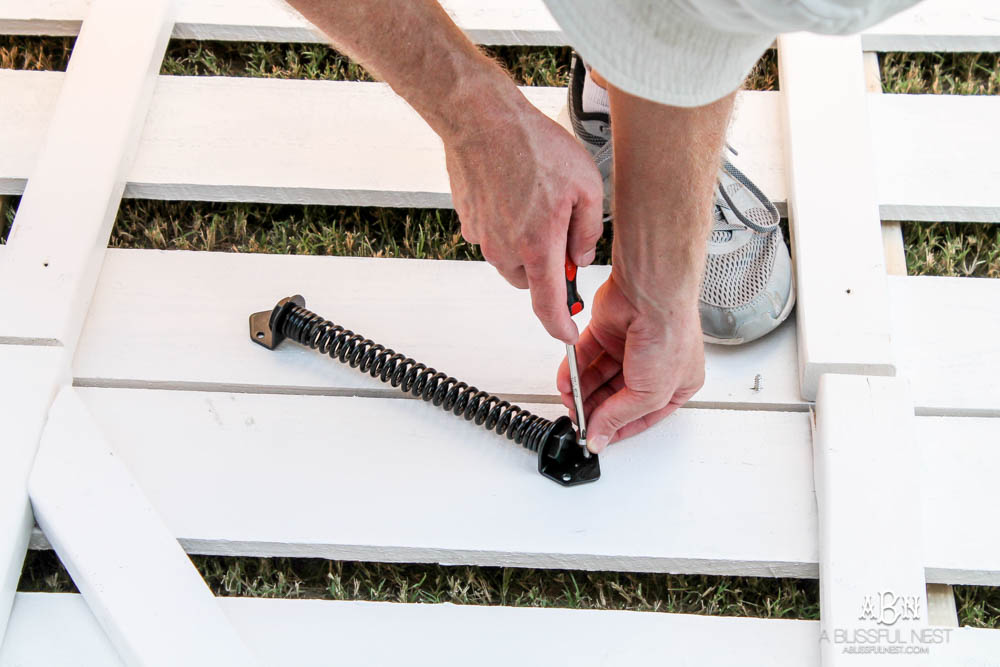
Drill the gate spring at an angle from the middle panel to the side panel that just got the side hinges. You may want to lay your pieces flat to do this or you can do this once the panels are installed.
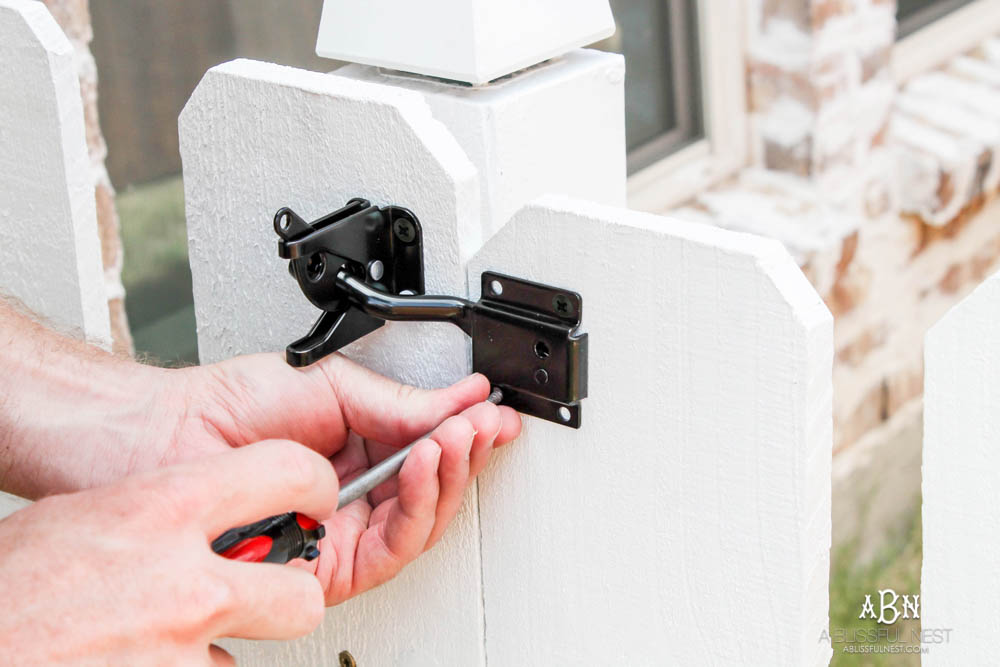
Lastly, drill and install the gate latch on the opposite side of the hinges.
And you are done!
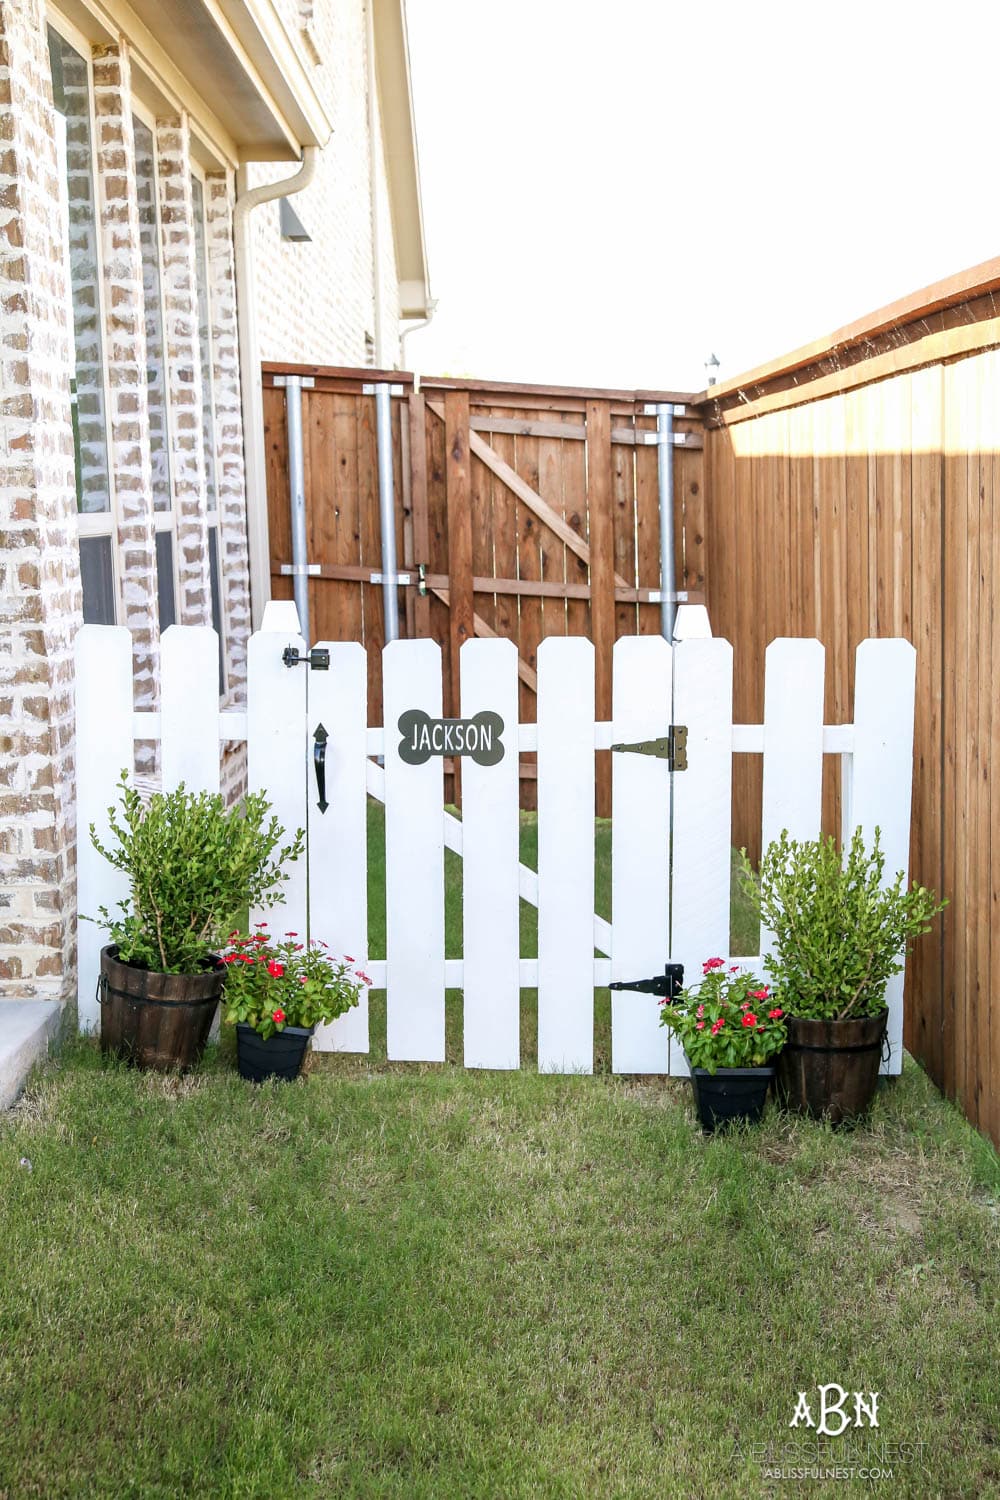
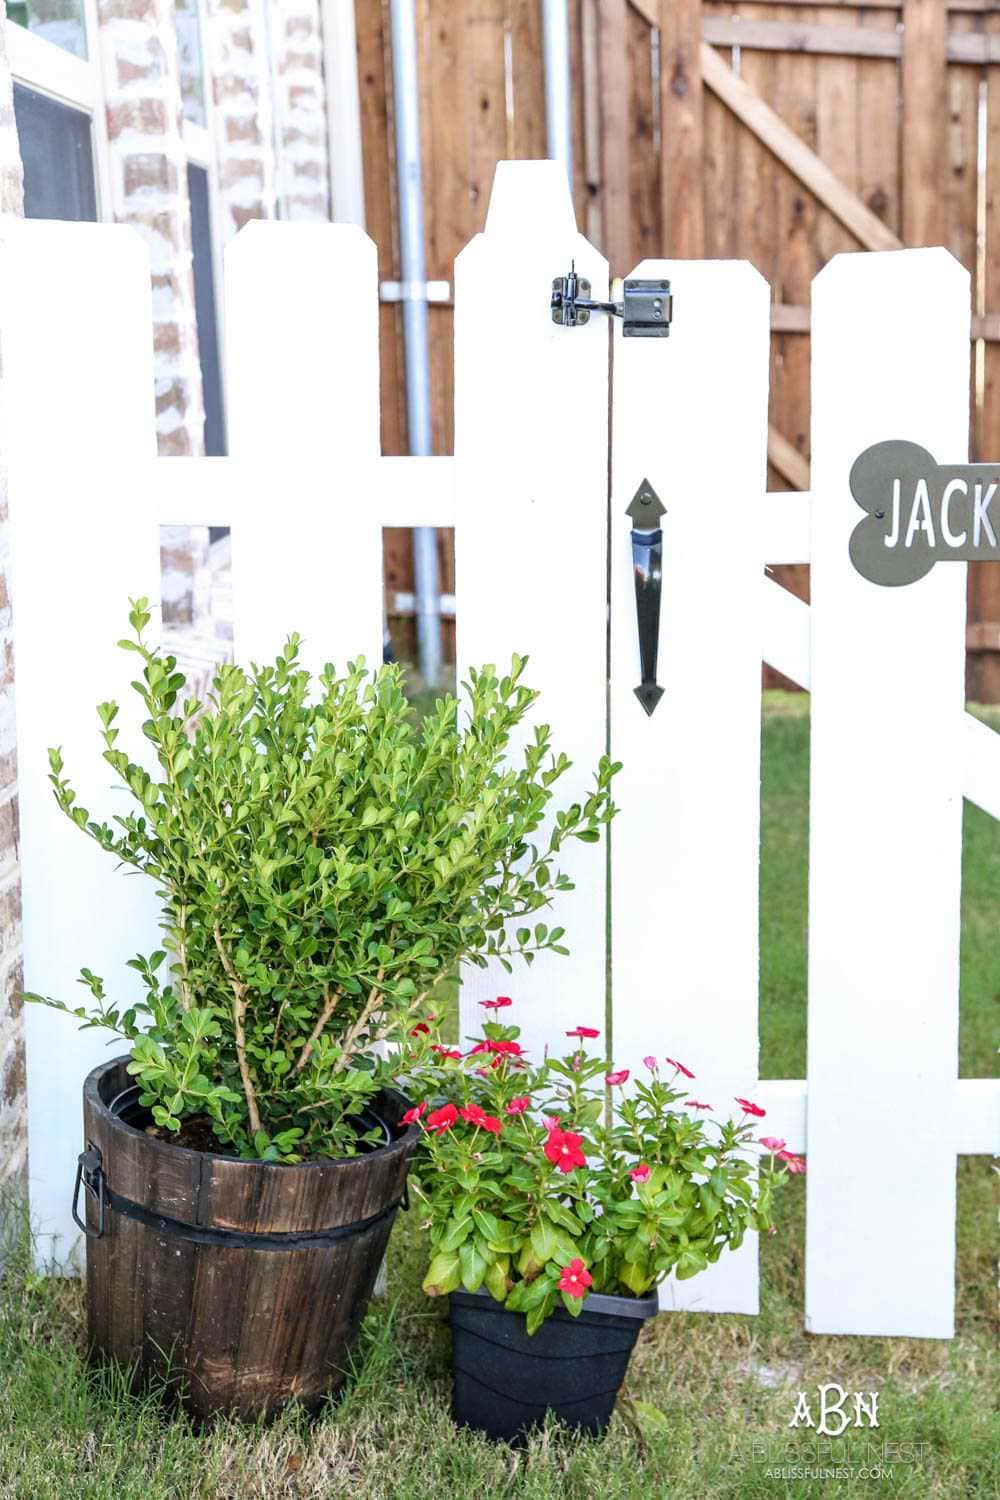
As you can see our gate hardware from National Hardware was the perfect touch for our DIY dog gate. I love that it comes in a set with everything you need. It is beautiful and heavy and super durable.
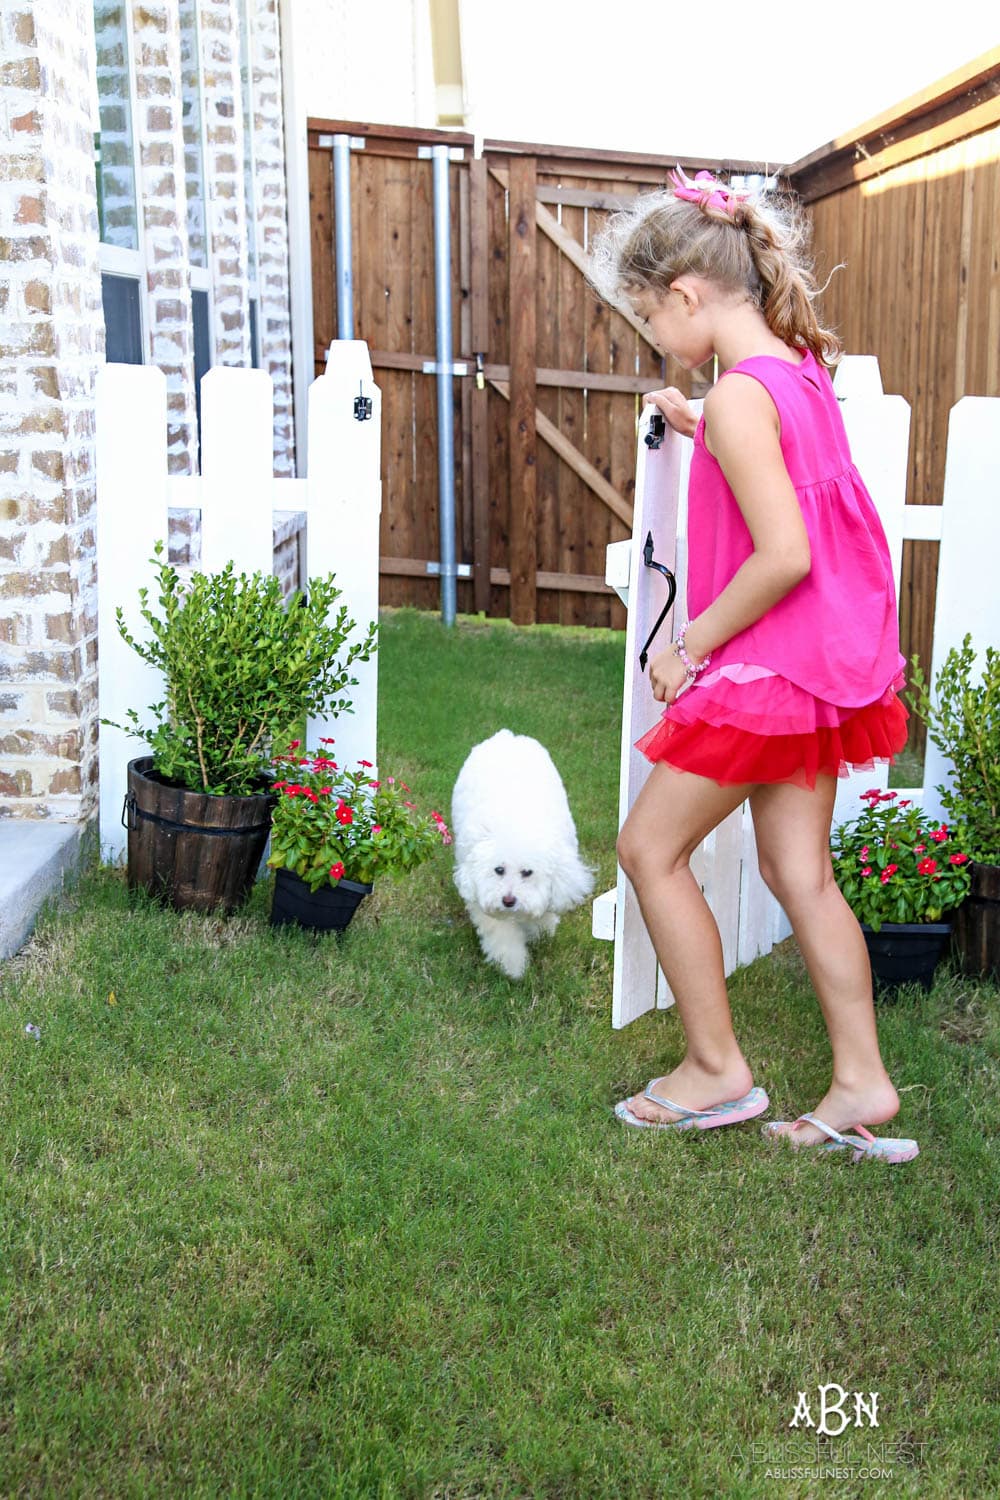
Even better, Lauren likes to “take the do out” now because she thinks the dog gate is fun to use. Love the help!
Make sure to check out National Hardware on their website, Facebook, Instagram, Pinterest and Twitter.
THIS IS A SPONSORED POST. A BLISSFUL NEST HAS RECEIVED PAYMENT, TRADE, AND/OR PRODUCTS FROM NATIONAL HARDWARE IN EXCHANGE FOR PROMOTING. HOWEVER, ALL OPINIONS STATED ARE OUR OWN.


