Ideas By Project
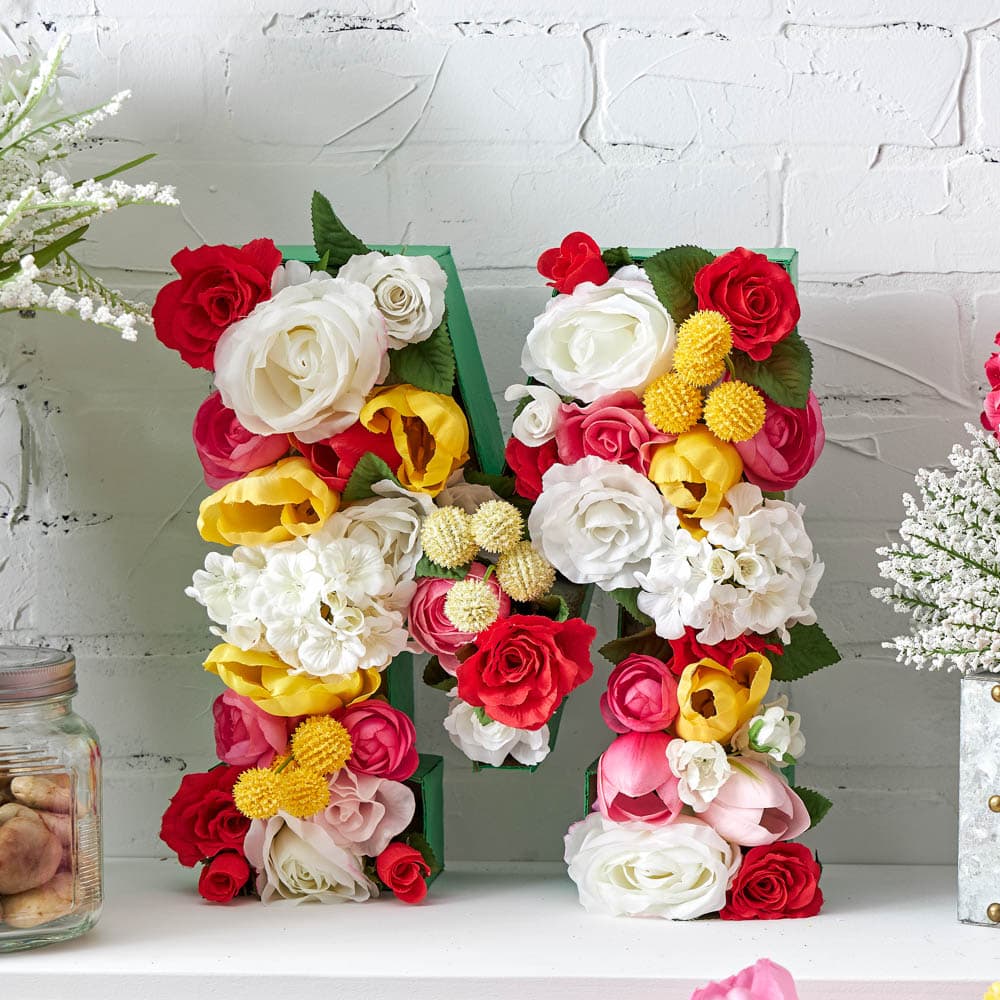
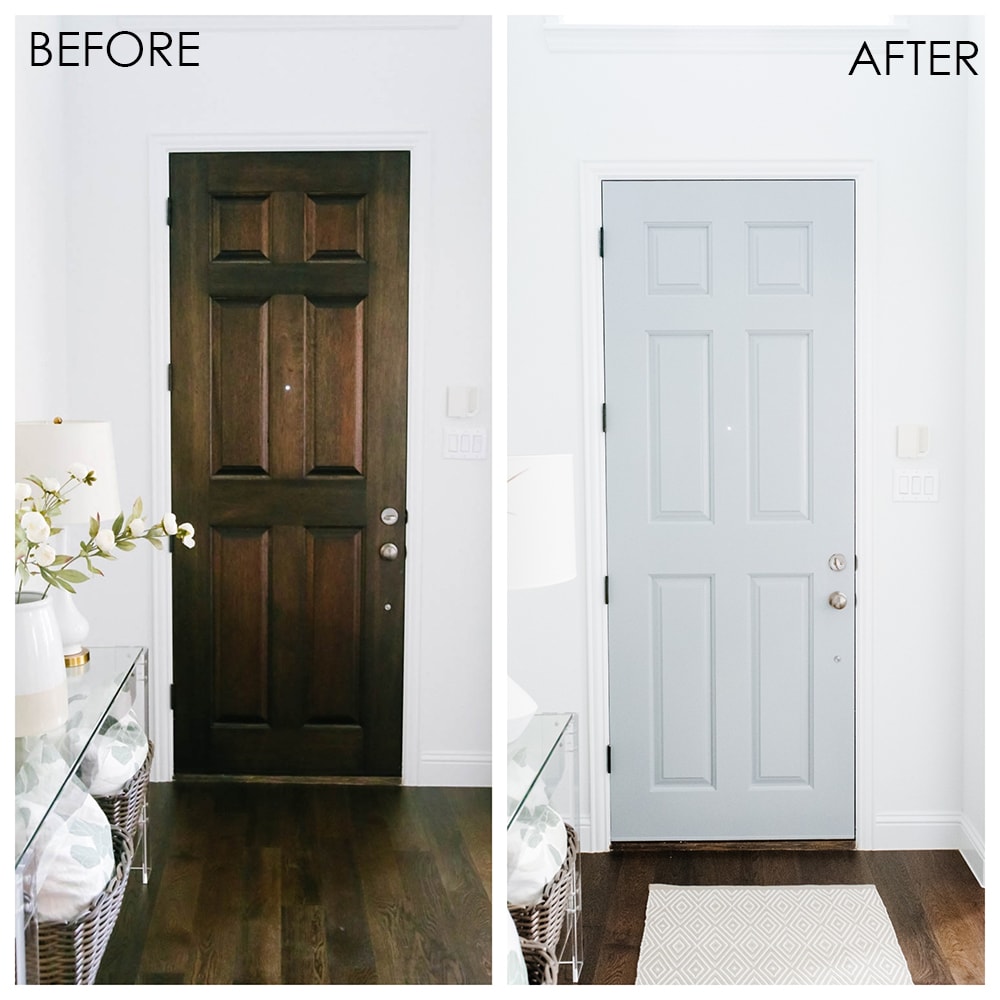
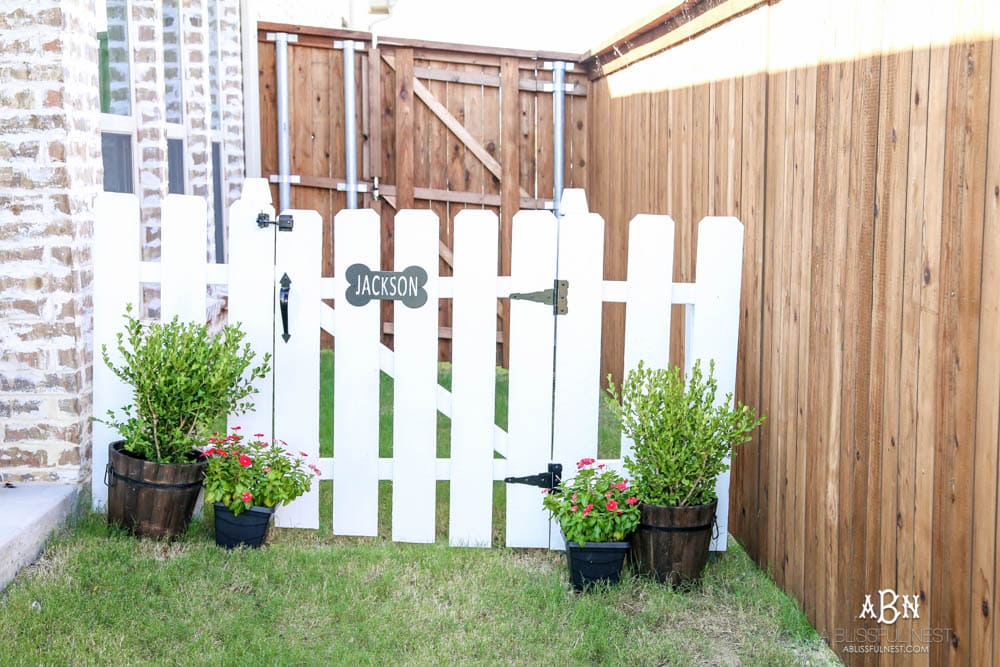
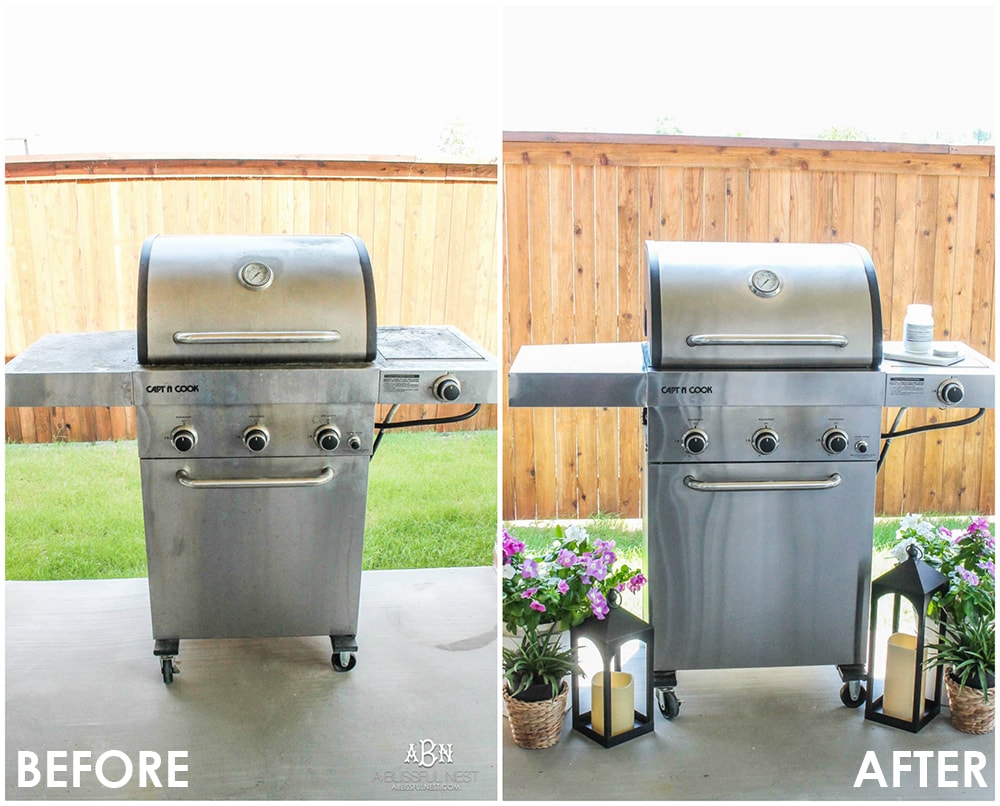
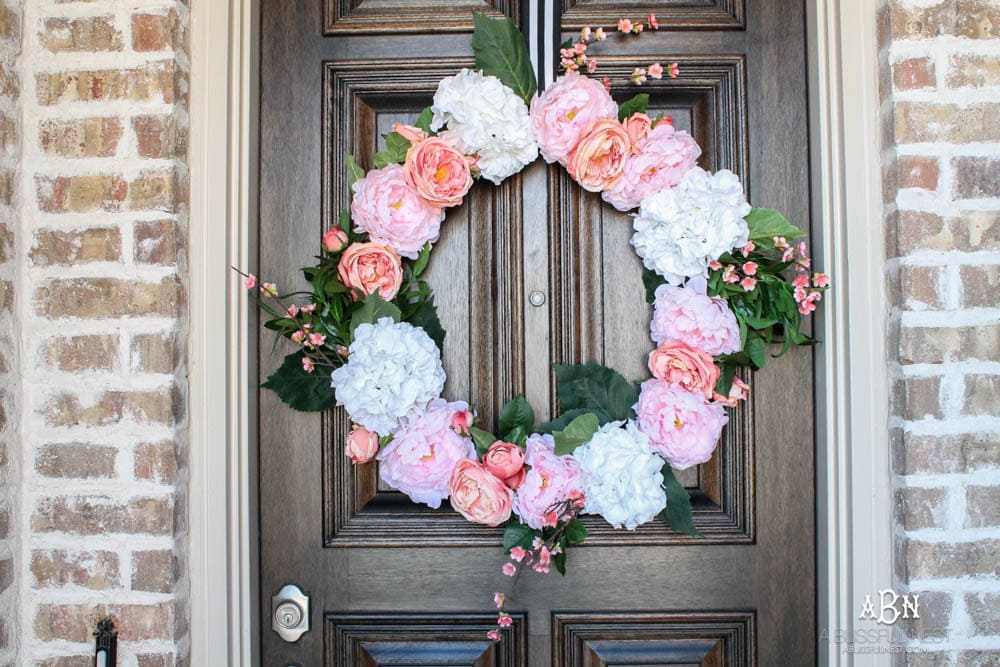
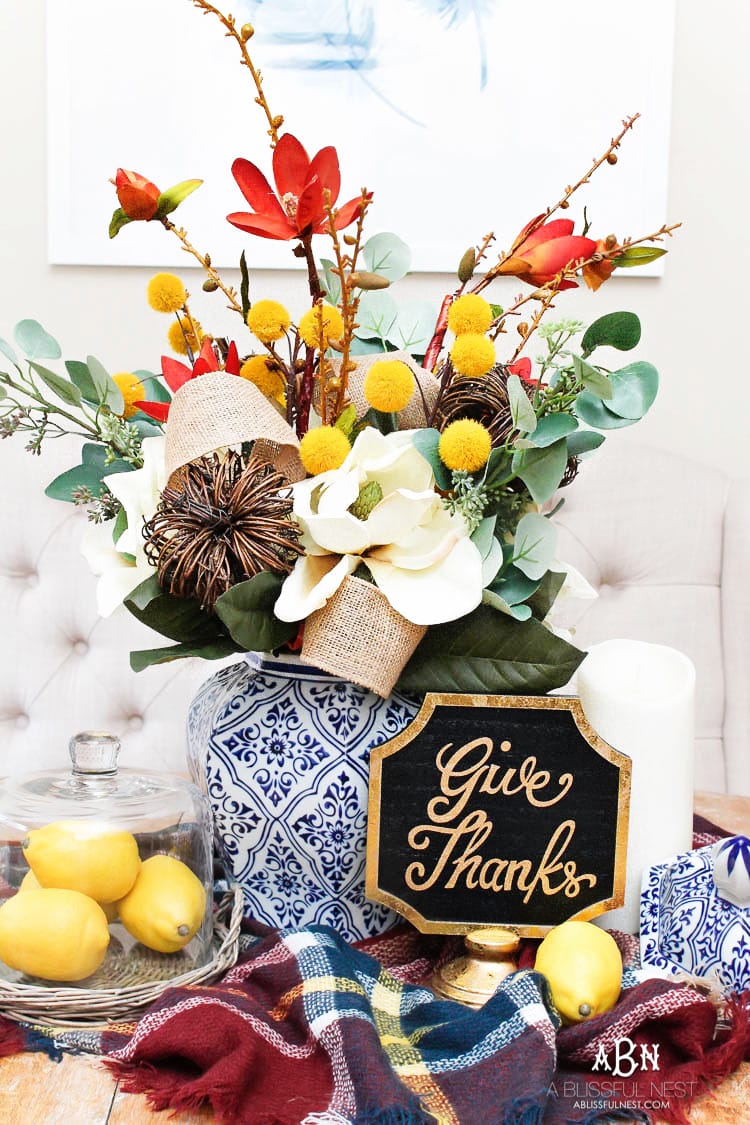
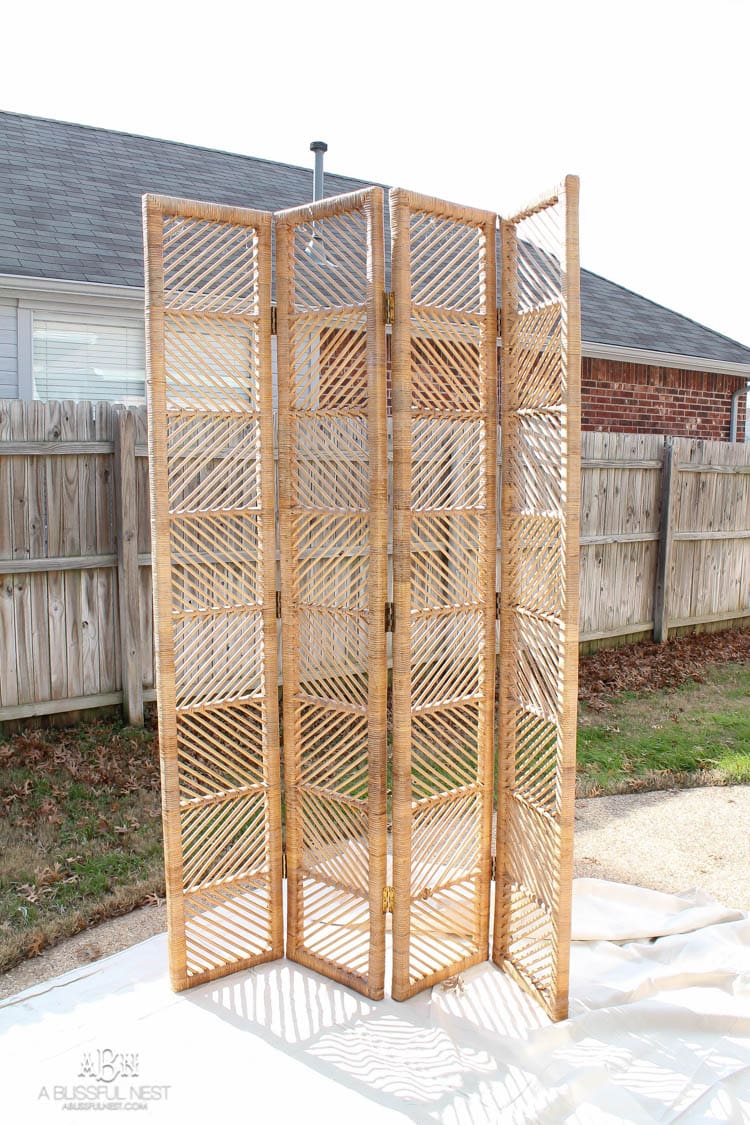
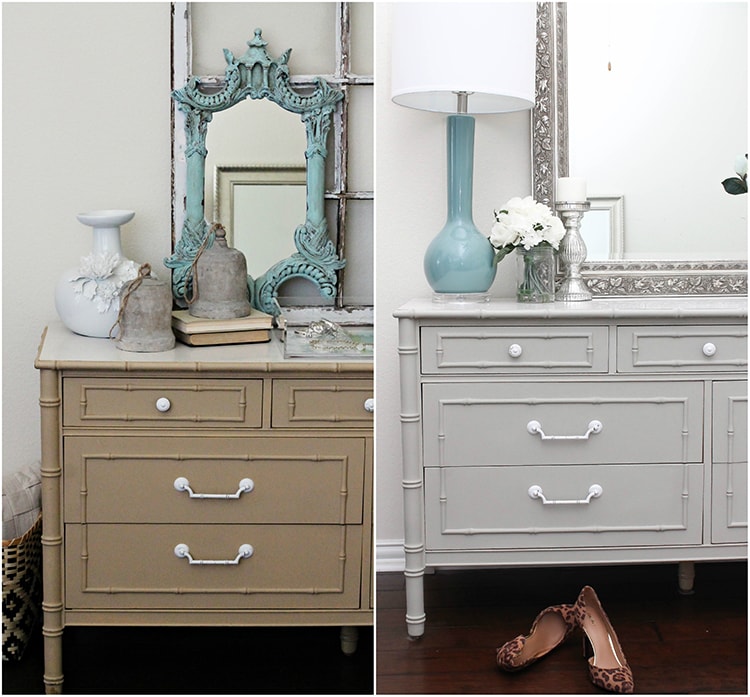
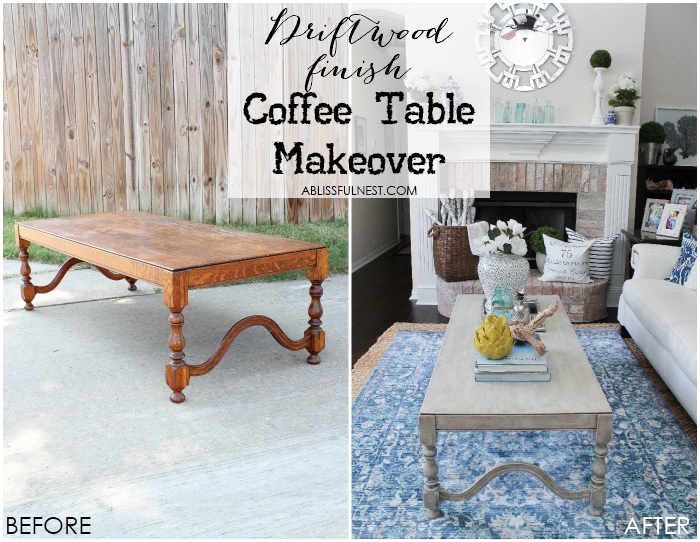
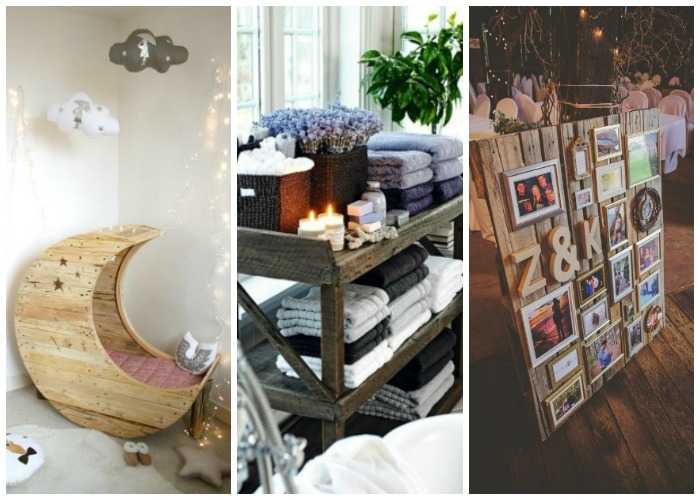
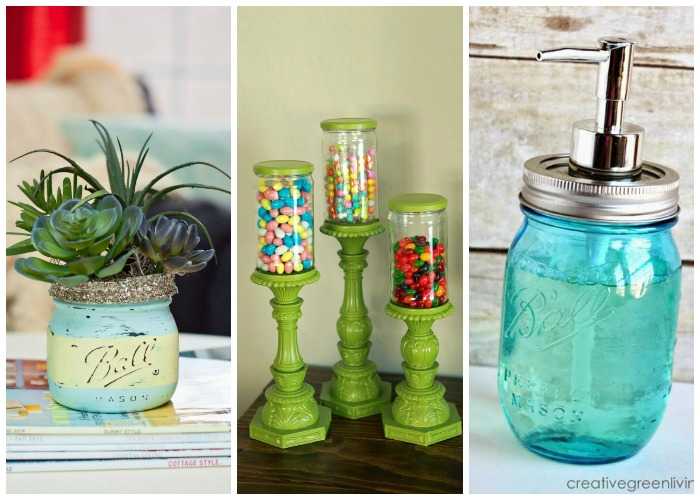
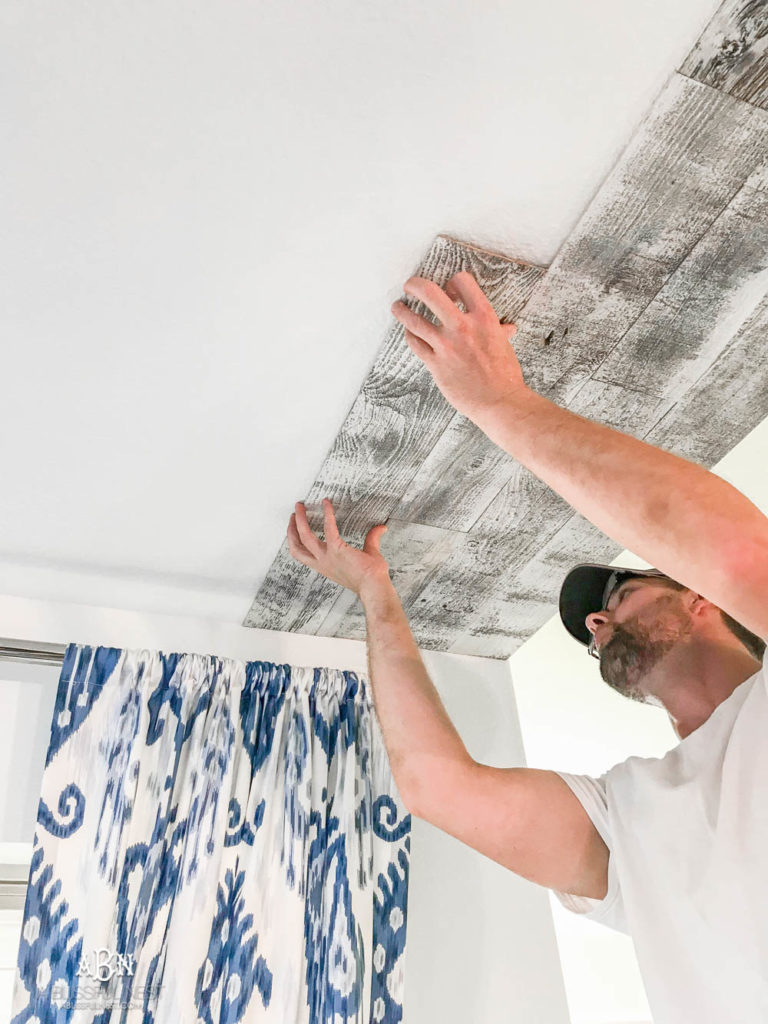
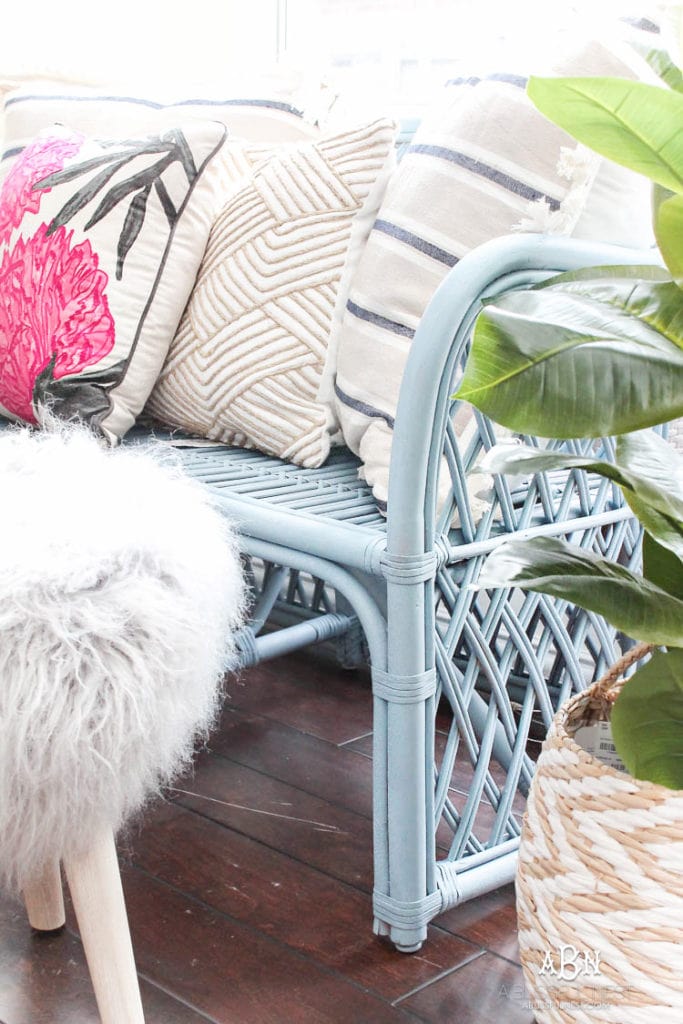
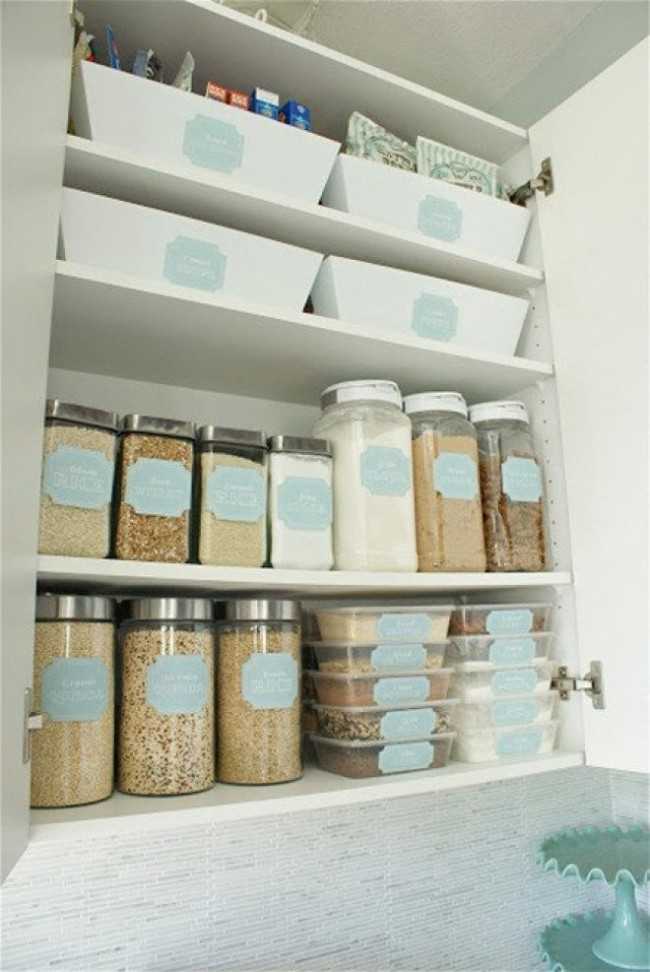
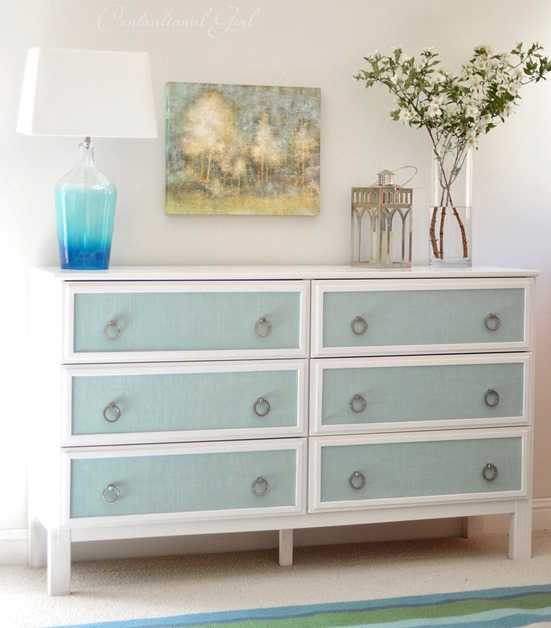
DIY tutorials + projects anyone can do! Get your craft on and use these tutorials to learn how to makeover furniture, create beautiful home decor pieces, learn how to use the most popular paint colors, and utilize our free download library!
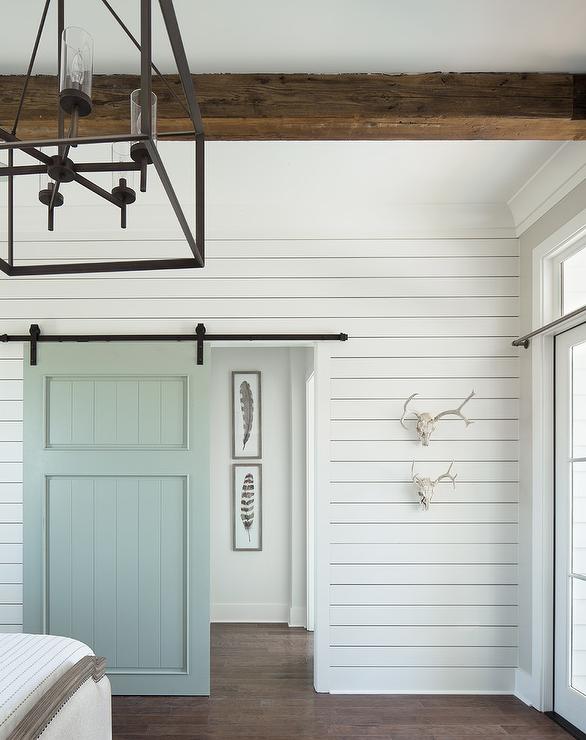
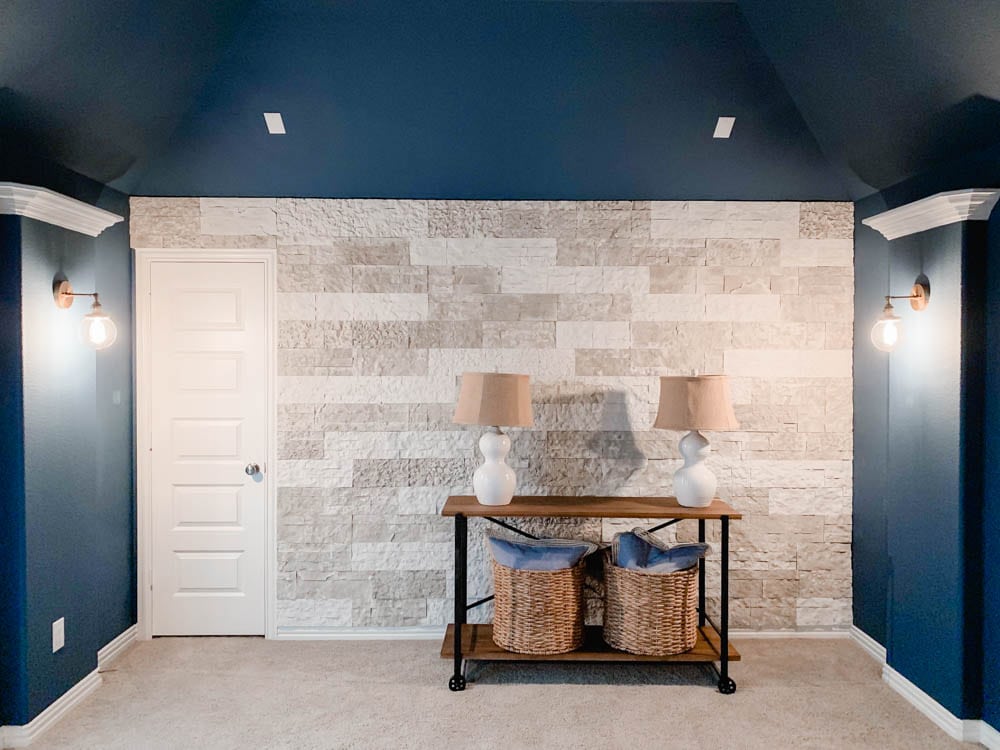
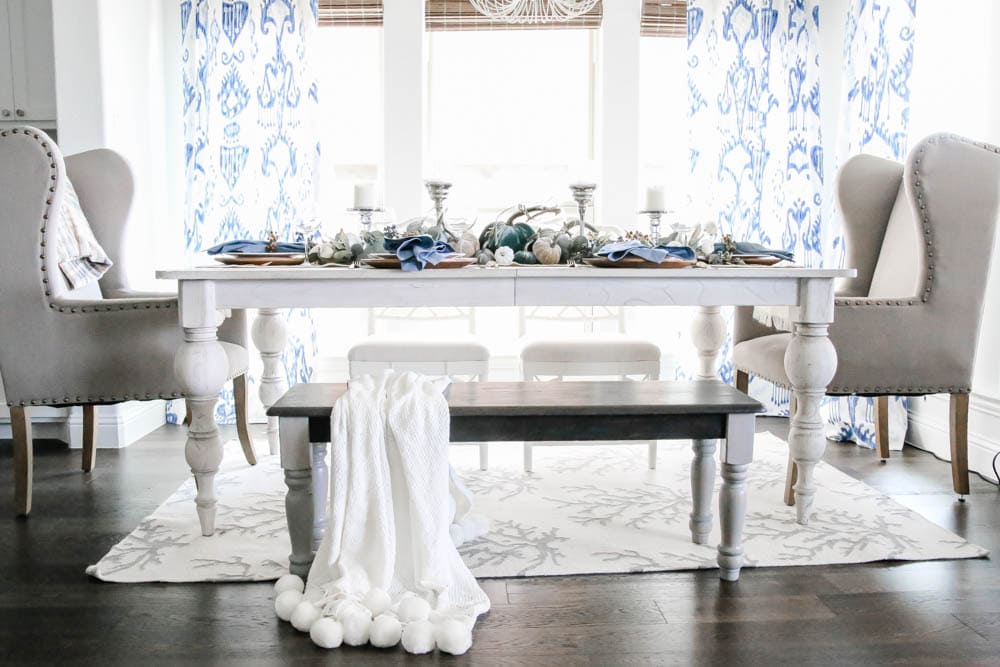
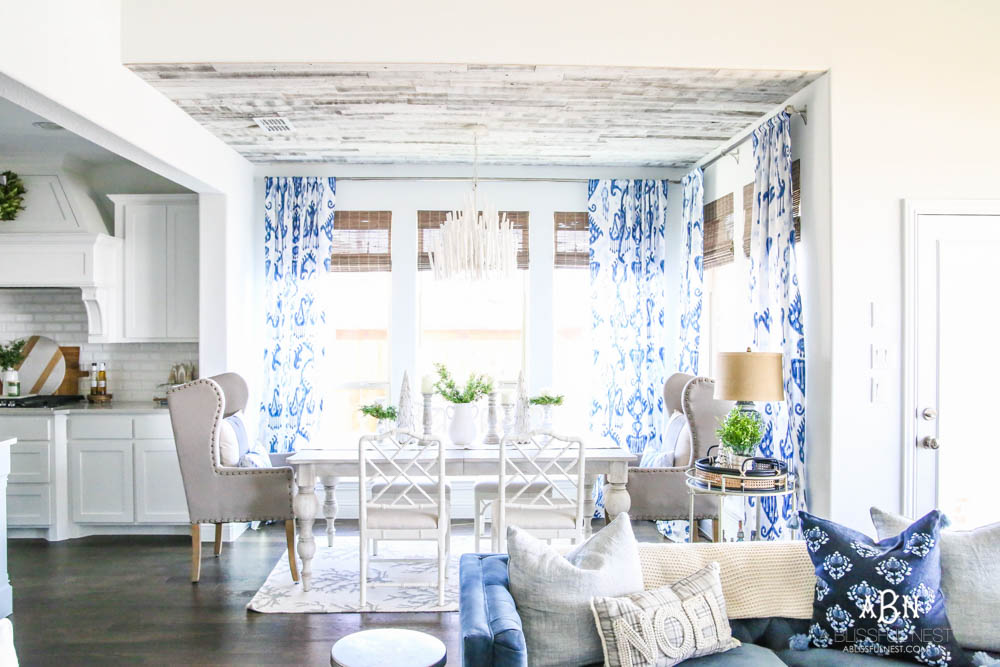
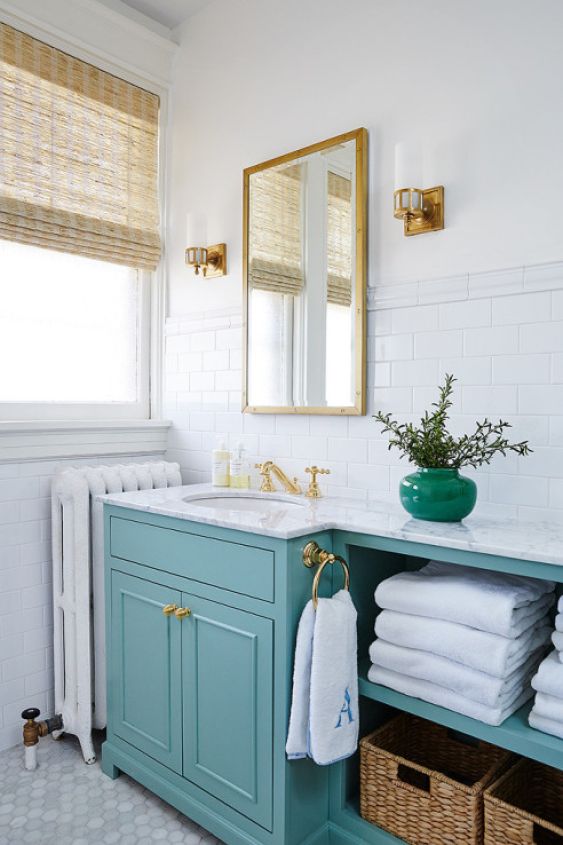
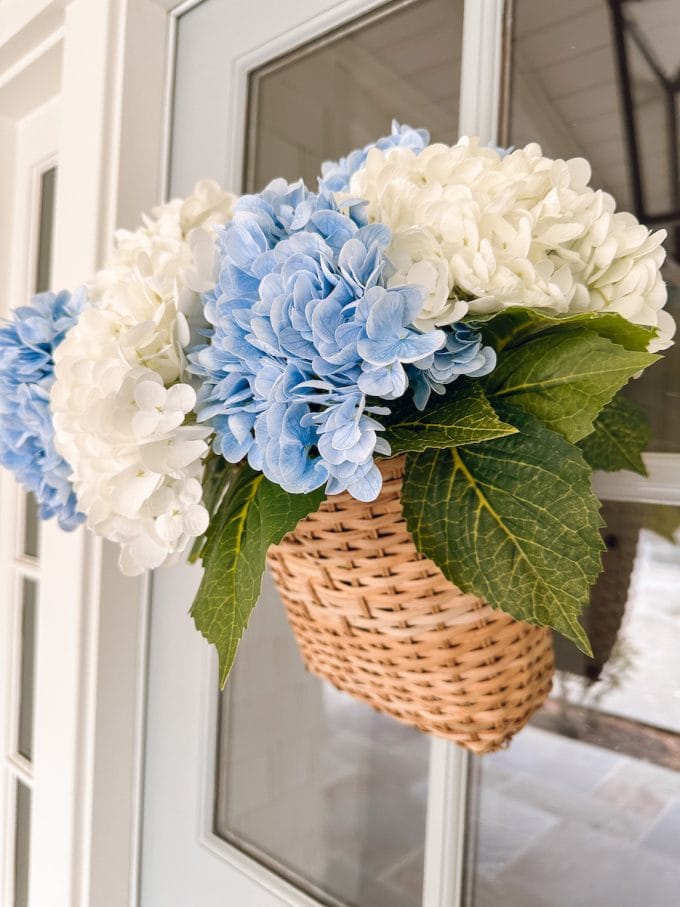
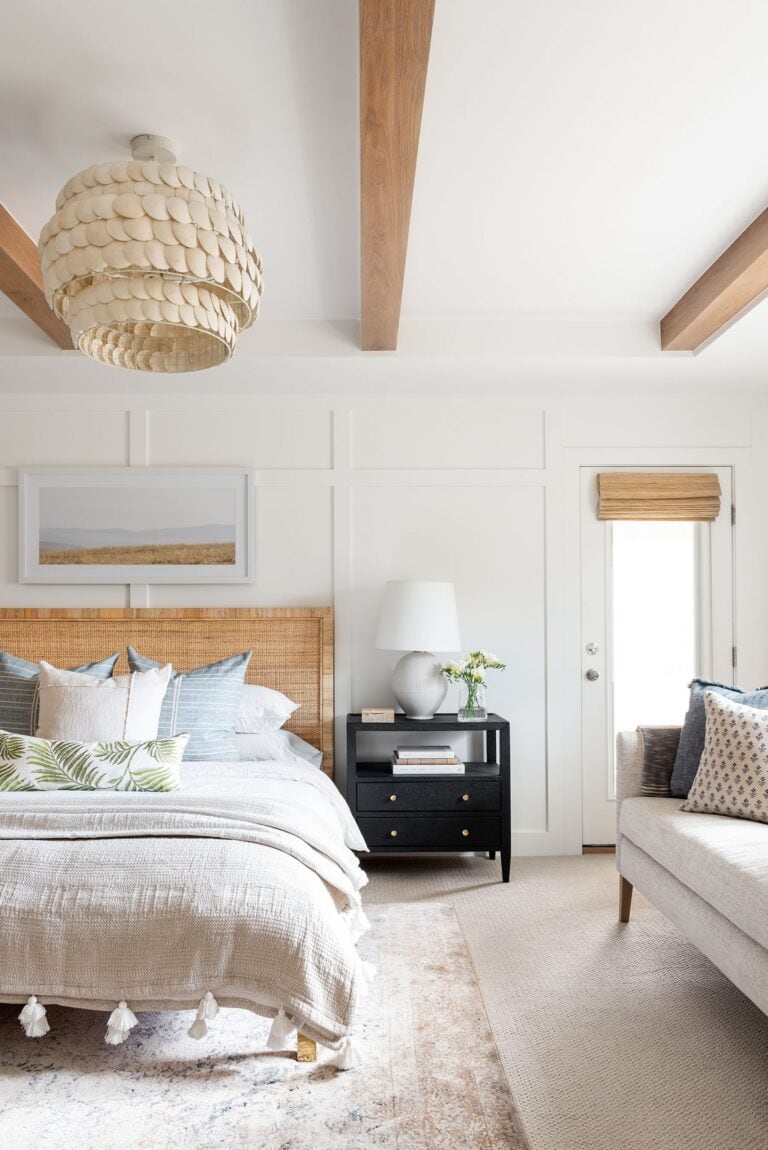
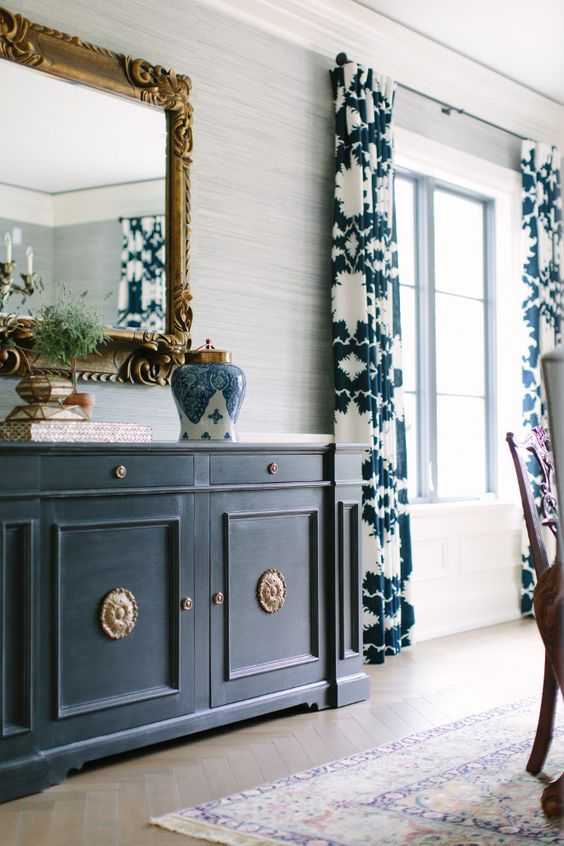
The Hottest Interior Color Trends
Use our guide on interior color trends to elevate your home to create a modern and timeless look.
Most Popular
Project Guides


All DIY Projects